
The Elite Four (#19)
Jae (jyltwo)
Clay (cwhetung)
Jeff (jasnyder)
Michael (menewman)
Mission Statement:
We are developing a system that will ensure users do not leave their room/home without essential items such as keys, phones, or wallets. Our system will also assist users in locating lost tagged items. Currently, the burden of being prepared for the day is placed entirely on the user. Simple forgetfulness can often be troublesome in living situations with self-locking doors, such as dorms. Most users develop particular habits in order to try to remember their keys, but they often fail. By using a low-fidelity prototype, we hope to identify any obvious problems with our interface and establish how we want our system to generally be used. Hopefully, we can make this process easy and intuitive for the user.
Statement: We will develop a minimally inconvenient system to ensure that users remember to bring important items with them when they leave their residences; the system will also help users locate lost tagged items.
We all worked together to create the prototype and film the video. Jae provided the acting and product demo, Clay provided narration, Jeff was the wizard of Oz, and Michael was the cameraman. We answered the questions and wrote up the blog post together while we were still in the same room.
Prototype:
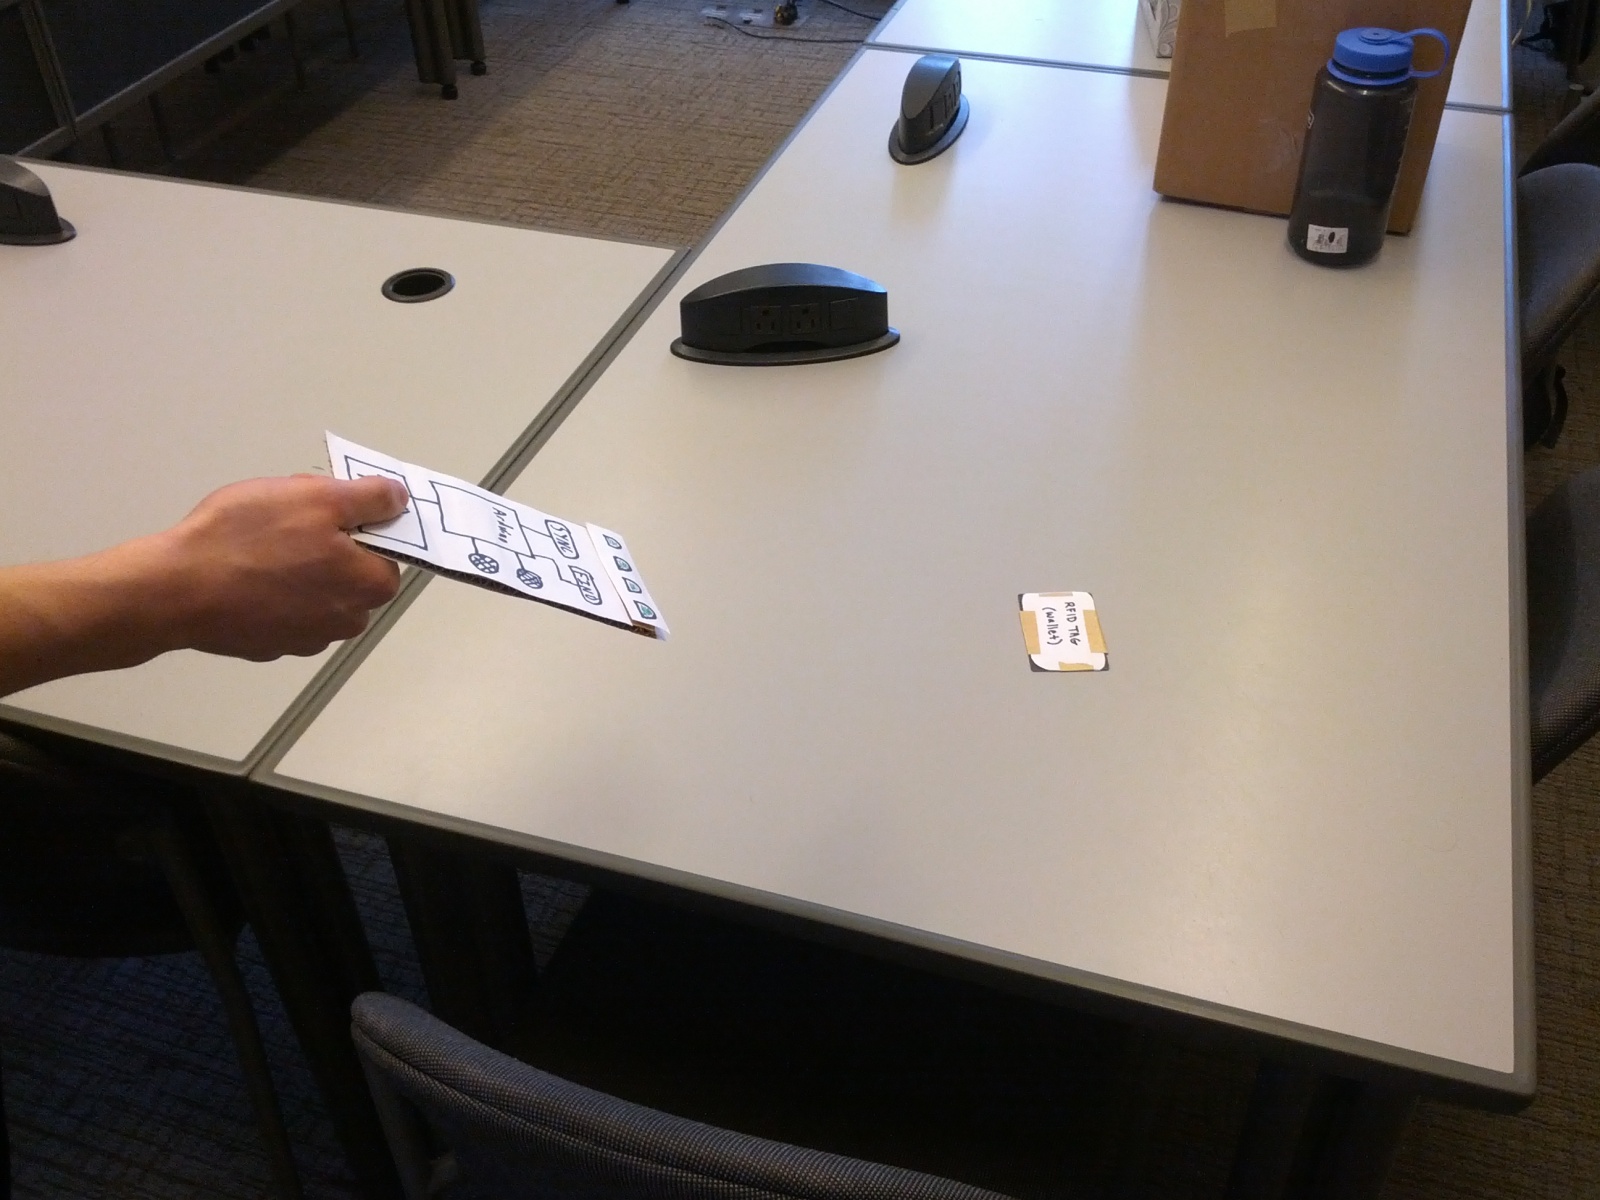
We created a cardboard prototype of our device. The device is meant to be mounted on the wall next to the exit door. Initially, the user will register separate RFID tags for each device he or she wants to keep track of. After that, the entire process will be automated. The device lights up blue in its natural state, and when the user walks past the device with all the registered RFID tags, the device lights up green and plays a happy noise. When the user walks past the device without some or any of the registered RFID tags, the device lights up red and plays a warning noise. The device is just a case that holds the Arduino, breadboard, speakers, RFID receiver, LEDs, and buttons for “Sync” and “Find” modes. The Arduino handles all of the RFID communication and will be programmed to control the LEDs and speakers. “Sync” mode will only be toggled when registering an RFID tag for the first time. “Find” mode will only be toggled when removing the device from the door in order to locate lost items.
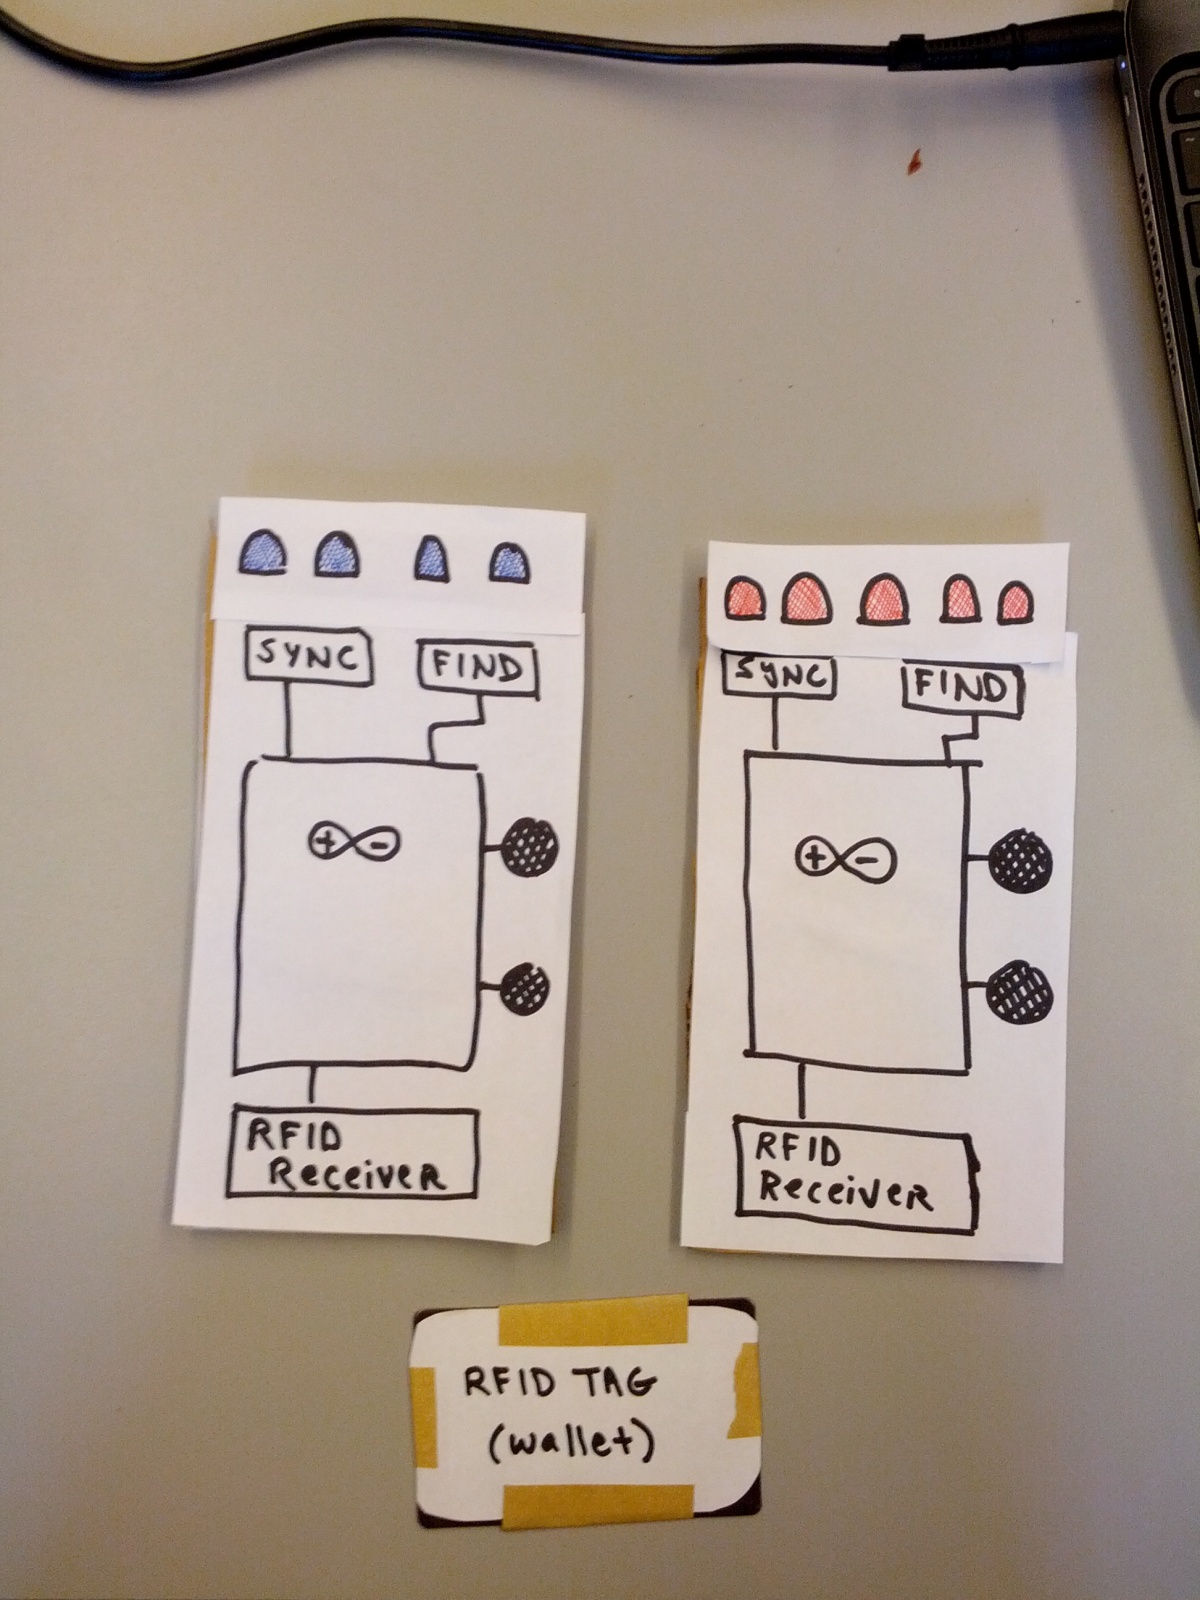
The blue- and red-lit versions of the prototype, plus the card form-factor RFID tag
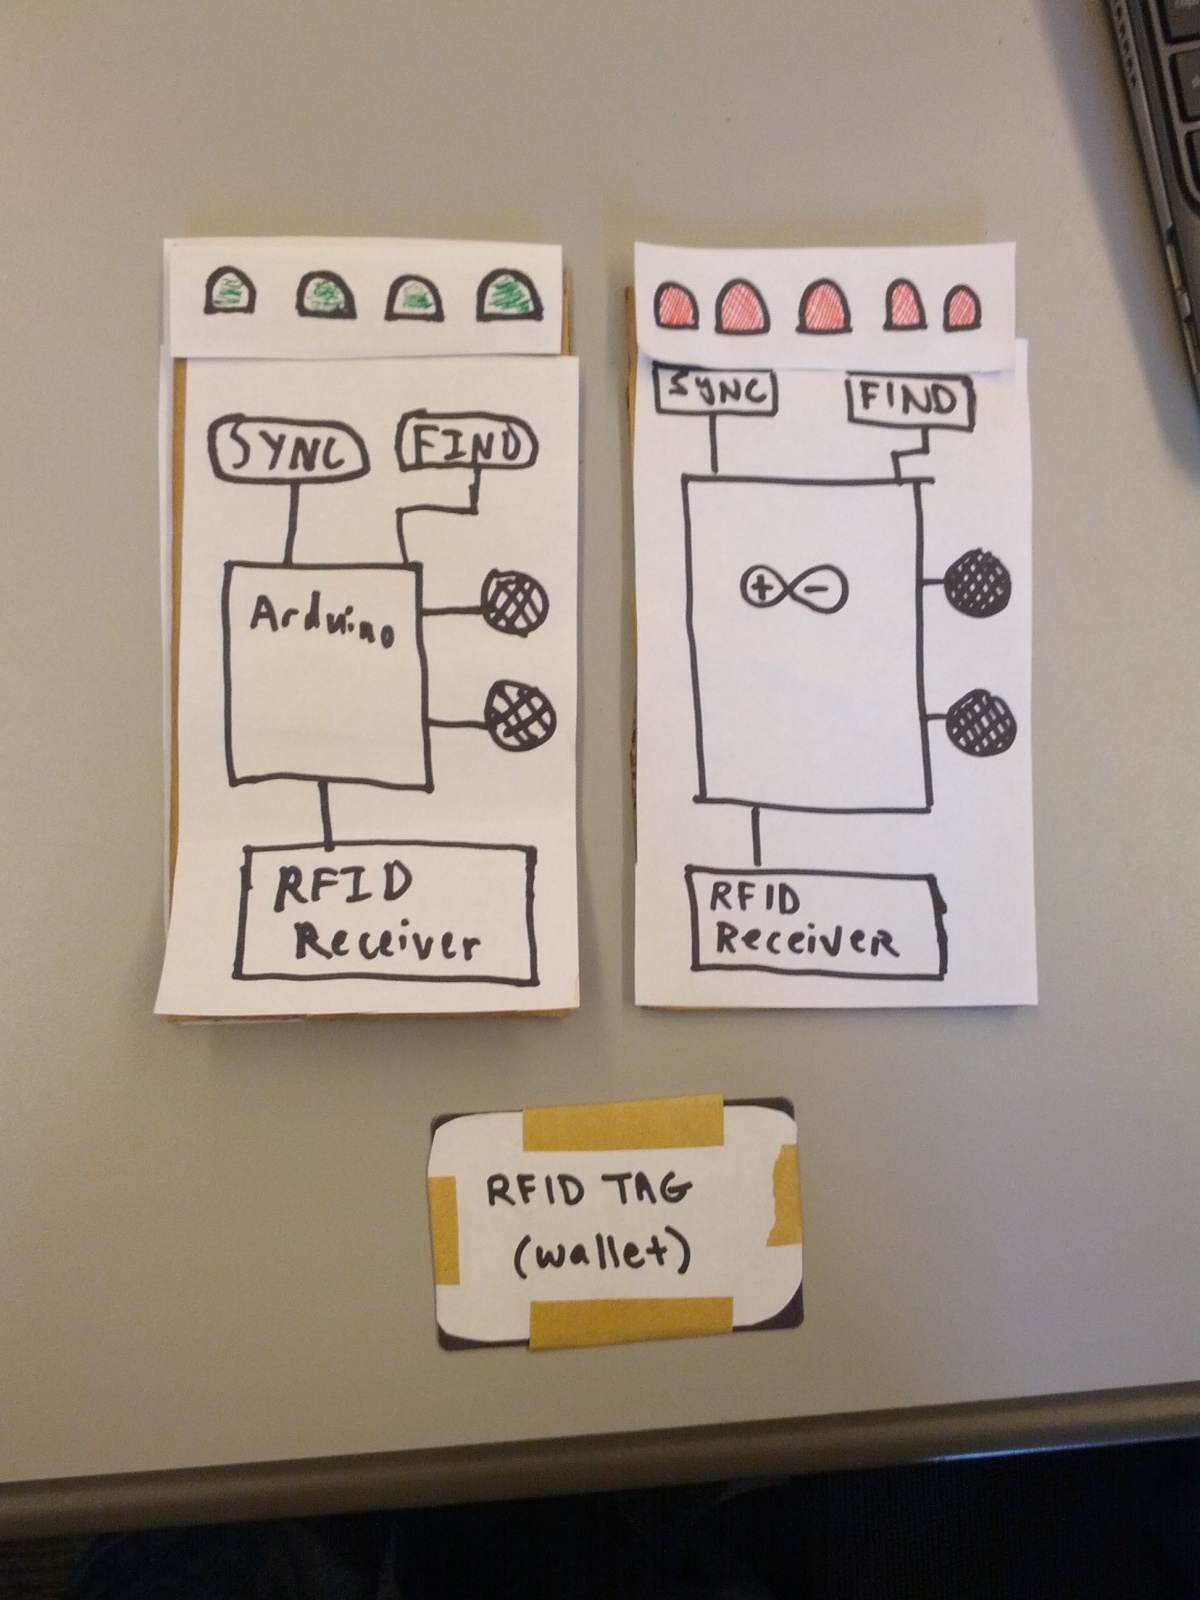
The green- and red-lit versions of the prototype, plus the card form-factor RFID tag
Task 1 Description:
The first task (easy difficulty) is alerting the user if they try to leave the room without carrying their RFID-tagged items. For our prototype, the first step is syncing the important tagged item(s), which can be done by holding the tag near the device and holding the sync button until the lights change color. Next, the user can open the door with or without the tagged items in close proximity. If the tagged items are within the sensor’s range when the door is opened, the prototype is switched from its neutral color (blue) to its happy color (green), and the device emits happy noises (provided by Jeff). If the tagged items are not in range, the prototype is switched to its unhappy color (red), and unhappy noises are emitted (also provided by Jeff). This functionality can be seen in the first video.
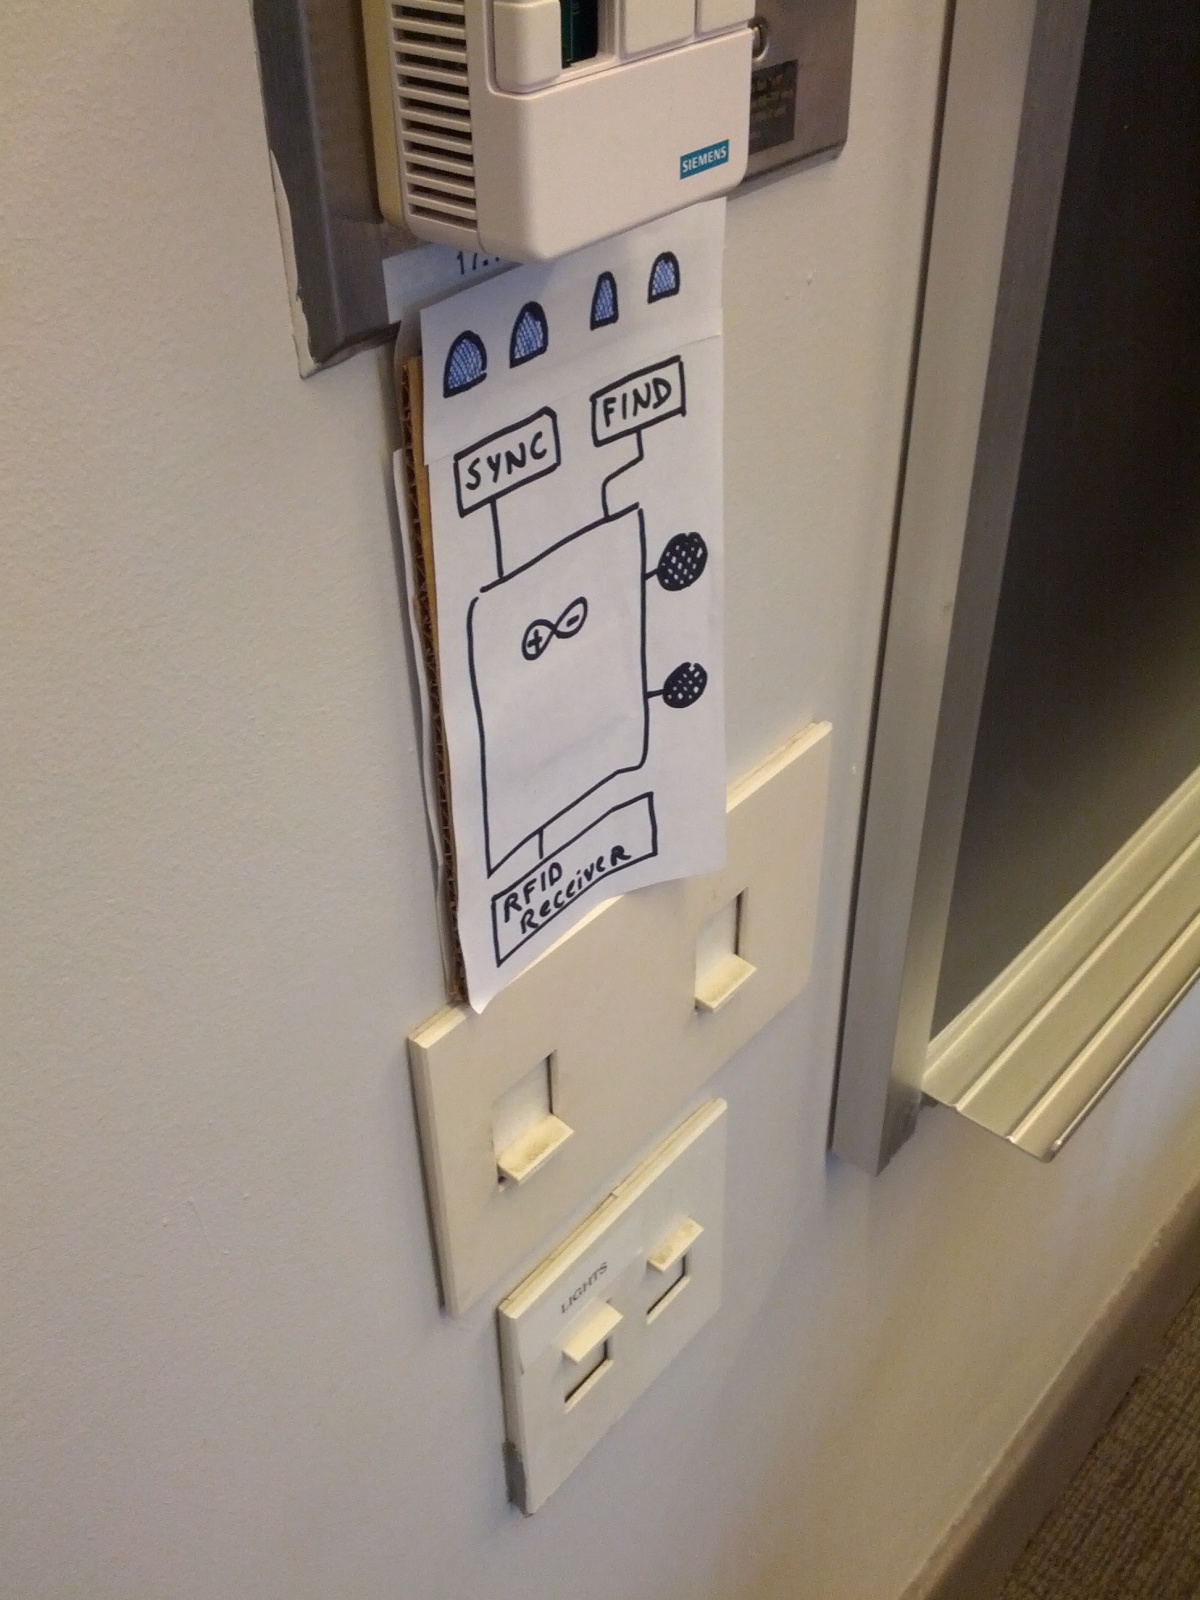
The device is in door-mounted “neutral mode”; the user has not opened the door yet
When the door is opened but tagged items are not in proximity, the device lights up red and plays a warning noise

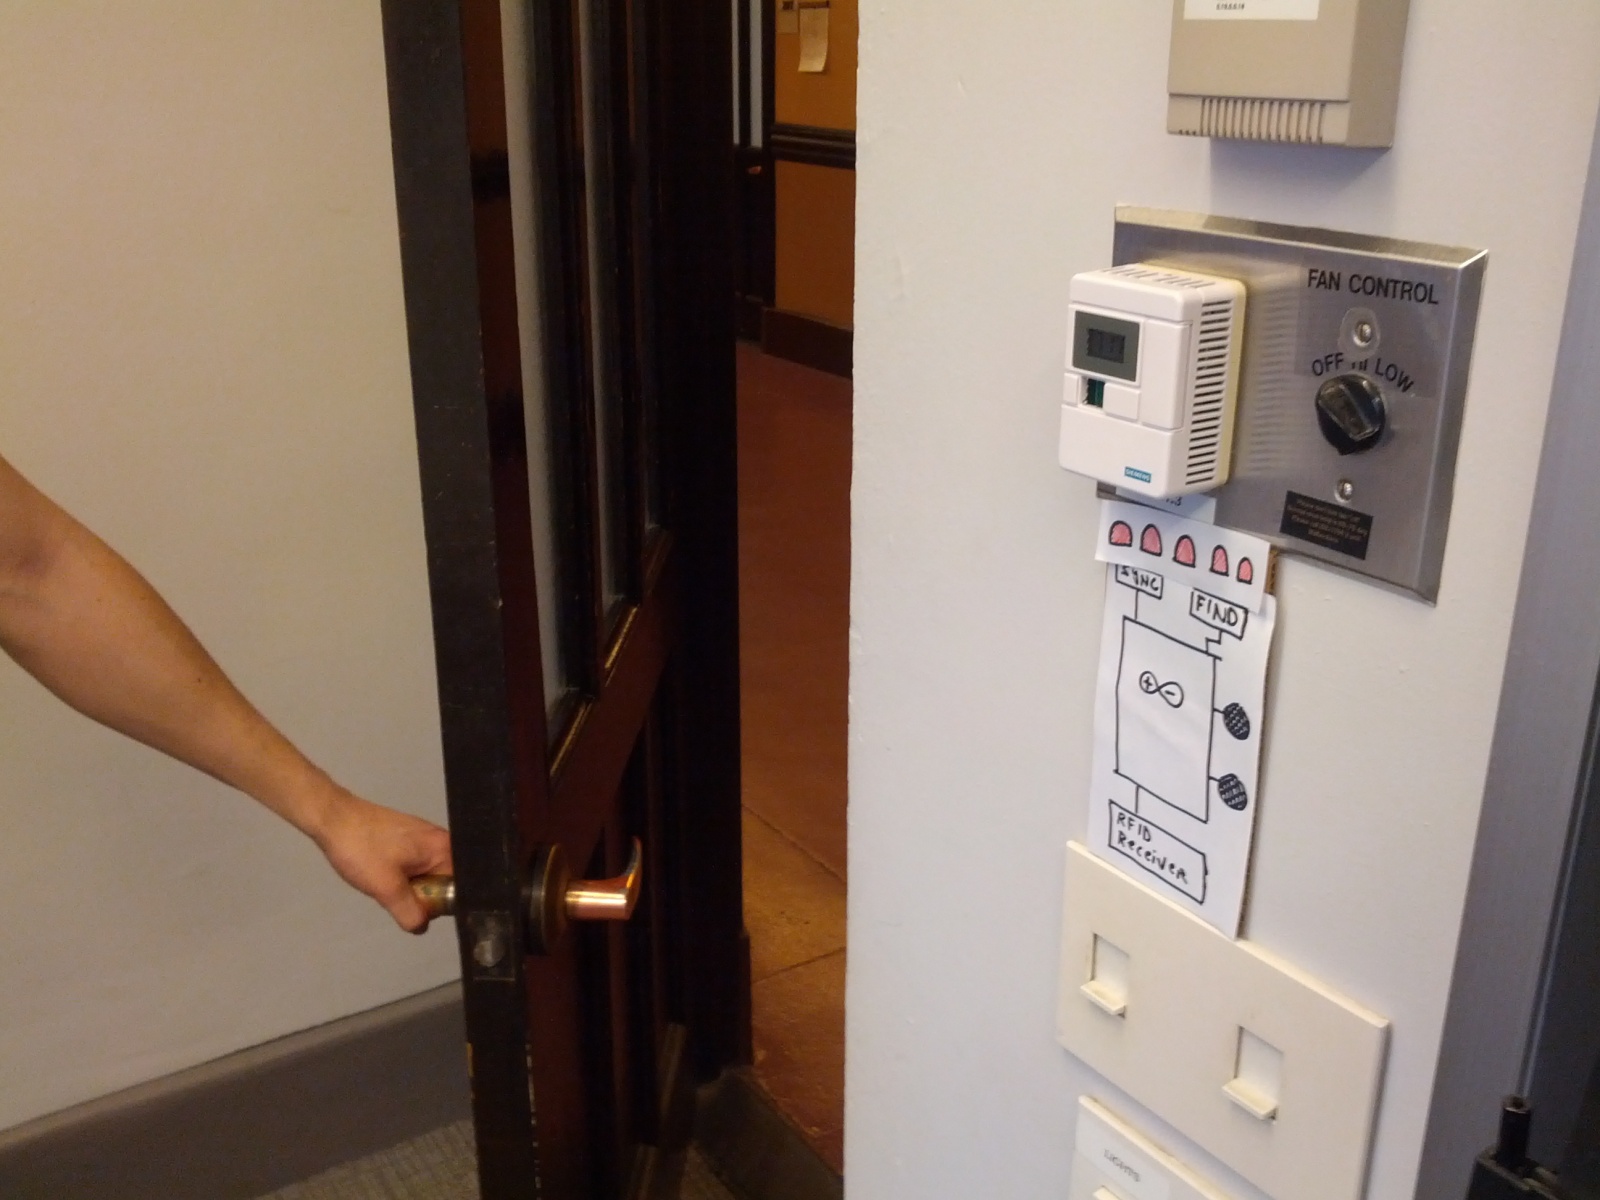
When the tagged item(s) is/are in close proximity to the device and the door is opened, the device lights up green and plays a happy noise
Task 2 Description:
The second task (moderate difficulty) is finding lost tagged items within one’s room/home. For our prototype, this is accomplished by removing the device from the wall, pressing the “Find” button, and walking around with the device. The speed of beeping (provided by Jeff in the video) indicates the distance to the tagged item and increases as the user gets closer. This functionality is demonstrated in the first video.
The device can be removed from the wall and used to locate missing tagged items
Task 3 Description:
The third task (hard difficulty) is that of finding lost items outside of one’s residence. As before, the user removes the device from the wall and uses the frequency of beeps to locate the device. This task presents the additional challenge that the item may not be within the range of our transmitter/receiver pair. In order to overcome this, the user must have a general idea of where the object is. Our system can then help them find the lost item, with a range of up to eight meters. This range should be sufficient for most cases. This functionality is shown in the second video.
(Visually, this is identical to Task 2, so no additional photos are provided.)
Video Documentation:
Tasks 1 & 2: Syncing, forgotten item notification, & local item-finding
Task 3: Remote item-finding
Discussion:
Our project has a very simple user interface, since the device is intended to require as little user interaction as possible. There are no screens, so we used cardboard to build a lo-fi prototype of the device itself. There are three versions of the device; they differ only in the color of the LEDs as we have described above. “The device” is just a case (not necessarily closed) that holds the Arduino, breadboard, speakers, RFID receiver, LEDs, and buttons for “Sync” and “Find” modes. The functionality of each of these is described in the photos and videos. For our prototype we did not exactly come up with any new ways of prototyping, but we did rely heavily on “wizard of Oz” style prototyping, where one of our members provided sound effects and swapped different versions of the prototype in and out based on the situation.
It was somewhat difficult to find a way to effectively represent our system using only ourselves and cardboard. Since our system is not screen-based, “paper prototyping” wasn’t as easy as drawing up a web or mobile interface. The system’s interface consists mainly of button-pressing and proximity (for input) and LEDs/sound (for output), so we used a combination of cardboard/colored pen craftsmanship and human sound effects. The physical nature of the prototype worked well. It helped us visualize and understand how our device’s form factor would affect its usage. For example, using a credit card as an RFID tag (which is roughly the same size as the one we ordered) helped us understand the possible use cases for different tag form factors. While experimenting with different visual/auditory feedback for our item-finding mode, we realized that when no tagged item is detected, a slow beep, rather than no beeping at all, could help remind users that the device is still in item-finding mode.