
 Ready to do some daring exploring? All you need is a lantern, a map, and a classic book!
We read The Berenstain Bears and the Spooky Old Tree by Stan & Jan Berenstain (Random House, 1978). Three little bears journey to a spooky old tree, daring to explore an old stair, an alligator-challenged bridge, a secret hall, and finally, the Great Sleeping Bear.
This was one of my favorite picture books when I was a kid, and when 2 extra-large recycled boxes graced my doorstep, I knew exactly what I was going to to with them. Create a spooky old tree for kids to explore!
Our spooky (but not too spooky) adventure begins with a glowing lantern…
 …and ends with a key hunt inside the spooky old tree!
 You’ll need:
- 1 standard clear (or opaque) plastic cup
- Glow-in-the-dark foam dough, glow paint, or a LED candle (optional)
- 1 tagboard circle for a lantern base (should be slightly larger than the mouth of the cup. Mine was approximately 3.5″)
- 1 tagboard (or poster board) strip for lantern handle (approximately 14″ x 1.25″)
- Markers for decorating
- Scotch tape
- A selection of color masking tape
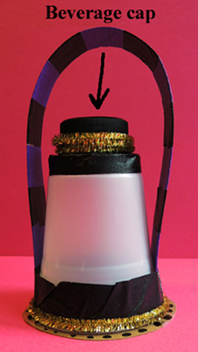
- 1 beverage cap
- Hot glue
- 2 sparkle stems
- 1 spooky old tree map template, printed on 11″ x 17″ paper
- 1 spooky old tree (read on for construction details!)
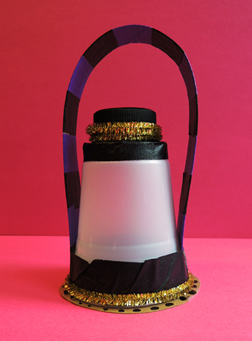
To make the lantern, begin by putting the glow-in-the-dark material inside the cup. I had some leftover glow-in-the-dark foam dough (from a program 3 years ago!) so that’s what I used. But you can also paint something that will glow, use a LED votive candle, or simply skip this step.
Decorate the tagboard circle with markers. When finished, tape (or hot glue) the circle over the mouth of the cup. Then flip the cup over so it’s resting on its tagboard base.
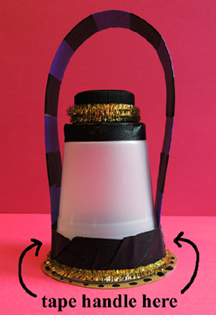
Now for the lantern handle! Decorate your handle with markers or color masking tape. Then use scotch tape to secure the handle near the BASE of the lantern. Some kids will be tempted to tape the handle to the top of the lantern, but that makes it too tippy.
 Use color masking tape to create decorative bands at the top and bottom of the cup. Hot glue a drink lid / bottle cap to the top of the lantern. Finish by wrapping one sparkle stem around the base of the lantern, and the other sparkle stem around the beverage cap.
 With the lantern complete, we embarked on a map making project. I gave the kids a spooky old tree template, and asked them to draw what they thought the inside of the tree looked like. For inspiration, I taped color copies of pages from the book (featuring the hall, the bridge, the moving wall, etc.) on the surrounding walls. When the maps were finished, my assistant hid them around the gallery and invited the kids to go on a “map hunt.” While this was going on, we got the tree ready for action.
And now (duh duh DUH)…THE TREE!
 I’ll start by saying that you do NOT, of course, have to create a tree like mine. A large box with a hole cut in it, a darkened room, a table draped with a dark tablecloth – all of these thing will do just as well. Kids will have fun no matter what. You also don’t have to have a hidden key game. Crawling through the tree with your glowing lantern is a fine adventure.
However, if you DO want to make a tree like mine, fire up the hot glue gun and let’s get started!
You’ll need:
- 2 large boxes (mine were 32″ x 26.5″ x 22″ and 25″ x 25.5″ x 24.5″
- 1 roll of brown craft paper (or brown wrapping/packing paper)
- 1 box cutter
- Packing tape
- Hot glue
- 4 small clear plastic cups
- 4 LED votive candles
- White, brown, black, and yellow poster board
- Black marker
- 1 large piece of tagboard for key reinforcement & key sleeves
- 1 key template, printed on 8.5″ x 11″ card stock
- 1 set of metallic Sharpie markers (optional)
I used the smaller box for the “entry tunnel” and the larger box for the “key chamber.”
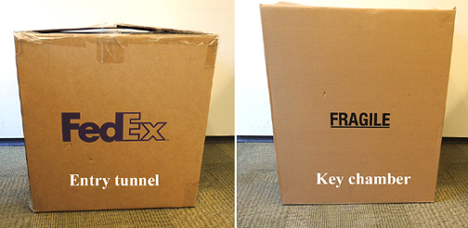 Using the box cutter, cut matching rectangular holes in one side of each box. Push the two boxes together so the holes are connected, then tape and hot glue the boxes together securely. Now the boxes are connected by an interior “doorway.”
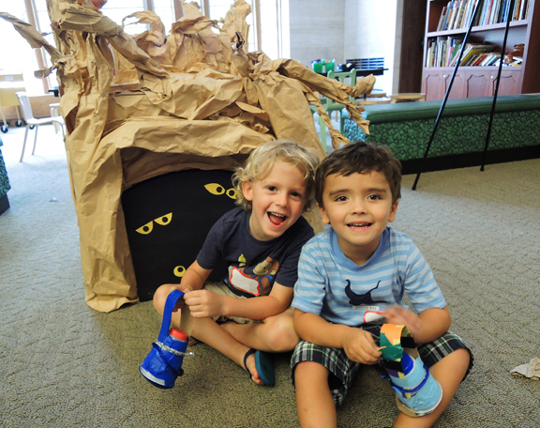
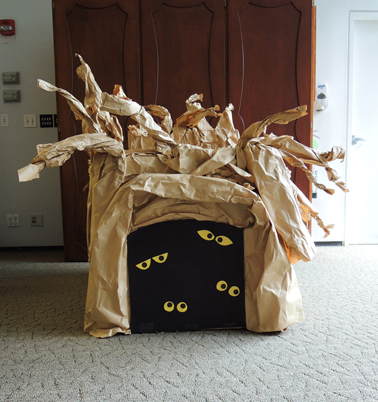
Wielding your box cutter once more, cut doors at each end of the joined boxes. One door is the entrance, the other door is the exit. I decorated the entrance door with a black poster board and added yellow eyes.
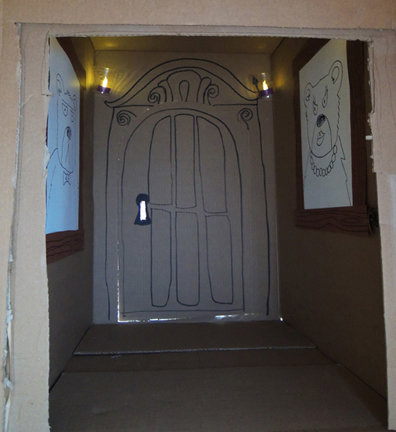
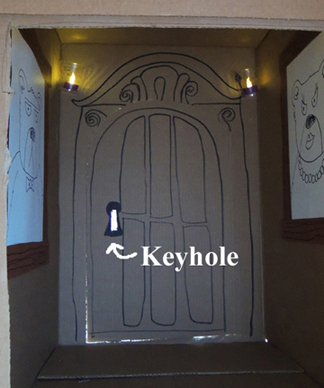
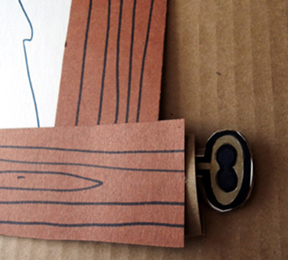
 The exit door isn’t decorated on the outside, but I did cut a small rectangular “keyhole” in it. Here’s an interior shot:
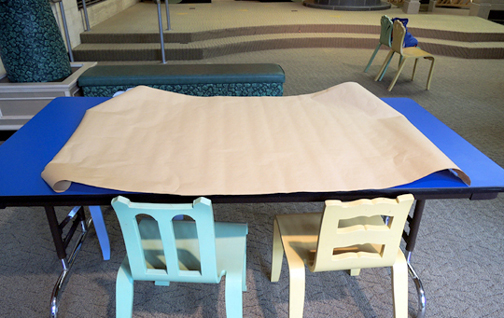
 Now it’s time for the “bark” on the tree. Cut a big piece of craft paper:
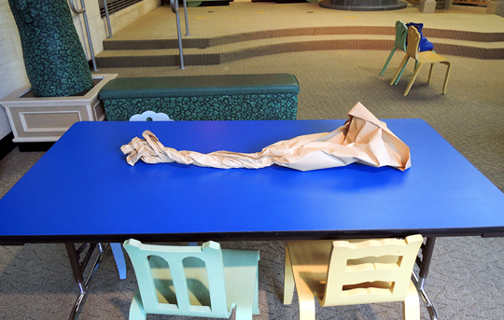
 Roll and twist it into a tall cone-like shape (i.e. so the base is wider than the tip).
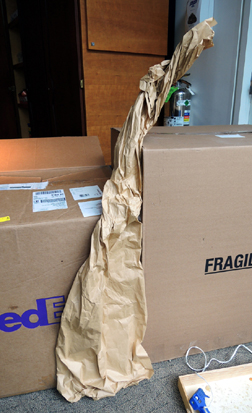
 Then hot glue the wider part of the “branch” to the box.
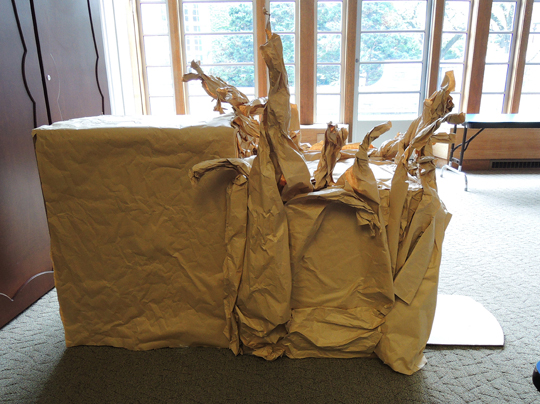
 Repeat until the tree is covered! I must admit, I pooped out after the first box, and simply wrapped the sides of the second box with paper. But as you can see, it still looked great!
 If you want to see this tree building technique used on a smaller scale, check out this post.
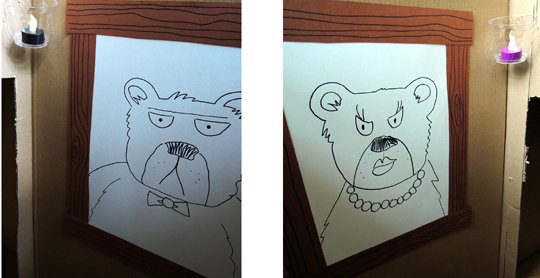
Now, on to the interior of the tree! In the interest of time, I only decorated the key chamber. I left the entry tunnel undecorated. I used the white and brown poster board to create two spooky bear portraits with frames. Then I hot glued them to the walls. As you can see, I didn’t make them too spooky. Because it’s easy to get a little hysterical in a dark, tight room with flickering candles. So you don’t need super-scary bears glaring at you too, eh?
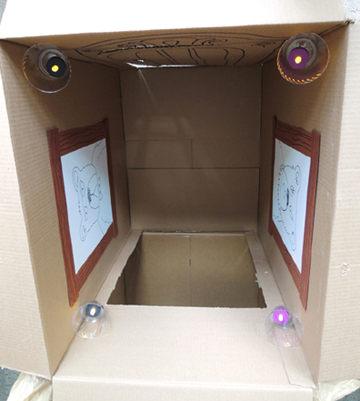
 Next I hot glued plastic drink cups to the upper corners of the room and plunked an LED votive candles in each cup. Instant wall sconces! Finally, I used a black marker to add some details to the exit door. Here’s a birds eye view of the key chamber.
 Here’s the entrance view again.
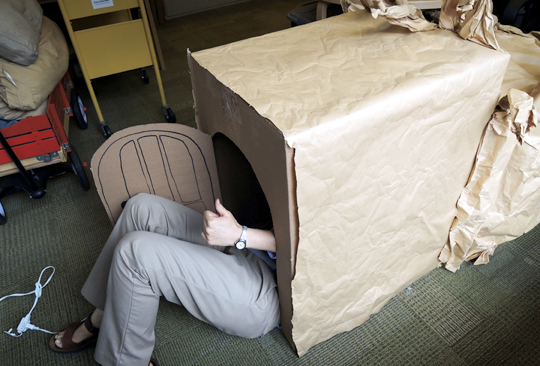
And here I am hot gluing everything (only burned myself once)!
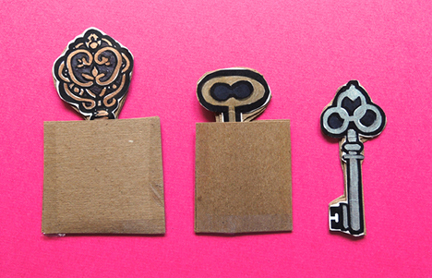
 The final step is the keys! To give the keys more texture, I colored them with metallic sharpie markers. Then I hot glued them to tagboard for extra reinforcement.
During story time, I knew was going to be repeatedly hiding the keys in a dark, very cramped place. I also knew I was going to drop a key someplace irretrievable. So I made “key sleeves” out of tagboard, slipped the keys inside, and hot glued the sleeve in the hiding places.
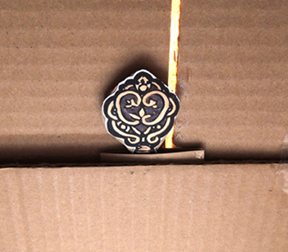
 Here’s one key sleeve glued in a crack in the ceiling:
 And another key sleeve glued behind a bear portrait:
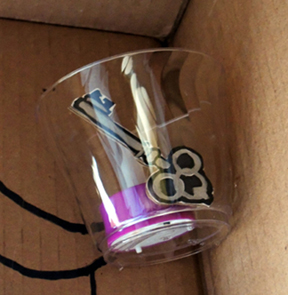
 I placed the third key (with no sleeve) in a wall sconce:
 Now we were ready! My assistant staffed the entry door, and I staffed the exit door. One by one, kids crawled inside the spooky old tree to find the hidden keys and stick them through the “keyhole” I had created. The key in the keyhole was my signal to open the door and let them “escape.”
Originally, I was going to have kids find all three keys. But we were so crowded that day we only had time for one key. One girl was a little scared, so we opened both doors wide and let her crawl through without stopping. She did it, and then circled back in line to do it again! I was very proud of her!