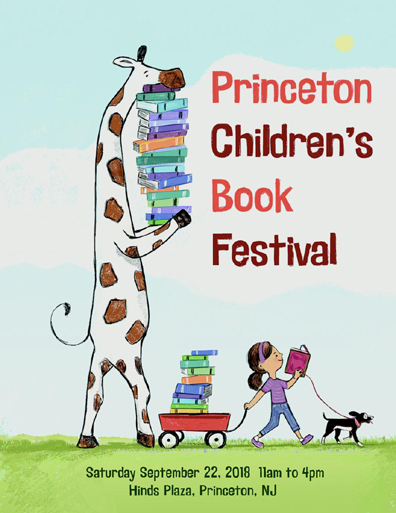
Presented by the Princeton Public Library with sponsorship by jaZams. Poster art by Angela Dominguez
Friends! Romans! Tri-State Countrymen! Travel henceforth to Princeton this weekend for the Princeton Public Library‘s legendary Children’s Book Festival! Every year, scores of talented authors and illustrators gather under the library’s big white tents in Hinds Plaza, meeting fans and signing books.
My personal highlights over the past 12 years of the book festival…receiving writing advice from Rebecca Stead, seeing my buddy Galen Longstreth sharing her adorable book, Yes, Let’s, and having a breakfast chat with Pseudonymous Bosch before the event. My library was there in 2010 as well, doing a “Books Done Wrong” activity!
The public library always invites terrific authors and illustrators. Here’s the 2018 line-up if you’d like to see it. But if we may be so bold as to make a few blog connections to this year’s festival attendees?
Tracey Baptiste: The author of The Jumbies now has a sequel out called, Rise of the Jumbies. I interviewed Tracey in 2016. Her books are suspenseful, spooky, and straight up awesome.
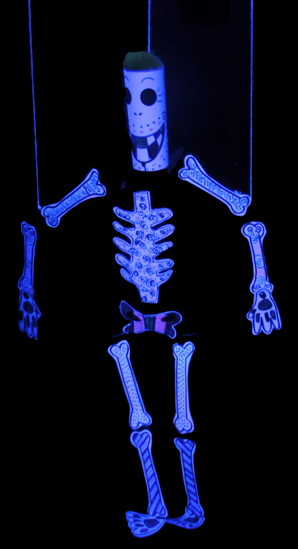
Margery Cuyler: Margery’s Skeleton for Dinner is totally hilarious, and we hope we did her book justice with our dancing, glowing skeleton marionette project.
Ame Dyckman: Ame has had three featured projects on our blog! A robot marionette for Boy + Bot, a bouncing baby wolf for Wolfie the Bunny, and a raucous tea party game for Tea Party Rules. She’s inspired so many projects…probably because her books are so fun and amazing.
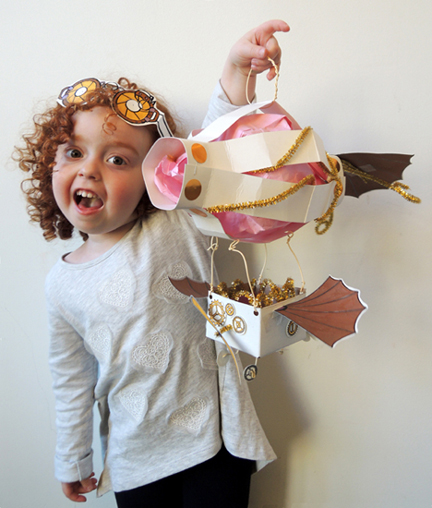
Steve Light: Master wielder of all things fountain pen, Steve caught our eye with Zephyr Takes Flight, and we just HAD to do a steampunk airship project. We had to!
Zachariah OHora: Zachariah’s distinctive illustrative style has graced blog twice in books, once for Wolfie the Bunny and again for The Teacher’s Pet. We’re dying to do a project for The NOT So Quiet Library.
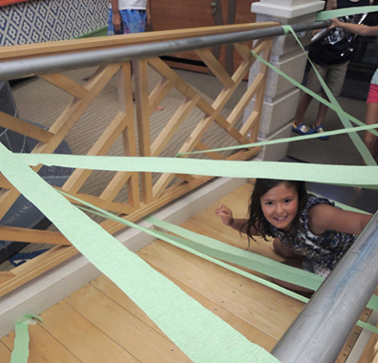
Lauren Magaziner: Lauren’s book, Pilfer Academy, was a featured book at To Be Continued in 2016. Our book-related activities involved lots of sneaking around, stealing things, and a green crepe paper streamer laser maze. Oh yeah.
Wendy Mass: I interviewed Wendy in 2009 and WOW has she been busy, including being on the New York Times Bestseller list for The Candymakers! She recently released Bob, a book she co-wrote with Newbery Medal winner Rebecca Stead.
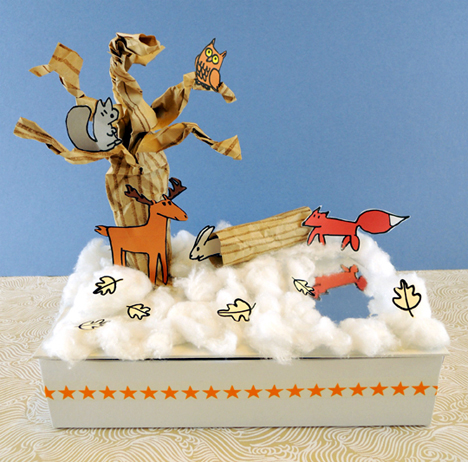
Christopher Silas Neal: Christopher’s gorgeous, minimalistic, vibrant illustrations in Over and Under the Snow inspired a winter hibernation snow-scape project that was a huge hit at story time.
Anica Mrose Rissi: I just posted a hamster-rific blog project for her book, The Teacher’s Pet, along with an author interview. So now you have to go to the festival meet Nica and see all her other fantastic books!
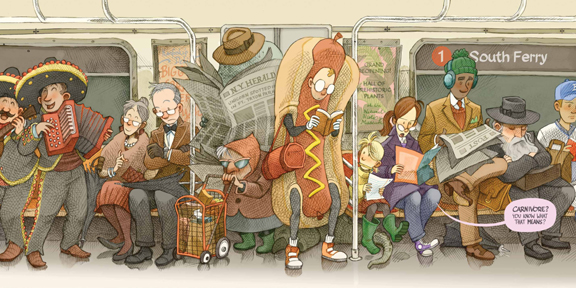
Sean Rubin: I did a blog feature on Sean’s debut graphic novel Bolivar in 2017. Bolivar is an astounding work of art and really must been seen in person. Now’s your chance!
Daniel Salmieri: Daniel has written and illustrated many books, but we loved his work on Meet The Dullards, and fashioned our boring-not-boring blog project on his playful artistry.
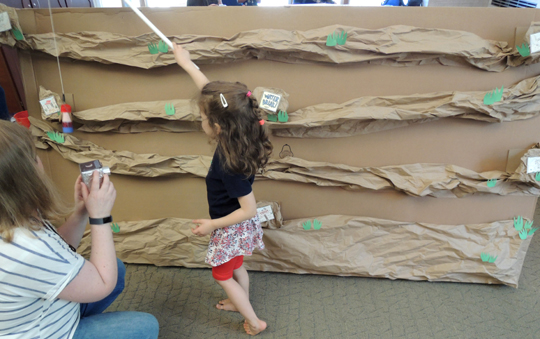
Liz Garton Scanlon: Liz’s book In the Canyon is full of playful, vivid rhymes. We tried to capture some of the wonder she evokes with our own enormous cardboard canyon.
Rebecca Stead: How often do you get to meet a Newbery winner? I interviewed Rebecca about When You Reach Me in 2011 and she has continued to write amazing, thoughtful, and deeply meaningful books.
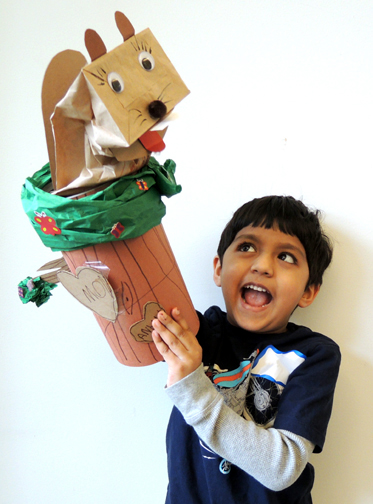
David Ezra Stein: ‘Ol Mama Squirrel? Best. Book. Ever. I couldn’t stop laughing when I read it aloud during story time! And weirdly, the squirrel tree puppet project went viral in China. Wow.
Audrey Vernick: Buffaloes and drum sets. Need I say more? OK, how about winning a giant pet whale? Audrey’s hilarious books such as Teach Your Buffalo to Play Drums and I Won a What? inspire us.
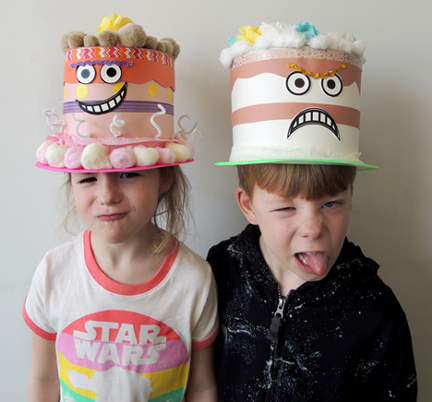
Rowboat Watkins: We made cake hats with attitudes for Rowboat’s fantastic Rude Cakes. But much to our delight, he popped up unexpectedly in this post about Books of Wonder in NYC.
The Children’s Book Festival is Saturday, September 22m from 11am to 4pm in Hinds Plaza of the Princeton Public Library, rain or shine. Books are available for purchase at the event through jaZams, our incredible, local, independent, family-owed toy store. We hope to see you there!
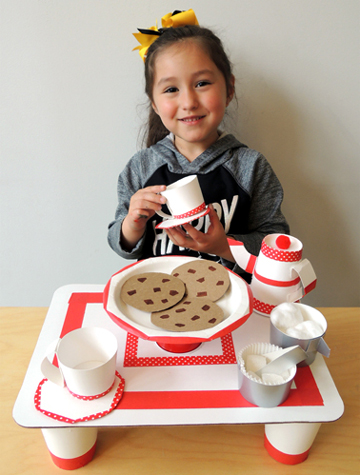
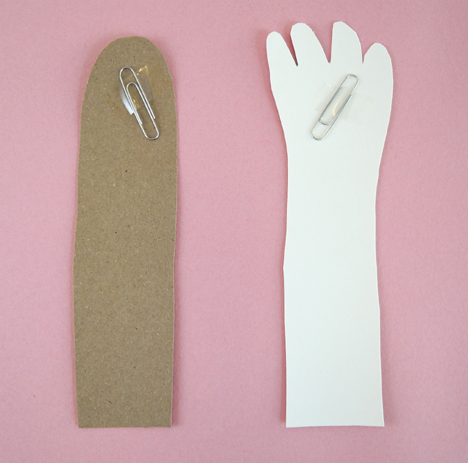
 This project consists of 1) A tea set with cookies; and 2) A pair hand grabbers for the snatching game. The cookies have magnets hot glued to them, and the hand grabbers have paper clips taped to them. Thus, when the hand slaps down on the cookie, it picks it up!
 We’ll begin with the tea set. To make the table, hot glue 4 paper cups to the bottom of a corrugated cardboard base. The cookie platter is a flipped-over cup hot glued to a small paper plate. You don’t want the cookie platter to be too tall, so you can either cut a full size paper cup down to 2.25″ inches, or use a shorter cup (we used 3.5oz plastic drinking cups from Target). Decorate the platter and table with patterned tape, color masking tape, and/or markers. Then hot glue the platter firmly to the top of the table.
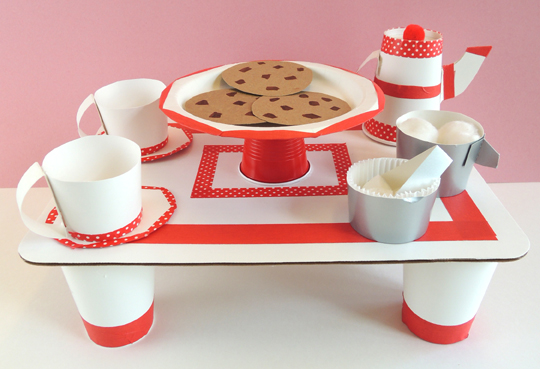
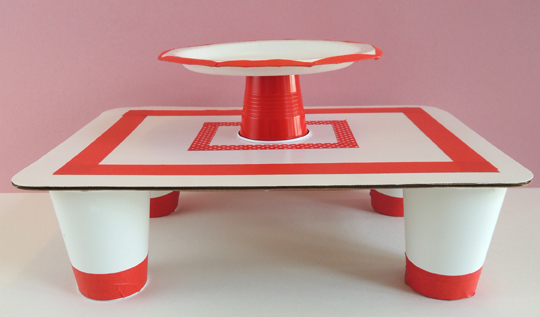 To make the teapot, flip a paper cup over, then tape (or hot glue) a poster board handle to one side. Cut the spout from the template and trace it onto white poster board. Fold the tea pot spout in half (the fold is marked with a solid black line on the template). Next, fold the spout’s tabs outward (the tabs are marked with dotted lines on the template). Attach the tabs to the tea pot with tape (or hot glue). Finish by hot gluing a small pom-pom to the top of the tea pot.
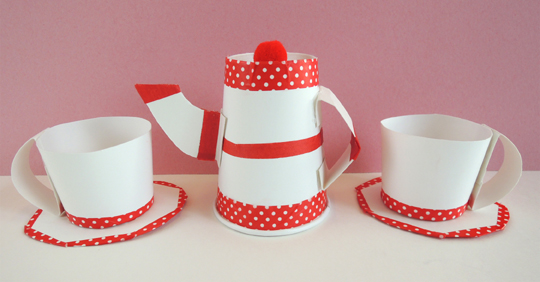 To make tea cups, cut 2 paper cups down to 2″. Use tape (or hot glue) to attach a white poster board handle to the side of each cup. Then place the cups on a white poster board “saucers.” Decorate the teapot, cups, and saucers with patterned tape, color masking tape, and/or markers.
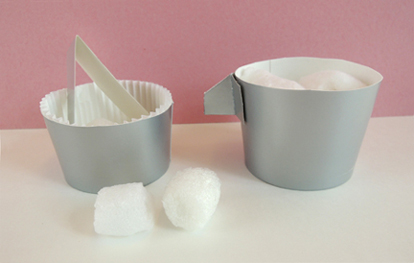 The creamer is a paper cup cut down to 2″. Cut the creamer spout from the template, and trace it into poster board. Fold the spout in half (the fold is marked with a solid black line on the template). Next, fold the spout’s tabs outward (the tabs are marked with dotted lines on the template). Attach the tabs to the cup with tape (or hot glue). We filled the creamer with white cotton ball “cream.”
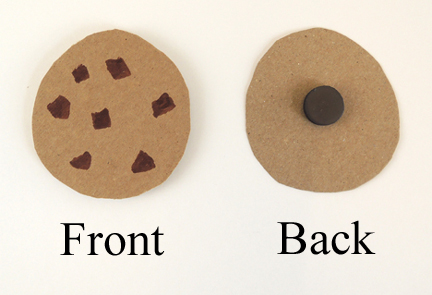
 Ready to play? Have 2 kids select a grabber and sit down at the table. On “Go!” each kid must use his/her grabber to quickly remove cookies from the platter. The kid who grabs the most cookies, wins!
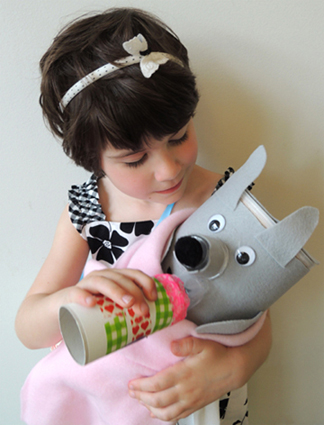
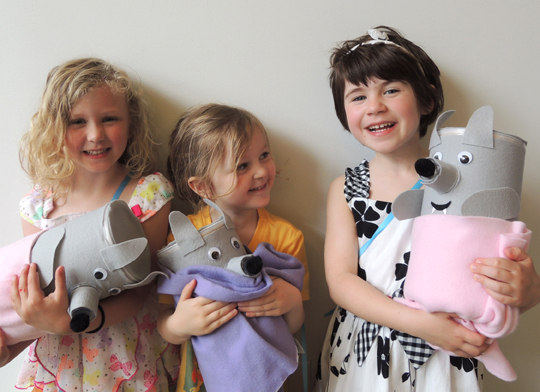 There’s a new arrival in the family, but this baby has fur, fangs, a propensity to howl at the moon, and a very wolfish grin! You’ll be fully prepared for parenthood, however, with a bottle, diapers, blanket, bunny snuggle toy, and customized diaper bag.
 One of the things that delighted the kids was that the baby wolves wore real diapers. I grabbed some Target brand newborn diapers (36 diapers cost $5.99).
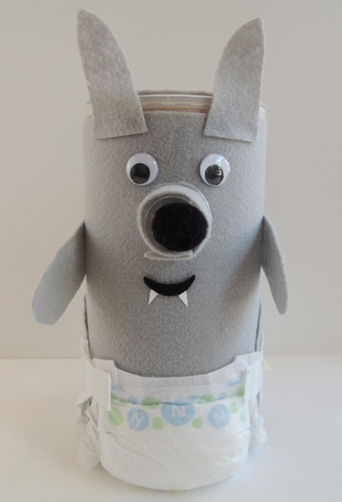 Your wolf is done, now for some accessories! Here’s the diaper bag we made. It was stuffed with an extra diaper, a baby bottle, a bunny snuggle toy, and a fleece baby blanket.
 To make the diaper bag, staple the sides of a manila folder together, then add some patterned tape to cover the staples. To make the strap, punch holes in the sides of the folder and knot a ribbon through each hole. Decorate the diaper bag with markers.
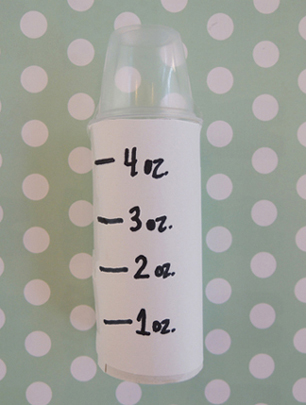 The bunny snuggle toy is on the
 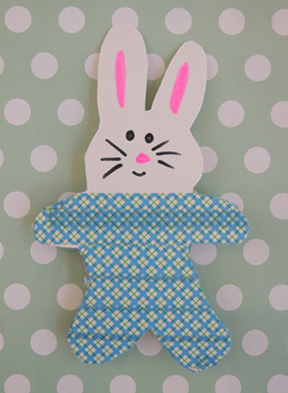 Once the kids were finished with the diaper bag and all its contents, they selected a fleece blanket for their baby (we offered pink, blue, and purple). Then everyone lined up and a “doctor” (played by a game 7 year-old) went to the “nursery” and delivered a baby wolf to each kid (“Congratulations! It’s a wolf!”). It was hilarious to watch kids get diapering pointers from their parents. Some kids settled down to give their wolves a quiet bottle feeding, others whipped their wolf’s diapers off and ran around howling. Different parenting styles at work. It’s all good.