 This week, Katie challenged her Greek mythology knowledge with an at-home escape room worthy of Olympus! And given it took six hours to complete, I’m going to applaud her…shall we say…Herculean efforts (ooooo bad joke! baaaaad joke)! OK Katie, take it away!
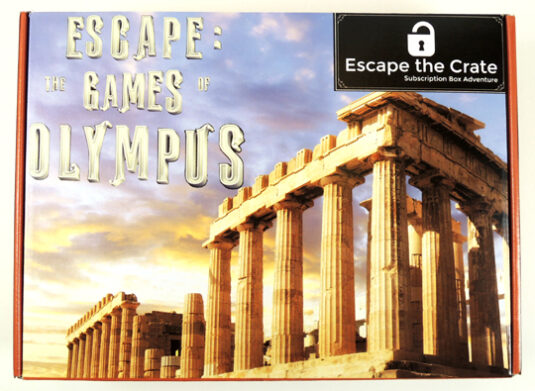
I was gifted Escape: The Games of Olympus, which was created by Escape the Crate subscription box adventures. When you sign up for Escape the Crate, you receive a mystery in your mailbox every other month and the topics vary widely. One mission will have you attempting to get out of the sinking Titanic, another has you exploring the jungles searching for treasure in a lost Incan city, and yet another you’ll have to steer clear of America’s first serial killer at the 1893 Chicago World’s Fair.
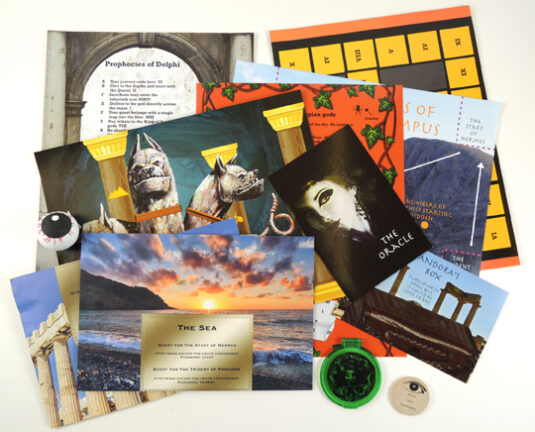
There are a couple of purchasing choices: you can sign up for the bi-monthly service for $30, or you can select up to 3 discounted prepay levels spanning a year. There’s a gift option, and they also offer retired boxes as one-time purchases for $40. You can pause or cancel your subscription at any time. This particular box arrived with lots of interesting contents, including a foam eyeball!
 The suggested age for Escape the Crate is 10+ with adult supervision, though younger players will likely enjoy participating along with their grown-ups. Some of the themes are a bit scarier, such as murder mysteries or fighting mythological characters (as I would soon discover in The Games of Olympus), but Escape the Crate does a fantastic job alerting players to when there are darker moments. Some of the crates have very intense themes – like encountering the infamous Jack the Ripper – so those boxes actually have two games inside: one for adults and a version that is more family friendly.
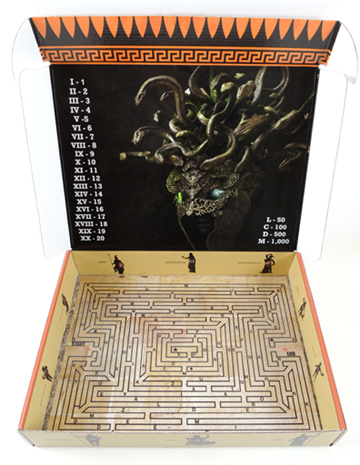
Greek mythology is right up my alley, so once I secured a pen and paper for taking notes, I was ready to get started. The premise of The Games of Olympus is a false prophet is revealing and spoiling future events, and you are tasked with appeasing the prophet and restoring history to its correct path. By participating in the Games of Olympus, you outwit a Greek god or goddess and take one of their most prized possessions, and bring everything back to the prophet as an offering.
 Much like the Finder Seekers kit (which I review here), Escape the Crate goes back and forth between the physical items provided inside the box and online clues and resources. The online puzzles are available in both audio and written format and the videos are all closed captioned, making it virtually ADA compliant. You have the option of timing yourself, but I decided to play for fun and not set a timer. There are very specific instructions for each section of the mythological adventure, and I was continually bouncing between the pieces in front of me as well as referencing the information provided online.
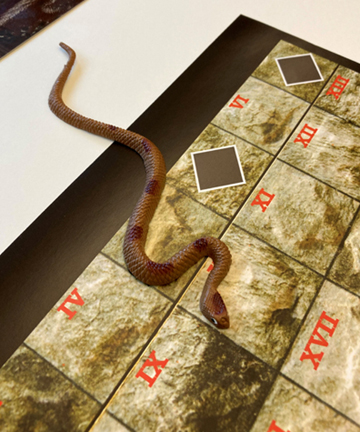
Sealed envelopes were opened and the contents solved, a wide variety of Greek heroes and villains participated in the events, and I got very good at transcribing Roman numerals to Arabic numbers. One fun twist is the inclusion of Pandora’s Box, which if you decide to open it while playing the game, the advice could either help or hinder you as you continue with the adventure (spoiler alert: Pandora did not help me AT ALL). All told, it took me nearly six hours to win the Games and appease the prophet… sweet success!
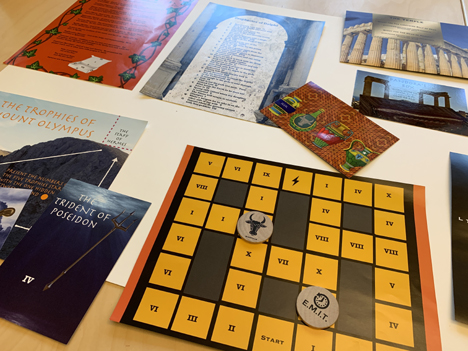
Escape the Crate provides another fantastic option for those who enjoy doing escape rooms mysteries from the comfort of their couch. The puzzle level of difficulty varies, and I found myself easily solving some and finding others quite challenging. There are hints (and even the answers) provided in case you get stuck. The graphics on all of the provided objects are really impressive, and I loved the fact that the box itself was used throughout the game. Packaging with a purpose!
 In my opinion, however, Escape the Crate is designed to be played by a group of people and would be an ideal party game. I honestly believe if I had been working with others, we would have gotten through the mystery much faster. Not to say that one person can’t do it entirely on their own, it’s just much more difficult for a single player to finish.
 Psst! Is there a game or at-home escape room you’ve heard about and want me to test? Send an email to zondlo@princeton.edu and let me know!
 Calling all demigods and satyrs…with the simple command of “Maia!” your sneakers will sprout wings and fly! This project looks awesome and is super easy to put together. However, please note that winged sneakers are not recommended for use in or around Tartarus.
 Next, take a small paperclip and bend the shorter loop backwards. Wrap the shorter loop with masking tape.
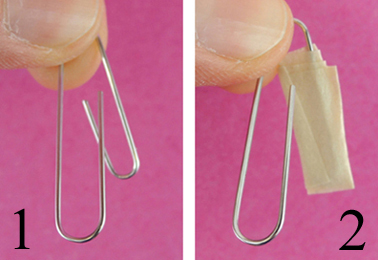 Use a glue dot or hot glue to attach the paper clip to the back of the felt wing.
 Repeat the above steps with 3 more wings, then slide the wings onto your sneakers! Feel free to experiment with different colors too. Here’s a nod to one of my favorite Percy Jackson characters, Blackjack.
 Interested in a cheaper, simpler version of this project? We did a whole post on how we
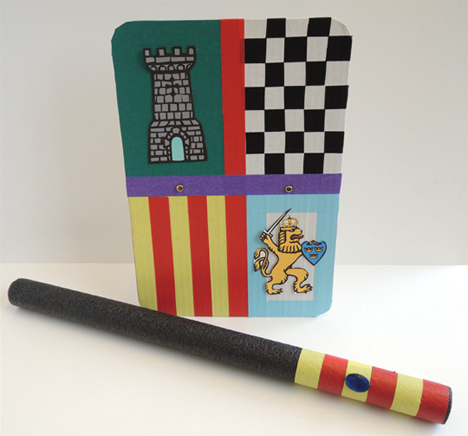

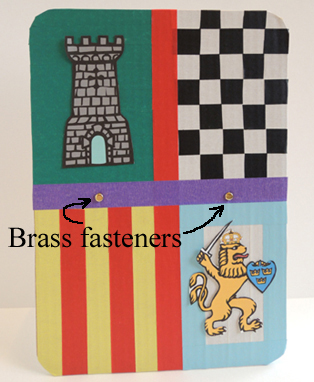 Slide the holes of the arm straps onto the brass fastener’s prongs, then open the prongs to secure the straps in place.
 Finally, use masking tape to cover the prongs and secure the arm loops.