 Are you ready for the great outdoors? Enjoy a day of hiking, roast marshmallows over an open fire, and snooze under the stars in a tent. All you need is a sturdy backpack, a few camping essentials, and a couple of awesome outdoor badges!
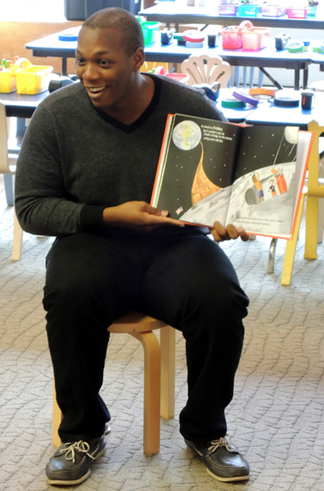
 We read When Daddy Took Us Camping by Julie Brillhart (Albert Whitman & Co.,1997). One fine summer day, a Dad and two kids go on a camping trip. They set up their site, go on a hike, dine in the great outdoors, and drift to sleep amid the glow of fireflies. The next morning, still in their pajamas, they hike waaaaaay across the backyard to enjoy a pancake breakfast in the kitchen of their home. A small camping trip no doubt, but still tons of fun!
We made backpacks, loaded them with supplies, and then completed 3 camp activities to earn badges. I used recycled 9.5″ x 14.75″ archive folders to make the backpacks for this project, but you could also use legal-sized manilla folders.
You’ll need:
- 1 legal-size manilla folder (approximately 8.5″ x 14″)
- A selection of color masking tape
- A box cutter
- 2 poster board strips (approximately 1.5″ x 28″)
- Hole punch
- A 23.5″ piece of ribbon
- 1 large button
- 1 camping supplies template, printed on 8.5″ x 11″ white card stock
- 3-4 paper towel tubes
- Red, yellow, and orange construction paper
- 1 wooden dowel
- 1 white cotton ball
- Optional camping badges (more on these later!)
- Scissors and tape for construction
- Markers for decorating
- Hot glue
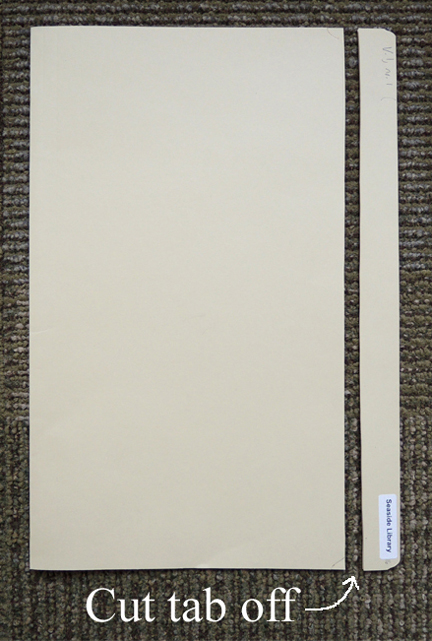
You need a backpack to start everything off, so here we go! First, cut the tab off the folder.
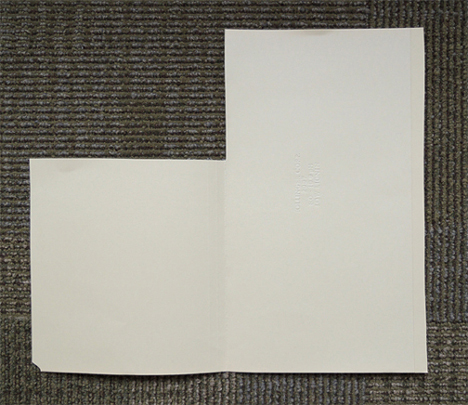
 Next, open the folder and cut a rectangle off the top left side (my rectangle was approximately 8.5″ x 5.75″).
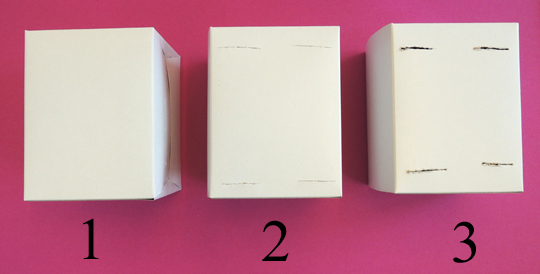
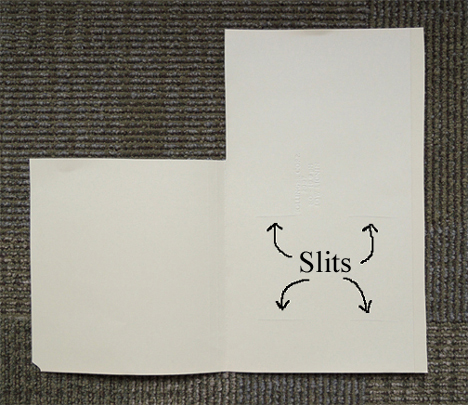
 Set the rectangle you just cut out aside (you’ll need it later). Use the box cutter to make 4 horizontal slits on the lower right side of the folder. Each slit should be about 2″ long (sorry, they’re a little hard to see in the photo).
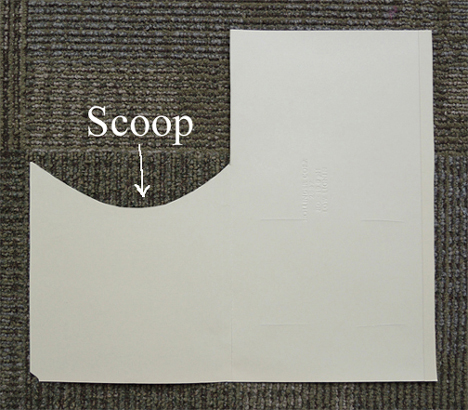
 Now cut a “scoop” out of the right side of the folder,
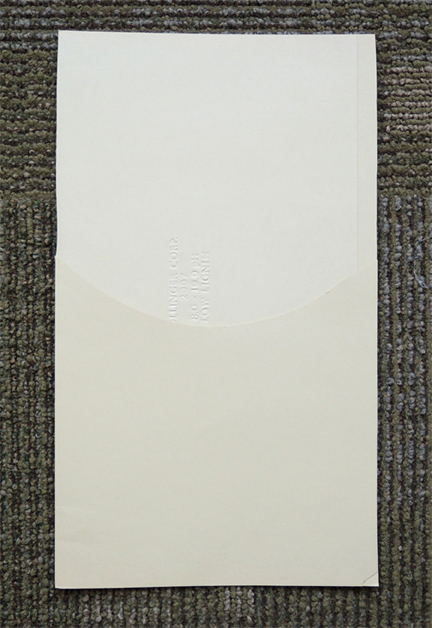
 Close the folder,
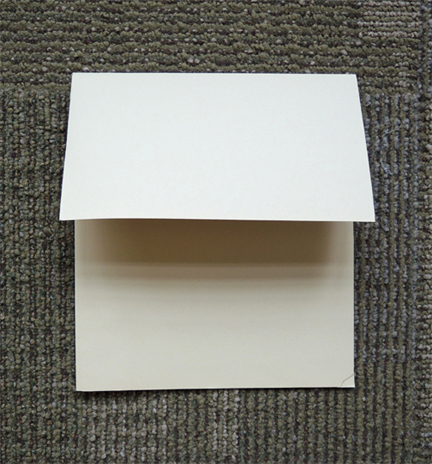
 And fold the top flap down over the scoop. You can also shorten the flap if you like (I cut about 1.75″ off mine).
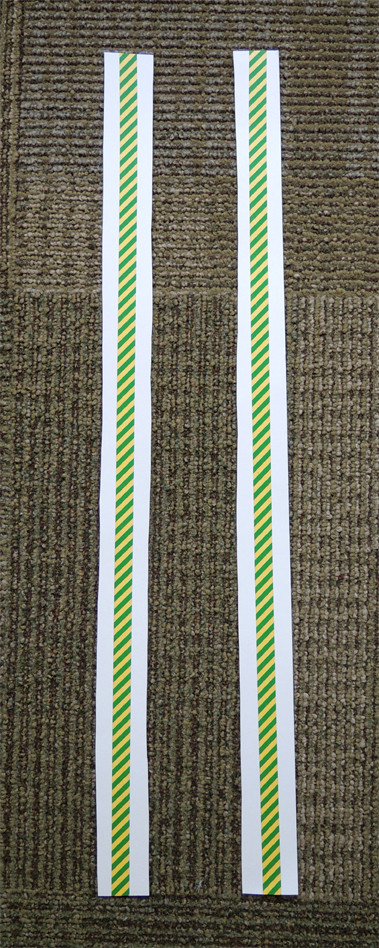
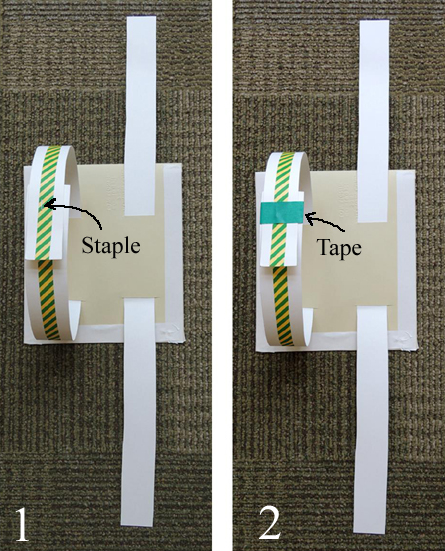
 The main part of the backpack is done, now for the straps! Run a piece of patterned tape down the middle of each strip of poster board (I used white poster board, but any color will do). To conserve tape, I only decorated the outside of the strips.
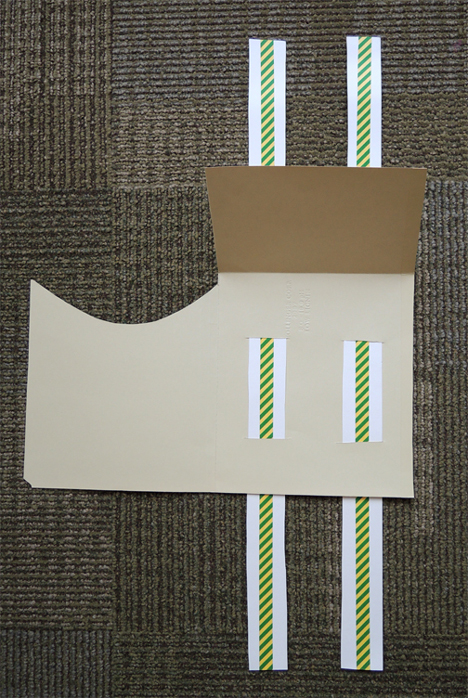
 Open the folder and slide the straps through the slits, just as you see in the photo below.
 Close the folder. Staple the open side and bottom of the folder closed, then line the sides of your backpack with masking tape. It’s important to use the masking tape to cover the staples on both sides of the backpack (because no one wants a staple scratch!).
Remember the rectangle you set aside earlier? This will now become the back pocket of your backpack. Cut the rectangle down until fits on the back of the backpack (mine was 3″ x 5″). Decorate the edges with a little patterned tape and then hot glue (or tape) it to the backpack.
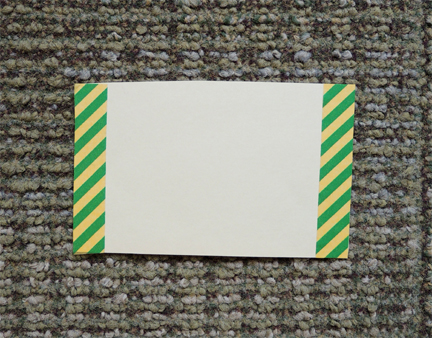 A few kids elected to tab their backpack’s pocket, making it stick out slightly from the rest of the backpack. This made it easier for some of them to load and unload the pocket. Here’s an example of a tabbed pocket:
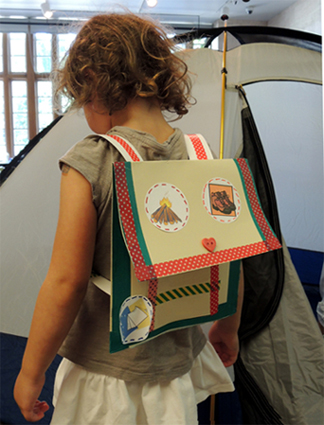
 Finish by hot gluing a button to the flap of the backpack. So here’s what the backpack should look like now: stapled, lined with masking tape, attached back pocket, and a button on the flap.
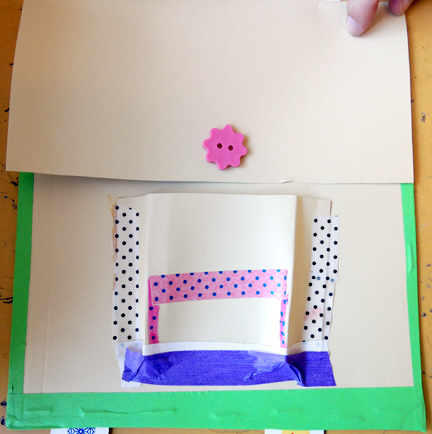
 If you’d like, you can also add a masking tape loop to the underside of the flap to keep it from flying open while you’re hiking. Now for adjusting those straps! Press the backpack against your back. Curl a strap over your shoulder and under your arm. When the strap feels comfortable, staple it and cover both sides of the staple with color masking tape. Repeat with the other strap.
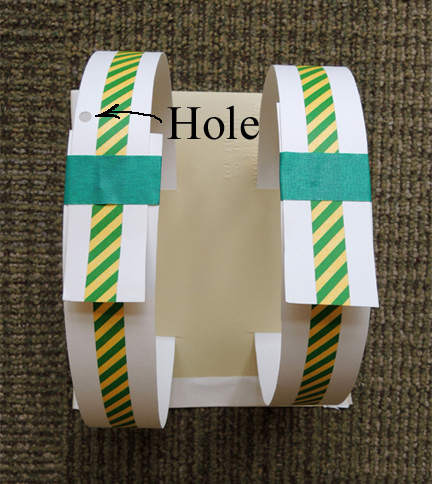
 Last but not least – the chest strap. The chest strap really helps keep the poster board straps from constantly slipping off. Punch a hole on the outside of the left strap.
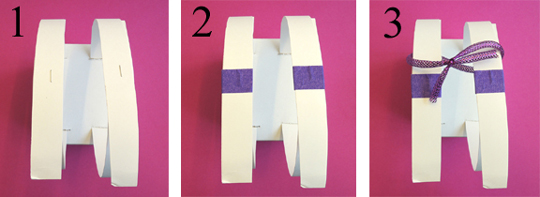
 Thread a piece of ribbon through the hole…
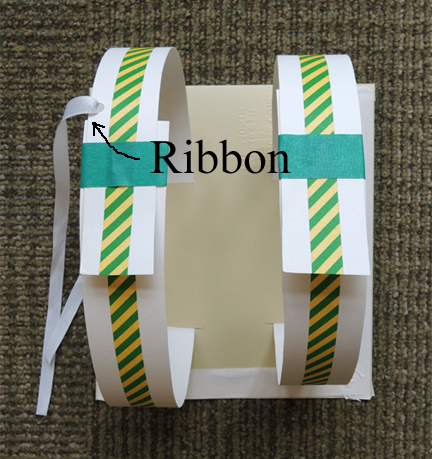 Then circle the ribbon around both straps and tie a bow in the front.
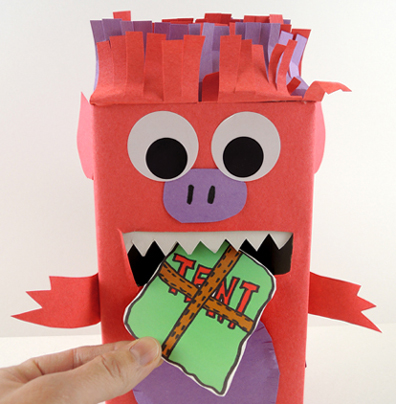
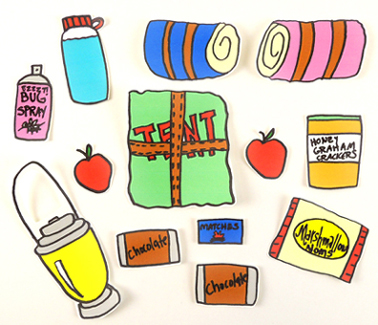
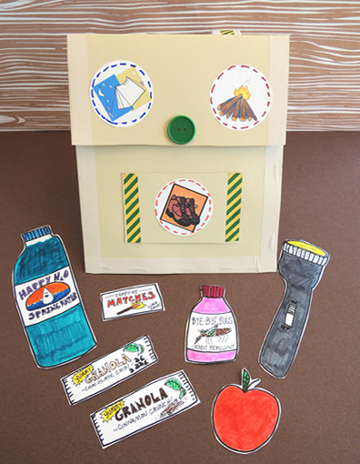
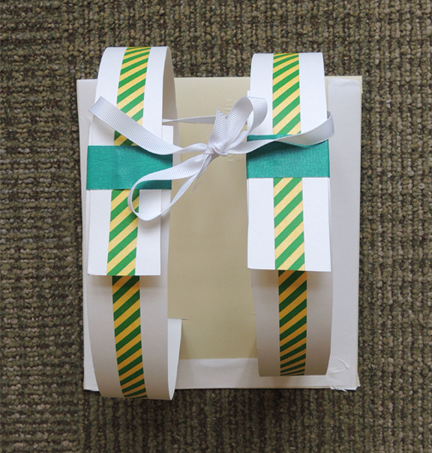 The backpack is finished, now for the supplies! Color and cut the items from the camping supplies template and load them in your backpack. You’re ready to go!
I explained to the kids that they were going to earn 3 badges: “Hiking,” “Fire Starting,” and “Overnight Camping.” I whipped up the badges using Microsoft Word clip art and Avery sticker templates. I also used markers to add dotted lines around the stickers so the badges would look like they were “sewn” on the backpacks.
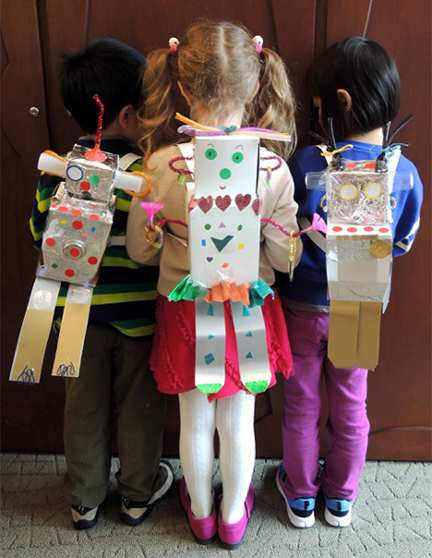
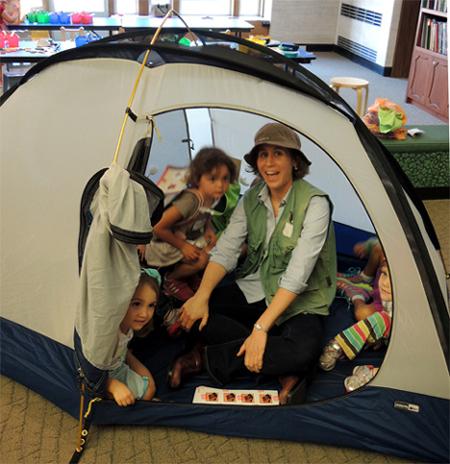
 The kids double-checked the supplies in their backpacks, secured their backpacks to their shoulders, and got in line. I donned a floppy hat and old fishing vest (many thanks to Katie’s grandpa) and lead the campers on a hike!
 We went outside, circled the library plaza, walked across a grassy area, and rested on some long stone benches. When the hike was finished, I stuck a hiking badge on each backpack.
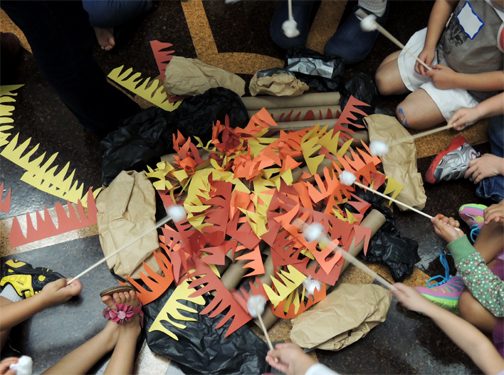
In the meantime, Katie and Miss Joani (our recently returned student assistant) were back at the library setting up the fire pit. Basically, this was a ring of rocks (made from big pieces of crumpled paper) surrounding paper towel tube “logs.” Initially, we had planned to have kids tape orange, yellow, and red construction paper “flames” around the tubes like this:
 But we were running short on time. So the kids simply grabbed handfuls of construction paper flames and tossed them onto the logs, thus “igniting” the fire. Then we speared cotton balls on wooden dowels and “roasted” marshmallows!
 I doled out the “Fire Starting” badges and we proceeded…to the tent.
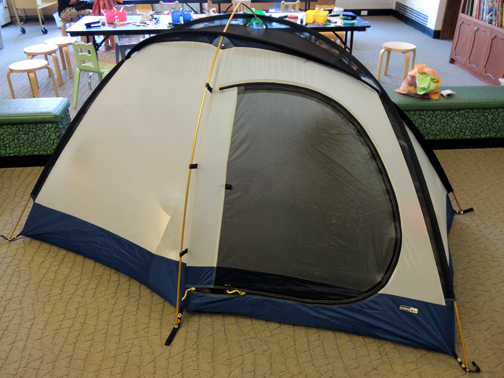 Katie’s family does quite a bit of camping, so she brought in one of her tents (complete with authentic campfire odor) for the kids to try. It was a 3-man tent but I we squeezed about 14 kids (and me) in there! We zipped it up and started snoring – thus earning our third, and final, badge for “Overnight Camping.”
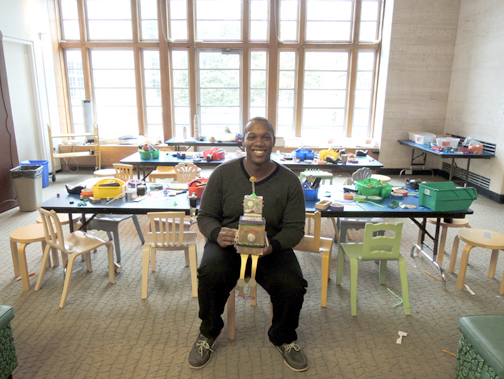
The campers then departed, proudly displaying their badges. They got to keep the marshmallow on a stick too. Mmmm. Roasted marshmallows…