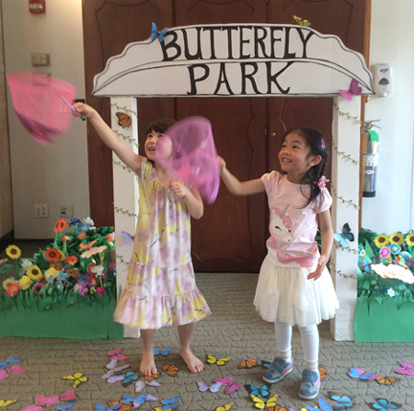
 Bring your net and your sense of wonderment – there are butterflies in the park! We crafted a beautiful community garden, then waited for the butterflies to arrive. Swooping, diving, floating, and fluttering, how many butterflies can you catch for your own little garden?
We read Butterfly Park by Elly MacKay (Running Press, 2015). A little girl moves from the country to the city, trading the sounds of birds and crickets for horns and trains. Her new house is right next to Butterfly Park – except that there are no trees, no flowers, and no butterflies in the park. Well, there is one butterfly, but it flies away. Undaunted, the little girl knocks on doors, recruiting neighborhood children to find butterflies to live in the park. Eventually, their search leads them to an important clue – flowers! Soon, the whole neighborhood is in Butterfly Park, planning, digging, and planting. Not only do butterflies come to live at the park, the little girl realizes that she’s found a home too.
You’ll need:
- 1 large tissue box
- 1 golf pencil
- Green pipe cleaners, sparkle stems, and/or drinking straws
- A selection of tissue paper
- A selection of crepe paper streamers
- A flower coloring template, printed on 8.5″ x 11″ card stock
- Green color masking tape
- Green construction paper
- Butterfly catching game (more on this later!)
- Scissors and tape for construction
- Markers for decorating
This story time project had three parts: 1) Making a little garden; 2) Putting all the little gardens together to make one big butterfly park; and 3) Catching butterflies in the park to take home in your little garden. We’ll begin with the little garden!
 We used 9.5″ x 11″ cardboard trays rescued from the recycling bin. Flip the tray over and use a golf pencil to punch holes in the top (the golf pencils worked great with 3-5 year-olds and were much less scary than using scissors to poke holes).
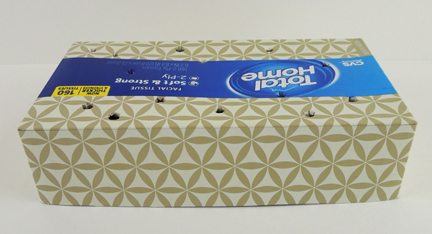
 If you don’t have a tray, a large tissue box works too. Cut the top off the tissue box. Then, cut the entire box down to 2.5″. Flip it over, and use a golf pencil to punch holes in the top:
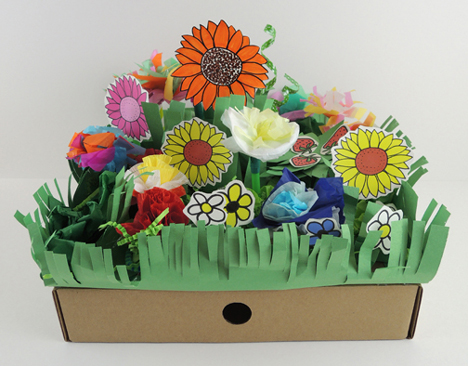
 To plant your garden, cut a pipe cleaner, sparkle stem, and/or drinking straw in half. Attach a flower to one end, then poke the other end through a hole in the box. Secure the stem to the underside of the box with tape (or leave them loose so you can “pick” them!).
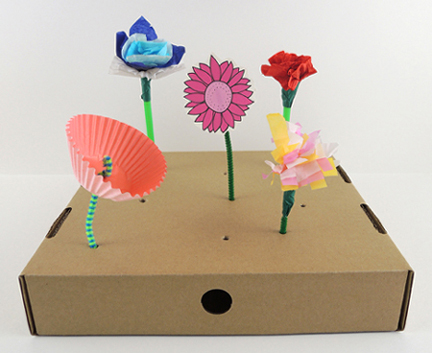 As you can see above, we offered tissue paper and baking cups for the flowers. You can also use the flowers from the template, and the kids can color them in. We brought out green construction paper grass fringes, green paper crinkles, and craft ties as well.
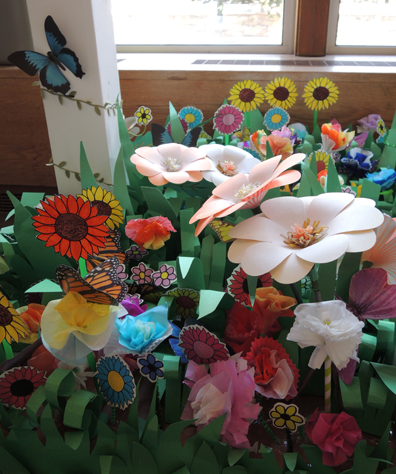
When the decorating was done, the kids brought their little gardens to the BIG garden. The big garden consisted of a sign and 4 corner “hedges” we festooned with flowers. Kids placed their little gardens between the hedges, forming a perimeter in full bloom.
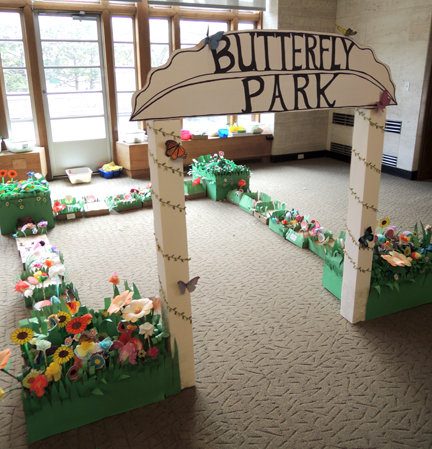
The hedges are recycled cardboard boxes. The sign is made of 3 recycled scroll boxes (2 as posts, one as the cross beam) and a piece of white cardboard. This garden is Marissa’s handiwork, right down to the beautiful hand-lettering on the sign. And check out her flower arranging skills!
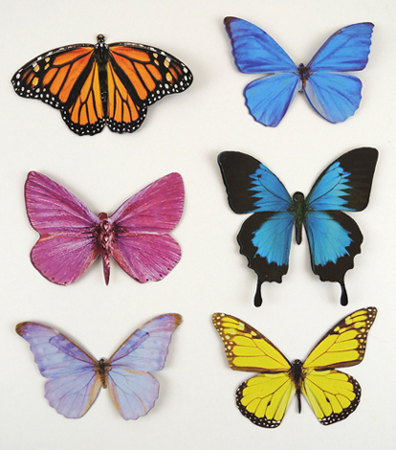
The flowering garden is waiting, now for the butterflies! I found mine at Oriental Trading Company. Specifically, they’re from the the “Butterfly Hanging Door Curtain.” One curtain costs $6.50, and you get about 60 butterflies per curtain. The butterflies are sturdy tagboard, look realistic, and they’re printed double sided.
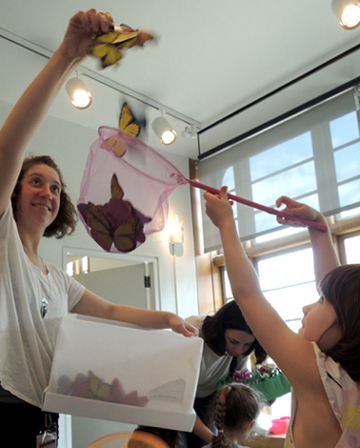
 Four at a time, kids stepped into Butterfly Park wielding toy nets (I found mine in the $1 section of Target). Then Marissa and Joani strewed butterflies down upon them. Well, sometimes there was a little more dropping into nets than strewing…
 Once kids had caught some butterflies, they gently tucked them into their gardens to take home. Did they have fun? Yes they did! Some kids even stayed 20 minutes after story time ended, just to get in on some more butterfly catching fun!

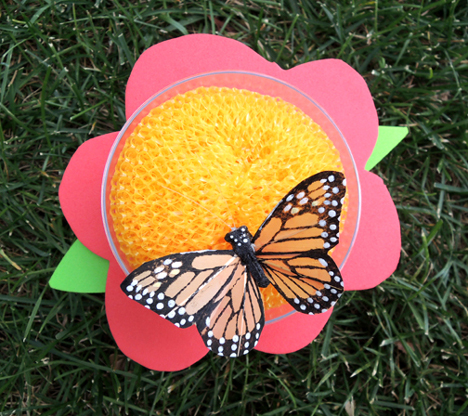 Tomorrow, our library is kicking off the programming year with a Secret Garden event at Morven Museum & Garden. Today, we have a sneak peek at one of the hands-on projects, a champagne glass butterfly feeder!
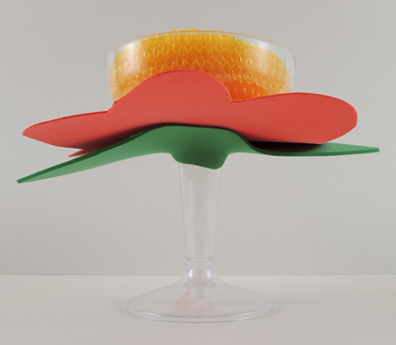 To make the homemade butterfly nectar, mix 9 teaspoons of water with 1 teaspoon of white sugar. Pop it in the microwave for about 45 seconds. Pour the nectar on top of the pot scrubber…your butterfly buffet is ready!
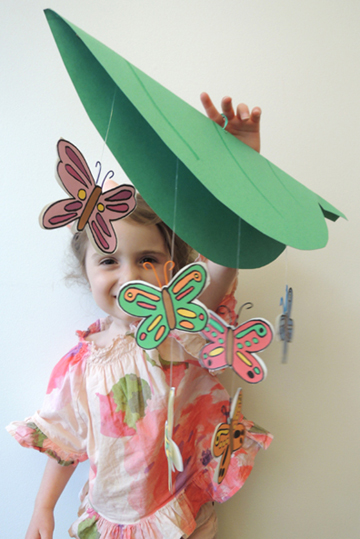 Just a quick, clever little flip…and your giant leaf reveals a gorgeous butterfly mobile!
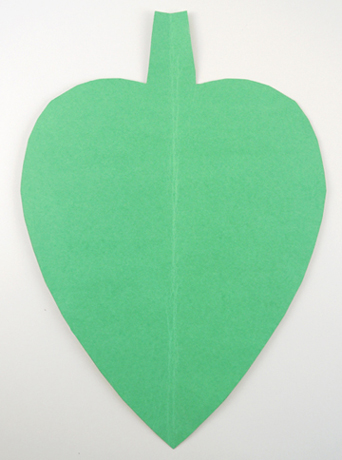 Next, knot 4 pieces of clear elastic beading cord around a wooden dowel. The strings need to be fairly long (15″ or so) to allow the butterflies to dangle well below the edges of the leaf. Once all the strings are attached, hot glue the dowel along the spine of the leaf.
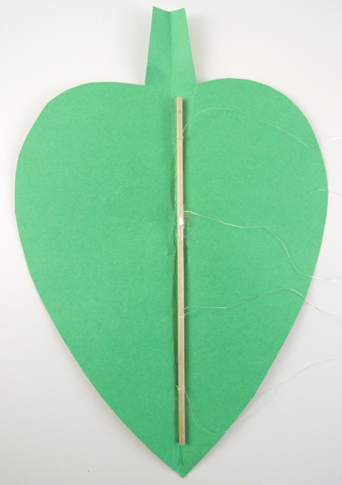 Now your leaf needs a finger loop. Fold the leaf in half, then use a box cutter to make a small hole in its middle. Thread an 8″ piece of twisteez wire or pipe cleaner through the slit, then circle the wire to make the loop (you can also use markers to draw veins on the outside of the leaf like we did!).
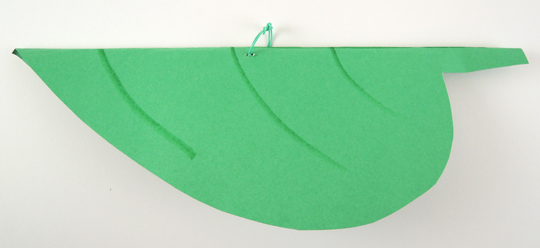 Now for the butterflies! Color and cut the butterflies from the template. The way I positioned the butterflies on the template allows you to fold them double sided. But you can also go single sided if you like! Arrange the butterflies on the elastic beading cord, then secure with tape.
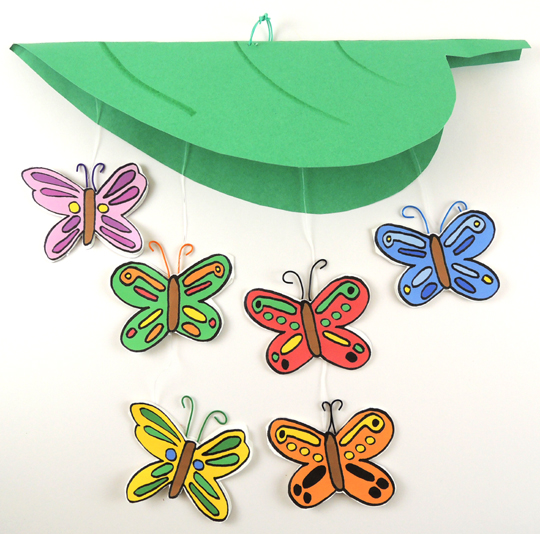 To operate the mobile, tuck the butterflies into the leaf. Slide your finger in the loop, and, keeping the butterflies tucked, hold the leaf upwards. Find the person you’d like to surprise, then quickly flip the leaf upside down, releasing the surprise butterflies!