 Get into character with a little bit of stage magic! This winter, we hosted a fantastic hands-on (or arguably, a face-on) workshop about how actors use makeup to transform themselves into a character. The workshop was expertly and enthusiastically taught by Jenny Scudder from Youth Stages, a local arts-in-education organization.
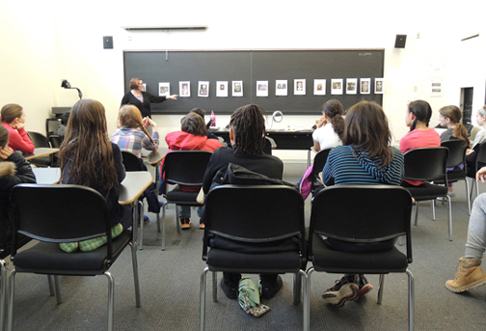
Jenny began the workshop by sharing visual examples of literary characters – Queen of Hearts, Arwen, Tin Man, Scarecrow, Wicked Witch of the West, Dracula, Frankenstein, Count Olaf, and a few Cats from the musical of the same name (you might recall that Cats is based on poems by T.S. Eliot). There were also zombies, which might have been a stretch unless you consider Pride and Prejudice and Zombies? The Walking Dead graphic novel?
Here’s Jenny, taking the kids through examples of all the characters:
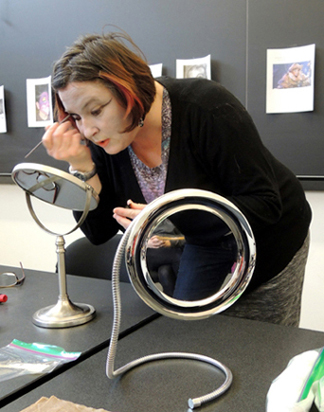
 Next, Jenny discussed how, in addition to makeup, actors can also use their voices, gestures, costumes, props, and sets to bring their characters to life. She described what stage makeup is (big, bold, and expressive) and what it isn’t (it’s not meant for close-up photography like a fashion shoot). As she was lecturing, Jenny was effortlessly applying her own stage makeup, which was Grizabella from Cats.
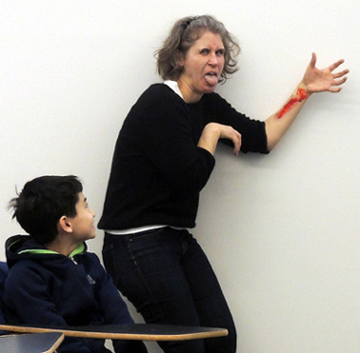
 Jenny also talked about the names of the different brushes, and techniques for application. Finally, she brought out some latex scars and gashes she had prepared in advance. My forearm became the test subject for a massive latex scar, some red base makeup, a loaded stipple brush, and some fake blood. Here I am, modeling the finished product in my usual subtle way.
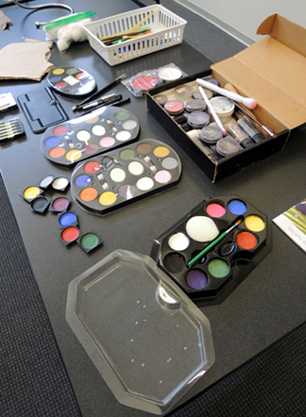
 Finally, it was time to turn the artists loose on the makeup! There was plenty of it. Jars, palettes, sponges, pencils, brushes…the works!
 Jenny divided the kids into pairs so each pair would have someone to assist with the application of his/her makeup. I really liked this because it meant that the kids weren’t sitting passively, having their faces done by adults. They were actively involved in the whole process.
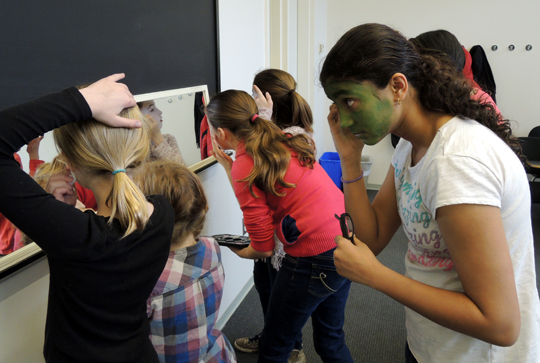
However, Jenny, Katie, and I did jump in to help. For awhile, I was running the “soon to be bloody flaps of skin” corner of the room.
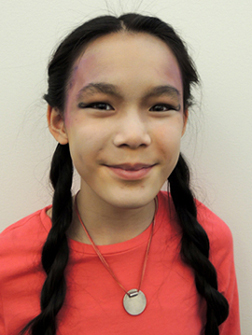
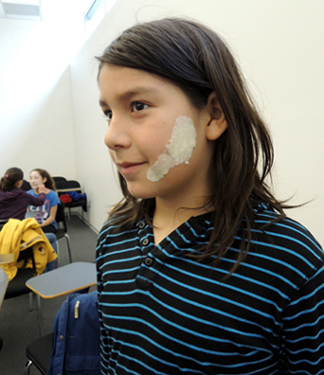 Ready to see some results? Even though there was quite a bit of smiling and laughing, I did encourage the kids to try to stay “in character” while I was photographing them. I’ll begin with Arwen, who you saw at the beginning of the post:
We had no less than 3 Queens of Hearts…
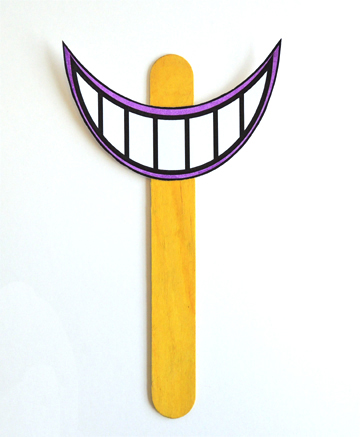
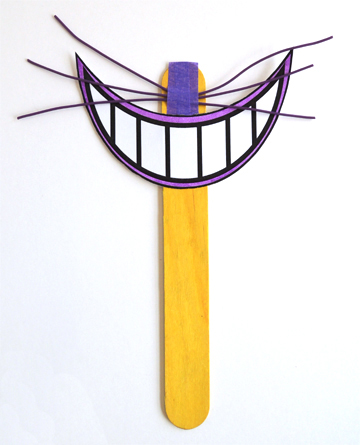
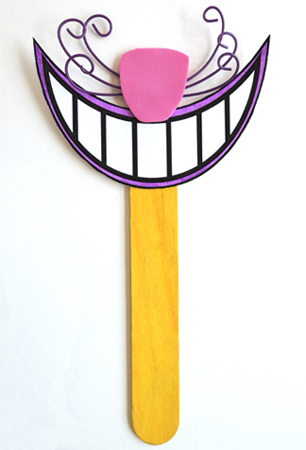
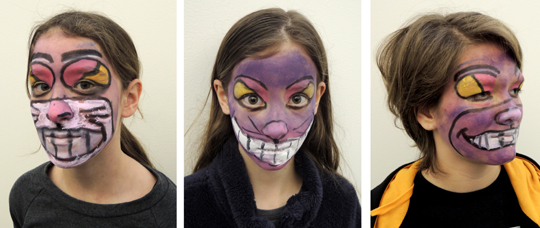
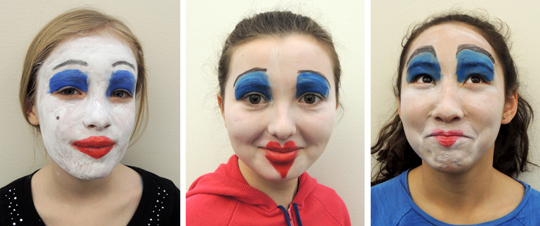 As well as 3 Cheshire Cats.
A pair of Vampires…
Rum Tum Tugga from Cats…
 The Wicked Witch of the West…
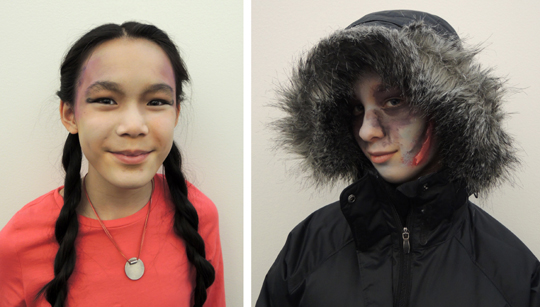
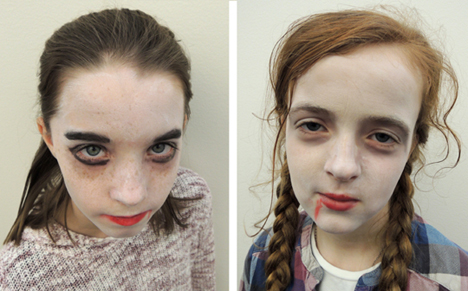
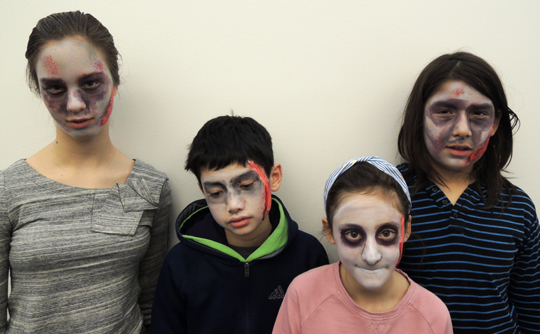
 And a quartet of zombies. I told them to give me their best undead look…
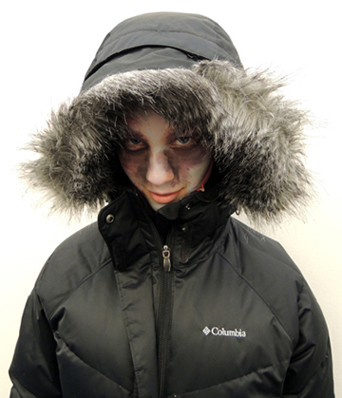
 Do you recognize the zombie on the far left from the beginning of the blog? The funny thing was, we never planned to photograph her with her hood up. As it turned out, she had to walk home from the program in full makeup. In order to not freak anyone out, she pulled her hood up. It looked so fantastic, I had to take a photograph!

 If you’d like to see the event map,
 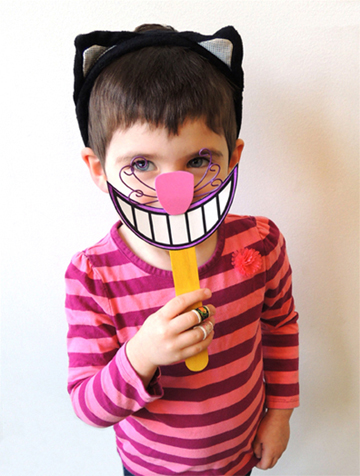 Or this really cool Victorian visual toy called a thaumatrope
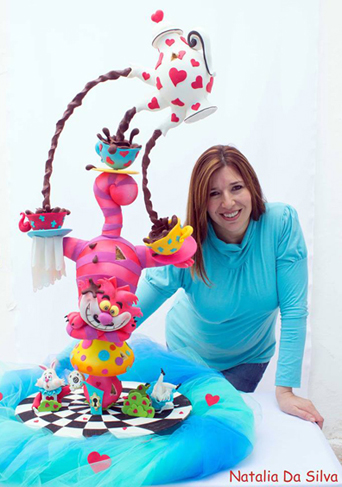
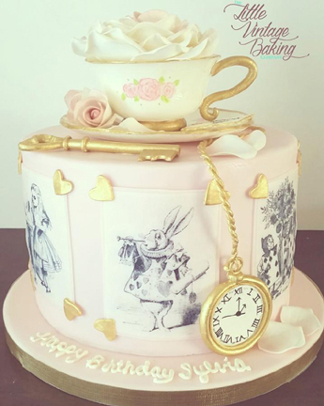
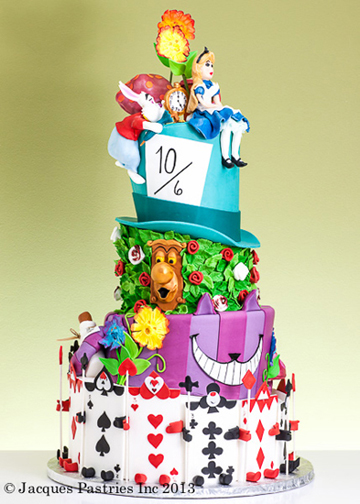
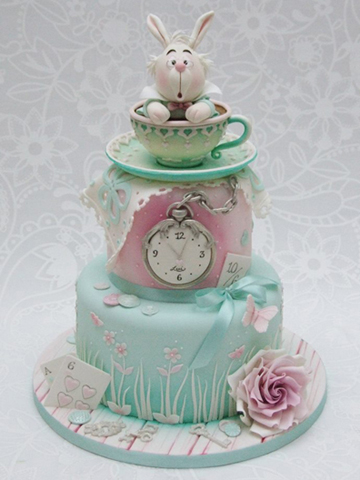
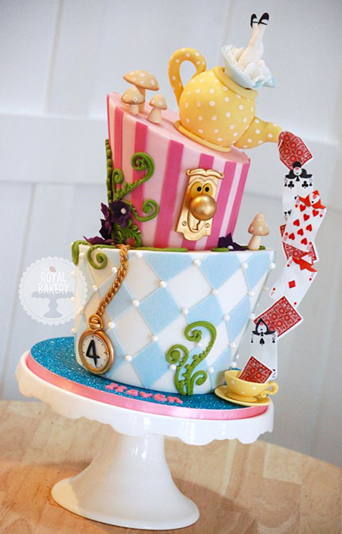
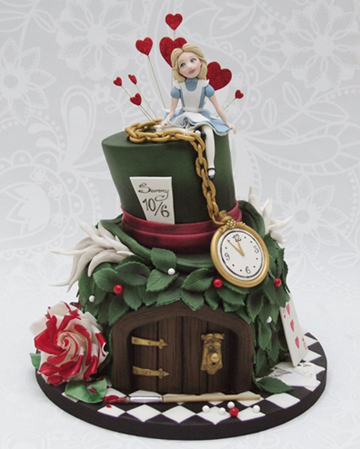
 And what about tea? 2016 was the 150th anniversary of the publication of Alice’s Adventures in Wonderland, and we put together an elaborate Victorian
 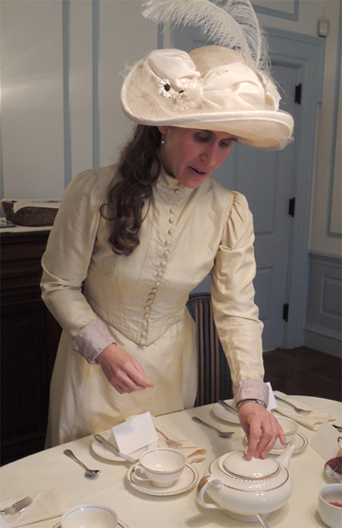 The Library of Congress went all out for the 150th anniversary as well. In
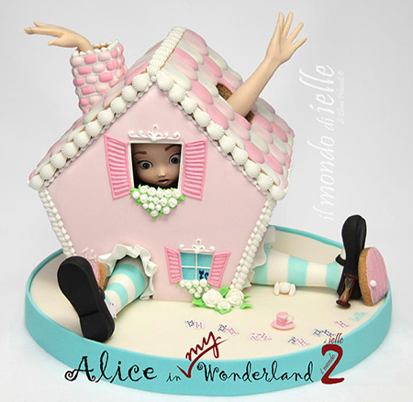
 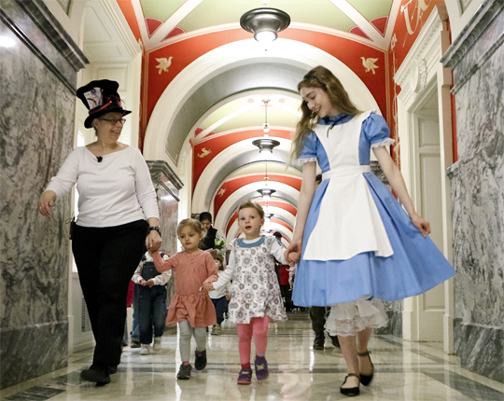 However, the award for the most whimsical Alice connection goes to the Mazza Museum of International Art from Picture Books (which I blogged about
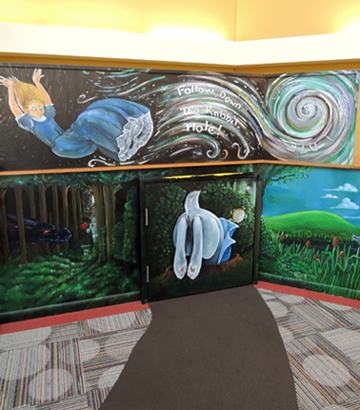
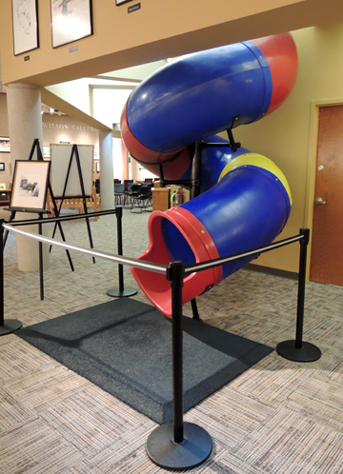 Dang. I want a twisty slide in my place of employment.