
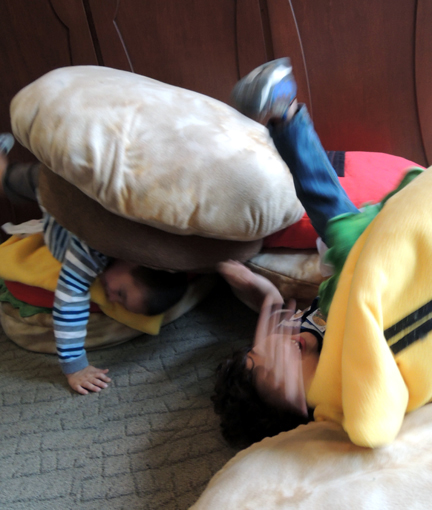
 Yes, those are two very excited chefs sitting atop two very large cheeseburgers. After crafting some neat-o chef hats and aprons, we held our library’s first “build-a-giant-burger” relay race!
We read Cloudy with a Chance of Meatballs, written by Judi Barrett and illustrated by Ronald Barrett (Atheneum Books, 1978). A pancake mishap in the kitchen leads Grandpa to tell the story of a town called Chewandswallow, where meals fall from the sky. It rains juice, snows mashed potatoes, and drizzles soda pop. Life is quite peaceful…until the weather takes a turn for the worse. Unpredictable combinations of food, grown to monstrous proportions, begin to plague the town. Giant pancakes, pepper winds, tomato tornadoes, and humongous donuts threaten the very lives of Chewandswallow’s citizens. In the end, they evacuate the town, setting off in peanut butter bread boats to find a new land. A tall tale to be sure. But wouldn’t it be amazing if it were true?
You’ll need:
- 1 strip of white poster board (approximately 4.5″ x 22″)
- 1 piece of white tissue paper (approximately 24″ x 35.5″)
- 1 rectangle of white plastic table cloth (approximately 16″ x 40″)
- A selection of self-adhesive foam shapes
- A pair of giant cheeseburgers (more on this later!)
- Scissors and stapler for construction
- Markers for decorating
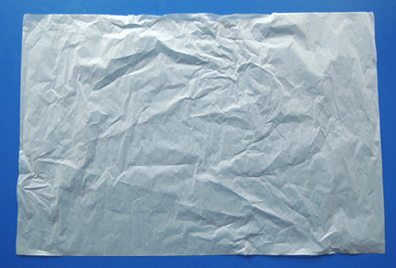
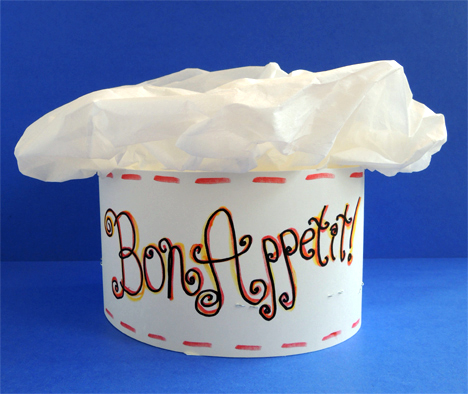 Begin with the hat! Use markers to decorate a strip of white poster board. Then circle it around your head and staple it together. To make the poofy top, spread a piece of white tissue paper on a table:
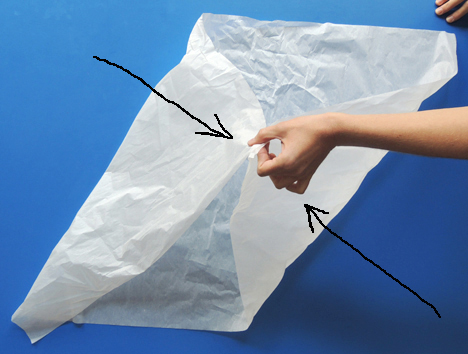
 Gather the upper left and lower right corners together at the top
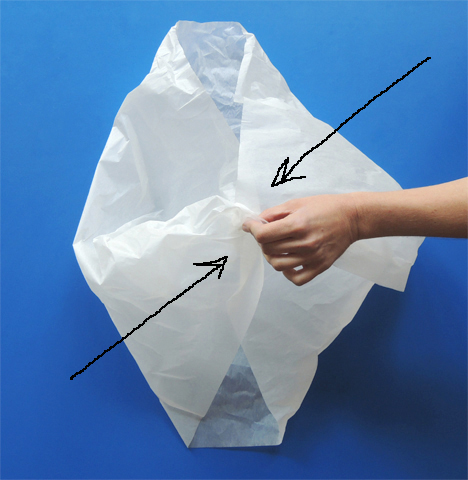
 Then gather the upper right and lower left corners together. You now have a hat poof.
 Pull your poof through the top of your hat brim like so:
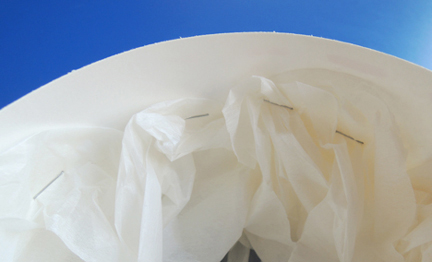
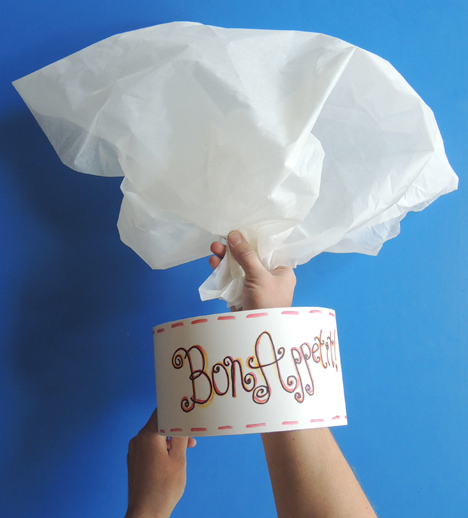 Once the bottom of the poof is well inside the hat band, open it up and push the tissue paper against the interior perimeter of the band. Staple the tissue to the hat band. Done!
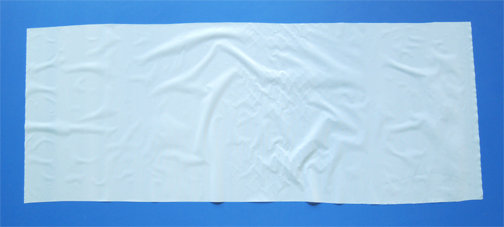
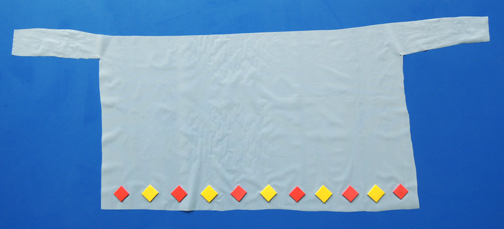
 To make an apron, spread a rectangle of white plastic table cloth on a table.
Leaving 1-2″ inches of plastic at the top of the rectangle, cut two, 7.75″ wide pieces out of both sides. Your apron now has “strings.”
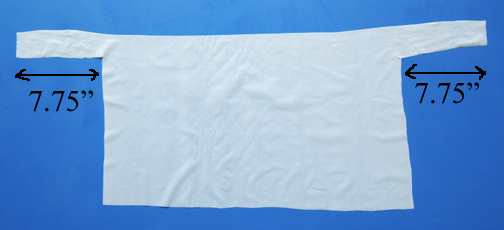 Use self-adhesive foam shapes to decorate your apron.
 Put on your hat, tie your apron, and get ready…it’s time to race with giant cheeseburgers!
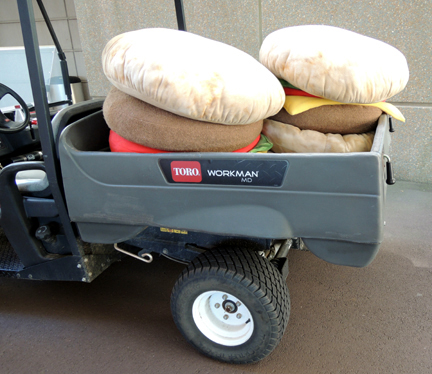
So, where exactly did I get the cheeseburgers? Funny story. Katie and I were setting up for this event when a mini truck stopped by our table. The driver had a question for the event coordinator. I looked up, and saw them.
 “Are those giant CHEESEBURGERS?” I asked, quite excited.
As it turns out, the University’s Department of Athletics has a sponsorship from Cheeburger Cheeburger. During home halftime shows, they run relay races with the burgers. When not in use, the cheeseburgers are stored in a stadium supply closet.
“Can my library BORROW them?” I asked, getting even more excited. They said yes and about a week later, we fetched the burgers.
In the event that you don’t have a University athletics department with giant cheeseburgers, you can make some out of large pieces of felt. An even cheaper option is to use construction paper to make some slightly-larger-than-normal cheeseburgers.
And now…the relay race!
Our race consisted of 2 teams with 6 players per team. Each player had to locate a different piece of the burger in the library, race it back to the “burger building area,” and add it to the top of the burger. When the burger was complete, the race was over.
Knowing that things could get a little crazy, I designed some game cards to keep the race organized and (somewhat) calm.
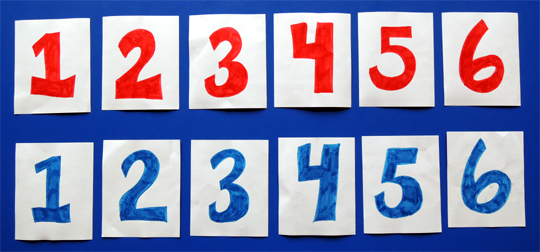
Each of our cheeseburgers divided into 6 different pieces (bottom bun, cheese, burger, tomato, lettuce, and top bun). So we made 6 cards that showed an image of each burger piece (along with the word for the piece – because it’s never too early for picture / word association!). There were 2 sets of color-coded game cards. One for the Red Team, and one for the Blue Team.

The backs of each card were numbered so each player knew when his/her turn was coming up. Only 2 kids (one from each team) raced at a time. Number 1 went first, found his/her piece, dragged it back to the burger-building area, and added it to the burger. Then Number 2 departed for his/her piece. This continued until the cheeseburger was finished.
As I explained the game, I stressed that Red Team and Blue Team weren’t competing against one another. We were all having fun together, challenging ourselves to build giant cheeseburgers. Then Katie and I scattered the burger pieces around the library, lined up our teams, and shouted “Go!”
Alas, we didn’t get a chance to snap photos of the races. But let me assure you, there was lots of screaming, cheering, and laughter as our little chefs built giant cheeseburgers. And then pounced on them. Because who can resist pouncing on a big soft burger?
 Still hankering for burgers? Check out this awesome story time burger stand, complete with milkshake faucet, fry basket, and grill!
Many thanks to Yariv Amir in Princeton University’s Department of Athletics for the cheeseburger opportunity. You are awesome.