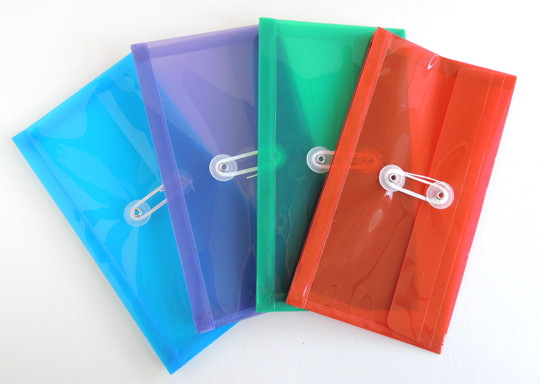
 You are gazing at the most recent addition to my crafting toolbox. Plastic envelopes! Or, to get technical, poly string envelopes from OfficeMax (the ones pictured above are the “check” size at 5.5″ x 10″). A pack of 5 costs $10.
I love these things. Why?
Our projects often involve little bits and pieces we prep in advance. During story time, as we progress through the project, we have to continually pause to hand out the little pieces. This can take precious time away from crafting (especially when you have large crowds to navigate through). So I started putting all the little pieces together in envelopes and handing an envelope to each kid at the start of the project. Here’s an envelope in action a taxi cab story time:
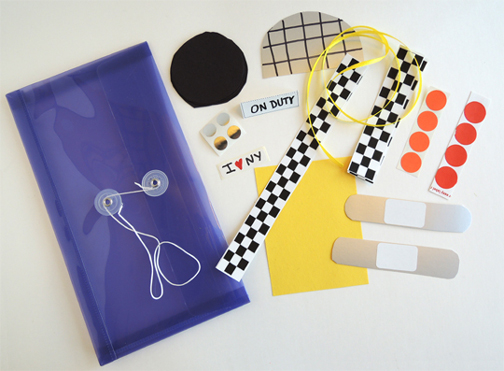 I’ve used the envelope system on a number of projects (this mouse clock, this beekeeping set, this bottle airplane, this paint set, this bed tray, and this wooly mammoth, for example). Since the envelopes are plastic, it’s very easy to wipe off stray marker and/or glue. If you don’t have paper or plastic envelopes handy, you can always drop the small pieces into cheap plastic cups (like I did at this candy factory story time).
And while we’re on the topic of organization, I definitely recommend art caddies for keeping your tabletop supplies in check! I bought mine from Discount School Supply. A set of 4 colors cost $25. They are “classroom grade” and practically indestructible.
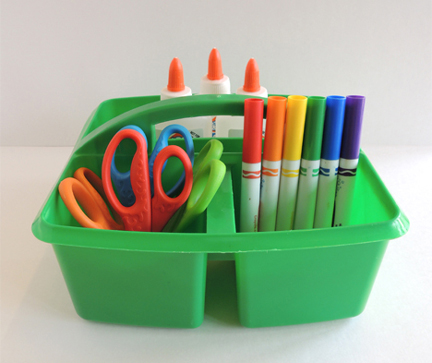 However, when it came time to put together a home art studio for my kids, I went with a cheaper $4 version from Michals craft store. The plastic is thinner and the carrying handle isn’t quite as comfortable, but all in all, they’ve held up pretty well!
As you can probably guess, I like to be organized. Way organized. In fact, I’ve turned organization into a super power. The way I see it, I don’t want to spend time hunting for my scissors. I want to spend as much time as possible being creative. If I know exactly where my scissors are, I don’t have to give it another thought. Apply this principal on a larger scale and you get my library’s art supply cabinet:
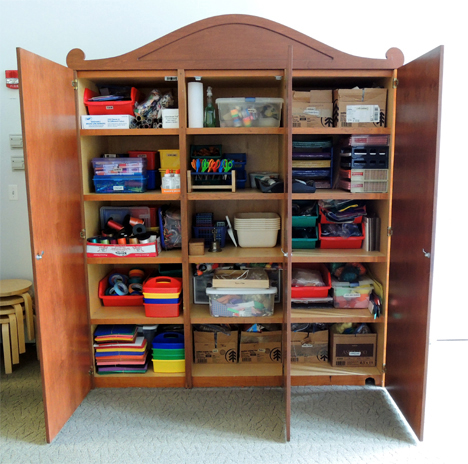 Here, supplies are sorted into plastic bins, dish tubs, copy paper boxes, salvaged paper trays…you name it! For oddly sized or bulky objects (like pom-poms), I use plain old plastic storage bags with zipper closures. I also have a neat-o scissor rack I wrote about in this post.
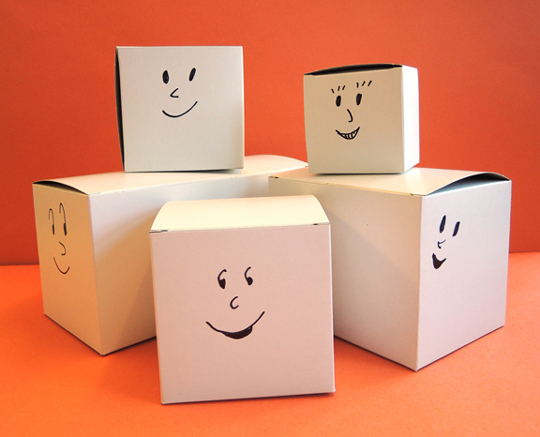
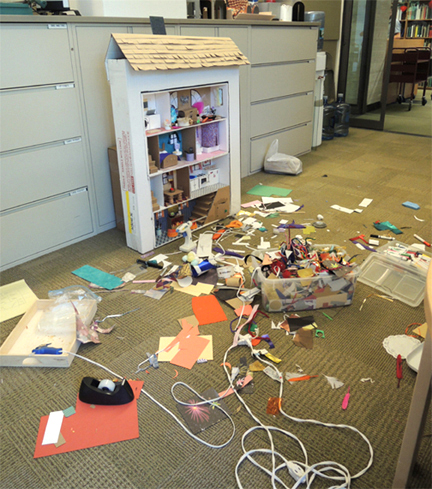
You would think I would be tidy while crafting, but no. During the process of creating a project or piece of art, I make a total mess. I spread out everywhere, tossing things right and left, gently shedding curls of paper and sticking bits of tape to my pants. Just look at the crafting carnage that was generated during the building of this haunted house.
 But when the job is done, everything goes back in its proper place. I cannot leave my office a mess at the end of the day. And I can’t start a project with a messy office either. It’s weird, but somehow I make this organization/creation contradiction work for me.
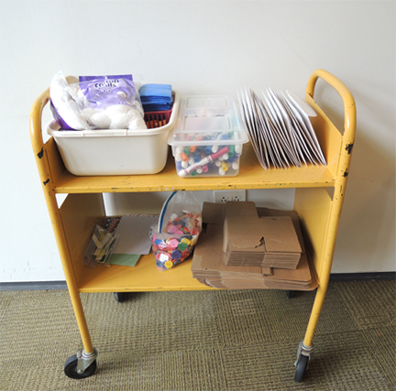
One final tip! Since I don’t have any counters or spare table space in my program area, I work off an old book truck. All the supplies are prepped and ready to go, and I just roll it right into the workshop area during the program. It also doubles as a portable hot glue station.
 Sometimes, however, even this humble book truck has its moments of glory…