
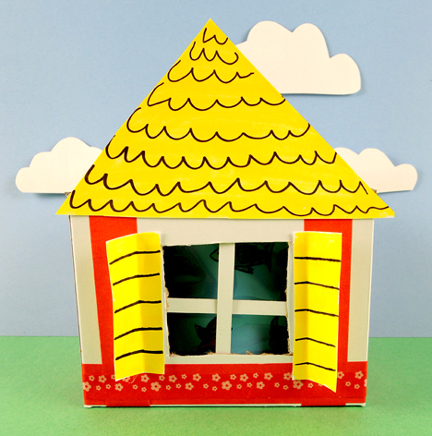
Need an aquarium in your home? How about we just make the whole HOUSE the aquarium? Turn the tab at the top of this house to twirl ocean creatures past your window. Video, of course, at the end of the post!
We read Faucet Fish, written by Fay Robinson, and illustrated by Wayne Anderson (Dutton Children’s Books, 2005). Elizabeth adores fish, and spends quite a lot of time at the local aquarium. Alas, she only owns a guppy, and her parents aren’t keen on getting any more fish. But one day, a trout drops out of the faucet! The faucet fish keep coming, getting larger and larger until a baby beluga emerges in the tub. Only one thing left to do…turn the entire house into an aquarium!
You’ll need:
- 1 small tissue box
- A box cutter
- A square of blue cellophane
- A selection of construction paper
- 1 brass fastener
- 1 snippet of poster board
- 1 plastic cup
- 1 strip of white card stock
- Scissors, tape, and hole punch for construction
- Markers for decorating
- Hot glue
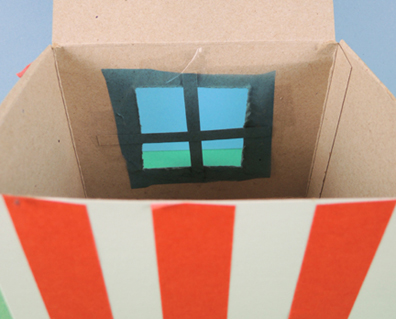
The box for this project definitely requires a lid! We used a 4.5” X 4.5” x 6” craft box, but a small tissue box works as well (just flip the tissue box upside down). Use a box cutter to create a small slit in the center of the box’s “roof.” Next, cut a window in the box. Use leftover cardboard scraps to craft window panes, and tape blue cellophane over it.
 Now decorate the outside of your house! We offered construction paper, color masking tape, and patterned tape, but you can also just use markers. One thing to note…the roof is just a triangle of paper attached to the front of the box. It doesn’t extend backwards over the top of the box.
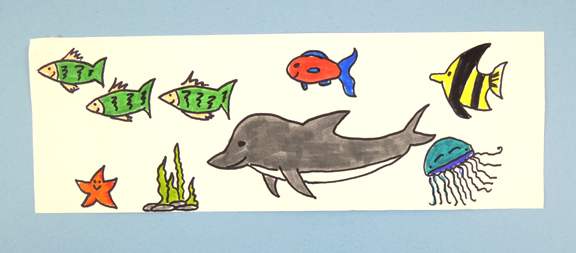
Next, decorate a strip of white card stock with ocean creatures. Make sure to measure the strip carefully…it needs to wrap fully around your plastic cup and not extend past the top or bottom. Our strip was 4″ tall x 11″ wide. And can I say what a fine job Katie did with her ocean creatures? Just look at that happy jellyfish!
 The final piece of the project is the spinning cylinder. This is a plastic cup attached to the roof of the house with a brass fastener. Two tabs extend from the top of the box, allowing you to easily turn the mechanism:
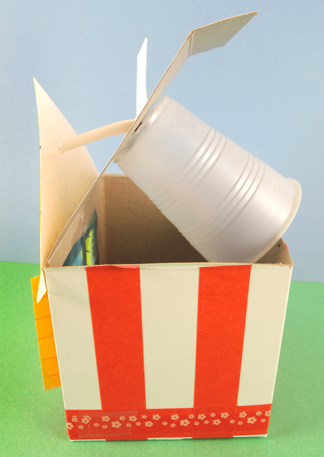 Our tabs were created with a 0.75″ x 3″ snippet of poster board. Punch a hole in the center, then thread a brass fastener through the hole. Push the ends of the fastener through small slits cut in the top of the box and the bottom of a plastic cup. Unfold the fastener’s prongs inside the cup.
You really want the connection to be strong, so we recommend hot gluing AND taping the head of the brass fastener on the snippet. Hot glue a small square of cardboard over the prongs inside the cup as well:
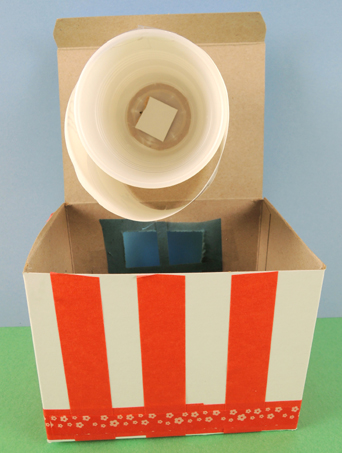 Finally, wrap your strip of ocean critters around the cup. As you can see in the above photo, the cup is tapered, so the strip won’t wrap around it in a perfect circle. No problem! So long as the strip is secured tightly to one point of the cup (we suggest the strip’s seam) it will work. Here’s a shot of the finished mechanism, which is then tucked inside the house. Secure the lid down with tape.
 Ready to see this little contraption in action? The colors were a little muted in the video, so I removed the blue cellophane from the window to showcase the ocean critters more clearly. Swim my little friends, swim!
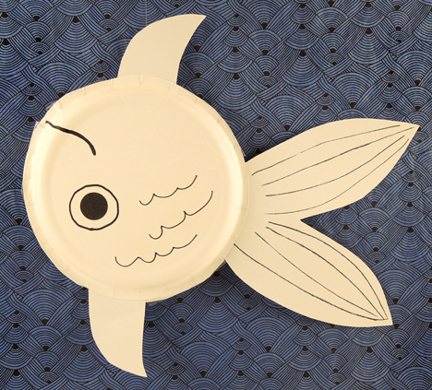 After spotting the fabulous upside down goldfish ghost
 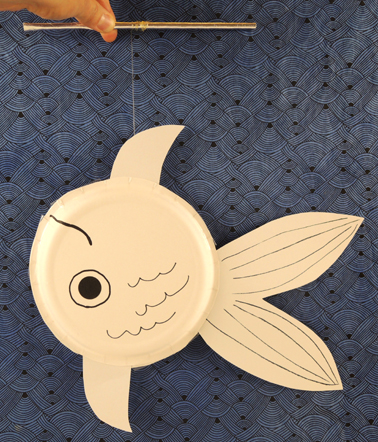 To make the marionette, trim the outside perimeters off 2 paper plates. Use marker to draw eyes, a mouth, and scales on the plates.Next, tape a white construction paper tail and fins to the inside of 1 plate.
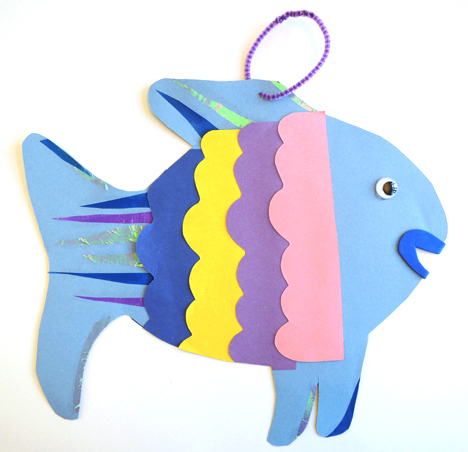
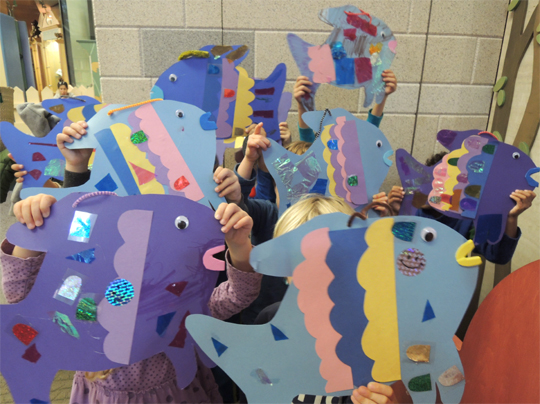 Join this beautiful school of fish with their bright, sparkling scales! These easy-to-make fish were created with poster board and construction paper. Then we grabbed a set of sparkling rainbow scales and had a glittery share-fest. That’s right! You could only stick your scales on other peoples’ fish!
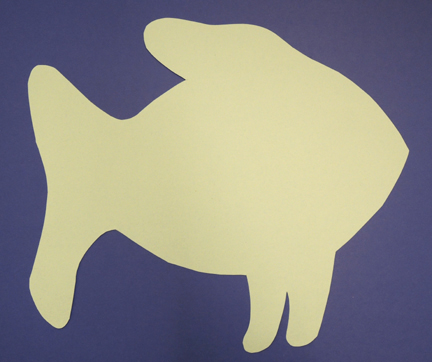
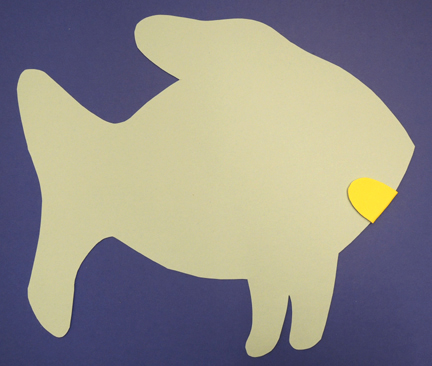
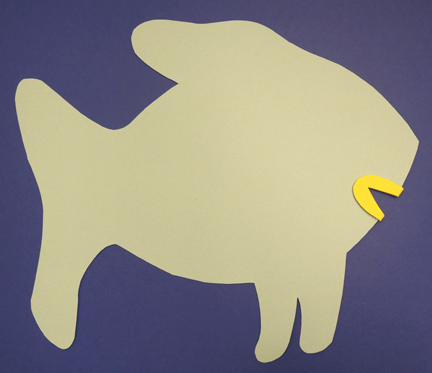
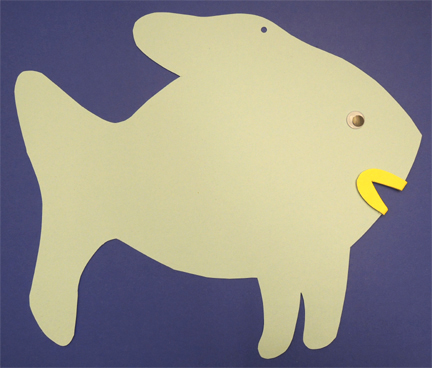
 To create puffy lips for your fish, start with an oval of self-adhesive craft foam.
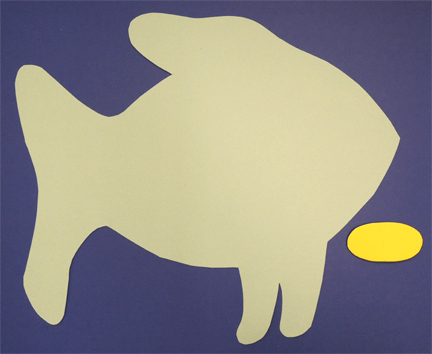
 Now for the sharing game…and…duh duh DUH…an EPIC STORY TIME CRAFTING FAIL!
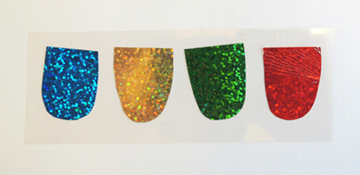 Look at these beautiful glittering scales! I found some sheets of self-adhesive hologram paper at Party City. Marissa painstakingly cut and peeled zillions of scales, and stuck each set on mylar. We tested peeling the scales off the mylar to make sure kids could do it quickly and easily.
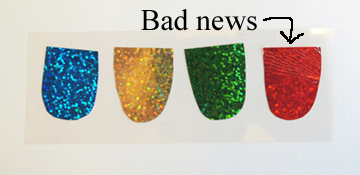 No scale stickers meant no sharing game. Refusing to admit defeat, I sent Marissa and Joani over to quickly cut the strips of scales into individual scales. To buy them some cutting time, I whipped a roll of hologram smiley face stickers out of the cabinet.
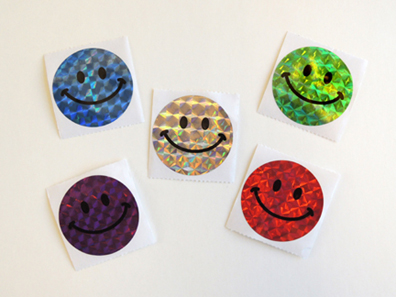 I asked the kids to line up and, one at a time, tell me something nice that they had done for someone recently. Their good deed earned their fish a smiley face sticker AND a trip to see Marissa and Joani to get a set of scales hot glued onto their fish. Sure, it wasn’t the sharing game, but you still got a sparkly fish in the end.
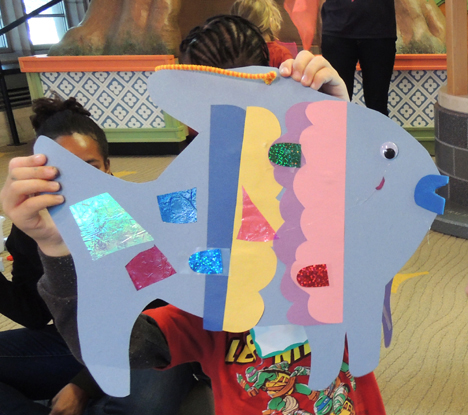 If I was to do this again, I would definitely do the original sharing game. But I would use metallic dot stickers cut in half to replicate fish scales.
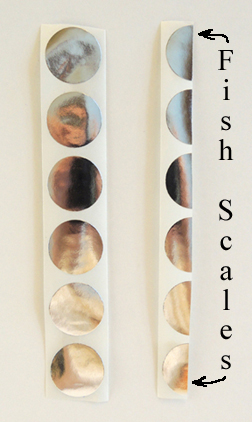 Because I’ve learned my lesson. Peel the stickers off the original paper they come on. Don’t stick them on anything except the final product. Oooooooh yes.Interested in some other sharing and cooperative story times? Try this