 What crafter, artist, or DIYer doesn’t dream of making a living off their creativity? From the women who invented those awesome fabric snowballs to the vast empire of Young House Love, you always wonder how they managed to turn fun time into full time.
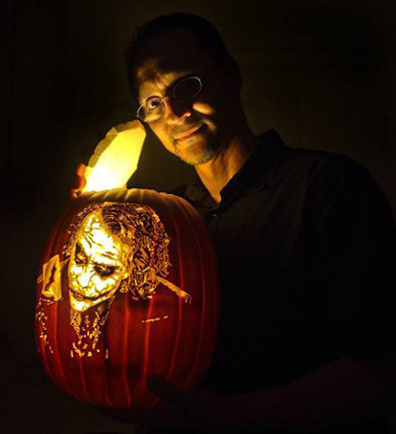
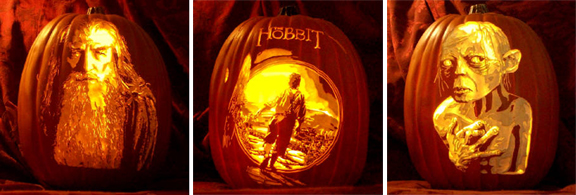
Today, we are delighted to introduce Alex Wer, a.k.a. The Pumpkin Geek. It all started in 2009, when Alex’s wife asked him to carve an artificial pumpkin for her office’s open house. It was a huge hit, and orders – from company logos to children’s portraits – started rapidly accruing. Alex’s carving talents and his expansion to Comic Cons earned him a Geekie Award in 2013. In 2017, he left his day job to be a full time pumpkin carver.
Katie caught up with Alex to ask him about his incredible creative journey that we’re NOT envious of. Well, maybe we’re a little envious. OK…we’re totally envious.
You started carving pumpkins as a favor as your wife, and now you do it full time. Did you ever imagine your career taking this turn?
Of course I never imagined it! At the beginning of what I call my “orange obsession,” it was just – how detailed can I get? Or, how photo realistic can I get? Then, my wife and I were talking and I said, “If I do a Comic Con instead of just waiting for people to find me, I’m going to be in front of tens of thousands of people. That will be a true test to see if anybody is really interested in what I do.” That conversation sparked what is now my full time job.
 How many Comic Cons do you attend each year?
I do two Comic Cons a month. I just came back from Baltimore and I think that was my 18th or 19th convention this year. I’ll be in Atlanta at the Walking Dead convention the last weekend of October. That’s my last convention for 2018, but I’ll start again in January.
What tools you use when you carve the pumpkins?
I use a Dremel. I basically have two Dremels with two different bits, so I don’t have to change them. I use a standard drill bit for cutting out things and then I use a shading and graving tool to flatten areas of the face when I need to smooth it out. It’s pretty much just two bits.
Can you describe the process of carving a pumpkin from start to finish?
Let’s say someone wants an Indiana Jones pumpkin. Unless they have a specific image they want me to use, I look online for Indiana Jones images that I think might work and will look good. Once I find the image, I create a template by enlarging it and stenciling it onto the pumpkin. Once it’s drawn onto the pumpkin, I start carving.
 What happens when you make a mistake?
I’ve been doing this long enough to tend not make mistakes. I tell people to think of me as a tattoo artist. Tattoo artists, once they place the image template on your skin, are just filling in the gaps. I’m basically tracing with the drill.
How long does it take to finish a carving?
The drawing and the carving portions – probably about 4 hours. The online research portion can be 5 minutes, to 5 or 10 hours. There are some images and some characters that are very hard to find, and sometimes finding the image takes me just as long, or longer, as the physical carving portion.
 Tell me about your five layer carving process.
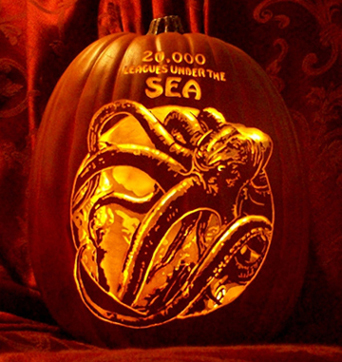
If you look at my carved pumpkins, the brightest, almost white, portion is cut all the way through. That’s the first layer. Then there are three graded layers coming closer to the surface. This is where I define cheekbones, eyebrows, hair texture, things like that. Then there’s the fifth layer, which is untouched for dark eyes, black hair.
What is your most popular design?
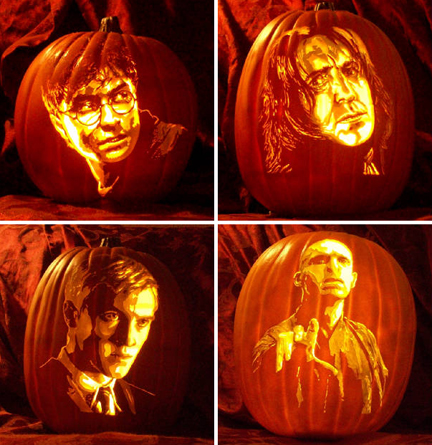
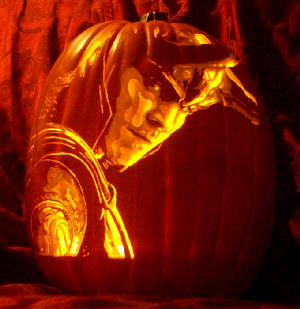
People are really shocked when they find out about my number one design. Number 3 is Beetlejuice, which makes sense. Number 2 is Harry Potter, which also makes a lot of sense because in the Comic Con world, Harry Potter is popular with both adults and kids.
Number 1 is Tom Hiddleston’s Loki from The Avengers. I did conventions in Seattle and Chicago and he was at both conventions. I had no idea he had such a fan base! There were women who traveled from Indonesia, Australia, the UK, just to meet him! In one day, I got 17 orders for Loki. Before that, I don’t think I’ve ever had 2 orders for 1 character in the same weekend.
 What locations have your pumpkins shipped to?
Obviously anywhere in the US. I’ve also shipped to Hawai’i, Canada, Germany, and the UK. I just shipped 2 to London. I’ve shipped pumpkins to 7 or 8 different countries.
Are you on a first name basis with employees at your local craft store?
Yes, I am! Everybody there knows me, and have known me for about 8 years.
What’s your favorite pumpkin?
It’s hard for me to say! I enjoy projects of fandoms that I’m not necessarily familiar with. For example, I had heard of Doctor Who, but once I started doing conventions I realized Doctor Who has a big Comic Con and geek fandom. So it’s always fun for me to do something that’s outside of my fandom. And, of course, Star Wars and Spiderman were things that I grew up with. So I love doing those pumpkins.

Images courtesy of The Pumpkin Geek
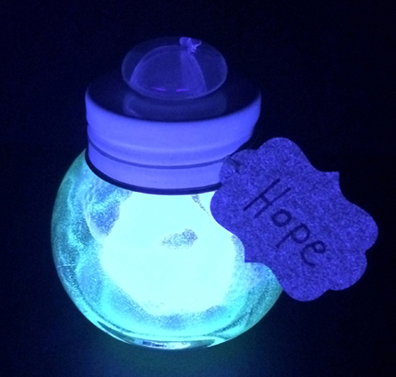 It’s a mysterious bottle filled with a unique, glowing essence. What could the essence be? Happiness? Triumph? Panache? The Thrill of Your First Ride on the Back of an Arachnimammoth? This radiant project was part of
 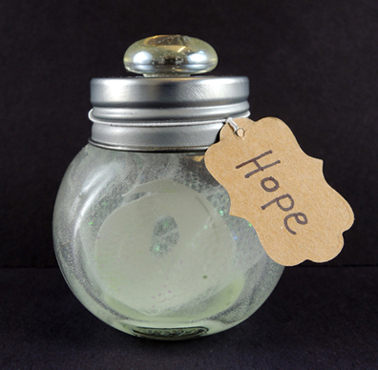 But, because DENKi-3000’s research and development department is shrouded in secret, the entire project came as a take-home kit with strict instructions to NOT open the box until you get home.
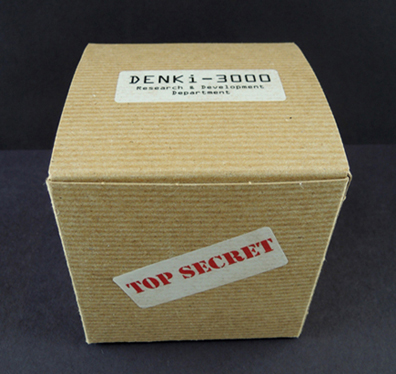 You’ll need:
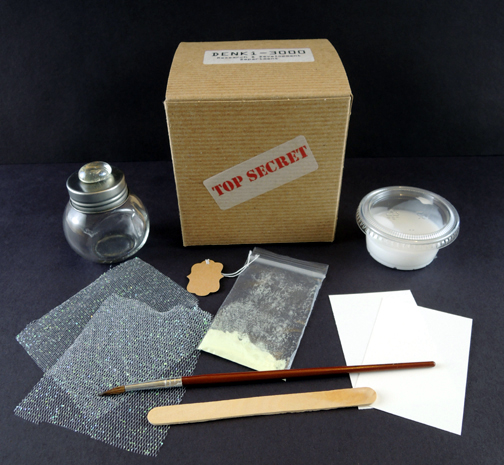 First, the bottle! We used 2.25″ screw-top jars scored from the wedding section of Michaels craft store. 20 jars cost $21, but we had a 40% off coupon. Woot! To make it look less like a spice jar, we hot glued a clear
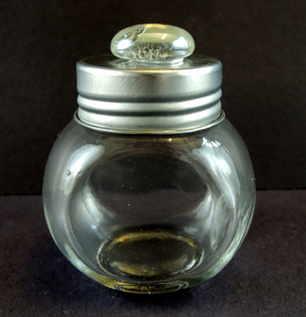
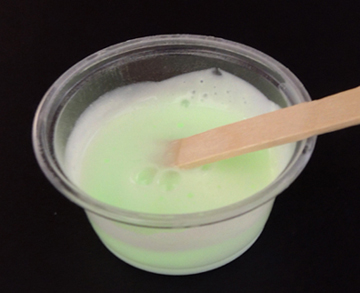 The glow glue goes on opaque, but as you can see below, it dries semi-transparent. Glow-in-the-dark paint (which we found in the t-shirt decorating section of Michaels) also dries transparent:
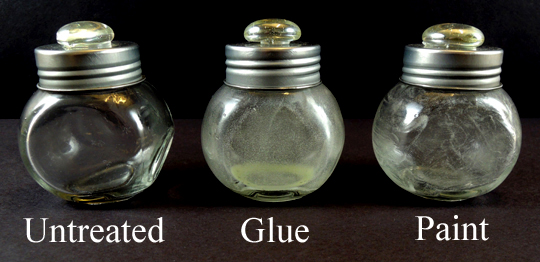 The glow glue, however, glows much stronger. Perhaps because you can control the ratio of pigment to glue? But the paint is glowing. And it requires a lot less measuring and mixing. So you can’t go wrong with either choice.
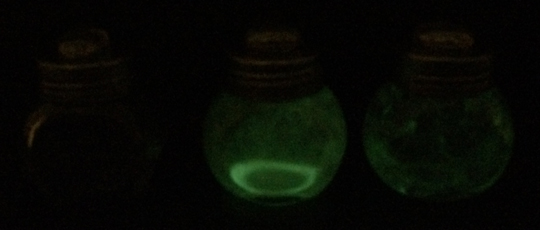 It’s time to create your creature essence! This is basically a card stock shape wrapped in tulle. Since we wanted the bottles to also look pretty in daylight, we went with glitter tulle, which you can find in the ribbon section of Michaels.
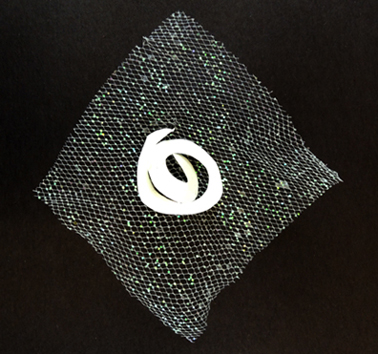 Once the bottle, the shape, and the tulle are dry, gently wrap the tulle around the shape and tuck it into the bottle. Screw the lid on, write the name of your essence on a label, and attach the label to the bottle. We used 1.25″ price tags with elastic strings, found it the beading section at Michaels. We found the plastic baggies for the pigment there too. Both of these things cost just a few bucks.
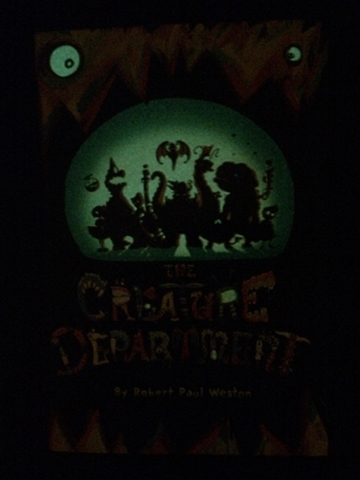 Every story time, without fail, the kids would ask to see the cover glow. No matter how many times we looked, they never lost their enthusiasm for it. In the video below, you can’t see the book, but you can definitely hear the kids reacting to its cover!
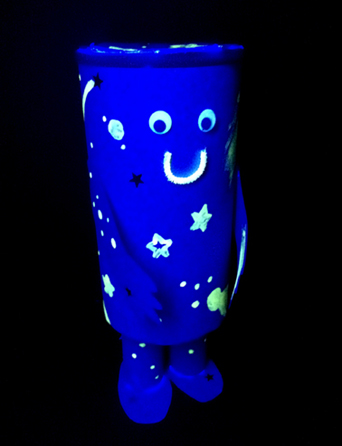 Afraid of the dark? Nah! With this fantastic, illuminating friend, you can discover how much fun the dark really is! And if you’re still not convinced, join us for a glowing balloon bounce bonanza!
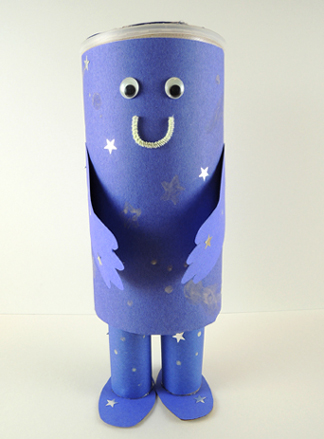
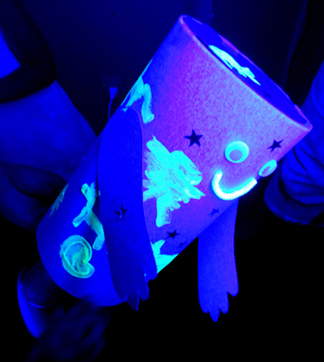
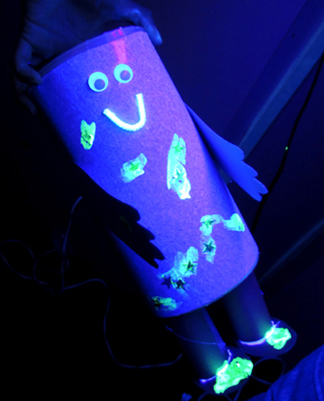
 The neat thing about the glow glue is that it dried semi-clear, so there’s a bit of a dramatic reveal when it illuminates:
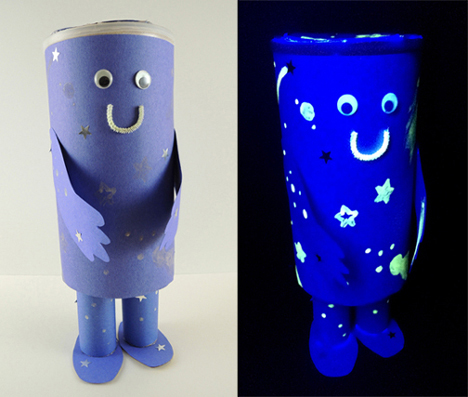 Notice how the eyes and mouth of the project are glowing too? Those are glow-in-the-dark wiggle eyes (available through Oriental Trading Company – a pack of 100 is $3) and a snippet of white pipe cleaner painted with glow glue. We were dubious at first, but the glue stuck to the pipe cleaner very nicely and dried quickly. It also stuck to Katie’s hands, giving her awesome alien fingers.
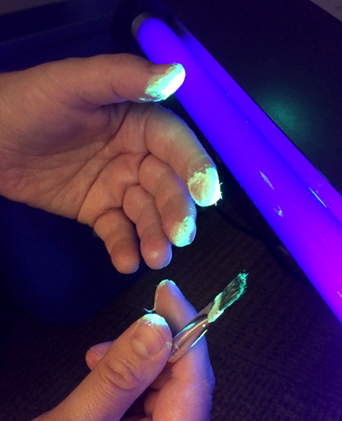 While the kids’ projects were drying on the tables, we decided to capture the spirit of the book by having lots of fun in the dark. We blew up a bunch of LED balloons (which you first encountered in
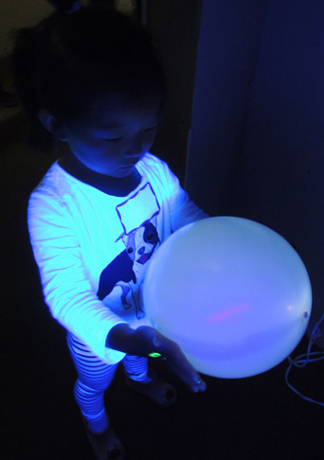
 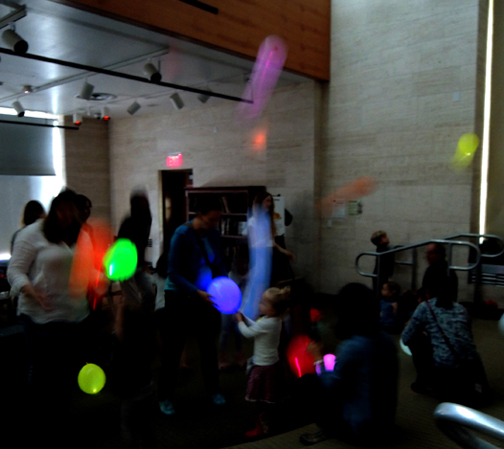 We also had a little black light closet set up, so kids could get a preview of what their creations would look like later than night.
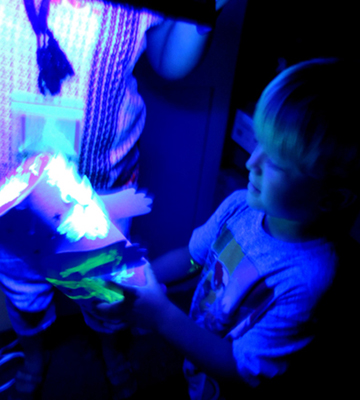
 Some of the balloon revelers ended up in the black light closet too. Because why not?