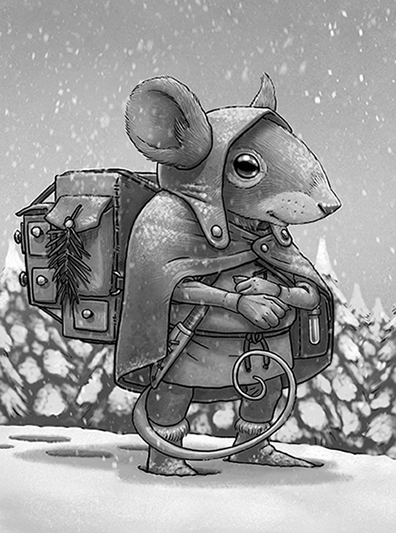
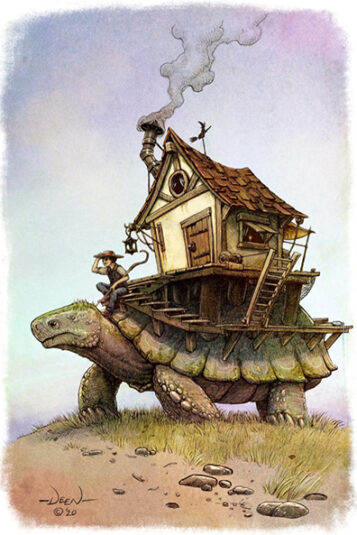
 Today we’re featuring David Deen, the amazing illustrator of Tolo, Cotsen’s digital adventure! Furiously sketching and coloring owlbears and nagas from his brother’s D&D books, David also grew up reading fantasy books. After earning a BA in Art, David worked as a computer game artist before going freelance. We asked him to give us a quick tour of his Colorado studio (and we get to meet his cats)!
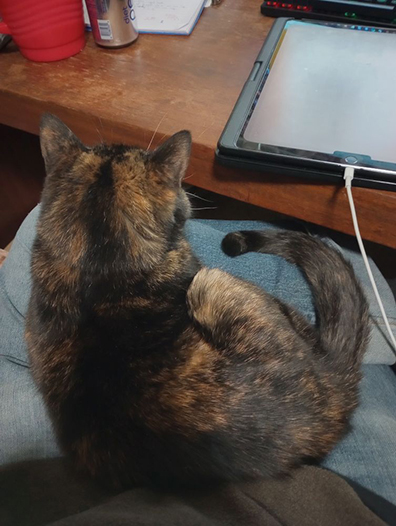
As my art has shifted to being mostly digital, my studio space has shrunk to a fairly compact little space in the corner of my basement. I still have a sketchbook for initial concept sketching and printouts of the information I need to reference. And we have two cats that keep me company as I work, Summer (shown above) and Smudge.
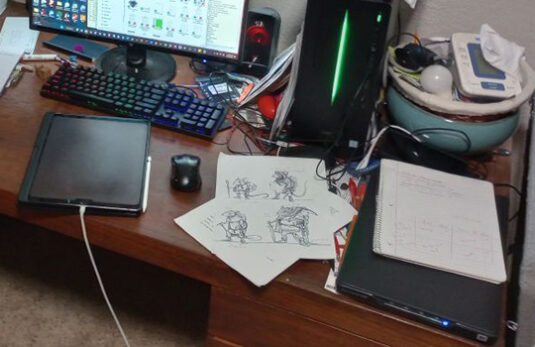
Most of the work is done on my iPad Pro, where I use a couple of different programs designed to provide the look of traditional media with the benefits of easy revisions and no loss of quality from the artwork being photographed or scanned.
 While I’m working on the illustrations, I use the computer to find reference photos and look up information I might need… and to entertain my ears with music. Once the final images are created, I send them straight to the computer through Dropbox. Then I can finalize the files, send them to the client, and do all of the other business involved in illustration.
 The studio for creating traditional artwork is currently being used as a guest bedroom; the drafting table is folded down and the supplies are all put away. I hope to get back in there in the new year and make some paintings again, but in the meantime, my little digital corner of the basement is enough to keep me making all the artwork I need.
Images courtesy of David Deen