 It’s Harry Potter week at Pop Goes the Page! Harry Potter and the Cursed Child, Parts 1 & 2 will be released this weekend, and there will be launch parties and countdown events galore. I thought it would be helpful to compile all of Pop’s Harry Potter posts and projects, just in case you find something that might come in handy at your wizardly celebration.
Let’s start big. This is a Spell Simulation game Princeton University junior José M Rico created for our Wand Works event. It was amazing. You can see videos of the 6 spells, and find a free download of the game here.
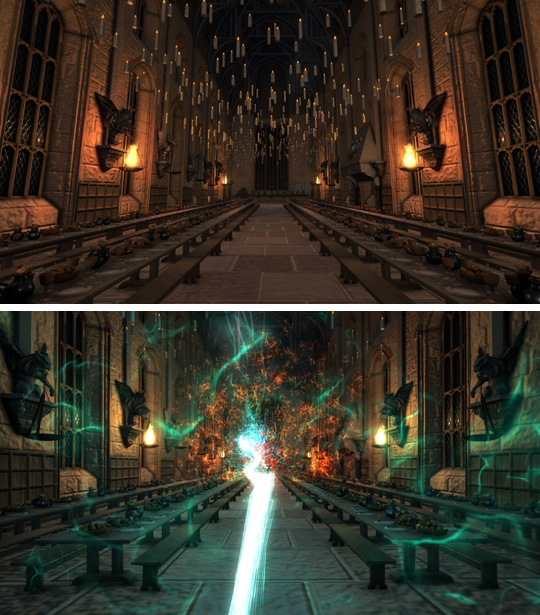 And now for more amazing-ness. This Magical Miniatures post features an interview with Sally Wallace, a miniaturist and artist who constructs astounding Harry Potter dollhouses and miniature scenes. Feast your eyes on Hogwarts!
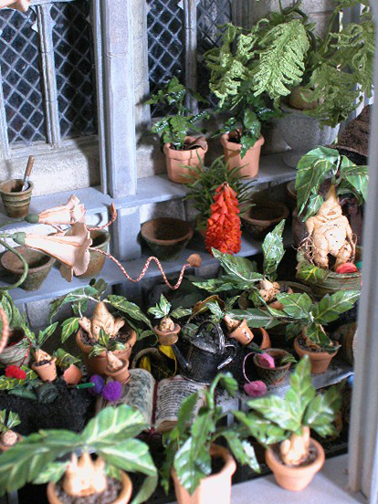
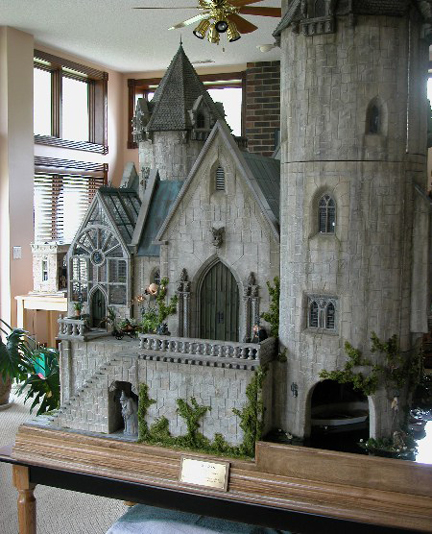 However, if your magical real estate aspirations need to be on a slightly smaller scale, try this Gothic votive castle. See the greenhouse to the left of the castle? Peek inside and you’ll see that the mandrakes are ready for re-potting!
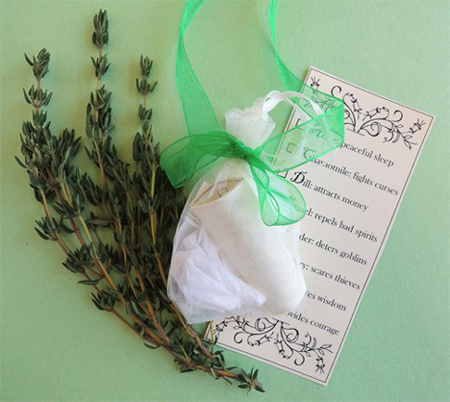
 Herbology continues with this little dried herb amulet…
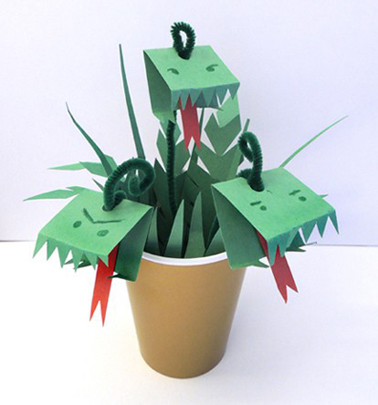
 And these dashing, yet simple, snapdragons. You only need a paper cup, construction paper, and pipe cleaners (more ambitious gardeners can try these magical “growing” box gardens).
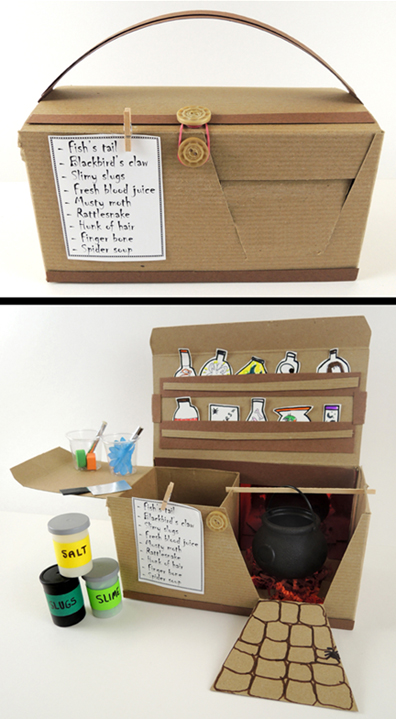
We also have portable potion studio for all your brewing needs…
 Another Harry Potter post I dearly love is this suitcase boggart. I designed it for a Defense Against the Dark Arts table. The secret to making the suitcase thump and bump convincingly? A battery-operated pet toy called “The Weazel Ball!”
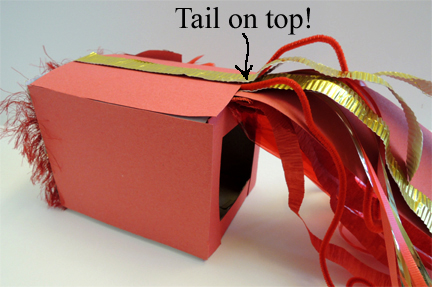
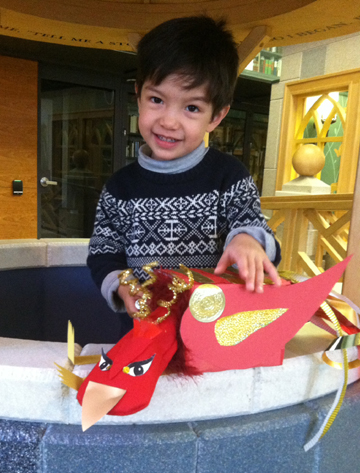
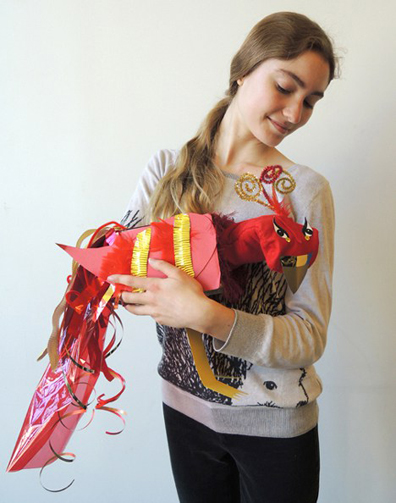
 We’ve also made plenty of dragon and monster projects in the past, from this food chain to a black light tin foil dragon. Representing the forces of good, however, is this phoenix puppet. You can make it out of a tissue box, and stroll around with it cradled in your arms.
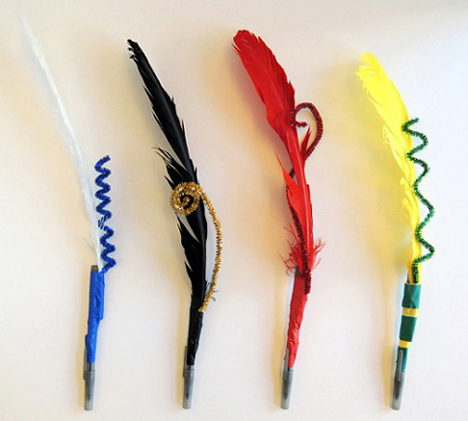
 Moving on to school supplies, try these simple, but immensely popular, quill pens.
 If it’s a wand you need, take a look at the custom wands we made at our Harry Potter Wand Works event (and if you’d like to meet Lane O’Neil, a real-life wandmaker, take a look at this post).
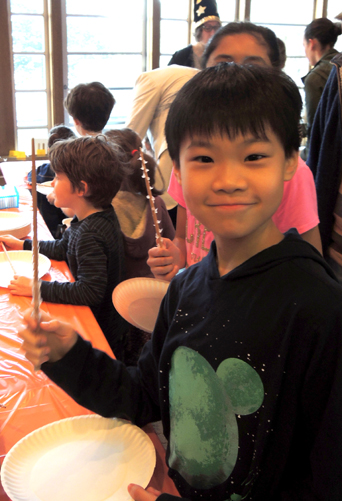
Also necessary for any Hogwarts student is an inexpensive PVC pipe wands (with your choice of core, of course). There are also flying books, and things that fly OUT of books.

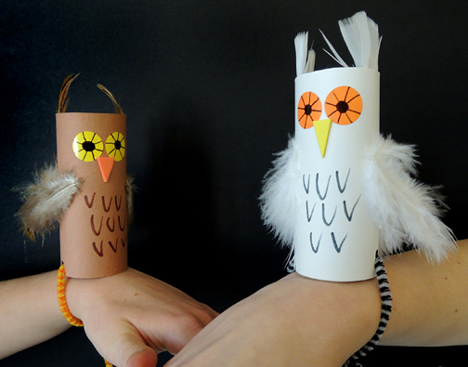
And don’t forget your wrist owl to deliver the mail (but not a Howler)! These handsome little fellas are made out of toilet paper tubes and pipe cleaners.
Once your school supplies are assembled, hit the classroom with the Chemistry of Magic!
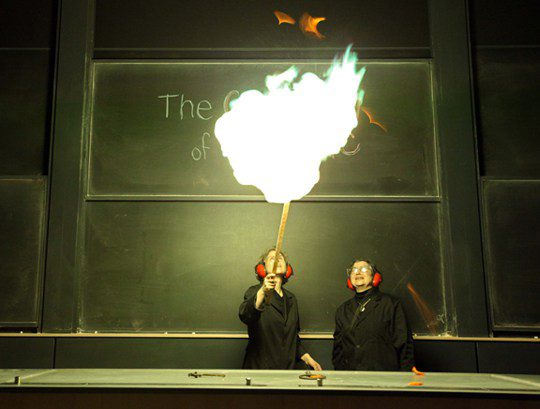 Or, learn some smaller spells. A pair of Slytherin students joined us at our School for Scoundrels program and taught kids Aparecium, Furnunculus, and Inanimatus Conjures. But Confundo was definitely the most popular. Also, there’s this special paper that allows you to set your spells on FIRE and watch them fly!
And, if Muggle Studies is full this year, you can always take a look at our online exhibit, which includes photos and information labels on everything Muggle.
Deluxe Chicken Grooming Kit [c.2011]
Wanting to bring a little Potter into your own home? Well, you can crank it to ELEVEN like this amazing family, or host a smaller party like the one concocted by Hope, our kid tester, which includes inexpensive decor ideas, templates, recipes, and useful links.
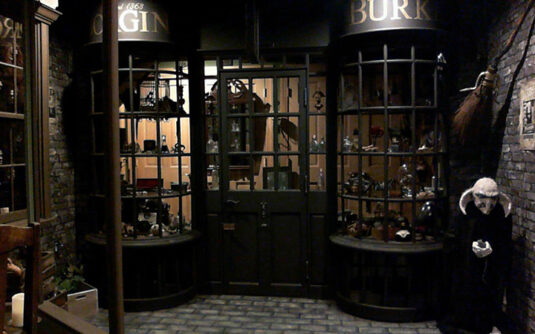
You could also go ALL OUT and recreate Knockturn Alley in your basement, like Corinne Adams did here. This is AMAZING:
 And what would Harry Potter be without some treats? Check out the gourmet pumpkin pasties crafted by Melody Edwards, a Princeton University graduate who is currently in culinary school. They were yummy.
 We also tested a couple recipes from the The Unofficial Harry Potter Cookbook by Dinah Bucholz (Adams Media, 2010). Including Hagrid’s famous rock Cakes!
 Those wanting a more academic perspective on Harry Potter (not to mention a look at some goodies from our rare books vaults) should check out the Harry Potter and the Mystery of the Author’s Name post on Cotsen’s curatorial blog. It shows the different ways J.K. Rowling’s name has been spelled (and misspelled!) over the years.
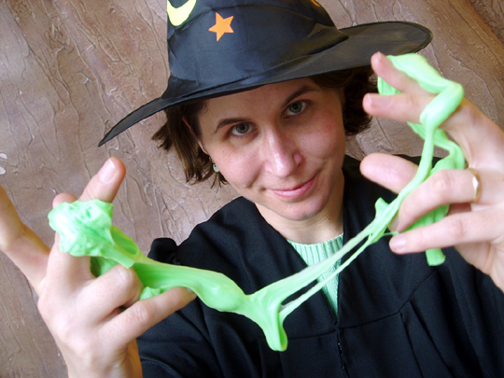
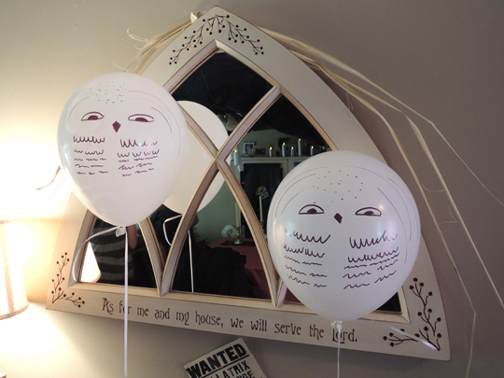
If you’re wondering about the image that started this post (like how I magically manage to appear 9 years younger?), it’s a promo photo from a Harry Potter event we hosted in 2007. You can read more about the image, as well as some of my hints for promoting programs, here.
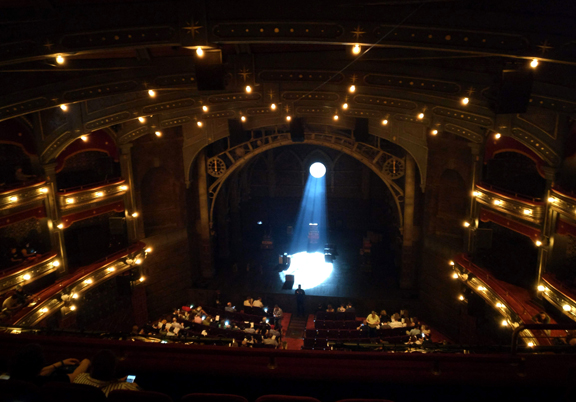
I also mentioned Harry Potter and the Cursed Child. Well ladies and gentleman, Katie, Marissa, and I actually went and saw the play on Broadway. You can see our complete (and spoiler free!) post here.

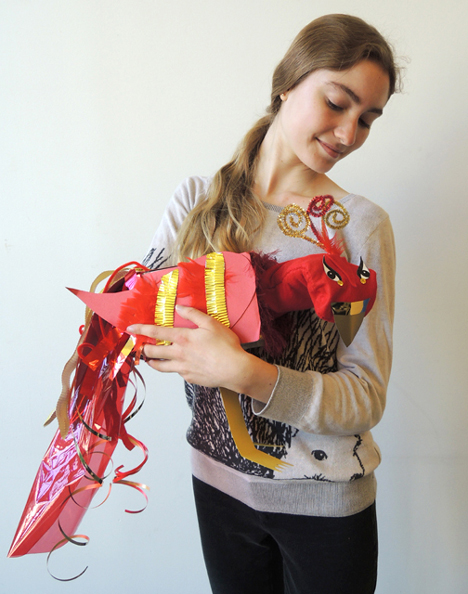
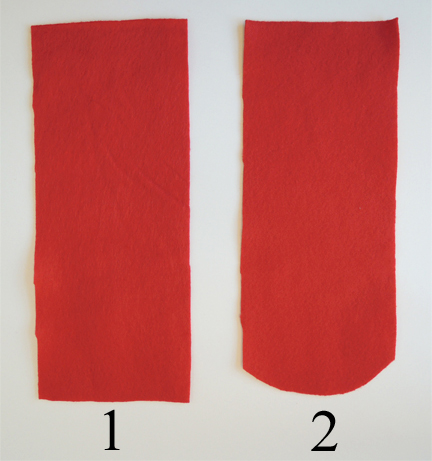
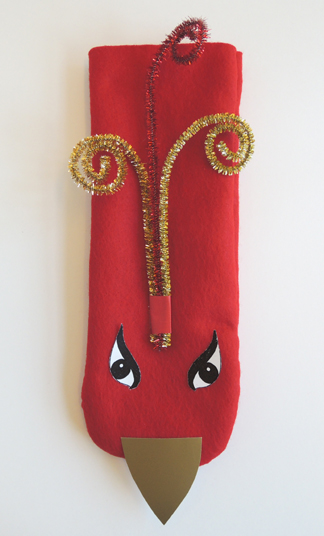
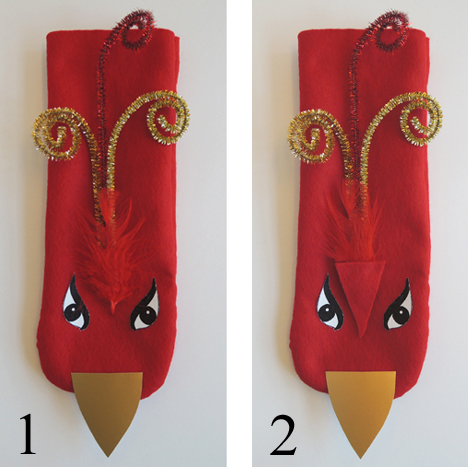
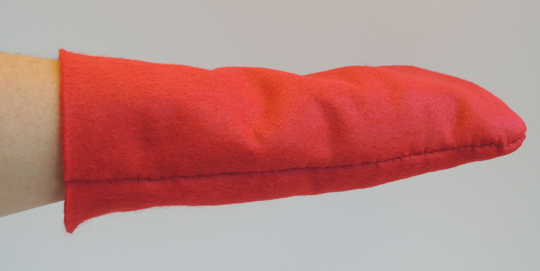 To make your phoenix’s crest, bunch the bottoms of 3 sparkle stems together. Wrap red masking tape around the bunch, then use the barrel of a marker to give the free ends of the sparkle stems a little curl. Cut a pair of eyes from the template, and a beak from the yellow (or gold metallic) poster board. Then hot glue the crest, eyes, and beak to the top of the head.
 Hot glue a red feather onto the masking tape to cover it, then hot glue a small triangle of felt over the bottom of the feather to complete the look.
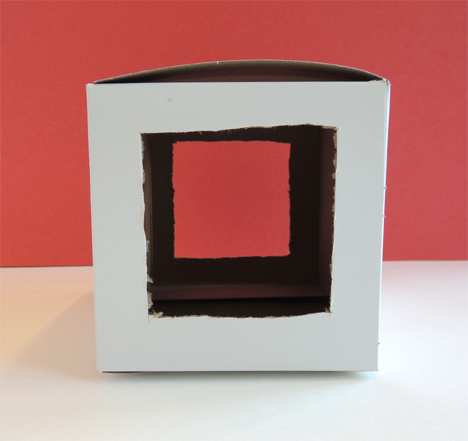
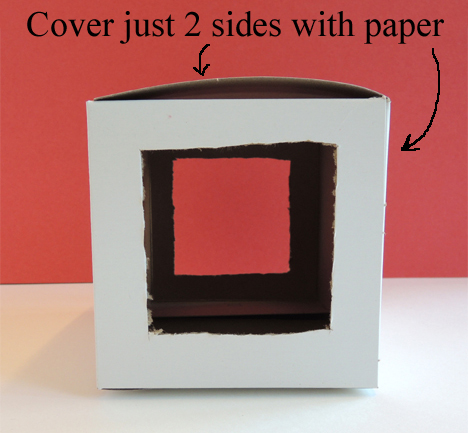
 The tail was cut from a 3.65″ x 13″ rectangle of construction paper. Like the wing, I gave it a slightly pointy look.
 I recommend decorating the wing and tail before you attach them to the box (because it’s much easier for kids to decorate an object that’s flat on the table). For decorating the wing, tail, and front & back of the box, we offered red construction paper, red and gold sparkle stems, red pipe cleaners, cellophane, small red feathers, red and gold embossed foil paper, gold wrapping paper, textured gold paper strips, and gold and red curling ribbon, and large gold embossed foil seals. In addition to these items, each tail had a big piece of red cellophane and 2 red crepe paper streamers.
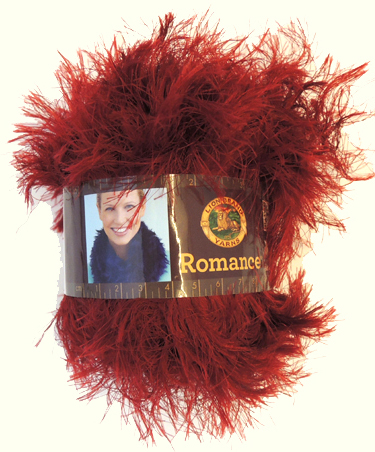 When you’re done decorating, attach the wing and tail to the body with hot glue. The tail needs to attach above the rear end opening! That way, the tail will hide your arm when it’s inside the puppet.