 You had a sneak peek here. Now, it’s time for tea! In honor of the 150th anniversary of the publication of Alice’s Adventures in Wonderland, we hosted a Victorian tea with all the trimmings. It was an ambitious, fun, and fully immersive historical program. Definitely one of my top five most favorite programs of all time. The tea was hosted at, and catered by, Palmer House, Princeton University’s bed & breakfast.
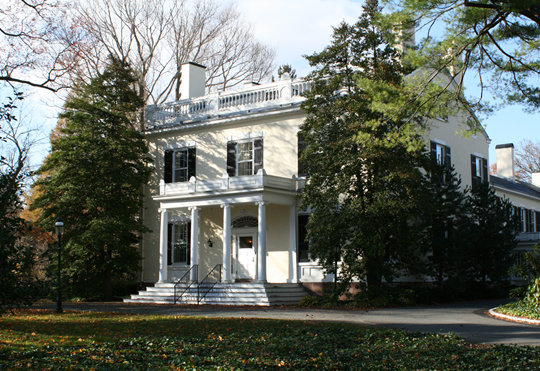
Photo courtesy of Palmer House
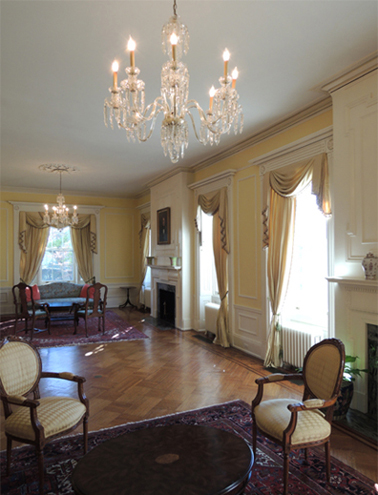
Palmer House was built circa 1823-24, and was bequeathed to the University in 1968. It was absolutely beautiful. A big shout out to Innkeeper Jodi Pianka for allowing us to take over the entire downstairs the day of the program. She even let us use Palmer House’s historic front entrance!
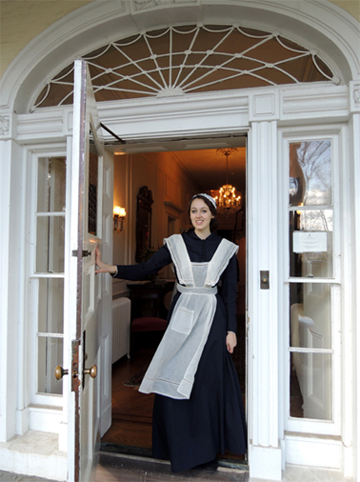 Upon arrival, the kids were greeted by our “maidservant” (otherwise known as Anna, a sophomore at Princeton). Anna stayed in character the entire time. Let me tell you, she does an extremely authentic curtsy and fantastically demure “Yes ma’am.” She shares about her experience here.
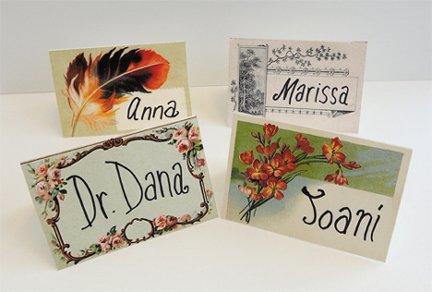
The kids were shown to the library, where they awaited the arrival of the matriarch of the house (that was me). While they waited, Marissa and Joani, (who played my “daughters”) helped them settle in and personalize a tent card for the tea table. We used images of Victorian calling cards to create the tent cards (thank you, Google image search).
 When everyone had arrived, I was officially announced by Anna. I sashayed into the room, greeted everyone, and proceeded to do a 15 minute PowerPoint presentation on the history of tea in England.
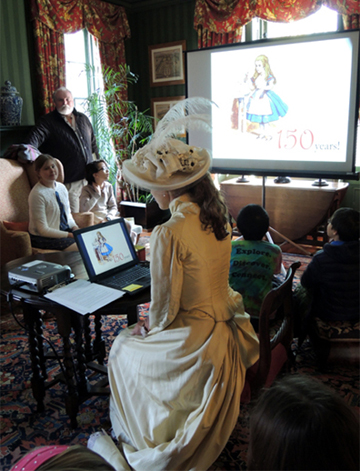 The historical content and connections for this program were quite extensive, and this post is already going to be rather long. So I’m going to describe the historical content in very broad brushstrokes. At the program, kids learned how tea was initially an expensive import available only to the upper class. It was also heavily taxed (sometimes over 100%). This resulted in a roaring trade in smuggled and adulterated tea. However, as tea became more affordable, it was enjoyed by all the citizens of England.
We talked about the advent of Victorian afternoon tea, the progression of the tea set from handle-less cups and bowl-like saucers to super fancy family heirlooms, and how “High Tea” was originally associated with the lower class. The presentation was full of historic photos, paintings, humor, and interesting facts.
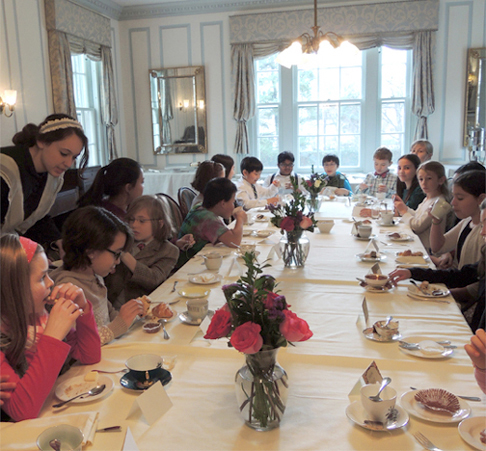
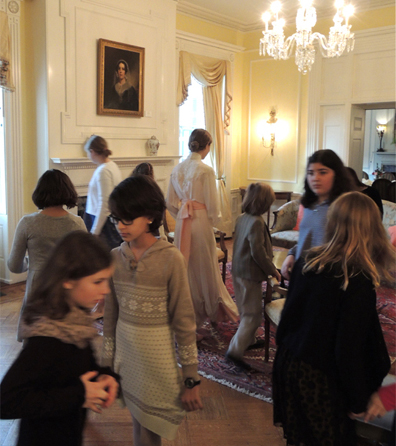
Then it was time for tea. I escorted the kids through the gorgeous grand parlor…
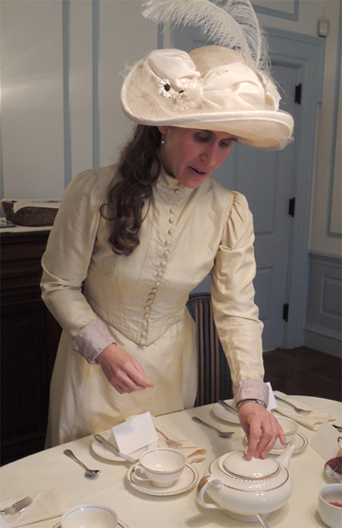
 To the dining room where our splendid tea table was laid out!
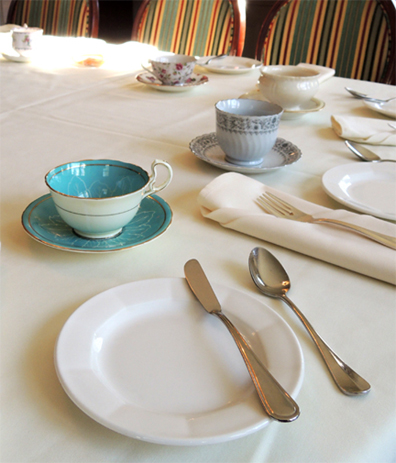
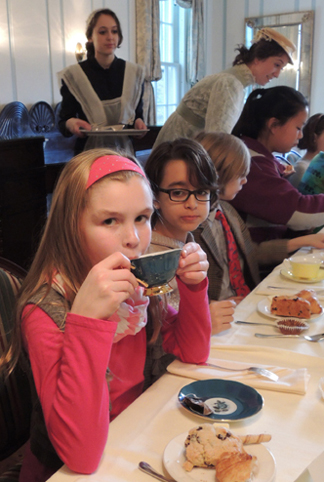
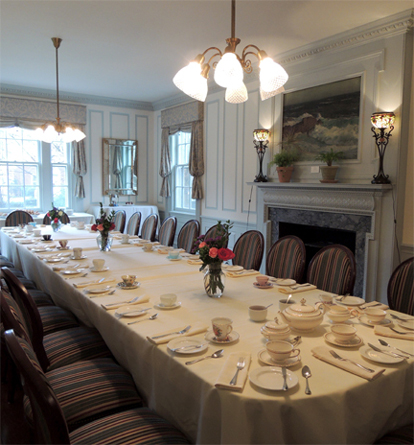 Waiting at each chair was a unique teacup and saucer. The kids got to take home these cups and saucers as mementos. They were so excited.
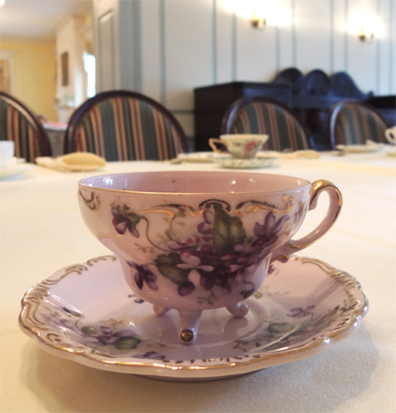
 The take-home teacup was something I really, really wanted to do when I first conceptualized this program. So I sent a request through our library’s recycling program. The response was amazing. I couldn’t believe the incredible teacups my co-workers donated! Here’s one of my favorites. Look at the little feet!
 I also stopped by Nearly New, a local thrift store/consignment shop. They completely hooked me up with some delightful cups and saucers.
Once everyone was seated, and before we started serving the goodies, there was a little more history. I decided not to use PowerPoint for this portion of the presentation, opting instead for props and photos reprinted on 8.5 x 11 card stock. This is because while we were at the tea table, I wanted things to feel very natural and low tech.
One of the things I demonstrated was how tea was traditionally brewed (i.e. loose leaves steeped in a pot). I had some more modern tea infusers, as well as loose leaf green and black tea on display.
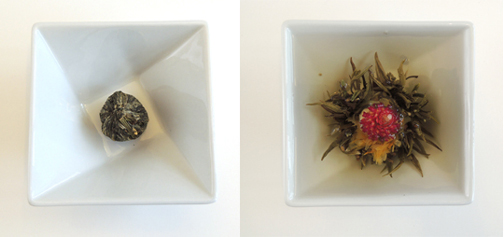
 I couldn’t resist demonstrating tea pods as well. Have you seen these things? They are dried herbal pods you drop into hot water, and they “bloom” as they steep in the hot water. I first spotted one in Sophia Coppola’s movie Marie Antoinette. As luck would have it, Infini-T, our local tea shop, had them!
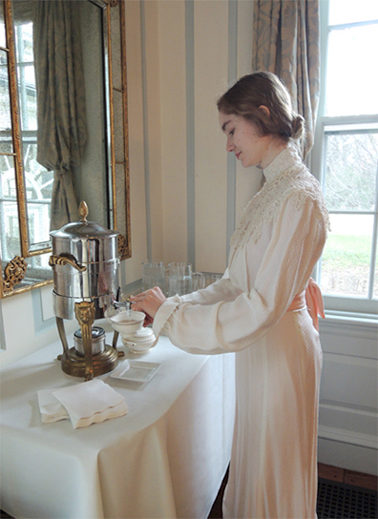
Finally, tea. We served Twinings English black tea (decaf of course) in teabags. To avoid scalding hazards, kids brought their cups and saucers over to a silver tea urn.
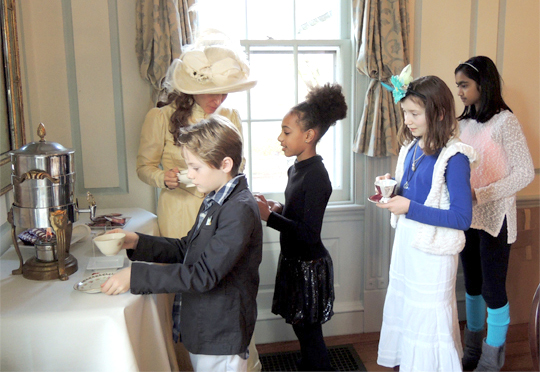 I was stationed next to the urn, offering milk and sugar. I can’t resist sharing this little history fact…way back when, sugar came in big cones you had to break apart with a special tool called sugar nippers. This resulted in irregular lumps of sugar. Hence the question “one lump or two?”
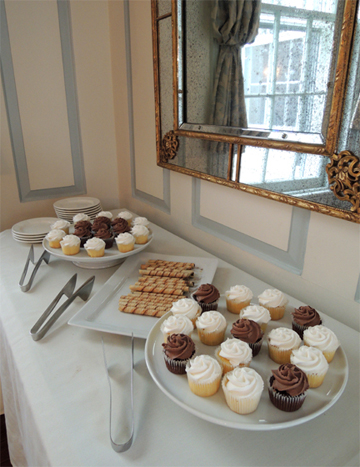
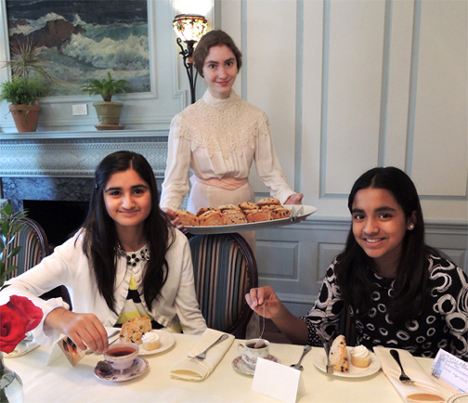
When everyone had settled with their cups, The maid and my daughters circled the room, bearing trays filled with mini-cupcakes, mini-scones, mini-croissants, and cookies. Jam and butter were also available. Mmmmm.
 Having coached the kids on Victorian etiquette earlier in the program, I am happy to report that our young ladies and gentleman did very well indeed. Napkins were on laps, voices were not raised. We conversed very genially about their activities, interests, holiday doings, and travel adventures.
After tea, we retired to the grand parlor. I explained that after family teas or parties, Victorians like to play parlor games. And we tried a few period games!
To play “The Laughing Game,” stand in a circle facing each other. The first person says “Ha.” The next person says “Ha Ha.” The third person says “Ha Ha Ha” and so on. This must be done with a completely straight face. The first person who smiles or laughs must pay a forfeit. We never made it past the fourth person.
 To play “Hunt the Thimble,” have everyone leave the room except for one person. That person must hide a thimble somewhere in the room (however, it must be in plain view and not hidden behind anything). The players reenter the room and silently begin searching. If you spot the thimble, you immediately sit on the floor. The last person standing must pay a forfeit.
 And now, for the crowning glory of the program. Joani, who is in Glee Club, agreed to research and perform some popular period music pieces. She sang two, including “How Doth the Little Crocodile.” The song is, of course, the poem from Alice’s Adventures in Wonderland set to music. It’s from a rare 1872 Alice in Wonderland songbook from our special collections.
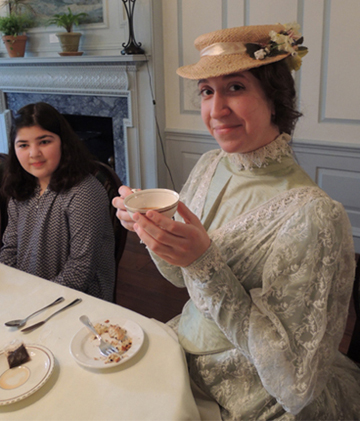
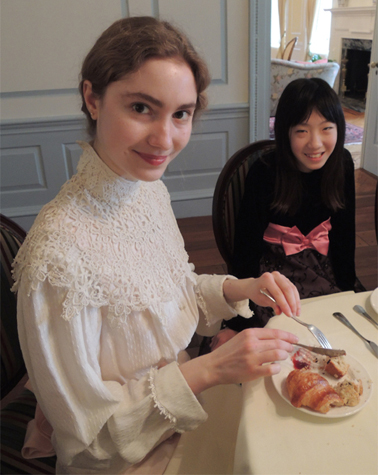
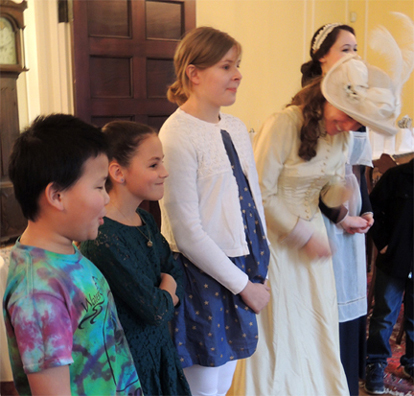
After that, the merry tea drinkers departed, carrying their cups and saucers home in white paper bags. We managed to snap some photos of our guests. On the invitation to the tea, kids were encouraged to dress up. Look at these two lovely ladies!
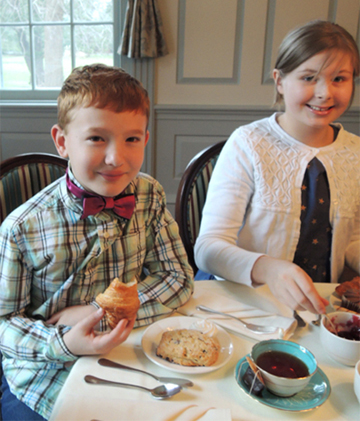
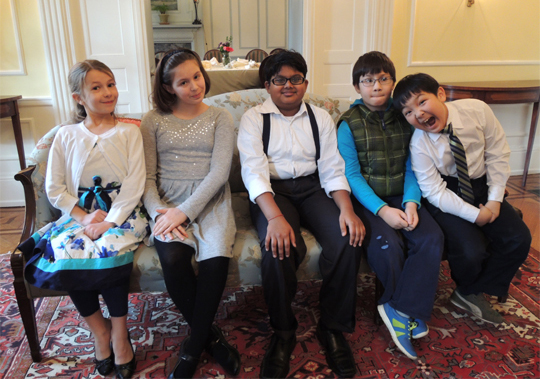
 We asked these kids to sit and look “proper.”
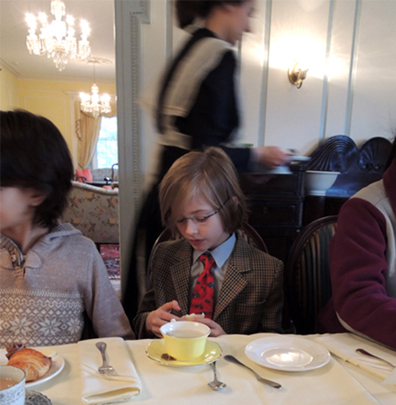
 And check out the breeches on the young gentleman! I do believe those are modified baseball pants. That, my friends, is innovation.
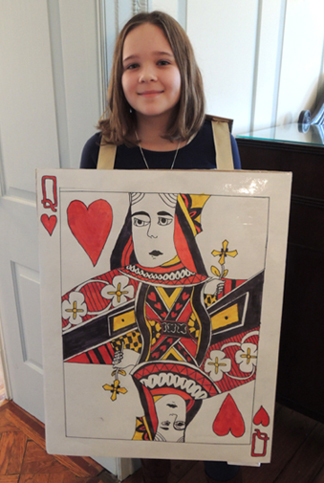
 But this “dress up” took the Wonderland cake. Behold the queen of hearts!
 So how did the Victorian tea program go over? Amazingly well. Astonishingly well. We had a jolly good time I tell you! And while I loved the setting, the teacups, the costumes, and the cupcakes, the best part for me was how much history was packed in with the fun. Honestly, I don’t think any of them will ever look at a cup of tea in the same way again.
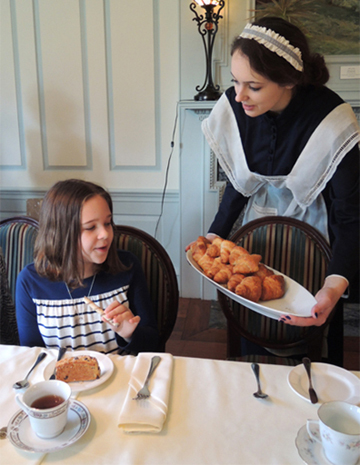
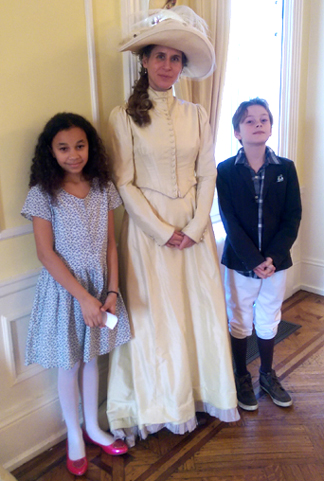
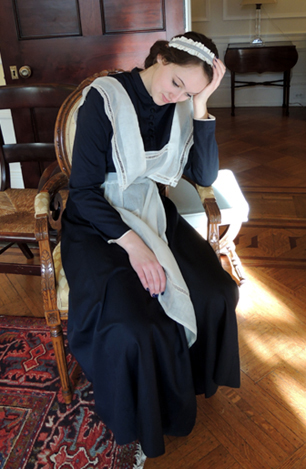
However, I think it was Anna who received the most authentic Victorian experience that day. We ran two sessions, a 10am and a 1pm. Anna was dashing around as the maid for hours. The poor girl was completely wiped out at the end! Thus, this portrait of a very tired maid.
Thank you again to Palmer House for hosting the tea, McCarter Theater for the costume loans, and for everyone who donated teacups and saucers. You helped make the program truly amazing. Thank you!