Say Cheese!

next-stop-cannes

Since childhood, there have been a few craft projects that have proved elusive to fabrication…umbrellas that stay open, a conveyer belt that moves, and life-sized fake cotton candy that still looks yummy. The cotton candy is ESPECIALLY difficult. Tulle fabric looks weird, and cotton balls just clump! They. Just. Clump.

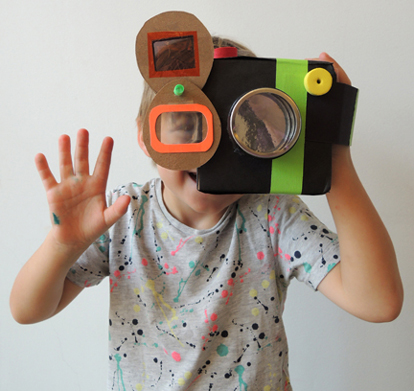
Cameras used to be one of those elusive craft projects, but I’m happy to report that we’ve managed to create several fun versions complete with lenses, shutter clicks, and Polaroids! So today, in honor of National Camera Day, we will be sharing our favorite camera projects. Starting with the one pictured above. A handheld camera with color changing lenses!

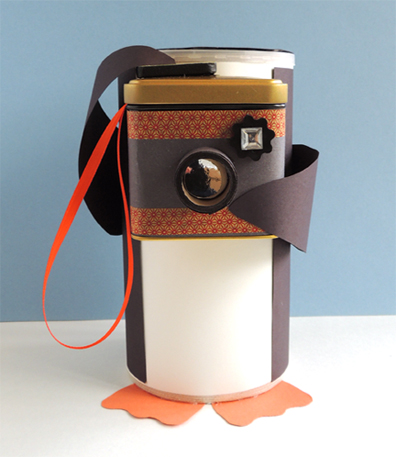
Shutter clicks go hand in hand with camera, be they physical or digital. I never was able to quite nail the sound until I stumbled upon these bug clickers. They really add dimension to this snazzy tea tin camera, modeled here by a penguin…

say freeze

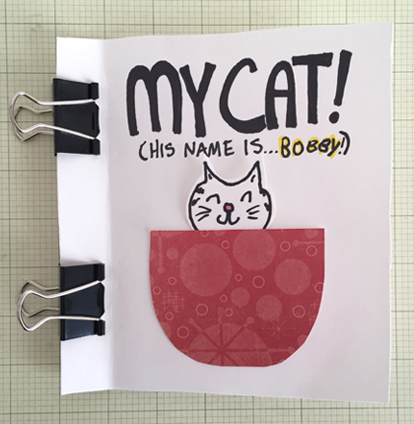
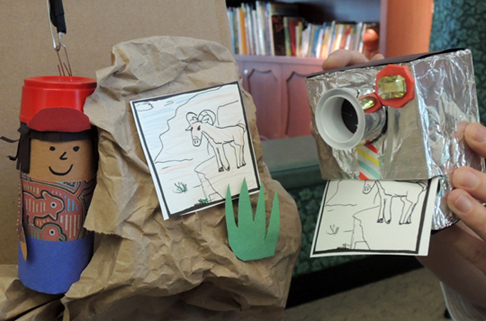
Polaroid cameras were a thing of my youth, and attempts to recreate them were met with various degrees of success. I felt I reached my zenith, however, with this OCuSOFT box turned Polaroid camera. We also turned the photos into a nifty little story time matching game!

canyon photos

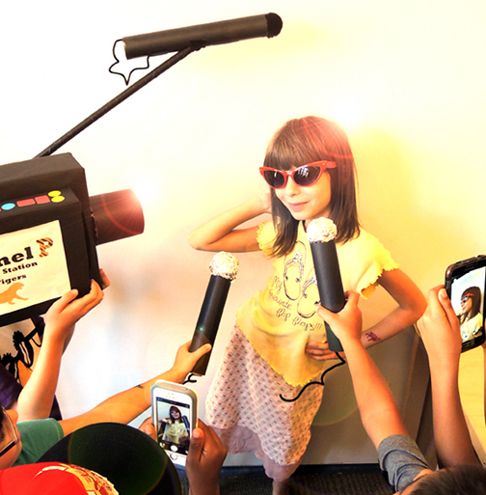
Finally, go BIG with an entire film crew, complete with handheld mic, camera, and a boom mic! We’veve used this set up a number of times (from science interviews to cooking shows), and it’s always fab-u-lous!

a star is born

Splashy Spelling

Get kids C-L-E-A-N with this simple alphabet activity for your bathtub. Rubber ducky not included, but you shoud T-O-T-A-L-L-Y get one!

You’ll need:

  • Cellophane
  • Scissors
  • Bathtub or tub of water

The concept of this project is simple. Cut a bunch of alpahbet letters out of cellophane, then float them in the tub during your next bathtime. Gently moving the different letters around, you can spell CAT, RAT, BAT, MAT or whatever combination you would like to try!

And if you try SUPERCALIFRAGILISTICEXPIALIDOCIOUS, definitly send me a pic.

Cellophane is notoriously crinkly, so two hints: 1) Draw the letter template on a sheet of paper, lay the cellophane piece on top, then cut both; 2) If your desk scissors are tearing the cellophabe, use fabric scissors (seen below).

As you can see from the image that started this post, the cellophane floats easily on the water, sinking a bit as the bath progresses and the waters shift. However! I learned that not all cellophanes act like this!

I ordered some rainbow cello sheets from Amazon, wanting to use a fun assortment of colors for the letters. Well, I put them in tub and they just curled and melted like some sort of Wicked Witch of the West. And when I grabbed them, they stained the water AND my fingers pink! Noooooooooooo!

Luckily, I had another roll of blue cellophane in the house, purchased from Michael’s Craft store. Nervous, I laid the cellophane letters on the water…it worked! Floating, no curling, no staining! So if you want a pretty sure bet for this project, head to Michael’s to pick up some cellophane rolls. And test a sample of your cello before putting them in the tub with your child. This activity can also be done in a convinient dishtub or kiddie pool.

Happy splashing and spelling!

Pocket Books

Looking for an inexpensive project that will keep youngsters busy for a bit? If you said YES empathically and in ALL CAPS, this post is for you! Today, we bring you pocket books, cool little books that can be created with stuff you find around home (or can easily acquire on your next shopping trip).

Pocket books have been around for ages, and today’s template will allow you to make a blank book that kids can turn into their own illustrated stories. The pockets not only add a cool 3D element, they also allow the artist to play with the various story pieces, then stash them neatly away!

You’ll need:

  • White poster board
  • Regular printer paper
  • Binder clips
  • Scissors and glue for construction
  • Markers for decorating

Below is what a finished, undecorated book looks like. The covers are poster board, the pages are regular printer paper, and everything is held together with binder clips. The important thing to notice in the photo below is the folded crease on the book’s cover:

This not only makes the book easier to open and close, it also allows you to mark the margins of the pages. Why do this? It’ll be MUCH easier for kids to work on a page if it’s flat and the cover isn’t constantly flopping over. So once the book is assembled, draw a margin line down each page, using the fold as a guide.

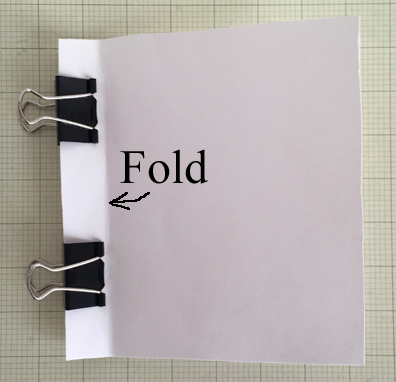
Then disasseble the book, and give your artist the flat marked pages to decorate!

How you proceed with the decorating depends on the age of the artist. You could, for example, add the pockets yourself, and they can write the story and make the illustrated objects to go in them. Or, you can write the story on the pages, and they can do the pockets and drawings. It can be a team effort, or they can do everything themselves!

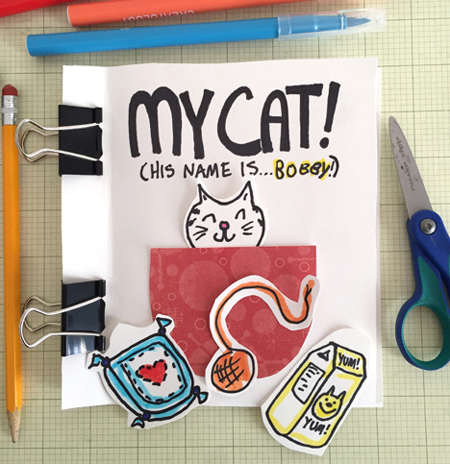
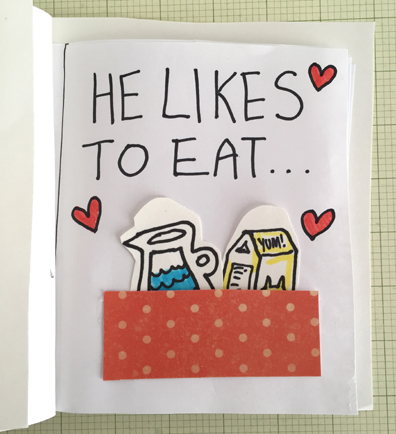
I used a heavier patterned cardstock for the pockets, but plain poster board, construction paper, or regular printer paper works too! However, when it comes to the objects in the pockets, definitely use poster board. It’s sturdier, can hold up to lots of handling, and easier to push in and out of the pockets. For fun, try doubling the pockets per page!

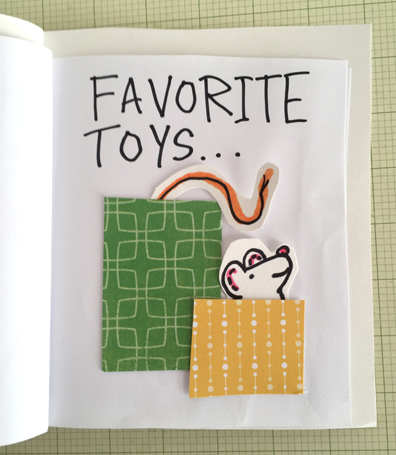
When the pages are complete, reassemble the book and enjoy! I recommend whipping up a batch of blank books at one time, just in case your first book expands into an epic series.