
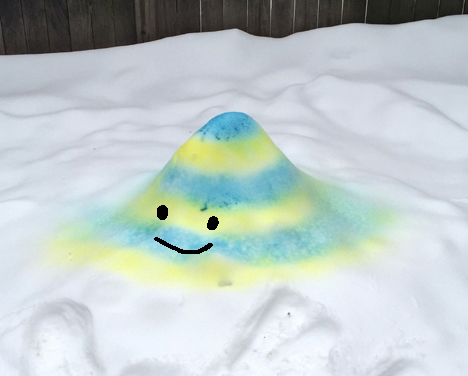
 We’ve had PLENTY of snow this winter, and the last storm to blow through resulted in an unexpectedly zany backyard colorscape! The blue and yellow snow mound you see above is a nod to the striped tower on the cover of Dr. Seuss’ book, Oh, The Places You’ll Go! (I couldn’t resist adding a smiley face too). And today is Dr. Seuss’ birthday, so it’s timely as well!
You’ll need:
- Snow
- A box of liquid food coloring
- Spray bottles filled with water
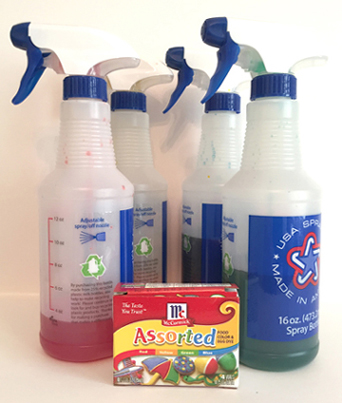
I used McCormick brand food coloring and spray bottles I found in the housecleaning section of my local grocery store (I’ve also seen them at Dollar Stores and in the beauty/travel size section of Target). I filled the bottles with warm water, then dribbled in dye until the desired color was achieved. Then we headed out to the backyard!
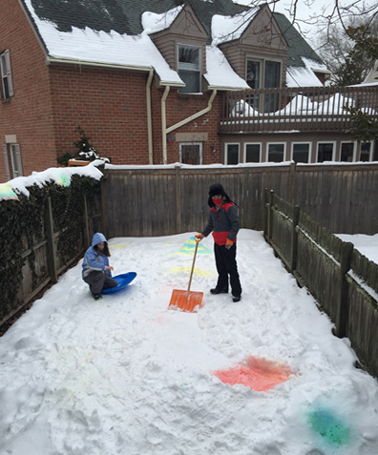
This photo was taken at the very beginning of our adventures…I’m afraid I don’t have a crazy “after” photo! But the kids painted a multi-color path around the yard (and constructed a micro sledding hill as well). I decorated a little higher, spraying the snow along the top of our fence:
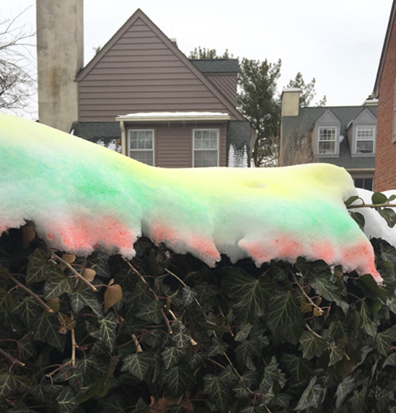
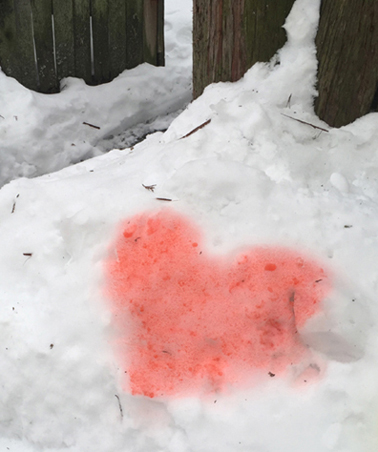
We also made some hearts on the opposite side, for the neighbors to enjoy…
A couple hints:
- Fill the water bottles to the top, so you don’t have to keep going inside to refill.
- Make sure the tops are screwed on tightly. Hah!
- Wear gloves (fleece or knit). Bulky mittens make it difficult to operate the spray lever.
Did this project make a huge mess? Actually no! I thought it was going to be much worse. Our clothes didn’t get stained, and I didn’t even need to wash our gloves afterwards. The melting snow has NOT left dye on anything, including foliage or the wood fence.
If you’re looking for another Seuss-inspired activity, but need to keep it indoors, check out our Seuss mini golf post! Here, you’ll find instructions for making inexpensive putters and holes.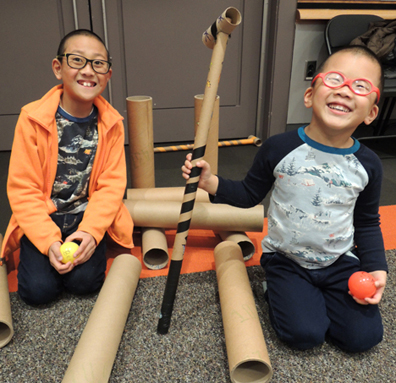
You’ll also find suggestions for putting together a custom course! You can build it with recycled boxes, plastic cups, paper tubes, old pool noodles…and just about anything else you can haul out of your closet!

As part of our library’s mission of diversity, equity, and inclusion, we would like to share a link to a statement from Dr. Seuss Enterprises addressing their commitment to action regarding the content of six particular Seuss titles
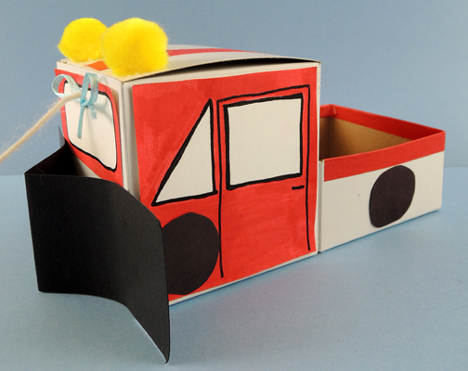
 Color and cut the side doors and windshields from the template, then tape them to the box. I would, however, like to bring your attention to this very clever variation on the template. The kid bent the doors outwards, and drew a snowplow driver inside!
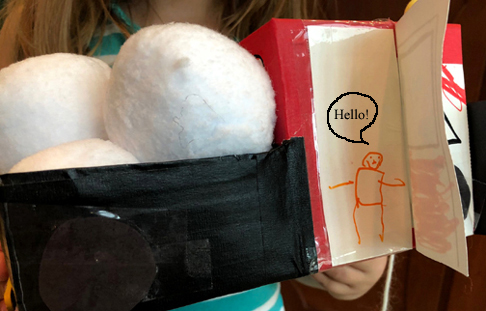 We provided
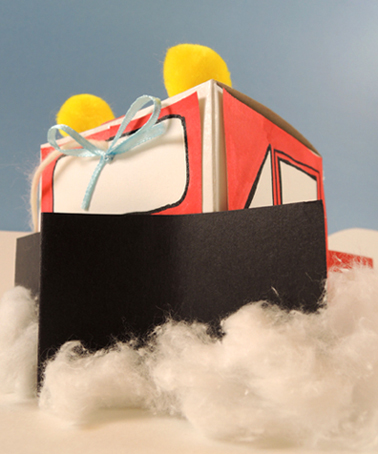
 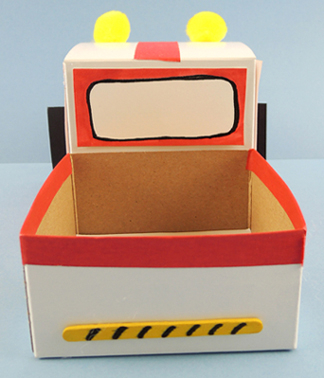 The wheels and blade of the snowplow are black poster board. Add 2 yellow pom-pom “flasher lights,” a yarn pull string, and you’re done! We decided to add an extra challenge to our story time project in the form of these fabric snowballs. I scored a dozen packages of these on deep, deep discount this summer.
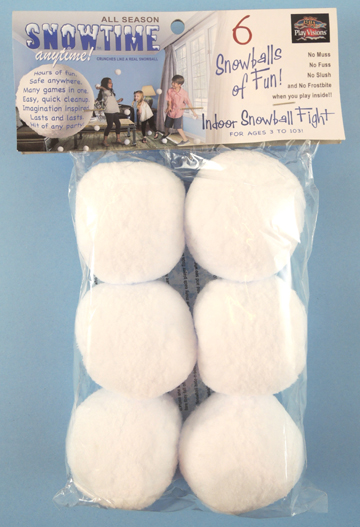 Kids were challenged to navigate our gallery, rolling the snowballs in front of the plow without losing them. Then they got to take some snowballs home!
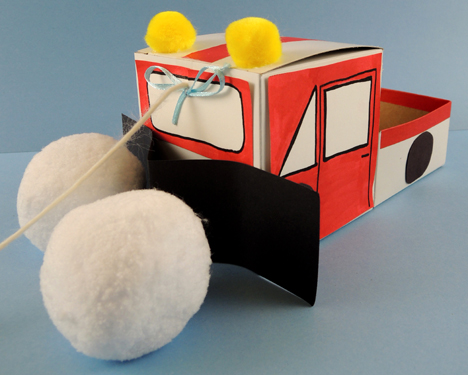 Did you notice the little blue bow on the snowplow’s windshield? In the story, Gus ties his blue scarf on Walt to celebrate the little plow being “Number One!” We definitely wanted to capture that sweetness here as well.
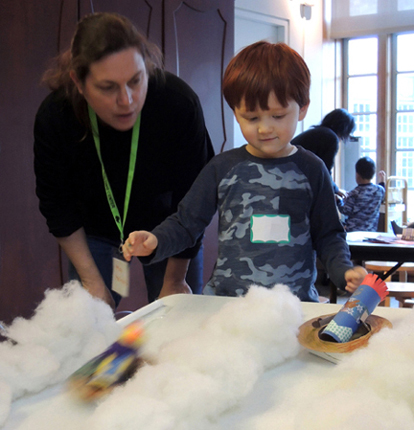 Swoosh down the plastic table slopes in your magnificent snow tube, then grab a delicious cup of hot chocolate (enhanced with chocolate scratch-and-sniff stickers) at the sweetest little snow station in the universe – the Cocoa Chalet!
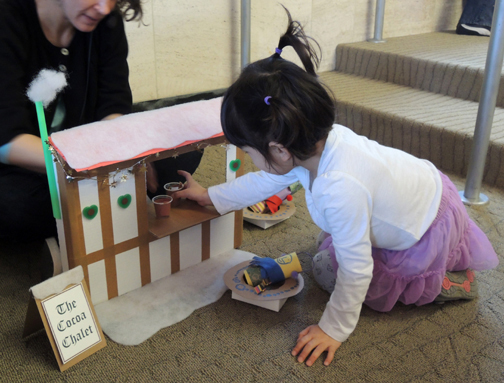
 Snow tubes first! Cut the bottom off a tissue box, leaving 1″ sides on the box. Cut a circular tube shape out of tagboard or poster board. Decorate it, then hot glue (or tape) it to the top of the box. Next, flip the snow tube box over and glue two mini craft stick runners to the bottom – this will allow the tube to slide most effectively. Finally, hot glue (or tape) a large plastic button to the inside bottom of the box. This provides the weight that will send your tube zipping down the hill rather than slow-poking to a halt.
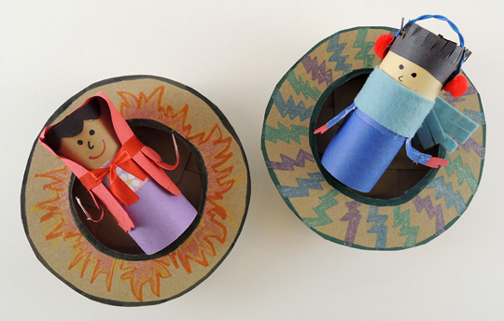
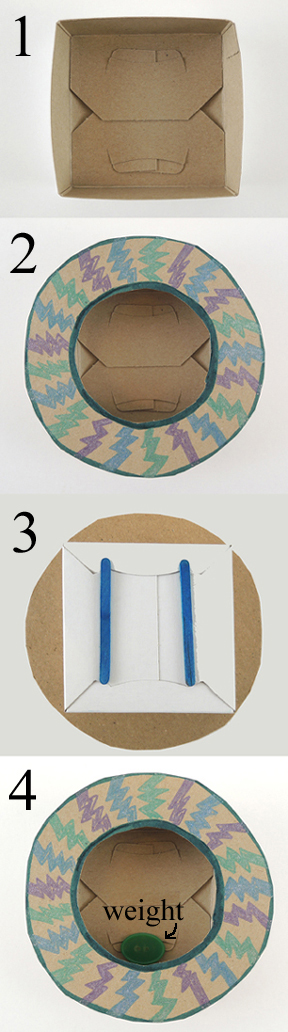 The tube rider is a toilet paper tube decorated with construction paper and markers. We added a felt scarf and a pair of mini pom-pom earmuffs as well. Did you recognize the red-cloaked rider on the right? That’s Little Red Skating Hood from this
 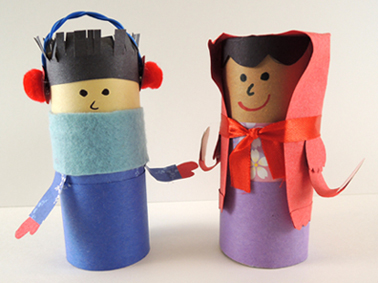 Your snow tubes are done, now for the slope! These were two, 6′ plastic tables we secured on stools. We’ve done exactly the same thing for this
 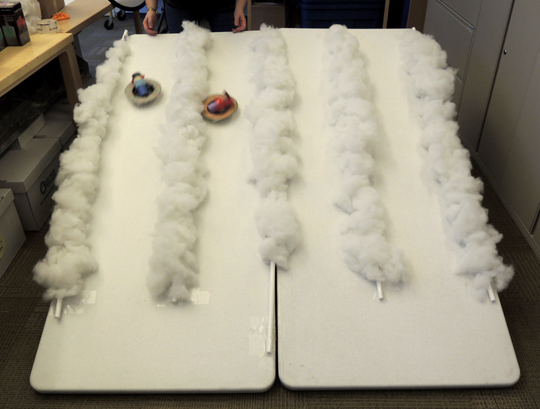 We took four, 60″ pieces of PVC pipe, and speared wads of
 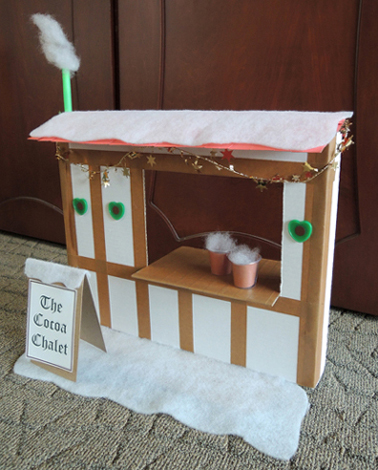 Here’s the back of the chalet. As you can see, the whole thing is attached to a cake pad base. Oh, and the chimney is a bubble tea straw.
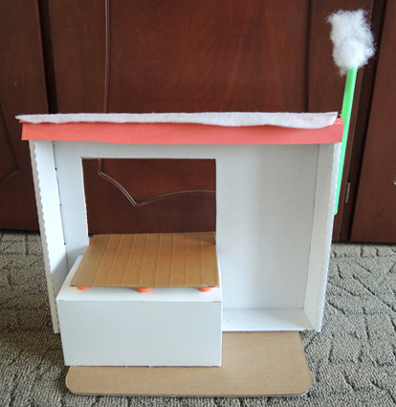 The hot chocolate was a little piece of brown construction paper curled into a 1oz plastic sample cup. I topped it off with some poly fill whipped cream, then added a chocolate scratch-and-sniff sticker so the cup would exude a chocolatey bouquet.
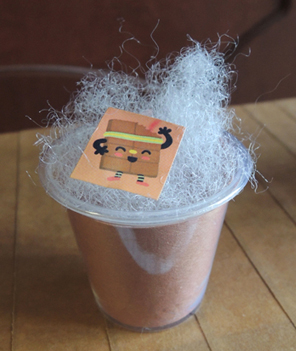 Hey! Do you want to see the most amazing hot chocolate in the world that I consume far too much of? Right here, my friend. Right