 This April Fool’s day, I decided to transform a tiny, unremarkable closet in my house into what my kids and I have dubbed THE MYSTERY CLOSET. The challenge was to create it for under $20. My friends, the grand total was $19.30. Details below!
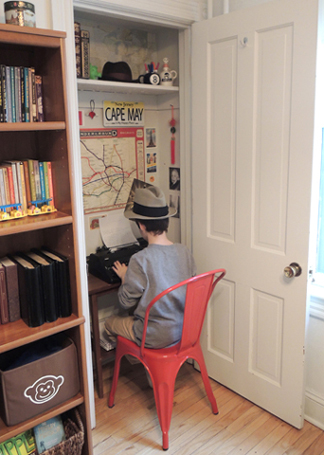
The ultimate goal for THE MYSTERY CLOSET was that it be a place for writing. While we each have a desk in our bedroom, and while there is an art project table in the kitchen, I felt there also needed to be a dedicated space for our household typewriter. It had been sitting on a buffet table in the dining room, but the height and location of the buffet meant you had to stand to type. The results were just a few sentences here and there. I theorized that if I lowered the height of the typewriter, and allowed space for a chair to be pulled up, it would result in longer stories. I was way right.
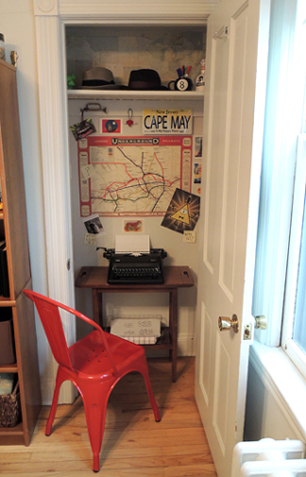
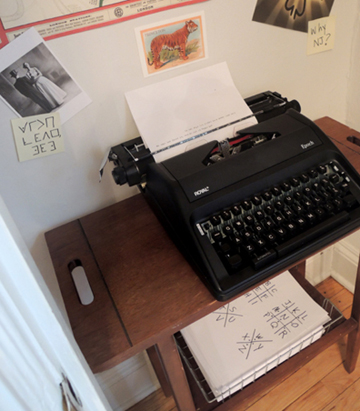
There were 2 major limitations to this project: size and budget. The closet is very tiny. A mere 12″ deep and 43″ across. Luckily, I had an old table in the attic that fit. There’s just enough space on the table for the typewriter and a metal basket with blank paper underneath. Scoot a chair over from the dining table, and you have yourself a desk!
 Budget was the other concern. I solved it by using items already in the house – xmas ornaments, halloween decorations, hats from the costume bin, a red tassel I found in my nightstand, a rediscovered world map, a…uh…green glow-in-the-dark pig that oinks when you squeeze it, etc.
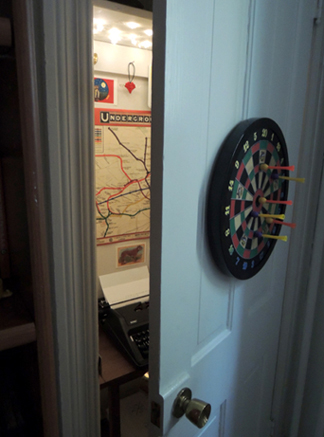
I papered the upper shelf with the world map, but the London Underground map you see on the back wall is actually wrapping paper from a local bookstore! I also bought a dozen postcards. The final purchase was a Magic 8 Ball mug, deeply discounted, from Target.
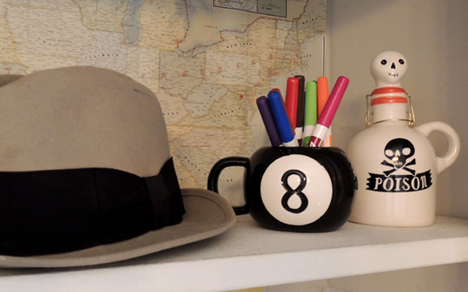 And for you eagle eyes who spotted Bill Cipher, the question mark Post-it note, and the 8 Ball…yes, we are huge Gravity Falls fans. Fun fact: the first sentence I left the kids on THE MYSTERY CLOSET typewriter was “Stan is not what he seems.” #teamwaddles
And speaking of ciphers, the new installation did include a coded message. I dropped 2 copies of the pigpen cipher in the metal basket, and left a Post-it message to the kids nearby:
 The grand finale? This closet is wired with overhead LIGHTS! There’s no electrical outlet, so I used battery-operated LED string light stars from IKEA (a leftover xmas stocking stuffer). The battery box is taped to the interior door frame, within easy reach.
The London Underground wrapping paper cost $4.50, The Magic 8 Ball mug was $2.80, and the postcards cost $12. Project total: $19.30. Reaction from my kids? Priceless.
That morning, I didn’t say anything about the closet. I just waited until my daughter asked “Hey, where’s the typewriter?” A cryptic reply, a house-wide search, and the closet was soon discovered! They were soooo excited. Especially my 10 year-old son. I’m happy to report THE MYSTERY CLOSET has been in steady use by both kids ever since. The typewriter goes at all hours, which is truly music to this mom’s ears. Success!

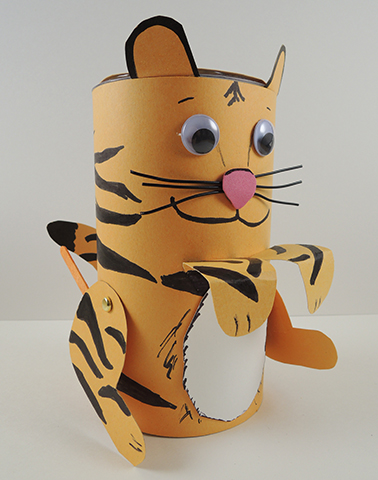
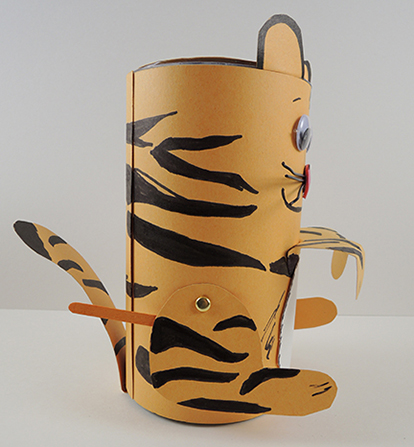 Use a box cutter to make small slices in the oatmeal container, then attach the tiger’s back legs to the body using brass fasteners. Next, attach two, 3″ long craft sticks to the legs, leaving plenty of room for you to grasp the sticks. To operate, move the sticks up and down while gently sliding the oatmeal container forward, and you have yourself a splendid tiptoeing tiger!
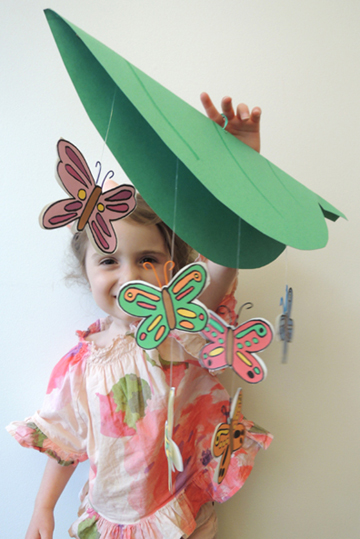 Just a quick, clever little flip…and your giant leaf reveals a gorgeous butterfly mobile!
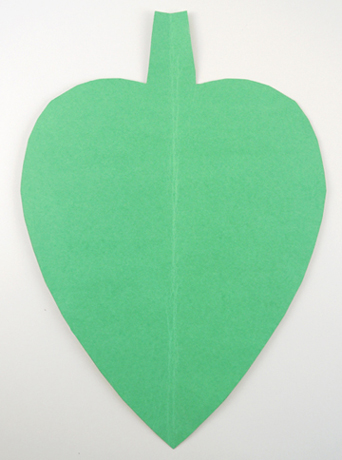 Next, knot 4 pieces of clear elastic beading cord around a wooden dowel. The strings need to be fairly long (15″ or so) to allow the butterflies to dangle well below the edges of the leaf. Once all the strings are attached, hot glue the dowel along the spine of the leaf.
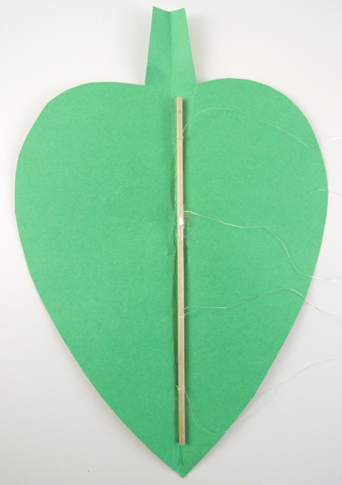 Now your leaf needs a finger loop. Fold the leaf in half, then use a box cutter to make a small hole in its middle. Thread an 8″ piece of twisteez wire or pipe cleaner through the slit, then circle the wire to make the loop (you can also use markers to draw veins on the outside of the leaf like we did!).
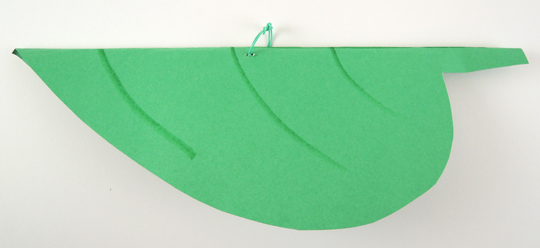 Now for the butterflies! Color and cut the butterflies from the template. The way I positioned the butterflies on the template allows you to fold them double sided. But you can also go single sided if you like! Arrange the butterflies on the elastic beading cord, then secure with tape.
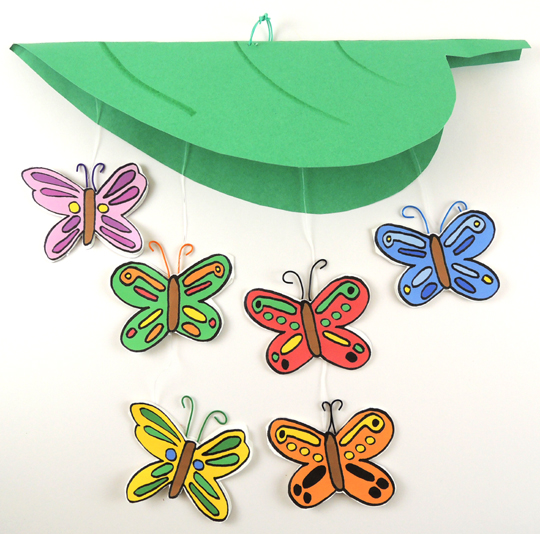 To operate the mobile, tuck the butterflies into the leaf. Slide your finger in the loop, and, keeping the butterflies tucked, hold the leaf upwards. Find the person you’d like to surprise, then quickly flip the leaf upside down, releasing the surprise butterflies!