
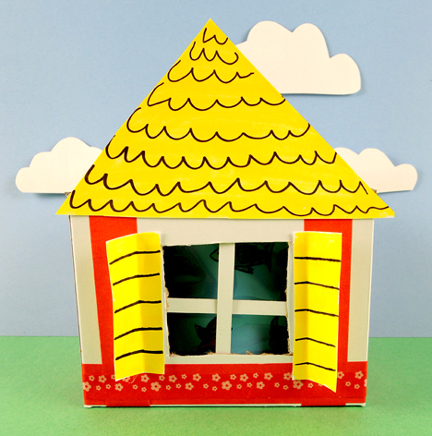
Need an aquarium in your home? How about we just make the whole HOUSE the aquarium? Turn the tab at the top of this house to twirl ocean creatures past your window. Video, of course, at the end of the post!
We read Faucet Fish, written by Fay Robinson, and illustrated by Wayne Anderson (Dutton Children’s Books, 2005). Elizabeth adores fish, and spends quite a lot of time at the local aquarium. Alas, she only owns a guppy, and her parents aren’t keen on getting any more fish. But one day, a trout drops out of the faucet! The faucet fish keep coming, getting larger and larger until a baby beluga emerges in the tub. Only one thing left to do…turn the entire house into an aquarium!
You’ll need:
- 1 small tissue box
- A box cutter
- A square of blue cellophane
- A selection of construction paper
- 1 brass fastener
- 1 snippet of poster board
- 1 plastic cup
- 1 strip of white card stock
- Scissors, tape, and hole punch for construction
- Markers for decorating
- Hot glue
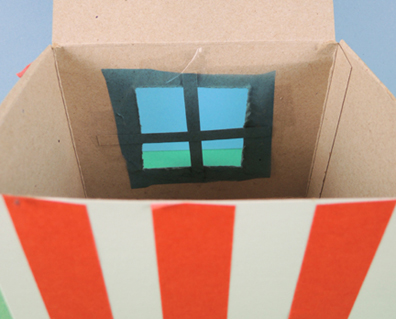
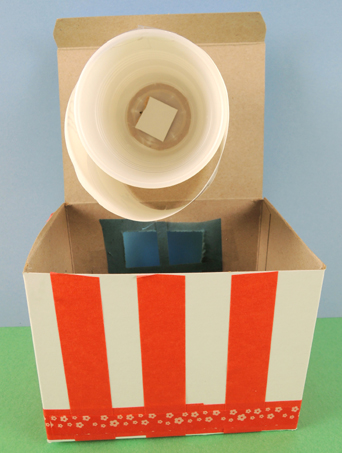
The box for this project definitely requires a lid! We used a 4.5” X 4.5” x 6” craft box, but a small tissue box works as well (just flip the tissue box upside down). Use a box cutter to create a small slit in the center of the box’s “roof.” Next, cut a window in the box. Use leftover cardboard scraps to craft window panes, and tape blue cellophane over it.
 Now decorate the outside of your house! We offered construction paper, color masking tape, and patterned tape, but you can also just use markers. One thing to note…the roof is just a triangle of paper attached to the front of the box. It doesn’t extend backwards over the top of the box.
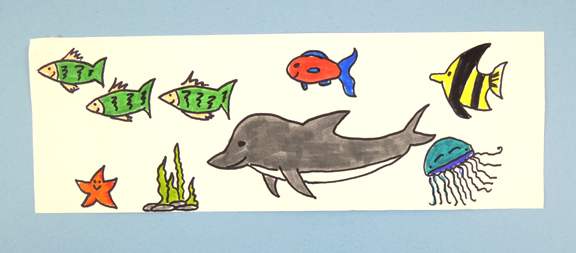
Next, decorate a strip of white card stock with ocean creatures. Make sure to measure the strip carefully…it needs to wrap fully around your plastic cup and not extend past the top or bottom. Our strip was 4″ tall x 11″ wide. And can I say what a fine job Katie did with her ocean creatures? Just look at that happy jellyfish!
 The final piece of the project is the spinning cylinder. This is a plastic cup attached to the roof of the house with a brass fastener. Two tabs extend from the top of the box, allowing you to easily turn the mechanism:
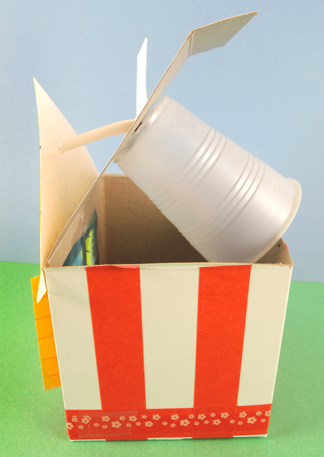 Our tabs were created with a 0.75″ x 3″ snippet of poster board. Punch a hole in the center, then thread a brass fastener through the hole. Push the ends of the fastener through small slits cut in the top of the box and the bottom of a plastic cup. Unfold the fastener’s prongs inside the cup.
You really want the connection to be strong, so we recommend hot gluing AND taping the head of the brass fastener on the snippet. Hot glue a small square of cardboard over the prongs inside the cup as well:
 Finally, wrap your strip of ocean critters around the cup. As you can see in the above photo, the cup is tapered, so the strip won’t wrap around it in a perfect circle. No problem! So long as the strip is secured tightly to one point of the cup (we suggest the strip’s seam) it will work. Here’s a shot of the finished mechanism, which is then tucked inside the house. Secure the lid down with tape.
 Ready to see this little contraption in action? The colors were a little muted in the video, so I removed the blue cellophane from the window to showcase the ocean critters more clearly. Swim my little friends, swim!
 Heading to the North Pole? South Pole? Or perhaps you’re on an unintentional grand tour of the globe? Hop on this convenient ice floe with some slightly puzzled penguins and polar bear and prepare to see the world!
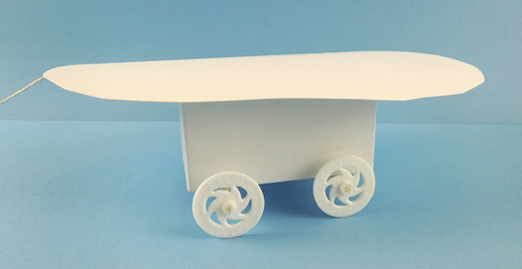
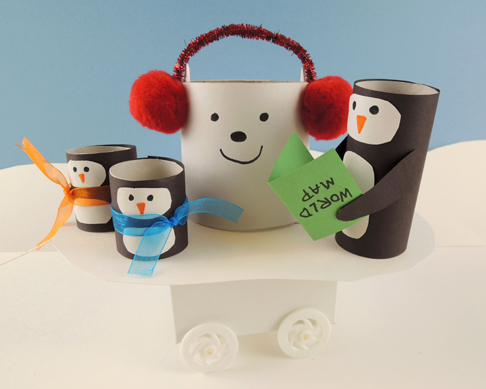
 Now for the polar bear and the penguins! For the bear, we wrapped a 3.5″ tall packing tape core with white construction paper. The earmuffs are a
 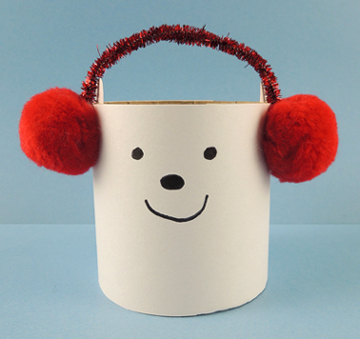 To make the penguins, wrap 2 toilet paper tubes with construction paper. Cut one of the tubes in half to create the 2 small penguins. Attach wings, faces, and tummies. We also added ribbon scarves and a world map to our penguins trio (and if you want to be true to the book’s illustrations, attach the map upside down).
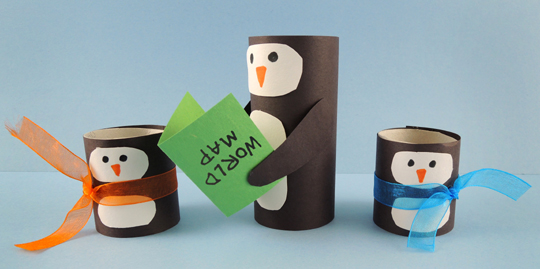 Place the polar bear and penguins on top of the ice floe and travel the world! Some kids opted to tape their passengers to the ice floe to keep them from falling off…
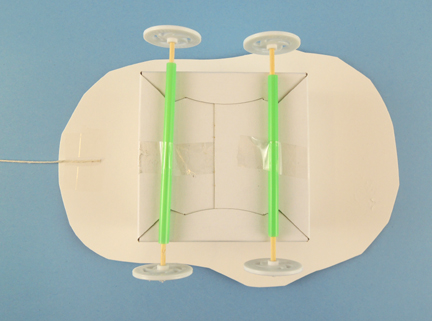
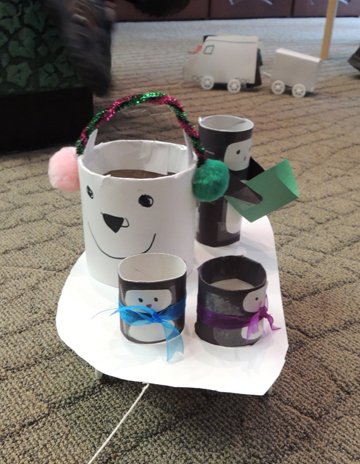 I snapped this adorable traveling quartet en route to our gallery, but did you also notice the vehicle in the background? One little boy decided to create a “snow train” using project materials. The penguins are riding inside the engine. Fantastic!
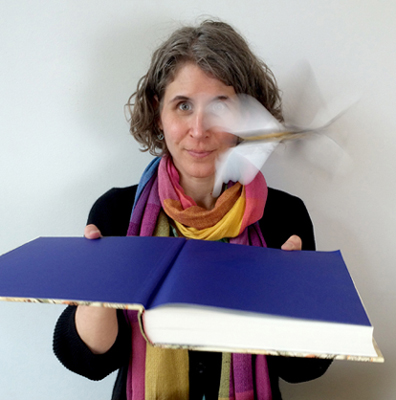 Recently, while in Brooklyn, I wandered into a little toy store called Matt & Juliette. There, I discovered some neat-o wind-up butterflies by Seedling. The clerk at the toy store explained that some people like to put the butterflies inside birthday cards. When the recipient opens the card, the butterfly flutters out. If it works for cards, I thought, it’ll totally work for books! I immediately purchased a pair to test out. They retail for $3 each and come in 4 different colors and styles.
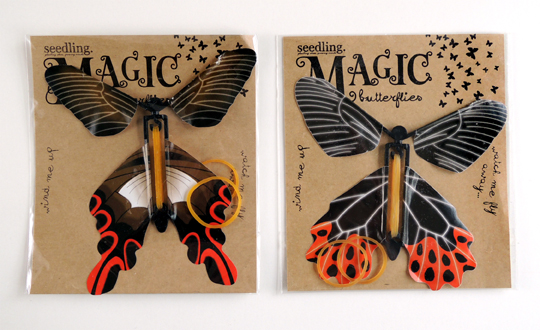 As you can see, the toy is pretty simple. You hold one half and twist the other half. This motion winds the 2 rubber bands, which ultimately propel the toy skyward.
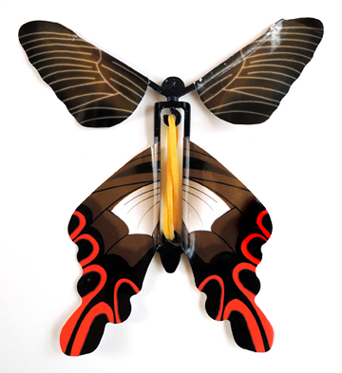 The directions warned that winding the rubber bands too tightly could cause them to snap. This is true. Over the course of 20 test flights, we broke 2 rubber bands. But there are two spare rubber bands in each package, so no problem! Alas, one of the plastic hooks on the smaller butterfly snapped within 5 minutes, rendering the toy useless, but the other one held out just fine. Ready to see a butterfly in action?