
Names: Yaared Al-Mehairi, Kuni Nagakura, Avneesh Sarwate, Joe Turchiano, John Subosits
Group Number: 1
Description:
For our creatively moving robot, we decided to build a roomba like bot made out of plastic bottle parts. Our CrackRoomba is driven by a DC Motor which is attached to the end of a punctured bottle cap. The rotor of the DC Motor is positioned underneath the bottle cap and is held in place by electrical tape. While the CrackRoomba in action exhibits creative patterns of motion, at the same time, it serves as a surface polisher. Our main inspiration for the CrackRoomba came from an earlier idea to use a Servo to simulate inch-worm motion. We thought it would be cool to create a robot that could crawl forward using joint motions. However, precise joint motions seemed rather difficult to perfect, and as a result we chose to adapt the traditional roomba with more erratic motion and attach it to a bottle to simulate an edging forward motion. We were certainly pleased with the results of the DC Motored bottle cap. The DC Motor drove the bottle cap rather well and moved extremely smoothly over the table surface, thus acting as an effective looking surface polisher. Although the DC Motor drove the bottle cap well and the whole system edged forward consistently, we would have liked to see more movement of the large bottle. While simply using a smaller bottle could be one improvement, allowing more precise movement of the motorized bottle cap so as to allow the CrackRoomba not only to simply nudge but also to pull the bottle in a steady direction would be something to work on in future iterations. At the moment, the limited motion of the large bottle restricts the area that the motorized bottle cap can polish due to the irregularity of the motorized bottle cap’s movement.
Brainstorming Ideas:
- Wobblebot – Weeble-wobble bot that uses eccentric weight to roll (DC motor)
- Helibot – Helicopter bot that uses Servo to aim and DC motor to jump in a given direction
- Wheelchairbot – Wheelchair bot propelled by DC motor
- Breakbot – Breakdancing bot that can do the “windmill”
- Trackbot – Drive wheels/tracks with DC motor
- Legbot – Construct bot legs out of wheel parts and drive with DC motor
- Wormbot – Use Servo to simulate inch-worm motion
- Airbot – Controllable airship that uses servo to aim DC motor driving propeller
- Clumsybot – Robot that falls over in a desired direction then picks itself up and repeats
- Dragbot – Use DC motor as winch to drag bot back to “home base”
- Sledbot – Use DC motor to drive fuel pump for engine of rocket sled bot
- Trolleybot – A trolley that uses a pulley, a DC motor, and a guiding wire to move
- Rollbot – A robot that does a “pencil roll” using a DC motor
- Boatbot – A boat with a Servo controlled rudder and DC motored propellor
- Cranebot – “Arm and wheel” model where DC motor is mounted on Servo and from computer you can lift and drop Servo to let DC motor touch ground or not
- CrackRoomba – Use DC motor to drive roomba made out of plastic bottle parts
We chose to prototype idea #16 – a roomba type bot that polishes floors and moves.
Design Sketches:

CrackRoomba sketch (bottle cap, DC Motor, large bottle, Arduino, circuitry)
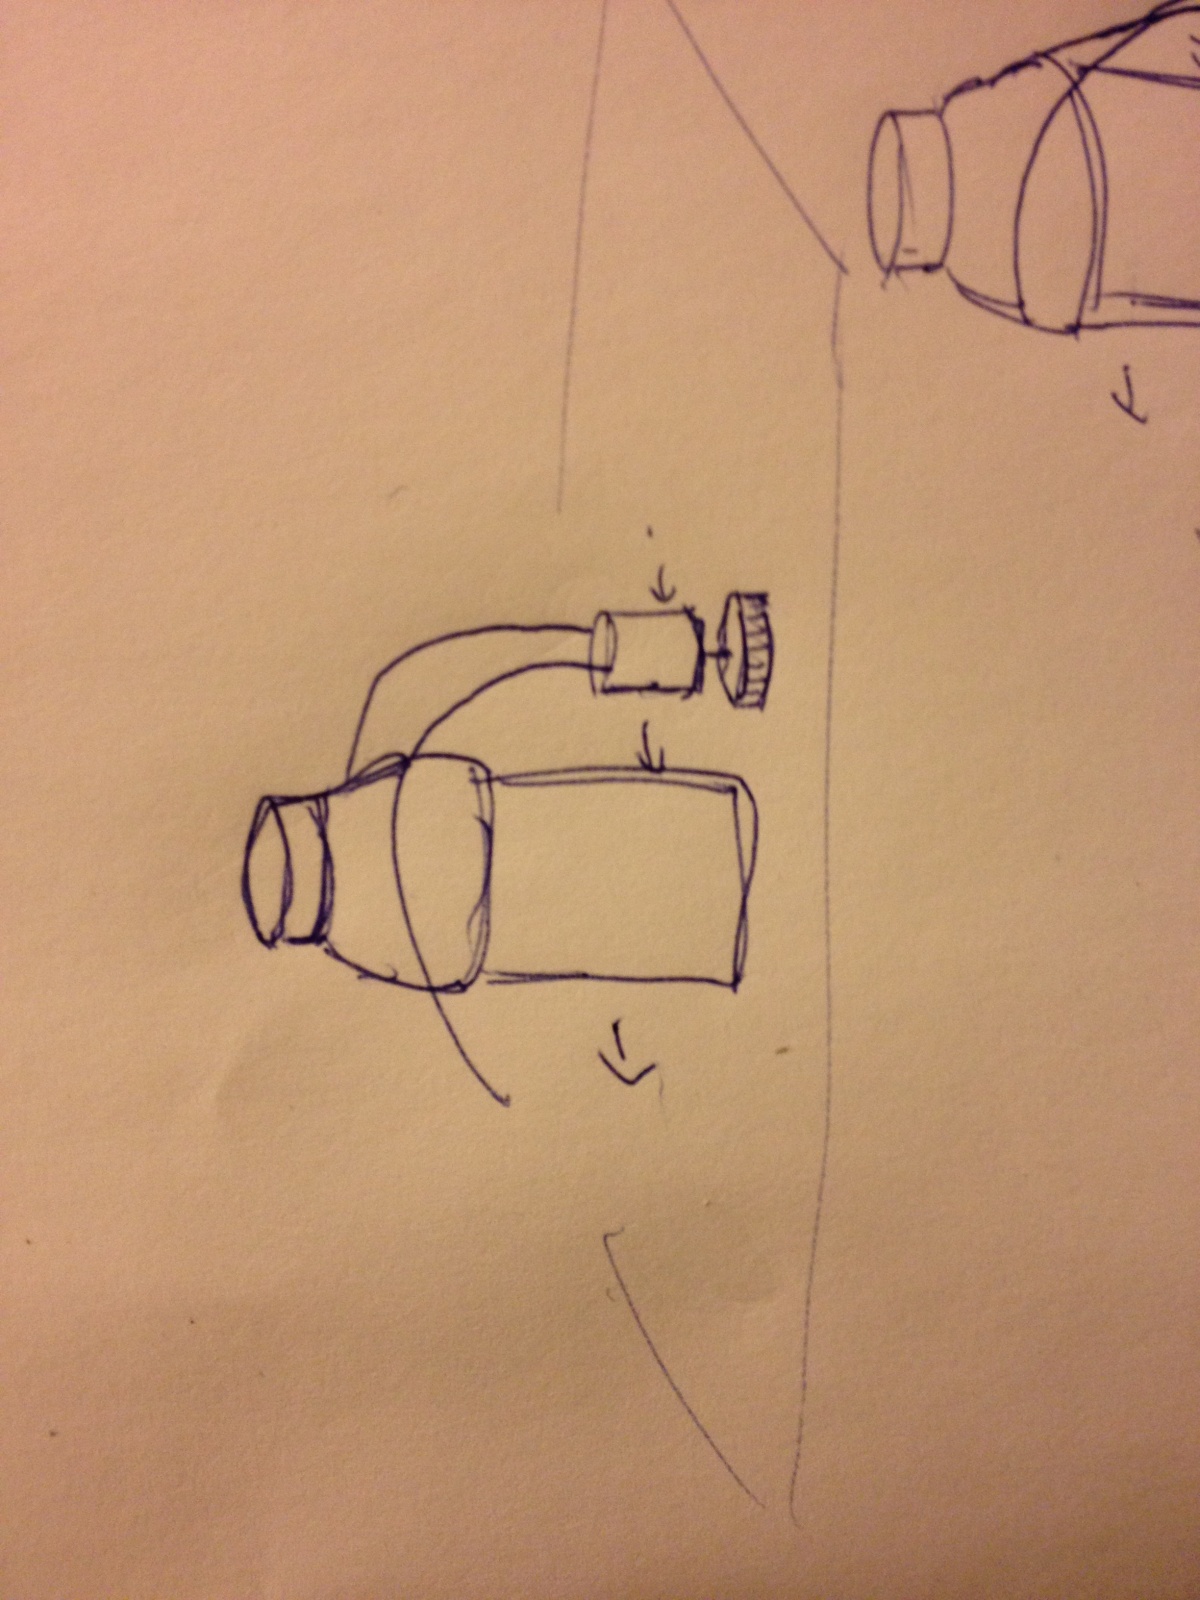
CrackRoomba polishes floor and edges forward
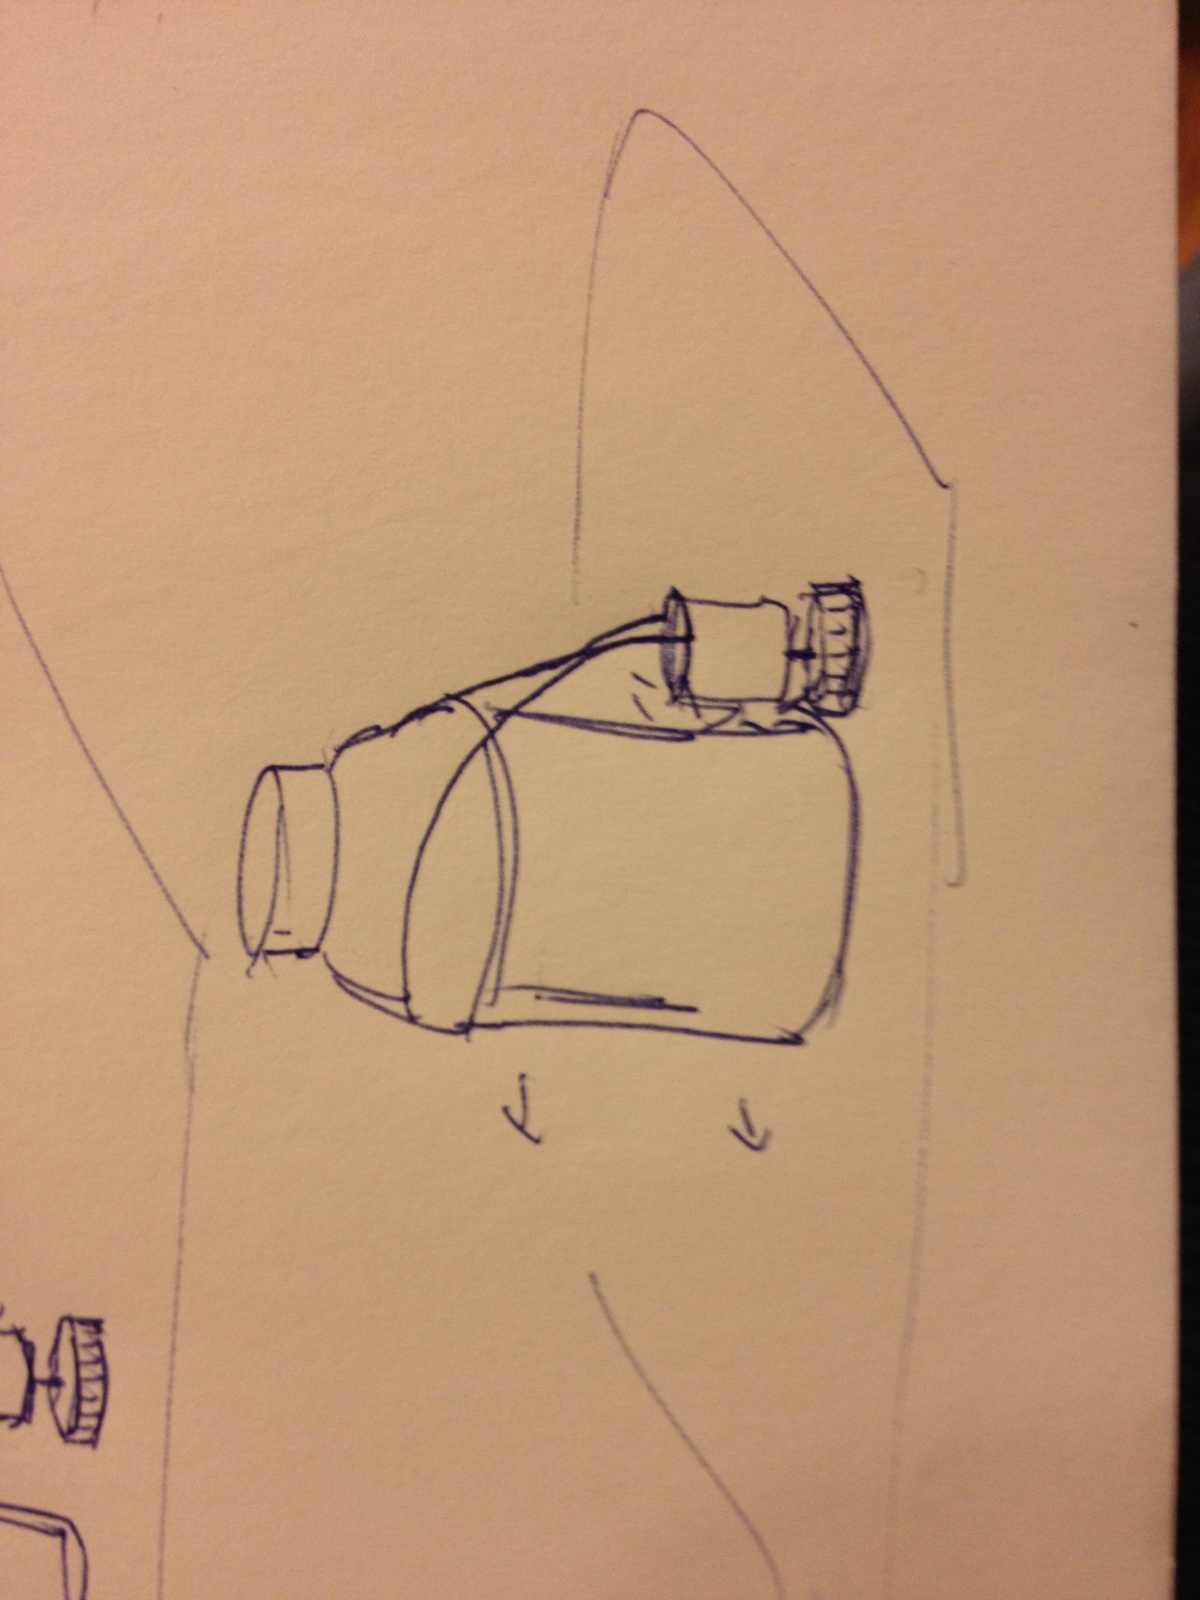
CrackRoomba pushes against bottle, nudging it ahead
System in Action:
Polishing Surface
Edging Forward
Polishing Suface and Edging Forward!
Parts List:
- Arduino
- DC Motor
- Bottle Cap
- Large Bottle
- Electrical Tape
- 1N4001 Diode
- PN2222 Transistor
- 220 Ohm Resistor
- Breadboard
- Jumper Wires
- Alligator Clips
Instructions:
- Poke a hole in the center of the bottle cap
- Put the rotor of the DC Motor through the bottle cap
- Apply some electrical tape onto the rotor to put it in place
- Attach alligator clips to the motor’s wires and tape the aligator clip wires to the large bottle
- Put the DC Motor vertically onto the table with the bottle cap on the table surface
- Assemble the circuitry to operate the motor according to the attached diagram

Circuit diagram
Source Code:
/*
Names: Kuni, Yaared, Avneesh, Joe, John
Group 1, Grupo Naidy
COS 436 Lab 3
CrackRoomba code
*/

int motorPin = 3;

void setup()
{
  pinMode(motorPin, OUTPUT);
  Serial.begin(9600);
  while (! Serial);
  Serial.println("Speed 0 to 255");
}

void loop()
{
  if (Serial.available())
  {
    int speed = Serial.parseInt();
    if (speed >= 1 && speed <= 255)
    {
      analogWrite(motorPin, speed);
    }
  }
}