
 What could be more fun than a robot pal to play with? Ooooohhhhh yeaaaaaah!
We read Boy + Bot, written by Ame Dyckman and illustrated by Dan Yaccarino (Knopf Books, 2012). One day, a boy meets a robot. The new friends have a blast playing together, but while rolling down a hill, Bot’s power switch is accidentally bumped off. The boy tries everything (applesauce, story, bedtime) to take care of his unresponsive friend, but nothing works. Exhausted, the boy falls asleep. While the boy is sleeping, his parents unknowingly switch Bot back on. Bot, distressed that the boy is not responding, tries everything to revive him (oil, instructional manual, battery). Finally, the Inventor sets Bot straight, the boy wakes, and they run off to play once more.
You’ll need:
- 1 box for the robot’s body (I used a 9” x 4 ½” X 4 ½” box)
- 1 smaller box for the robot’s head (I used a 4” x 4” x 4” box)
- 2 extra-long pieces of clear clear elastic beading cord
- 2 craft sticks
- Masking tape
- A box cutter
- 4 poster board strips for the arms and legs
- Hot glue
- Art supplies to decorate your robot. This could be anything – sparkle stems, tin foil, mylar, shiny paper, stickers, etc.
- An assortment of beverage caps (optional)
- Scissors, tape and glue sticks for construction
- 1 wooden dowel
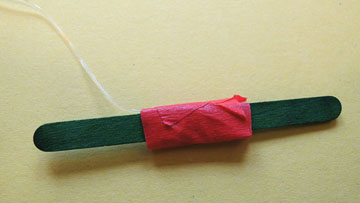
The first step is to super-duper secure the elastic cords to your robot’s body. This is important because the robot is really going to get bopped around. Wrap each piece of elastic cord around a craft stick, double knot it, and cover the knot with masking tape like so:
 Then, use the box cutter to make two vertical slits in the “shoulders” of the robot. Starting INSIDE the box, thread the cord through the slit and then pull until the taped craft stick is right up against the inside of the box. Repeat on the other side.
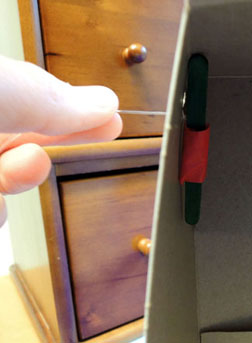 You don’t need to secure the craft stick inside the box. In fact, it’s better if it wiggles because it produces a bouncier robot! With the cords dangling outside the body, hot glue the head, arms, and legs. I also offered a choice of beverage caps for eyes, ears, buttons, and hot glued them on.
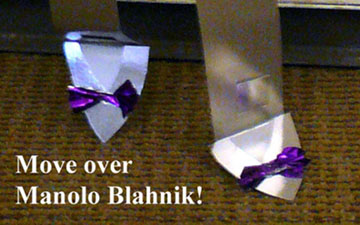
Now it’s time to decorate! I broke out the Bling Bin, heaped even more metallic supplies on the tables, and told the kids to let their imaginations go wild! While they were working, I walked my robot around the art tables for inspiration. I was quite proud her dainty robot shoes.
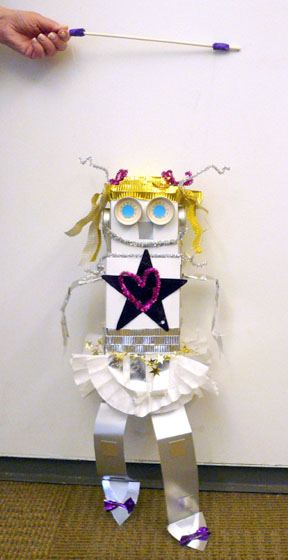
 When the decorating is done, rig your robot up to the wooden dowel. Start by dangling your robot from the elastic cords so its feet are touching the floor. Then, wrap the elastic cords around the ends of the dowel and secure them with masking tape.
 Finished! We walked our robots around the gallery in a sparkly, bouncy parade, but you can also put on some music and host an awesome robot dance party!