 We’ve reviewed a lot of interesting word products on this blog (see this calligraphy kit, these spelling straws, these clay words, this bbq brander, this DIY neon letter kit, and this vanishing paper!). But today’s blog post has to be the sweetest test yet. Because Katie and her crew tested a chocolate pen. That’s right. A CHOCOLATE PEN. Take it away, Katie!
Candy Craft’s Chocolate Pen retails for around $30 and the suggested age range is 6+, though the instructions specifically say adult supervision and participation is required. I fully support this recommendation and want to add a personal observation. Children ages 10 and under will definitely need adult assistance, whereas kids 10+ should be able to do most on their own with one exception (more on this later).
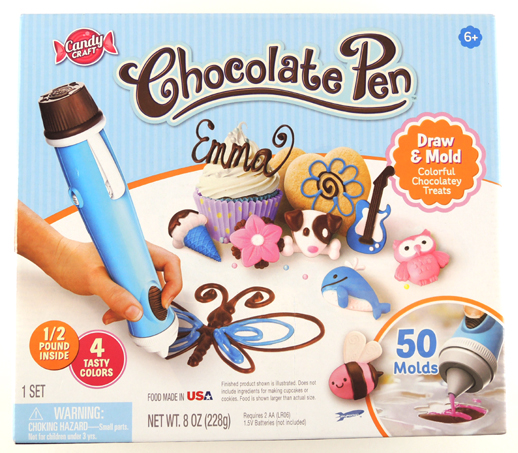
The Chocolate Pen kit has everything you need to “draw & mold colorful chocolately treats.” There is ½ pounds of confectionary candy in different color pouches (white, red, blue and brown); four clamps; pen tips and caps; three mold trays; five gift bags and twist ties; and the chocolate pen itself (two AA batteries are not included). If you want to write out a word or make your own drawing, you will need to have sheets of either wax or parchment paper handy.
A quick note for those who have food allergies: the confectionery candy contains milk and soy. Please consult the nutrition facts for the full list of ingredients.
After thoroughly washing and drying the various pieces of the pen tip and the treat mold trays, I got to work putting the chocolate pen together. There are a lot of steps to follow, but the instructions describing how to prepare the confectionary candy pouches were clear and well written with informative drawings. However, the instructions did not prepare me for the frustration of attaching the candy pouch to the pen tip.
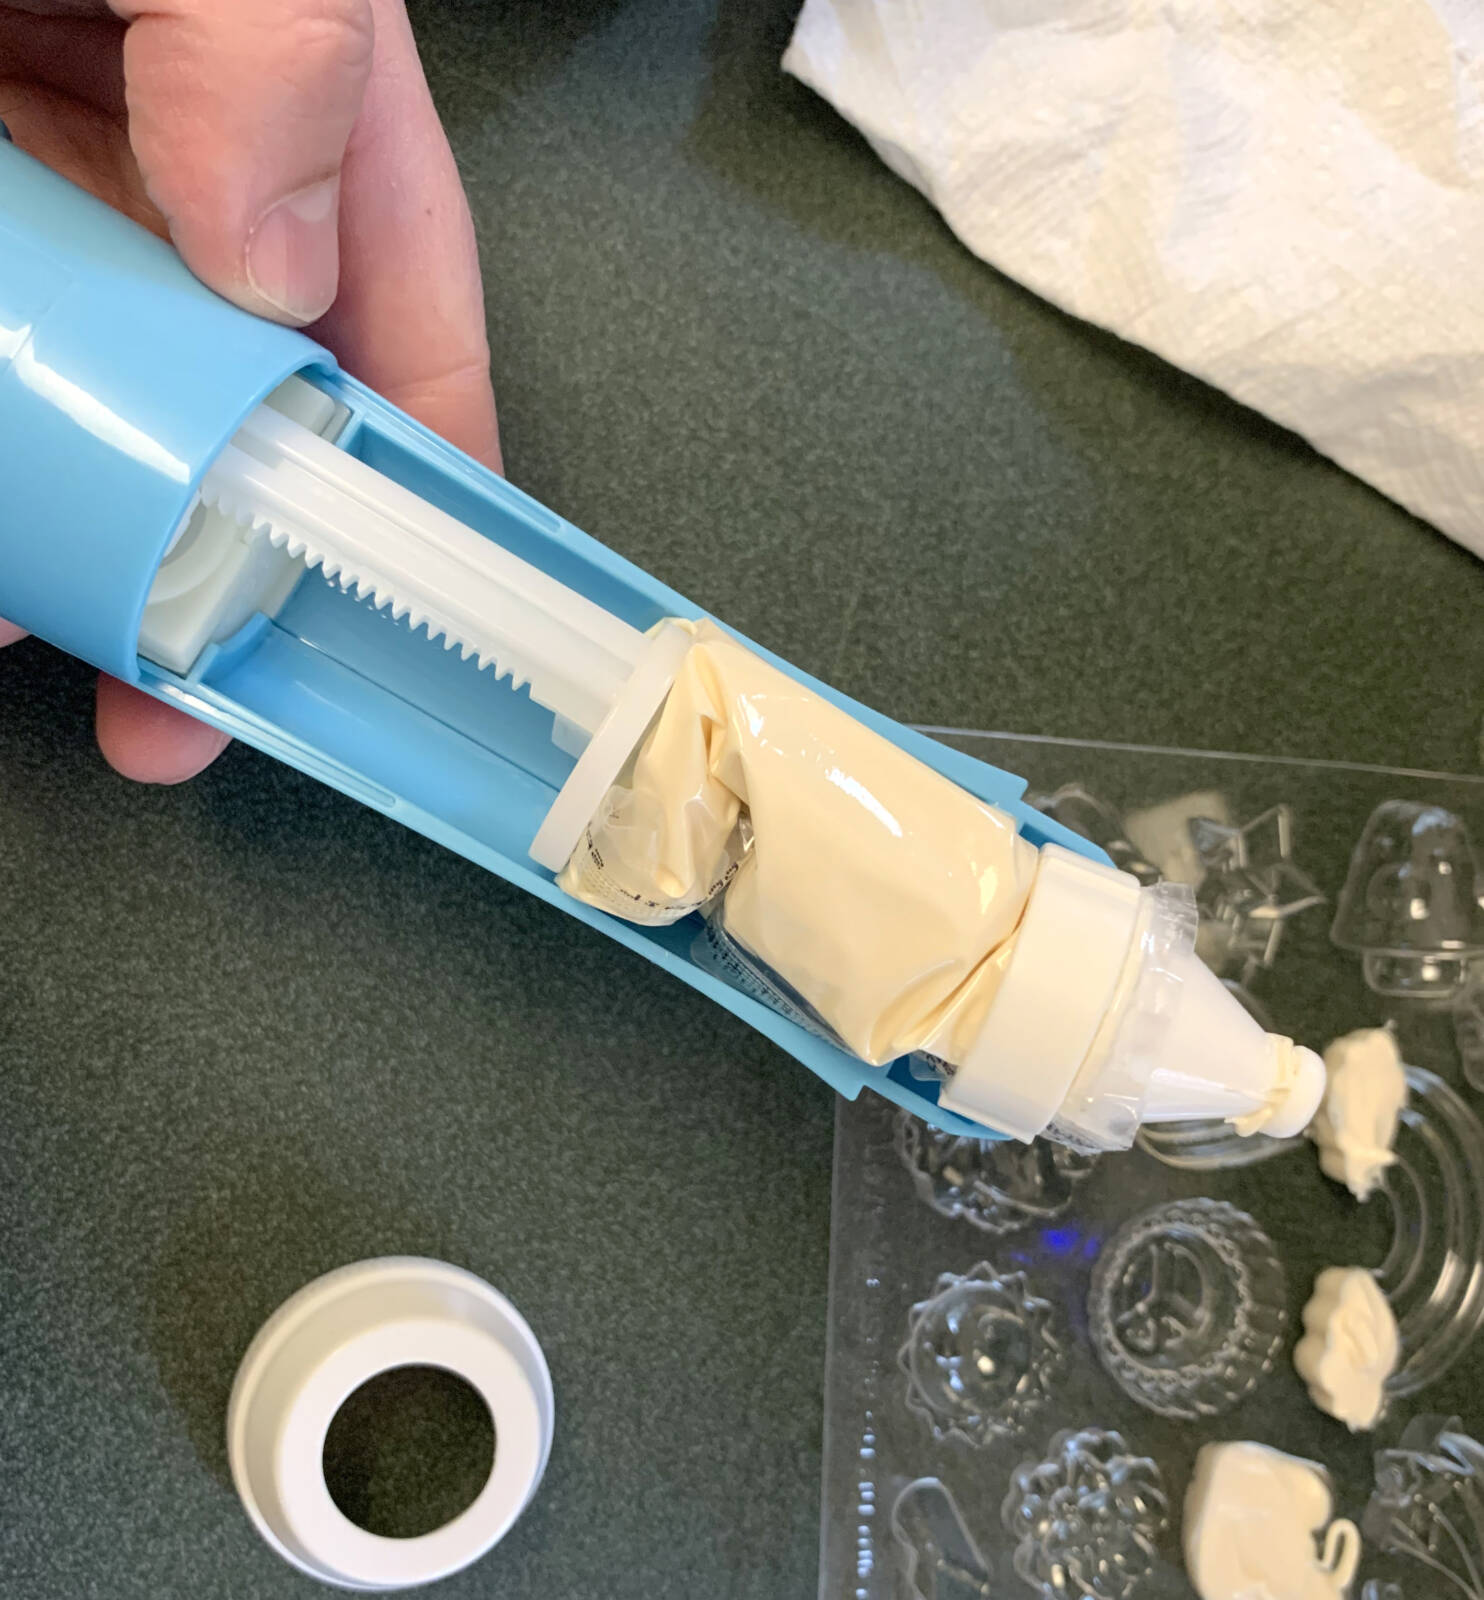
It took every ounce of my finger/hand strength to properly secure the clamp around the pen tip, which I had inserted into the open melted candy pouch. You have to leave at least 1/8” of excess pouch extending beyond the clamp for a good seal, which makes sense. It would be a disaster to have confectionery candy squirting out of the pouch and into the interior of the chocolate pen. But boy oh boy, it was a real challenge to close the clamp. It was messy, it was aggravating, and it cast serious doubt in my mind about the ability of any child being able to do it on their own (as I alluded to earlier).
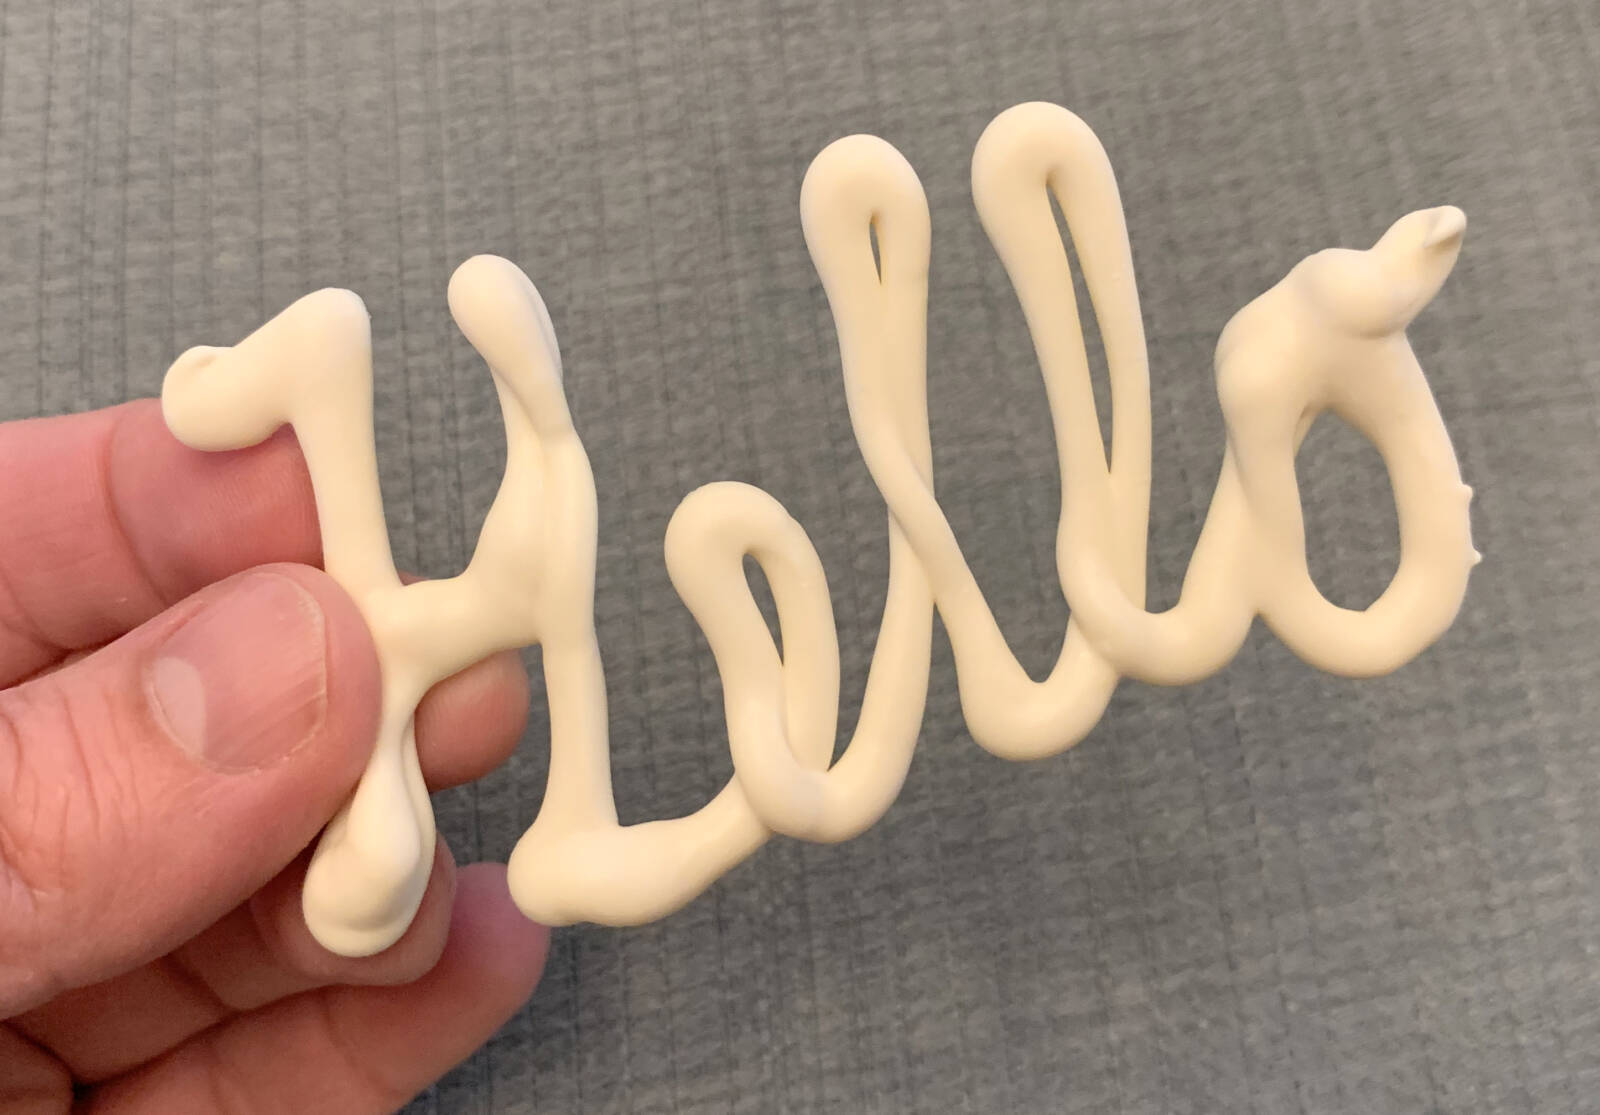
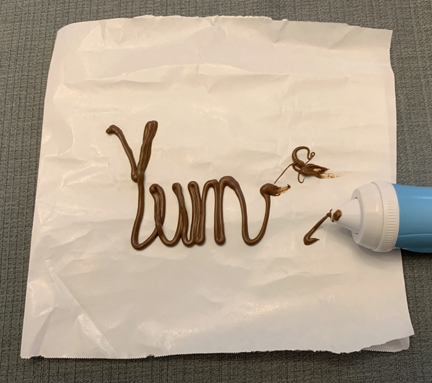
Once I was able to finally lock the clamp, I continued following the preparation instructions until I was ready to start drawing with the chocolate pen. I carefully wrote “Hello” and “Yum” in cursive on a piece of parchment paper. While it was relatively easy to write with the pen, I discovered that candy would continue to ooze out of the pen tip well after I had stopped pushing down the power button. Needless to say, I was left with a big blob of excess candy at the end of my word.
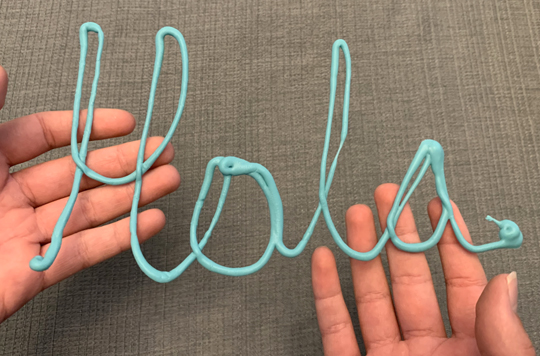
I called upon my son to lend his writing hand and give the pen a try. He wrote “Hola” and had the same problem with excess candy continue to push out of the pen tip after releasing the button. We carefully transported our words and placed them into the freezer to harden. After impatiently waiting the recommended five minutes, we took a bite of our chocolate words. The results were deliciously fantastic! The candy is quite sweet and tasty!
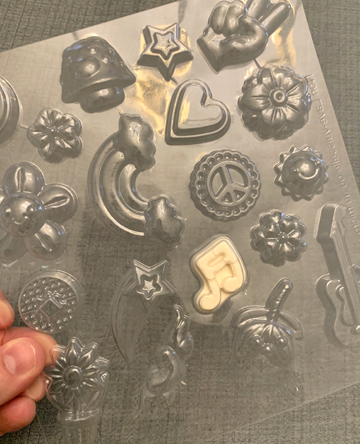
Next up was trying the mold trays. The mold shapes presented an unexpected challenge, due largely in part to the pen continuing to discharge candy after you stop pushing the power button. I found I had varying levels of success. I managed to create two- or three-color candies using the larger molds, but the smaller molds were very difficult. Even just pushing the power button for just 5-10 seconds caused extra candy to fill the molds too full or didn’t allow for a second color to be added. Under important information on the instructions, there is a statement that reads “results will vary from product images depending on age and skill level.” After testing this product, particularly the mold trays, I completely agree with that statement.
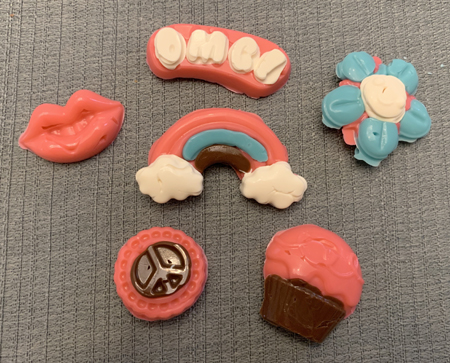
The Chocolate Pen is fantastic in concept, but I feel it falls very short of my excited expectations. Don’t get me wrong, I enjoyed eating my chocolate creations, but the frustration of trying to figure out the perfect amount of time to use the pen without the inevitable stream of extra candy made the process less than fun. The smaller mold shapes are hard to use, and sometimes the finished product didn’t easily pop out of the mold tray, as was the case for the little white music note!
Final ranking: 2 out of 5 stars
It appears the manufacturer made a significant update to this product sometime in 2020 and now offers an automatic load feature on the pen. The chocolate candy is warmed in a separate tray and you simply dip the pen into the color chocolate you want to use, load it and start creating. I’m glad they listened to their customers and made this much needed improvement. However, I’m quite curious there was any change to prevent the extra candy ooze when the pen is in use.

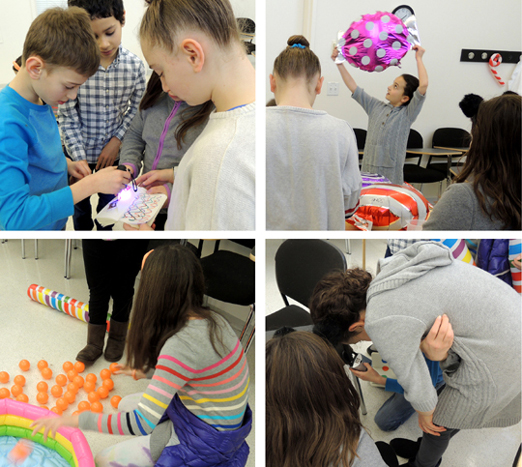
 Like last year, we ran 3 identical rooms simultaneously, every half hour, for 5 hours. The 3 classrooms we used were lined up down a long hallway, each door marked with a different color – red, green, or blue. We also had an extra classroom to serve as a “waiting room” for kids and parents.
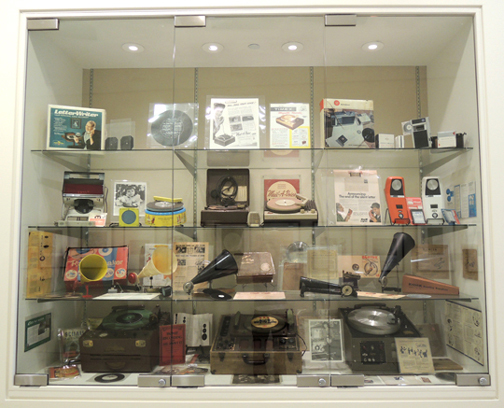
 In between the rooms were cool displays of vintage machinery and mechanisms. Like these old record players (our
  Annnnnd drumroll please! This is what the escape room looked like…
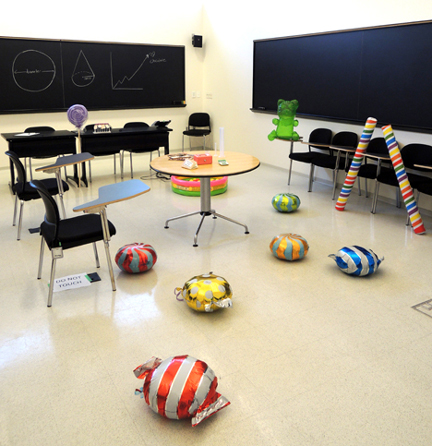 As the kids entered, a game master welcomed them to Mr. Wonka’s “Inventing Room.” She explained that there were job openings at the world-famous factory, but in order to make the cut, the team had to solve the puzzles Mr. Wonka had left for them. They had 20 minutes to find the ultimate solution. Here we go…
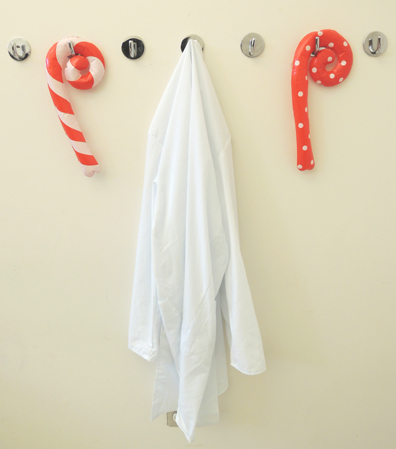
 Next, find the black light flashlight in the pocket of a lab coat hanging nearby:
 Then head over to the lab table, which had a number of objects on it, including the aforementioned Invention Book:
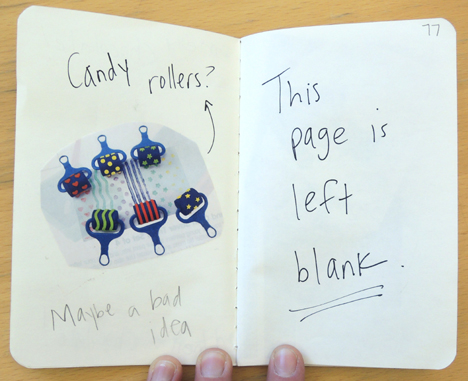
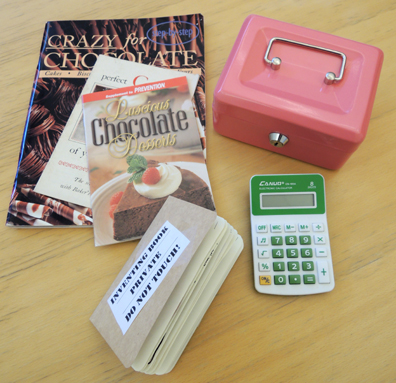 The book was full of recipes, ideas, diagrams, and quirky thoughts (all Roald Dahl appropriate of course, Katie really did her research):
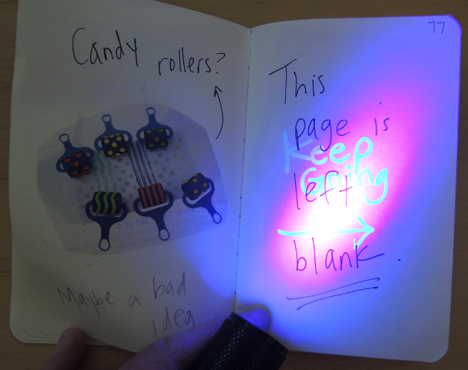
 But shine the black light on the pages, and secret messages are revealed in UV ink!
 Eventually, with several directional clues like “This way,” “Go Back,” “Stop,” or “Too Far!” you end up on this most curious page:
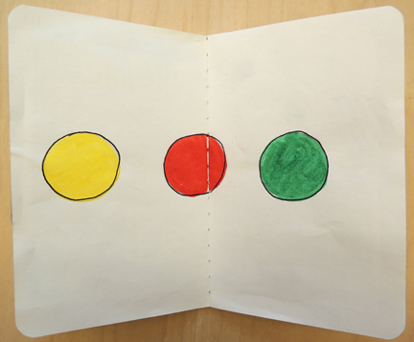
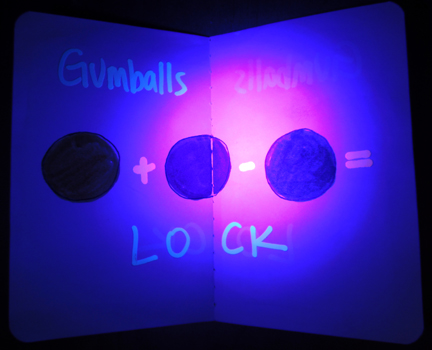 The clue leads to an inflatable kiddie pool filled with giant plastic “gumballs”
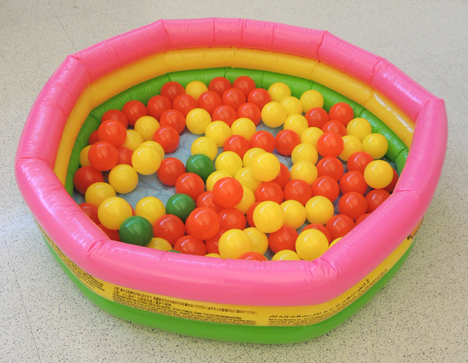 Count the balls, solve the equation, and you get the three digit code for lock #1 (we provided a calculator to help them with this calculation. It can be hard to do math under pressure):
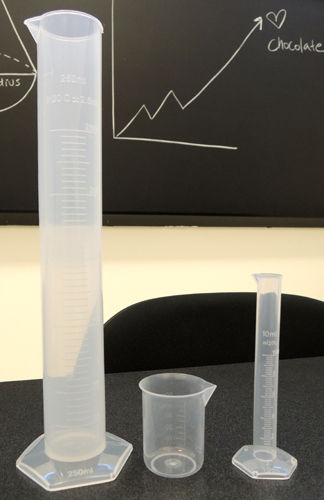
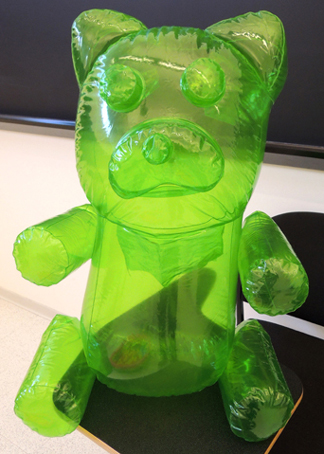
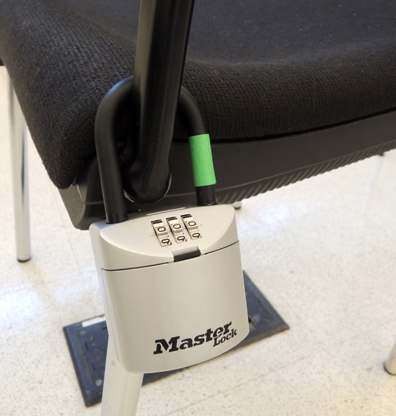 Inside the lock’s chamber is a piece of paper requiring 3 measurements: 1) The length of a gummy bear’s leg; 2) The number of red candy cane stripes; 3) The diameter of Smartie’s candy. But, of course, nothing is QUITE the right size. The gummy bear, for example, was simply enormous:
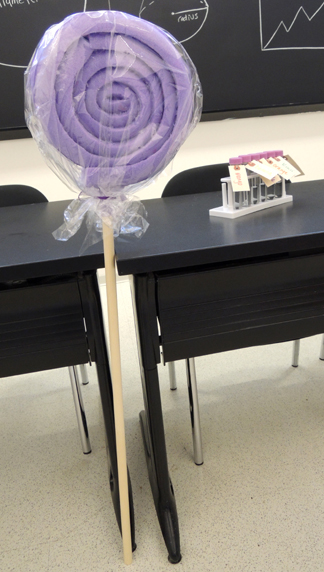
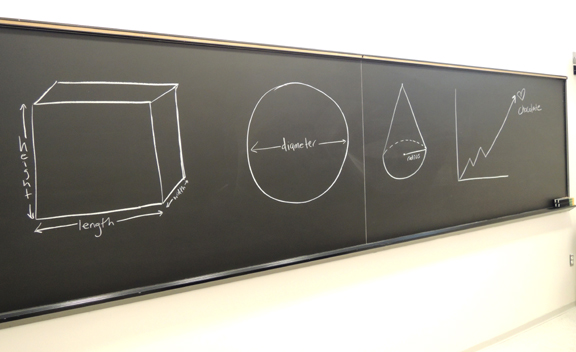
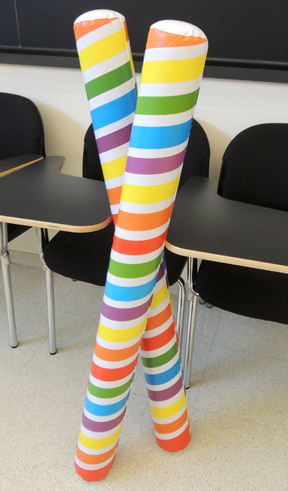 When we test-piloted the room, some kids said they had trouble recalling diameter. So we snuck the information on the classroom blackboard to help out:
 Once you have the 3 numbers, open lock #2, which holds a key. The key opens the pink box on the lab table, which reveals a test tube. Your instructions? Smell the tube’s contents:
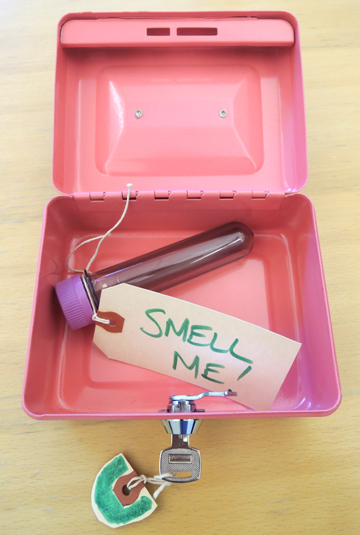 The tube contained McCormick banana extract. After a good sniff, teams had to vote and select the correct flavor from a rack of test tube labeled with various fruit smells:
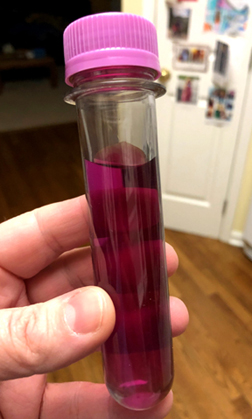
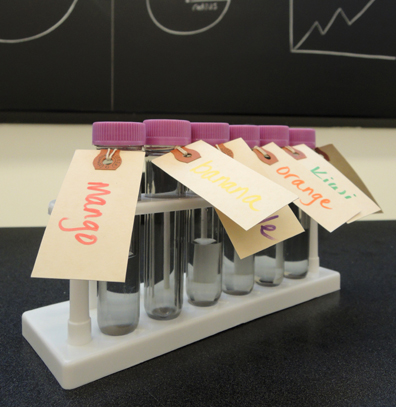 Once the selection was made, the game master produced a tube and said “If I add this liquid to the tube you picked…and the liquid turns purple…you WIN!” Unbeknownst to the kids, the winning “banana” test tube was filled with phenolphthalein, and the game master’s tube contained sodium carbonate. Combine them to get an awesome purple color change (sorry, the only photo I have is Katie testing it in her kitchen!):