 Seeing blue chickens? Do not adjust your monitor. Cerulean poultry are a perfectly normal story time occurrence.
We read Blue Chicken by Deborah Freedman (Penguin, 2011). An illustration of a barnyard sits on a drawing board. It’s almost finished – until a white chicken gets loose from the page and tips over a pot of blue ink! Now, nothing looks right. The ducks are no longer yellow, the pansies are no longer purple, and the other farm animals are totally peeved. Luckily, a dash of water will set things right!
To celebrate that adventurous blue chicken, we made some box birds, cozy nests, and then headed outside for a multi-color egg hunt!
You’ll need:
- A long strip of white poster board (approximately 2.25″ x 22″)
- A sturdy, 7″ paper plate
- 1 box ( mine was 4.5″ x 4.5″ x 6″ – a small tissue box works too!)
- Blue, white, yellow, and brown construction paper
- A pair of wiggle eyes
- 9-12 small feathers, blue of course!
- 4-6 plastic eggs
- Stapler, scissors, tape and glue for construction
- Hot glue
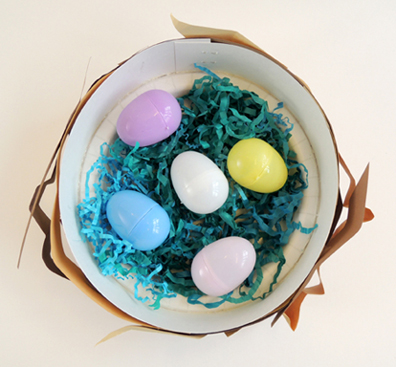
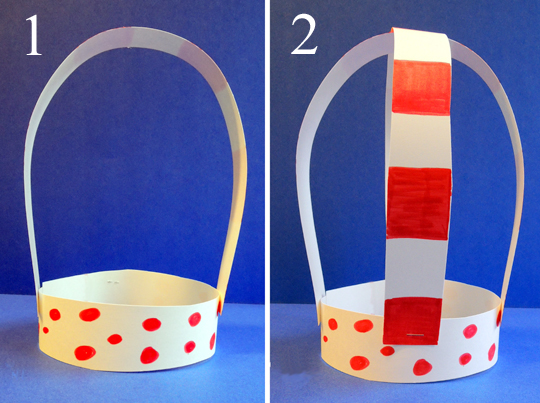
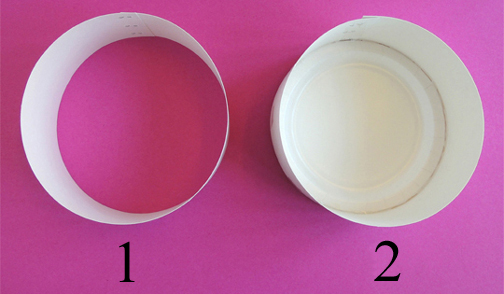
We’ll begin with the nest (which is a replica of the nest from this egg beauty contest). Circle a strip of white poster board around the outside of a paper plate and staple it securely (you’ll need to remove the circle from around the plate to staple it properly).
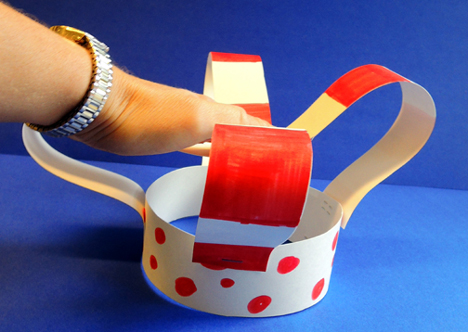
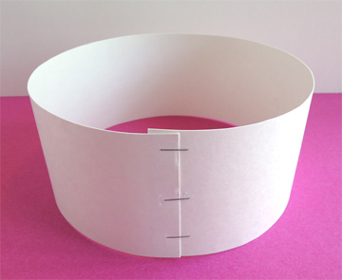 Slide the paper plate back inside the circle, pushing it all the way to the bottom.
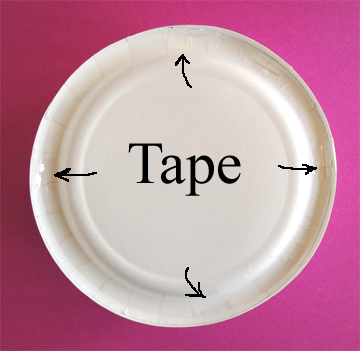
 Now flip the “nest” over and use tape to reinforce the connection between the plate and the circle. I used at least 4 pieces of tape:
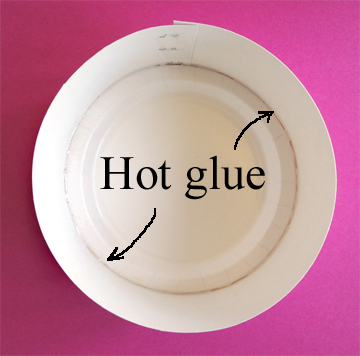
 I also reinforced the inside connection with a ring of hot glue.
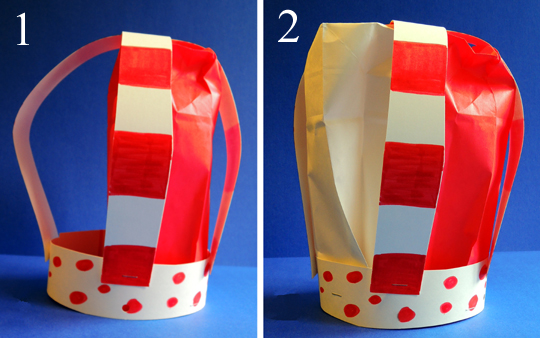
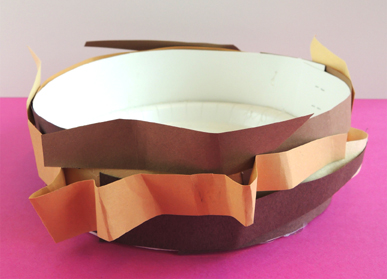
 Finally, decorate your nest with uneven and crinkled strips of brown construction paper. Attach the strips to the nest with tape and/or glue.
 Set the nest aside, it’s time for the chicken!
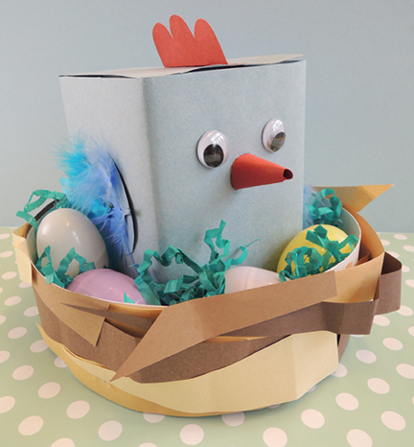
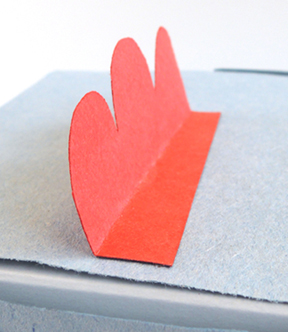
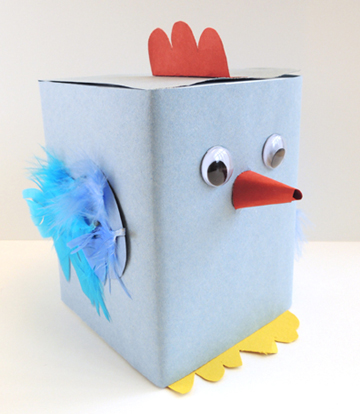 Wrap a box with blue construction paper. Glue a pair of yellow paper feet on the bottom, and blue paper wings on either side. Make a red paper cone beak, and hot glue it to the front of the box. Add a pair of wiggle eyes, or simply draw the eyes on with markers. Glue or tape feathers to the wings (add tail feathers to the rear if desired). Use red paper to make a comb for your chicken’s head. Then tab it and glue or tape it to the top of the box.
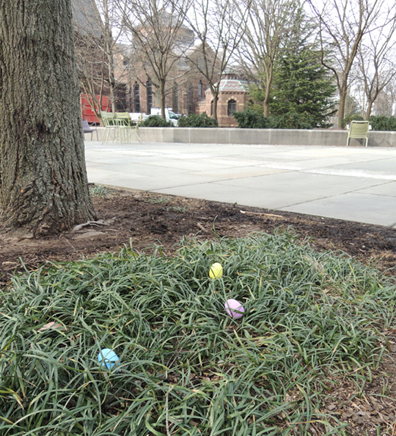
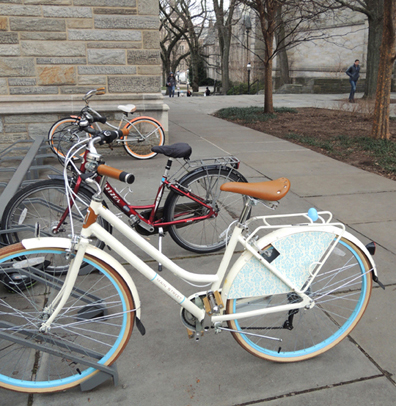
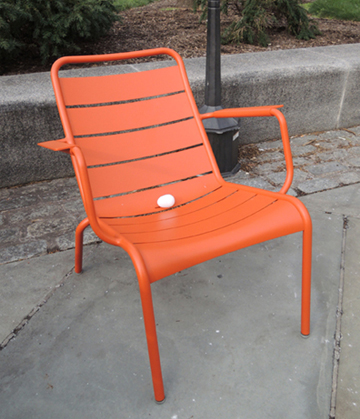
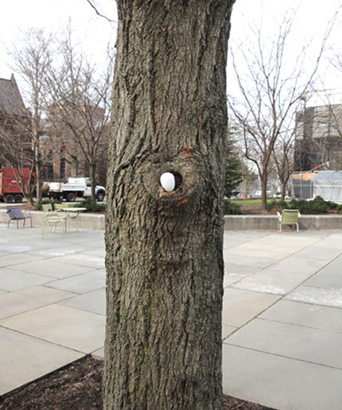
 When the chickens were done, we headed outside to the library’s plaza, where we had hidden a bunch of plastic eggs. We told the kids they needed to find 5 eggs each, then shouted “1-2-3 Go!” To insure success, we tried to make the hiding places fairly obvious (and even held a few back to drop right in front of the kids while they were hunting):
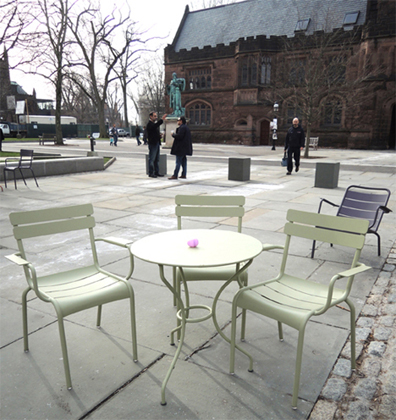
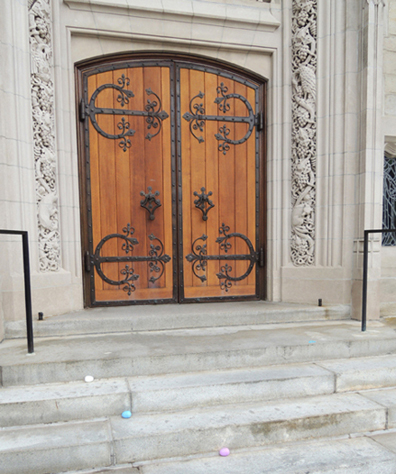 You might recognize that ornate door from this post. It’s actually one of the side doors of the University Chapel, which shares the plaza with my library. If you’d like to take your eggs home in style, consider adding some blue paper crinkle to the nest. Awwww…so cute…now why does this make me think of marshmallow Peeps?