Say it with Chocolate

hello 1We’ve reviewed a lot of interesting word products on this blog (see this calligraphy kit, these spelling straws, these clay words, this bbq brander, this DIY neon letter kit, and this vanishing paper!). But today’s blog post has to be the sweetest test yet. Because Katie and her crew tested a chocolate pen. That’s right. A CHOCOLATE PEN. Take it away, Katie!


Candy Craft’s Chocolate Pen retails for around $30 and the suggested age range is 6+, though the instructions specifically say adult supervision and participation is required. I fully support this recommendation and want to add a personal observation. Children ages 10 and under will definitely need adult assistance, whereas kids 10+ should be able to do most on their own with one exception (more on this later).

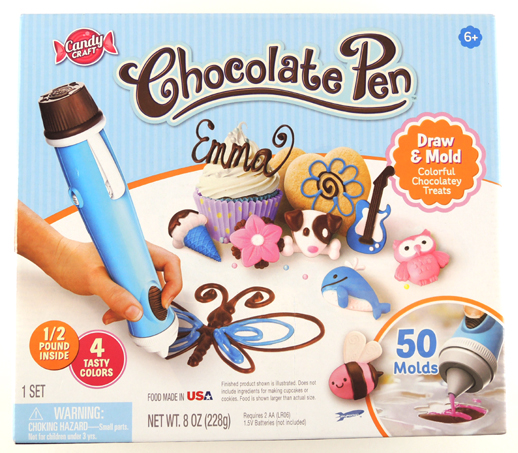
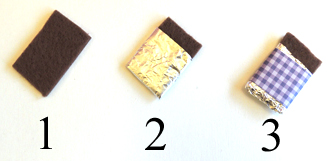
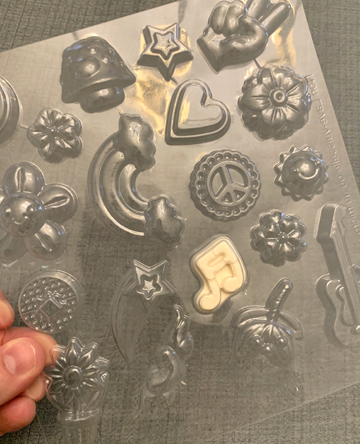
The Chocolate Pen kit has everything you need to “draw & mold colorful chocolately treats.” There is ½ pounds of confectionary candy in different color pouches (white, red, blue and brown); four clamps; pen tips and caps; three mold trays; five gift bags and twist ties; and the chocolate pen itself (two AA batteries are not included). If you want to write out a word or make your own drawing, you will need to have sheets of either wax or parchment paper handy.

A quick note for those who have food allergies: the confectionery candy contains milk and soy. Please consult the nutrition facts for the full list of ingredients.

After thoroughly washing and drying the various pieces of the pen tip and the treat mold trays, I got to work putting the chocolate pen together. There are a lot of steps to follow, but the instructions describing how to prepare the confectionary candy pouches were clear and well written with informative drawings. However, the instructions did not prepare me for the frustration of attaching the candy pouch to the pen tip.

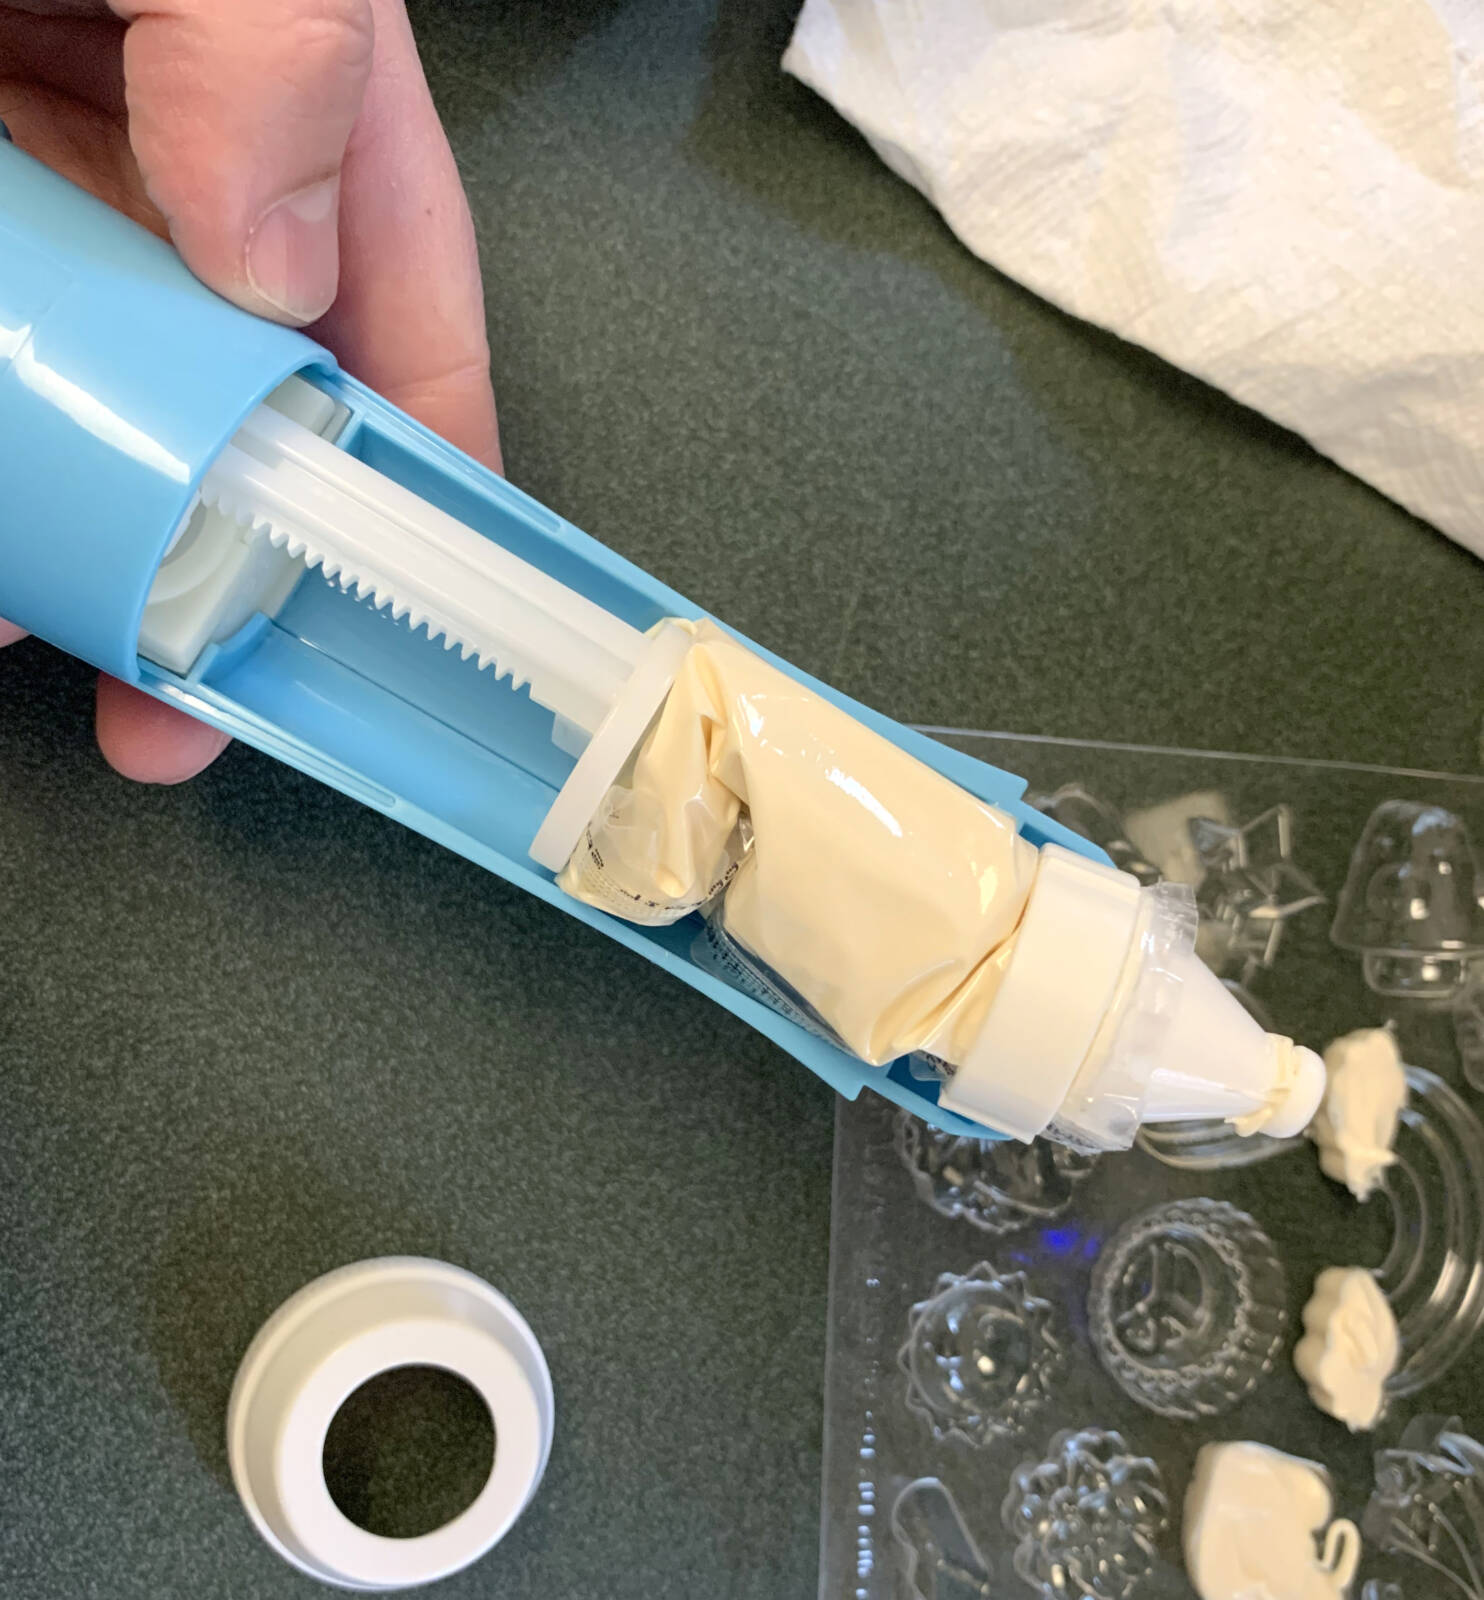
It took every ounce of my finger/hand strength to properly secure the clamp around the pen tip, which I had inserted into the open melted candy pouch. You have to leave at least 1/8” of excess pouch extending beyond the clamp for a good seal, which makes sense. It would be a disaster to have confectionery candy squirting out of the pouch and into the interior of the chocolate pen. But boy oh boy, it was a real challenge to close the clamp. It was messy, it was aggravating, and it cast serious doubt in my mind about the ability of any child being able to do it on their own (as I alluded to earlier). 

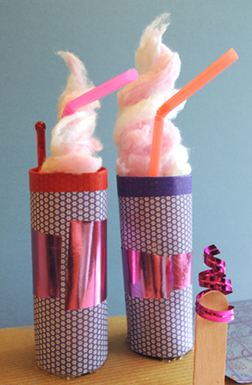
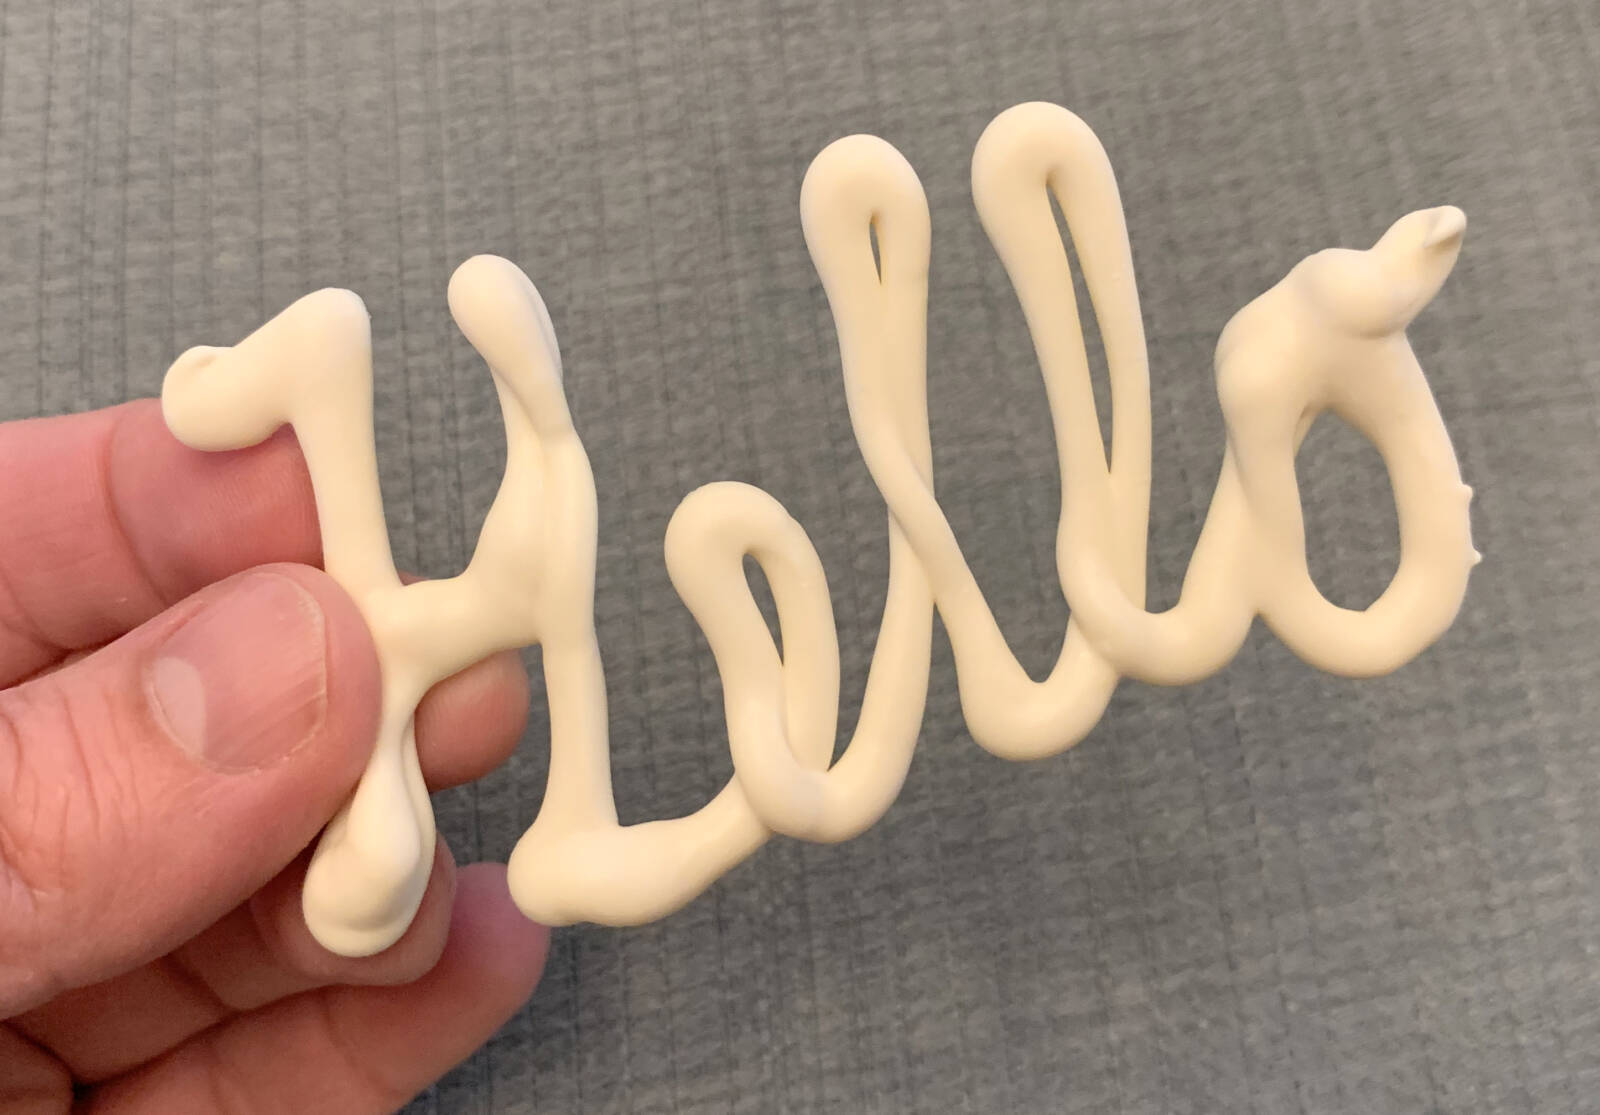
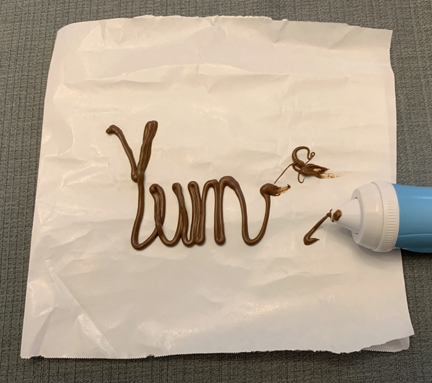
Once I was able to finally lock the clamp, I continued following the preparation instructions until I was ready to start drawing with the chocolate pen. I carefully wrote “Hello” and “Yum” in cursive on a piece of parchment paper. While it was relatively easy to write with the pen, I discovered that candy would continue to ooze out of the pen tip well after I had stopped pushing down the power button. Needless to say, I was left with a big blob of excess candy at the end of my word.

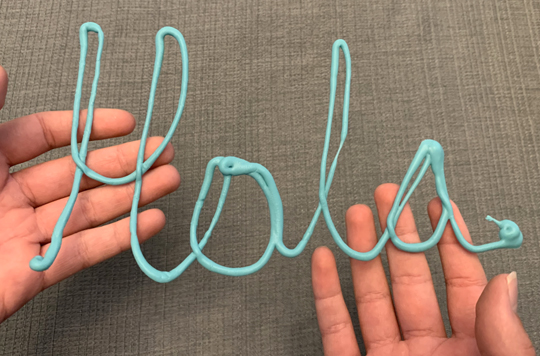
I called upon my son to lend his writing hand and give the pen a try. He wrote “Hola” and had the same problem with excess candy continue to push out of the pen tip after releasing the button. We carefully transported our words and placed them into the freezer to harden. After impatiently waiting the recommended five minutes, we took a bite of our chocolate words. The results were deliciously fantastic! The candy is quite sweet and tasty!

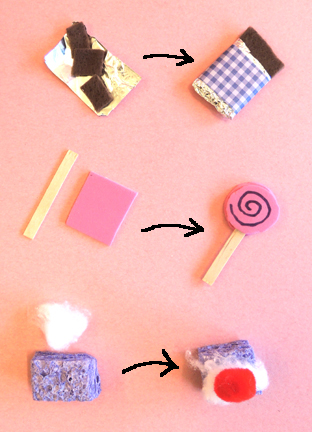
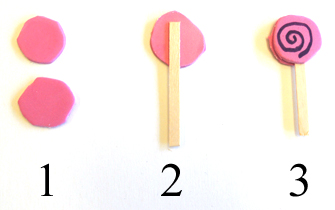
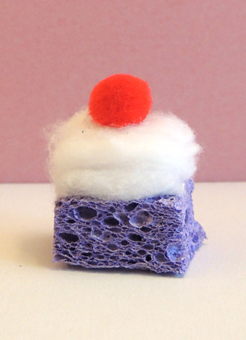
Next up was trying the mold trays. The mold shapes presented an unexpected challenge, due largely in part to the pen continuing to discharge candy after you stop pushing the power button. I found I had varying levels of success. I managed to create two- or three-color candies using the larger molds, but the smaller molds were very difficult. Even just pushing the power button for just 5-10 seconds caused extra candy to fill the molds too full or didn’t allow for a second color to be added. Under important information on the instructions, there is a statement that reads “results will vary from product images depending on age and skill level.” After testing this product, particularly the mold trays, I completely agree with that statement.

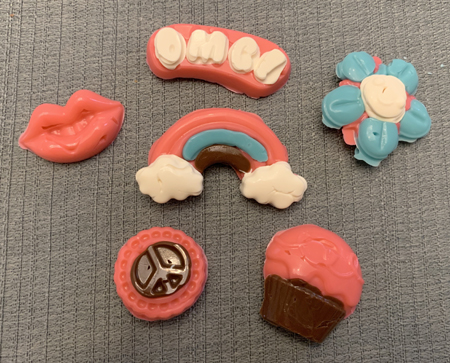
The Chocolate Pen is fantastic in concept, but I feel it falls very short of my excited expectations. Don’t get me wrong, I enjoyed eating my chocolate creations, but the frustration of trying to figure out the perfect amount of time to use the pen without the inevitable stream of extra candy made the process less than fun. The smaller mold shapes are hard to use, and sometimes the finished product didn’t easily pop out of the mold tray, as was the case for the little white music note!

Final ranking: 2 out of 5 stars

It appears the manufacturer made a significant update to this product sometime in 2020 and now offers an automatic load feature on the pen. The chocolate candy is warmed in a separate tray and you simply dip the pen into the color chocolate you want to use, load it and start creating. I’m glad they listened to their customers and made this much needed improvement. However, I’m quite curious there was any change to prevent the extra candy ooze when the pen is in use.

Fantasta-licious Factory

happy ownerMove over Charlie Bucket! How would YOU like to own your very own candy factory that produces amazing candies, sweets, and chocolates?

candy line upIn addition to its fanciful decor and delectable goodies, this candy factory has a working conveyor belt. Ingredients go in, delicious candy comes out!

conveyor belt candyWe read If I Owned a Candy Factory, written by James Walker Stevenson and illustrated by James Stevenson (Greenwillow, 1989). A little boy imagines what he would do if he had a candy factory. First, he would write a letter to all his friends and ask “What kind of candy do you like best?” and “What day is your birthday?” On their birthdays, kids are invited to the factory to get their favorite kind of candy…gumdrops, red lollipops, licorace, etc. Eventually, the candy factory would open its doors so all the kids around the world could come and enjoy a treat! It doesn’t get any sweeter than that.

You’ll need:

  • 1 box (mine was 4 ½” X 4 ½” x 9”)
  • box cutter
  • 6 toilet paper tubes
  • A selection of color masking tape
  • 1 strip of tagboard (mine was 3.75″ x 14″)
  • 1 jumbo craft stick (mine was 1.75″)
  • factory template, printed on 8.5″ x 11″ white card stock
  • A selection of patterned paper
  • Cotton balls (I offered white, blue, yellow, and pink)
  • An assortment of pipe cleaners
  • A selection of embossed foil paper or plain foil paper
  • A selection of drinking straws
  • A selection of craft ties
  • A selection of metallic (and/or regular) ribbon
  • 1 medium square of brown stiffened felt
  • 2 small pieces of tin foil
  • wooden coffee stirrer
  • 3 small squares of self-adhesive foam – all the same color
  • 2 tiny squares of kitchen sponge
  • 1 mini pom-pom (mine was 0.5″)
  • Scissors and tape for construction
  • Markers for decorating
  • Hot glue

Begin by using a box cutter to create openings in the short sides of the box (my openings were approximately 3″ x 4″).

sides of factoryNow use color masking tape to secure toilet paper tubes to the outside of each opening. Wrap the tape all the way around the bottom of the box to make the tubes extra secure.

belt 1Next, hot glue additional toilet paper tubes on the inside of the box. These are the “internal rollers” for the conveyor belt, and will help keep the belt steady and on track.

belt 2We will now pause this project to say a few words about the moveable conveyor belt. The belt is actually a strip of tagboard with a craft stick attached to it. The craft stick acts as the “lever” that moves the tagboard strip back and forth.

leverHere’s what the conveyor belt looks like inside the factory (minus the candies of course – we’ll get to that step later).

belt in factoryThe size and length of your conveyor belt will vary according to the size of your box (my box was 9″ long and my conveyor belt was 14″). Your conveyor belt must be long enough to make the ingredients “disappear” into the factory and reappear as finished candies on the other side. It also needs to stay on the rollers and not fall into the box.

So we played around with a few conveyor belt prototypes and here’s what we finally came up with.

First, place the belt into the factory, letting it rest on top of the toilet paper tube rollers. Now slide the belt all the way to the left until the right side of the belt reaches the beginning of the right-hand “internal roller.” Make a mark on the left side of the belt.

It was hard to get a good shot of this step, so I marked the end of the belt with purple masking tape to give it more visibility. In the photo, it sort of looks like the end of the belt and the mark are inside the box. They’re not. They’re definitely outside the box.

belt position 1Repeat on the other side. The result will look like this. A belt with two marks on it.

belt position 2Now use the box cutter to make a slit right between the two marks. The slit needs to be wide enough for your jumbo craft stick to slide into snugly.

belt position 3Make 3 “x” marks on each end of the belt. This shows kids exactly where they need to place their candy in order to get the factory illusion to work.

belt position 4Insert the jumbo craft stick into the slit. You might want to add a little hot glue at the base to make it extra secure.

craft stick in beltPlace the belt back inside the factory. The craft stick should be poking out of the place where the box’s lid tucks into the box.

belt in factoryWe noticed that the belt was still in danger of coming off the rollers (especially if you get over-enthusiastic and whip it back and forth). So we added one more security measure.

Move the craft stick all the way to the left, until you see the last “x” on the belt. Put a piece of tape to the left of the craft stick to keep it from going any further.

x mark 1Repeat on the right side.

x mark 2The belt is secure, time to decorate the factory! Color the sign and windows on the template and tape or glue them to the factory. Wrap 2 toilet paper tubes with patterned paper and hot glue them to the roof of your factory as smoke stacks.

If you’d like smoke to come out of your stacks, pull a cotton ball apart, then push a pipe cleaner through it. Tape one end of the pipe cleaner inside the smoke stack.

smokeOne artistic mother and daughter team made delicious swirl smoke using two cotton balls twined together. Is this not completely awesome?

twirly smokeOther decorative touches included foil paper “solar panels,” drinking straw pipes going in random directions, pipe cleaners for “icing” and/or candy cane flourishes, and some craft ties and ribbon. I also offered some glittery plastic cocktail stirrers (located in the paper goods section at Target).

factoryThe factory is all set. It’s finally time to manufacture some candy! We prepped all the little bits needed for this part of the project in advance, then put them in plastic cups so each kid would have everything at his/her fingertips.

Here are the cups, sitting on my trusty story time project book cart (which you might remember seeing in an oh-so-unusual format in my very first post).

prepped cupsRemember, you’re making 6 candy items for your conveyor belt. The “raw ingredient” set (pictured below on the left) and the “finished product” set (pictured on the right).

candiesCHOCOLATE BAR: For the “raw ingredients,” hot glue three tiny squares of stiffened brown felt to a small piece of tin foil. For the “finished” chocolate bar, wrap a small rectangle of stiffened brown felt with tin foil (leave a little chocolate peeking out the top). Then use patterned paper to create a label for your chocolate bar.

chocolate barLOLLIPOP: The “raw ingredients” are a square of self-adhesive foam and a small piece of a coffee stirrer. For the “finished” lollipop, cut 2 matching circles from self-adhesive foam. Peel the back off 1 circle and stick a piece of a coffee stirrer to it. Peel and stick the other circle and press it on top of the first circle. Add lollipop swirls with a Sharpie marker.

lollipopCAKE: For the “raw ingredients,” use a small square of sponge and a bit of cotton ball. For the “finished” cake, hot glue a bit of cotton ball on top of a small square of sponge, then hot glue a mini pom-pom cherry on top.

cakeAll that remains is hot gluing the candy to the conveyor belt (even though some kids decided to leave their candy loose). Remember to put the ingredients and the finished candy on the belt in the right order. We had some chocolate squares emerge as lollipops at first, but after a little trial and error, the kids worked it out.

And there you have it. You are now the proud owner of a candy factory! Just don’t eat too many sweets, or this might have to be the subject of your next story time!