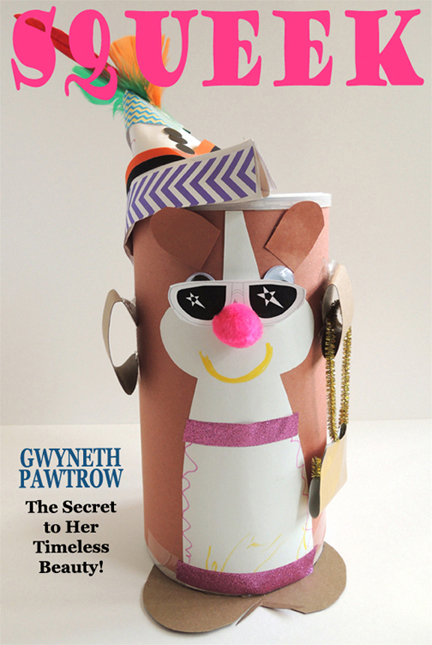
Why be a hamster when you can be…a GLAMster! With the proper hat, accessories, and a stunning pair of sunglasses, become a hamster who is sure to get noticed.
We read Glamsters, written by Elizabeth Cody Kimmel and illustrated by Jackie Urbanovic (Disney-Hyperion, 2008). It’s the big annual sale at Hamster World, and Harriet the hamster is worried that she and her sister Patricia won’t get noticed. When Harriet spots a magazine article about “glamsters” lining the bottom of her cage, she thinks she’s found the solution. She transforms herself with “high gloss-and-glo fur volumizer,” a new hat, and funky whisker extensions. Yes, Harriet’s feeling pretty glamorous until Patricia wakes up from a nap, sees Harriet, and screams. Definitely NOT the reaction Harriet was expecting. Patricia helps Harriet get back to normal and, best of all, the two hamsters get noticed by a lovely new owner. Just by being themselves.
You’ll need:
- 1 large oatmeal container
- Brown construction paper
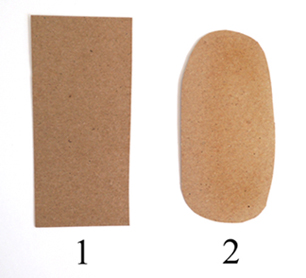
- 1 rectangle of tagboard for feet (approximately 4″ x 5.5″)
- 1 hamster bib template printed on 8.5″ x 11″ white card stock
- 2 rectangles of tag board for arms (approximately 2.5″ x 4.5″)
- 1 medium pom-pom (mine was 0.75″)
- 2 wiggle eyes
- 1 piece of 9″ x 12″ white construction paper
- Hamster decorating supplies (I offered patterned paper, embossed foil paper, sparkle stems, craft ties, small feathers, glitter tape, and dot stickers)
- A Bling Bin
- 1 sunglasses template, printed on 8.5″ x 11″ white card stock
- Scissors, tape, stapler, and glue stick for construction
- Markers for decorating
- Hot glue
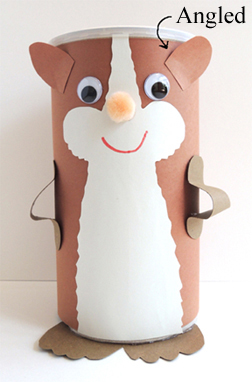
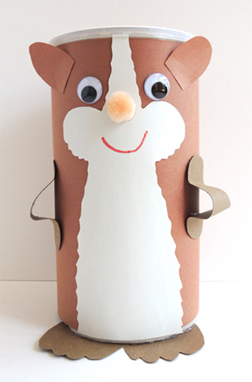 We’ll begin with the hamster. Wrap the outside of a large oatmeal container with brown construction paper. Cut the feet from a square of tagboard (or brown poster board). I cut little toes as well.
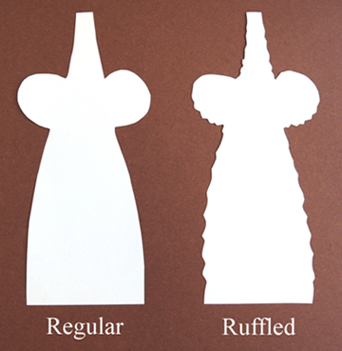
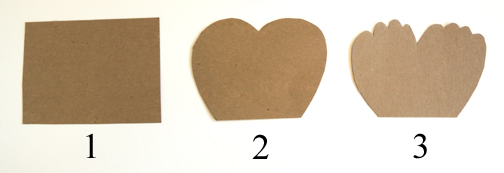 Hot glue the feet to the bottom of the oatmeal container. Next, cut the hamster’s bib from the template (the bib is the white “fur” that forms the hamster’s tummy, cheeks, and forehead). You can leave the sides of the bib just as they are in the template, or you can use scissors to cut ruffles in the sides to resemble fur.
 Hot glue (or tape) the bib to the front of the oatmeal container. Arms are next! The arms are 2 tagboard rectangles that are rounded at each end.
 Attach the arms to the body with hot glue (or tape). Hot glue on a pom-pom nose and a pair of wiggle eyes. Use markers to add a smile. Finally, use brown construction paper to make a pair of ears, and then hot glue (or tape) them on. You’ll notice that the ears are attached on the front of the container, above the eyes, and at a slight angle. This is so the hamster’s ears won’t interfere with the hat.
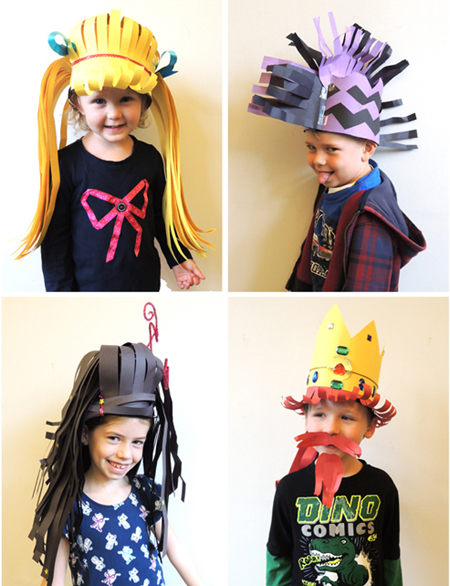
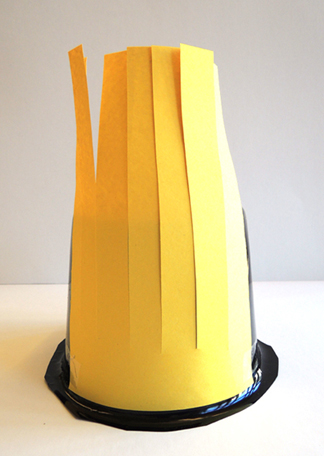
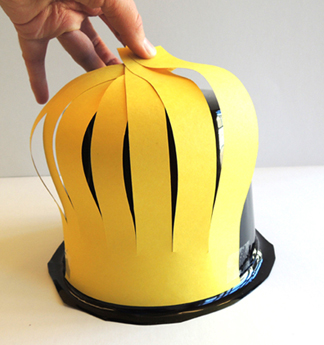
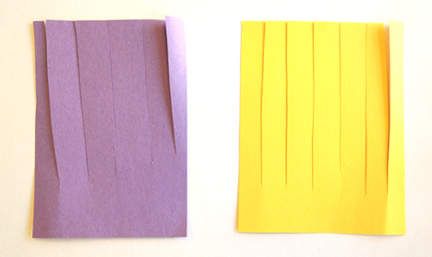
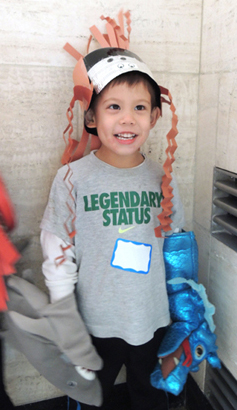
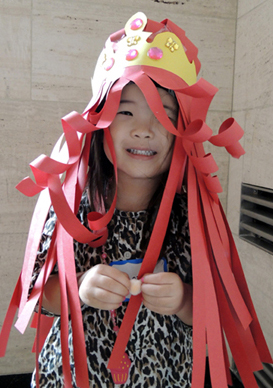
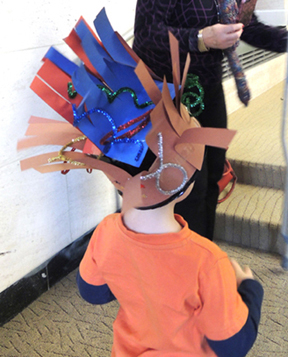
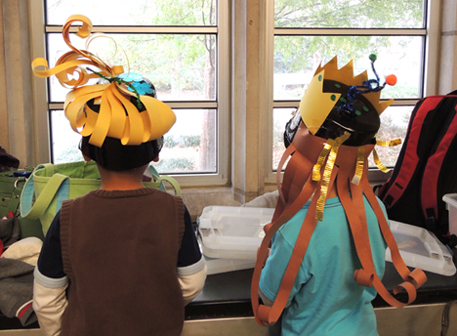
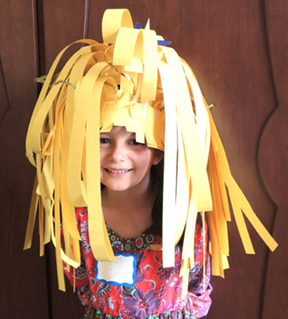
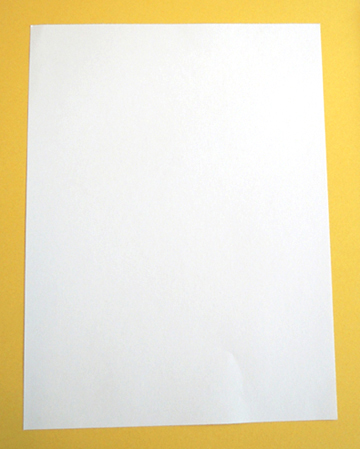
 Your hamster is finished, now for some glamorous accessories! For the hat, I prepped a bunch of simple white origami hats. Start with a 9″ x 12″ sheet of construction paper:
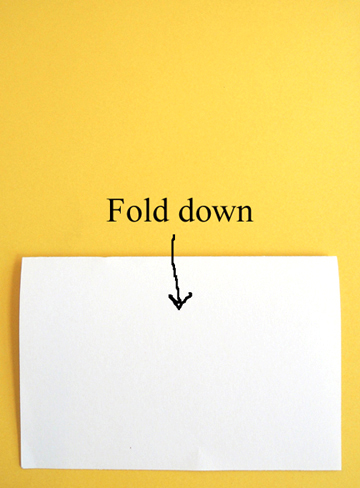
Fold the paper in half downwards
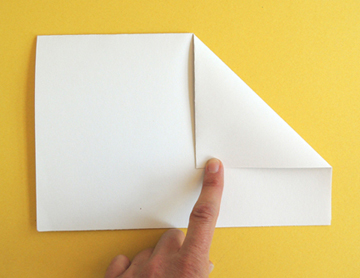
 Now fold the upper right-hand corner towards the middle of the paper like so:
 Then repeat with the upper left-hand corner.
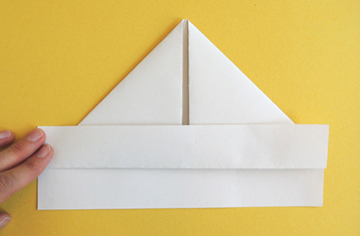
 Fold one side of the bottom up
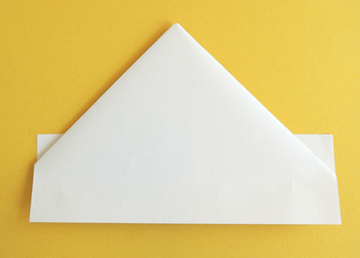
 Then flip the hat over…
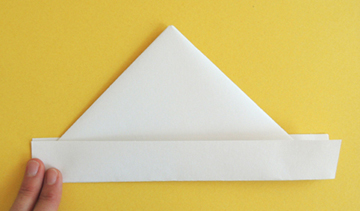
 And fold the remaining side up at the bottom.
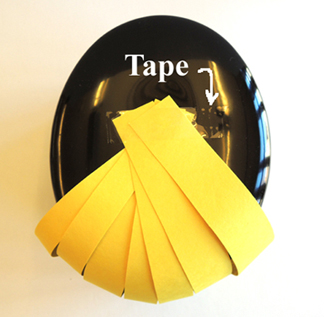
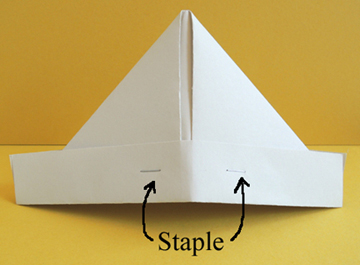
 Flip the hat back over, open it at the bottom, and secure it with 2 staples.
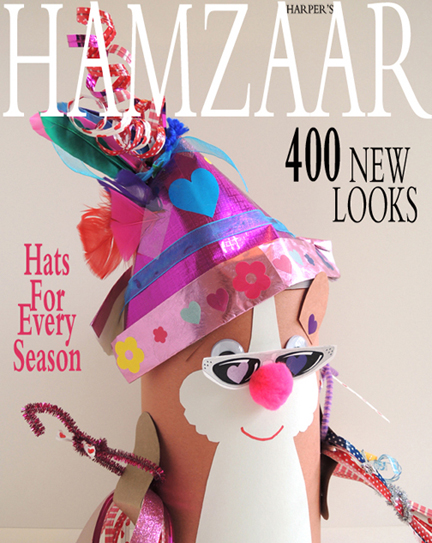
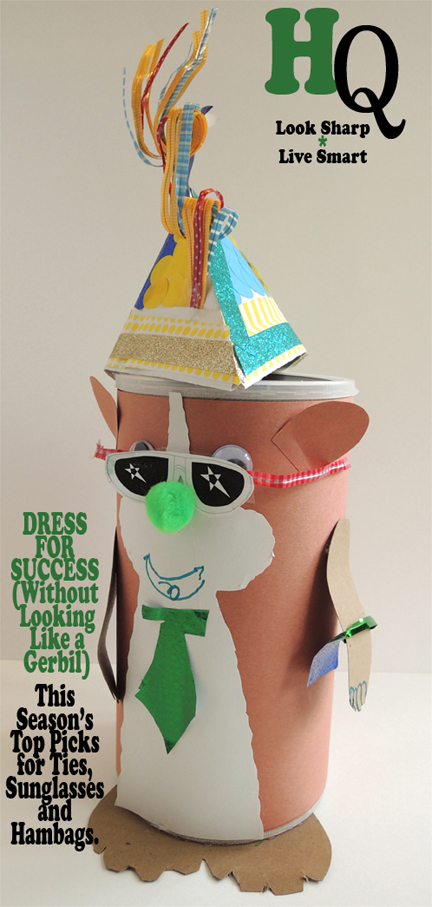
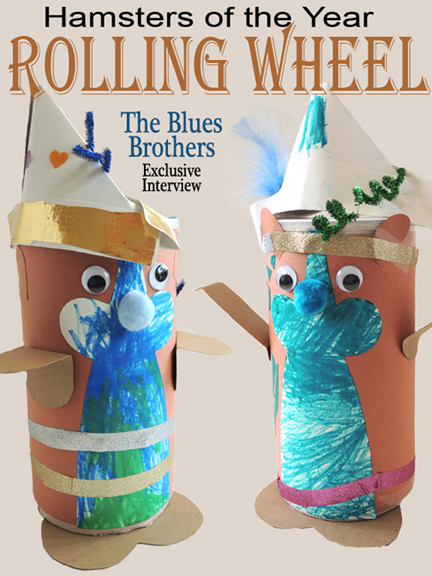
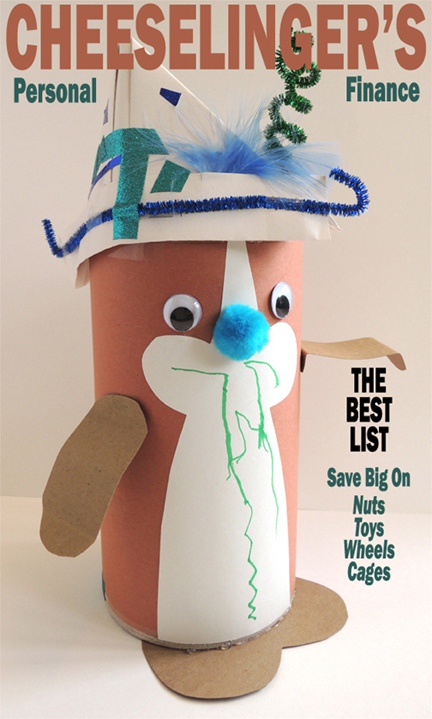
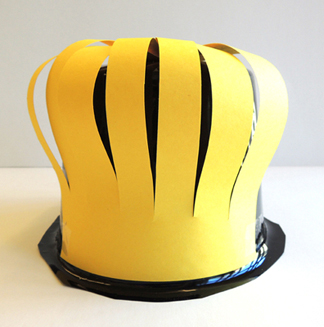
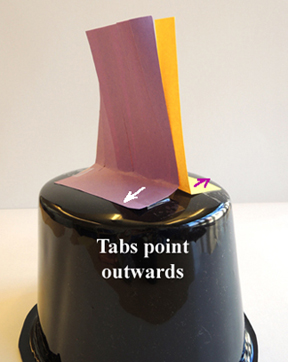
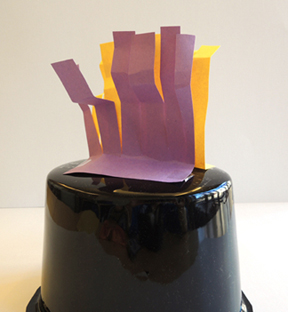
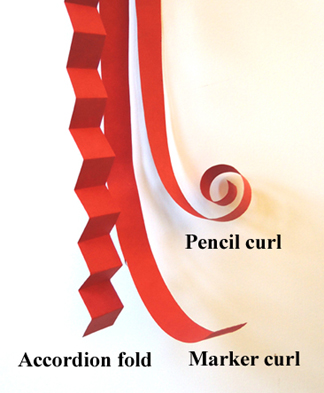
 The hat is ready, let the hamster makeover commence! I offered patterned paper, embossed foil paper, sparkle stems, craft-ties, heart stickers, small feathers, and dot stickers, as well as the Bling Bin. I also tested some glitter tape out on this project. I was dubious about its claim to not shed glitter, but it actually wasn’t too bad (see my issue with glitter in the FAQs).
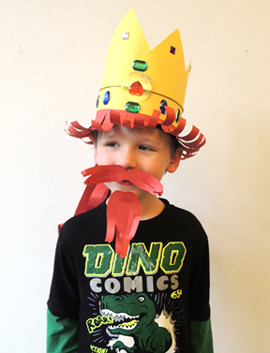
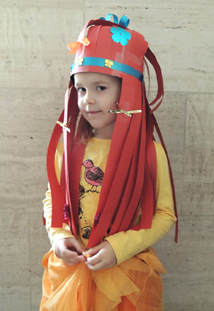
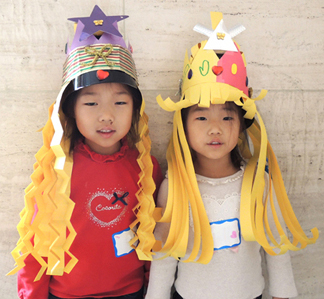
Kids make hats, necklaces, belts, purses, ties, briefcases, etc. The final touch, however, was a pair of sunglasses. Color and cut a pair from the template, and perch them on your hamster’s pom-pom nose. Perfect dahling.
As you can imagine, we had some super glamorous hamsters at story time. I captured a few quick poses in my photo studio, and Katie whipped up some exclusive magazine covers…