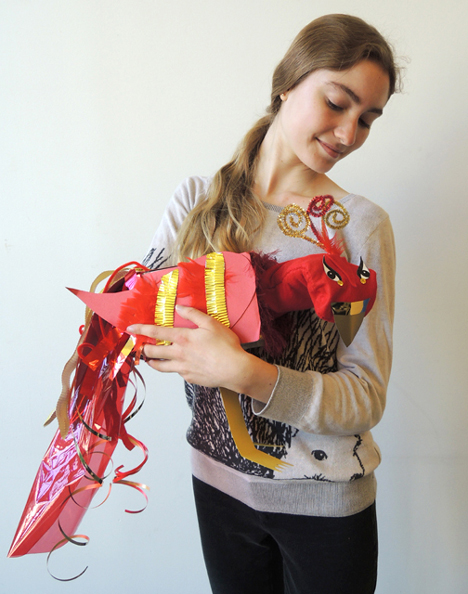
 The legendary bird of fire, wisdom, and regeneration is once again transformed…into an awesome box puppet with moveable head!
We read The Girl Who Drew a Phoenix by Demi (Margaret K. McElderry Books, 2008). Feng Huang finds a phoenix feather and captivated by the phoenix’s power. She decides to use her artistic abilities to create the perfect phoenix drawing, and capture some of the power of the phoenix. But her drawings are clumsy, and her friends laugh at her. The Queen Phoenix, seeing Feng Huang in need, flies to earth and allows Feng Huang to practice drawing her. But the drawings still don’t look right. The Queen then sends Feng Huang on a mission to learn from the phoenixes of Wisdom, Clear Sight, Equality, Generosity, and Right Judgement. When her journey is complete, Feng Huang is able to draw a phoenix so amazing, it soars into the sky, carrying the artist and her friends on its back.
You’ll need:
- 2 rectangles of red felt (approximately 4.75″ x 11″)
- 1 phoenix eye template, printed on 8.5″ x 11″ white card stock
- A small square of yellow or gold metallic poster board (approximately 2.5″ x 2.75″)
- 3 red and/or gold sparkle stems
- Red masking tape
- 1 small feather in red
- 1 triangle of red felt (approximately 2.25″ tall)
- 1 box (mine was 4 ½” X 4 ½” x 6” – a tissue box works as well!)
- Red construction paper
- Phoenix decorating supplies (we used red construction paper, sparkle stems, red pipe cleaners, cellophane, large gold embossed foil seals, small red feathers, red & gold embossed foil paper, gold wrapping paper, textured gold paper strips, and gold & red curling ribbon)
- A large rectangle of red cellophane (approximately 9.5″ x 20″)
- 2 pieces of red crepe paper streamer (approximately 18″)
- 2 strips of yellow poster board for legs (approximately, 1.5″ x 9″)
- Scissors, tape, stapler, and glue stick for construction
- Markers for decorating
- Hot glue
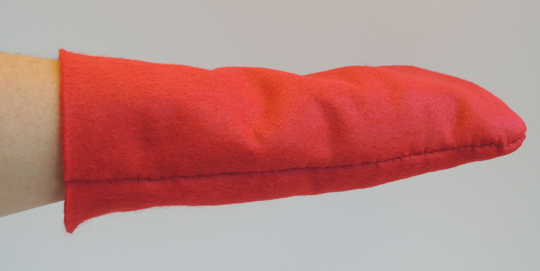
The phoenix puppet consists of 2 parts: 1) A sock puppet head; and 2) A box body that conceals the puppeteer’s arm. We’ll start with the head. Stack 2 rectangles of felt on top of one another and round one end of the stack. The rounded end will eventually be your phoenix’s head.
 After some debate about sewing vs. hot glue, we decided to sew the 2 felt pieces together. Lacking a sewing machine, we hand stitched, using double thread. Katie used a running stitch, I went with a classic whip stitch. It took a looooong time (like, 6 hours!). But in the end, when you turned the sewn heads right-side out, they looked great and held up to quite a bit of pummeling. However, if I was to do this project again, I would purchase pairs of red socks instead.
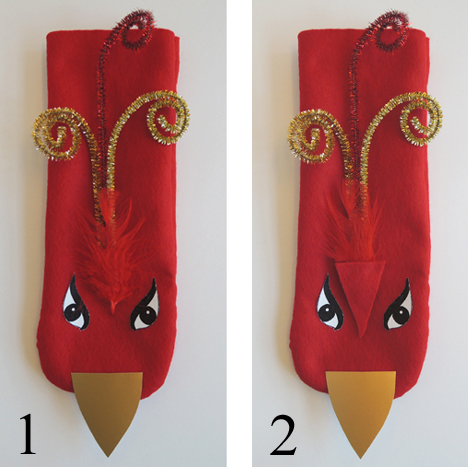
 To make your phoenix’s crest, bunch the bottoms of 3 sparkle stems together. Wrap red masking tape around the bunch, then use the barrel of a marker to give the free ends of the sparkle stems a little curl. Cut a pair of eyes from the template, and a beak from the yellow (or gold metallic) poster board. Then hot glue the crest, eyes, and beak to the top of the head.
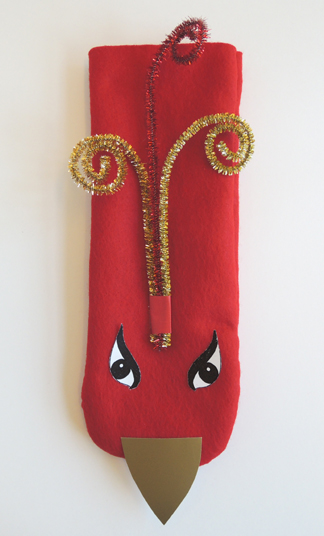 Hot glue a red feather onto the masking tape to cover it, then hot glue a small triangle of felt over the bottom of the feather to complete the look.
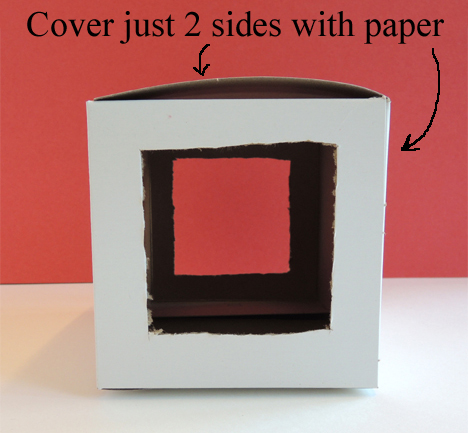
 Set the head aside for a moment – it’s time for the body! I used a 4 ½” X 4 ½” x 6” box, but you can cut down a large tissue box to those dimensions as well. Cut square openings in the ends of the box. Make sure to keep these openings fairly wide. If they are too narrow, they’ll rub against your arm while you’re manipulating your puppet. If you’re using a cut-down tissue box, leave the largest opening for your arm to slip through (the the narrower opening for the bird’s neck and chest).
 Use red construction paper to cover 2 sides of the box – the top of the box, and the side that faces outwards (i.e. towards your “audience”).
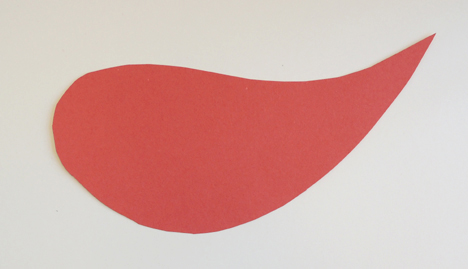
 Next, cut a tail and a wing out of construction paper. You only need one wing (which will eventually go on the side that faces your “audience”). I cut my wing from 5.75″ x 10.5″ rectangle of red construction paper, and gave it a pointy shape.
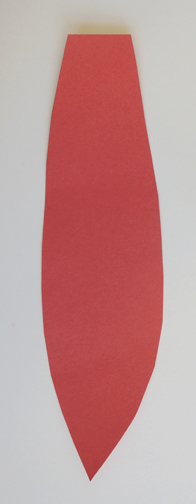
 The tail was cut from a 3.65″ x 13″ rectangle of construction paper. Like the wing, I gave it a slightly pointy look.
 I recommend decorating the wing and tail before you attach them to the box (because it’s much easier for kids to decorate an object that’s flat on the table). For decorating the wing, tail, and front & back of the box, we offered red construction paper, red and gold sparkle stems, red pipe cleaners, cellophane, small red feathers, red and gold embossed foil paper, gold wrapping paper, textured gold paper strips, and gold and red curling ribbon, and large gold embossed foil seals. In addition to these items, each tail had a big piece of red cellophane and 2 red crepe paper streamers.
To simulate feathers on the phoenix’s chest, I used this crazy fluffy yarn from Michael’s Craft store. I gave each kid a 3 foot piece and told them to wind it around and around the neck opening of their boxes (and secure it with glue or tape). It looked great!
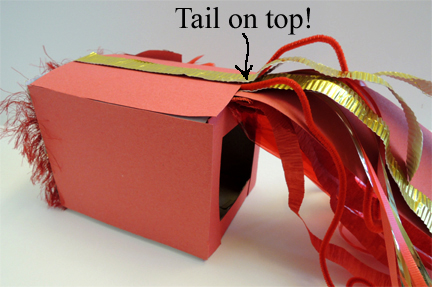
 When you’re done decorating, attach the wing and tail to the body with hot glue. The tail needs to attach above the rear end opening! That way, the tail will hide your arm when it’s inside the puppet.
 The final step – phoenix legs! Cut toe shapes out of the bottom of 2 yellow poster board strips. Tab the bottom of each strip to create a foot, then tab the other end of the strip and hot glue it the bottom of the box. Done!
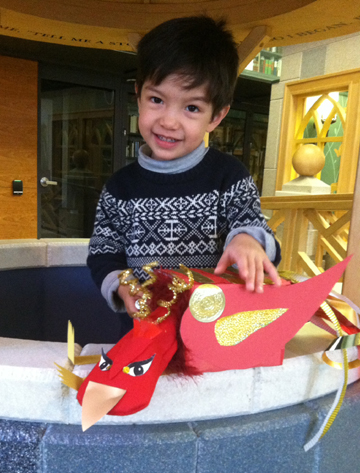
To operate your puppet, slide your arm through the openings in the box. The slide the phoenix head onto your hand. Tuck the end of the head into the box. The head doesn’t attach to the body (so later, if you want to discard the body and simply use the head like a sock puppet, you can). Wrap your free arm around the bottom of the box so it looks like you’re cradling your phoenix in your arms. Or, you can just carry your phoenix around like this adorable little guy did!