 A goldfish is a lovely pet…unless, of course, you had your heart set on a pony. But what if the fish could talk and grant you a wish?
We read The Birthday Fish by Dan Yaccarino (Henry Holt and Co., 2005). More than anything else, Cynthia wants a pony for her birthday. Every year, she wishes for a birthday pony, and every year, she gets something else. This year, as Cynthia blows out her candles she wishes for a pony called Marigold. She gets a goldfish. Upset, Cynthia is about to pour the fish down the drain when it speaks! The birthday fish will grant her wish, but first she must take it to the lake and set it free. So Cynthia loads the fishbowl in her toy stroller and departs for the lake. During the journey, they meet and overcome many obstacles (bumpy roads, hungry cats, hot sun, etc.). At last, they arrive at the lake and…Cynthia decides she’d rather keep her new friend. She names him Marigold.
You’ll need:
We’ll begin with your fabulous fishbowl! Place 2 clear plastic plates rim-to-rim like this:
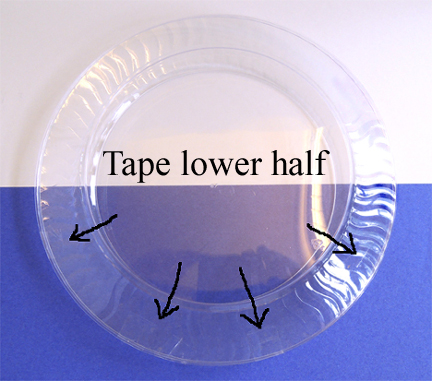
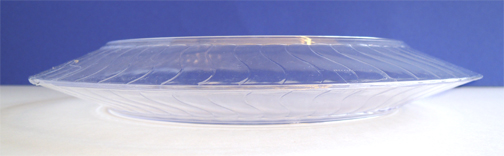 Then tape the lower half of the plates together. Don’t tape the entire thing because you still need to put things inside your fishbowl!
 Now for the base. Cut a small tissue box in half. Recycle the bottom half. You now have a 2.5″ base with an opening at the top.
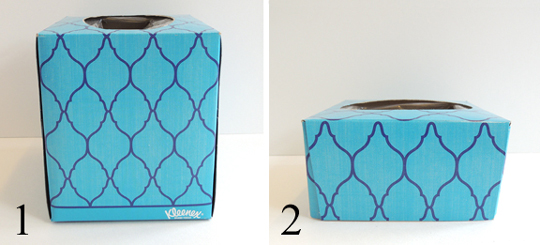 If there is any plastic around the opening of the tissue box, remove it. Then, on both sides of the box, cut from the opening to the edge of the box. Then cut diagonally downward into the sides of the box. This leaves your base looking like this:
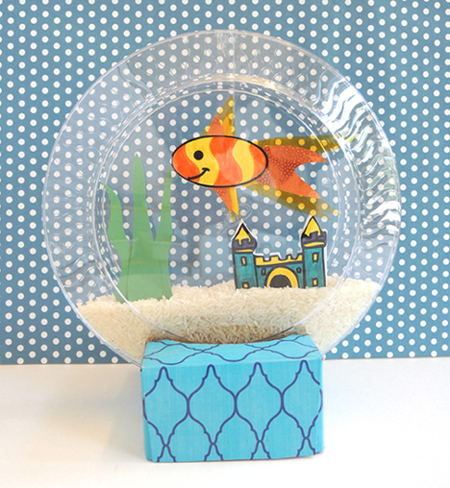
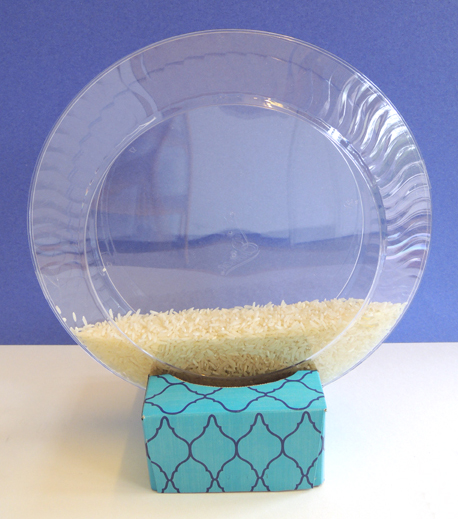
 Drop your fishbowl into the base. You might have to do a little cutting and adjusting to get the fishbowl to sit upright snugly. Secure the fishbowl to the base with tape. Pour some uncooked rice in the opening at the top of the plates. This is the “sand” for your fishbowl.
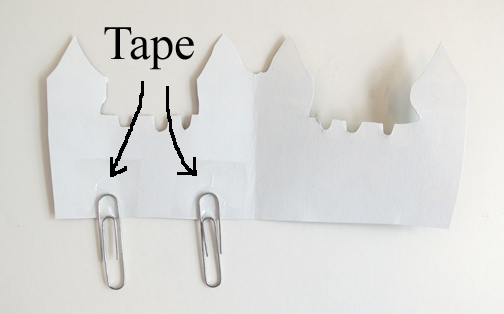
 Now for some fish-friendly decor! Both the castle and the aquatic plant are anchored in the rice by paper clip “stakes.” We’ll start with the castle. Color and cut the castle from the template. Make sure you keep it in once piece (later, you’ll fold it so it can be viewed from both sides of the fishbowl).
Flip the castle over and tape two small paperclips to one side. You’ll notice that I taped just the very tops of the paperclips to the castle. This is so there would be plenty of paperclip to stick into the rice. Fold the castle in half and tape it closed.
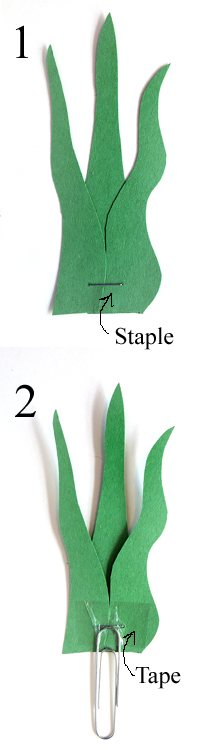
 To make the aquatic plant, cut 3 curvy plant pieces out of green construction paper. Make sure they don’t exceed 6″ in height (otherwise, they start to tip over in the fishbowl). Staple the 3 pieces together, then tape a large paperclip to the bottom.
 Open the top of your fishbowl and gently push the castle and aquatic plant paperclip stakes into the rice. I recommend placing the castle all the way to the right, and the plant all the way to the left to make room in the middle for your dangling fish.
And now…the fish! Cut and color the fish from the template. Like the castle, the fish is double-sided. So leave it all in one piece.
Flip the fish over to the blank side and decorate. I offered construction paper, cello squares, crepe paper streamers, embossed foil paper, and patterned paper in hues of orange and yellow. When you’re done decorating, tape a piece of elastic beading cord to one side of the fish:
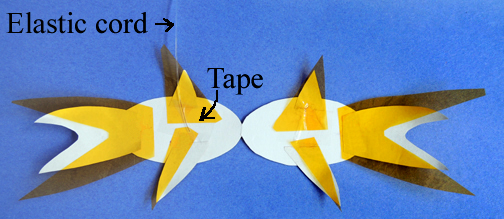 Then fold your fish over and tape it closed (to make my fish plump, I taped it shut using tape loops). Next, dangle your fish in the fishbowl, adjust for height, and tape the free end of the cord to the outside of the bowl. Tape the top half of the fishbowl closed. Done!
If you have a little extra time, I suggest playing “Pin the Tail on the Goldfish” before taping your fishbowls completely closed. I whipped up a simple game poster and made some construction paper fish tails. A white bandana served as our blindfold (and kids who didn’t like things over their eyes had the option of simply closing their eyes).
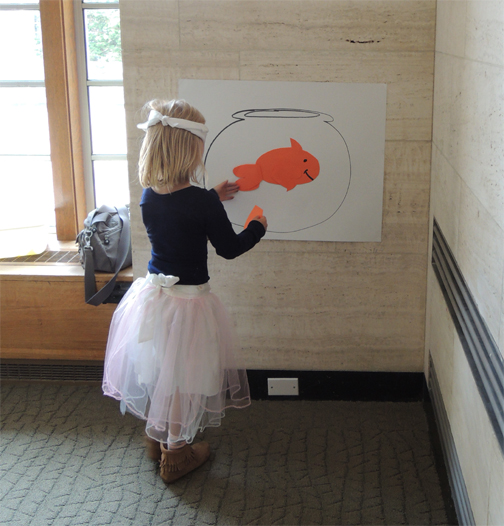 The prize for playing – regardless of where the tail was pinned – was a lovely little sea shell for your fishbowl. The shells were dropped in and THEN we taped the fishbowls securely closed. There was some spilled rice, but a quick vacuuming took care of that.
Still hankering for a pony? Perhaps you should check out this post.

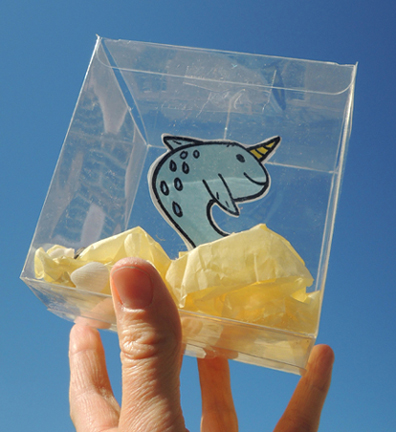
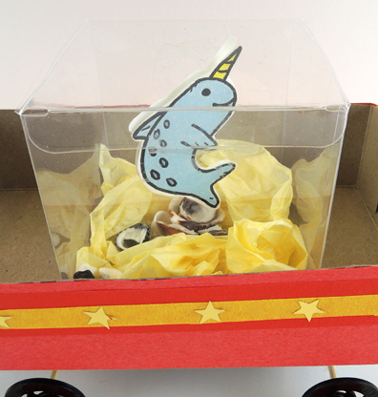
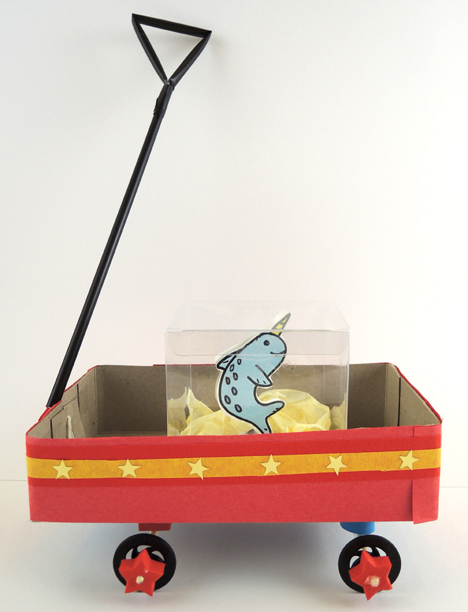 If you’d like to make this awesome tissue box wagon for your narwhal to ride in, you’ll find the instructions in this post. Then wheel your narwhal outside for a little walk!