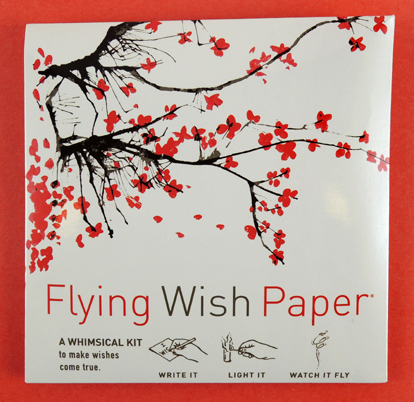
 No, it’s not the name of my new romance novel. It’s this…Flying Wish Paper by Hux Creative! Write a wish on the special paper, ignite it, and watch your wish float away, granted. Does this kit actually work? Or will the fickle realities of wish-granting manifest themselves? Our brave yet tempestuous heroine, Katie, tempted cruel fate and tested the kit in her dining room. Take it away Katie!
I have to admit, I was skeptical. When I read the instructions for the Flying Wish Paper and it specifically says “best used as an indoor product,” I wasn’t sure how it was going to work and not burn my house down. Armed with my kitchen fire extinguisher, I pulled my son away from his homework to be the official tester, and we got started making wishes.
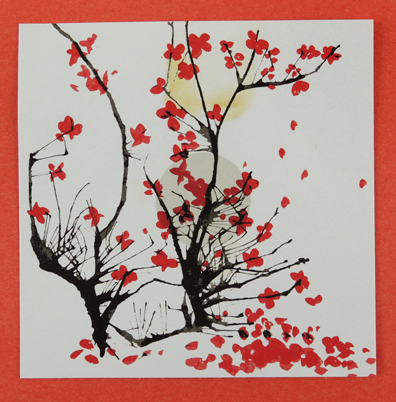
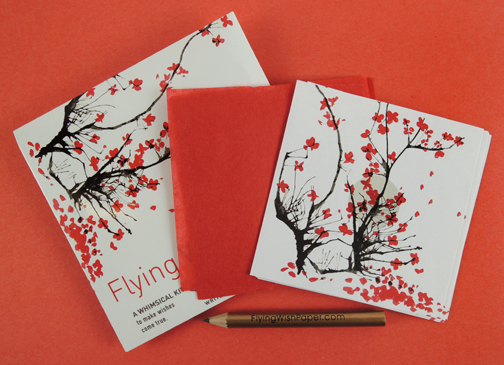 The kit contains 15 sheets of Flying Wish Paper, 5 paper platforms for your wishes, a special mini pencil, and a set of instructions. It retails for $12 at our local Paper Source. The first part of the kit is easy enough. You think of a special wish and write it on the Flying Wish Paper, which closely resembles tissue paper. If you choose, you can slide the Wish Platform (more on that shortly) under your Wish Paper to help you write more easily. Our Wish Platform had a gorgeous picture of blossoming cherry trees on it, but there are many other images in different kits to choose from.
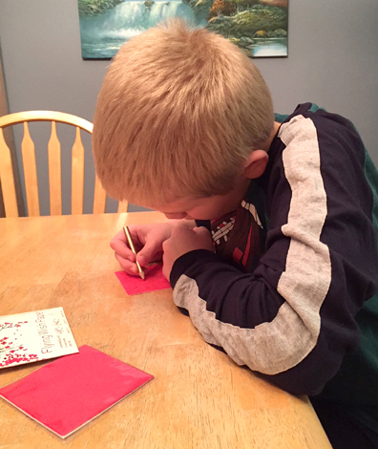 Once you have written your wish, crumble the Wish Paper into a ball about the size of a marble. Next, carefully unwrap and smooth out the paper so it is flat, albeit crinkled from being smashed into a ball.
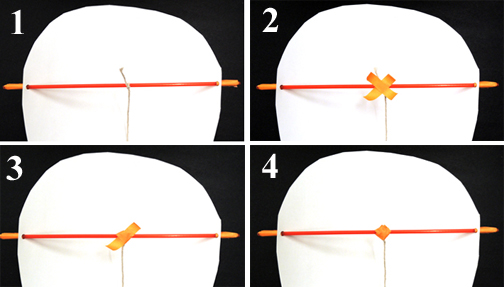
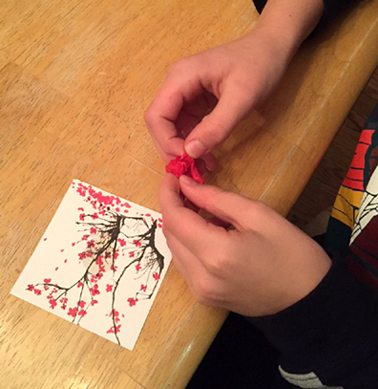 Once the paper is flat, roll it into a tube using the darkened circle on the Wish Platform as a guide. The tube needs to be open enough to allow the Wish Paper to easily burn, just like a chimney. Stand your Wish Paper upright on the Wish Platform and you are ready to send it to the heavens!
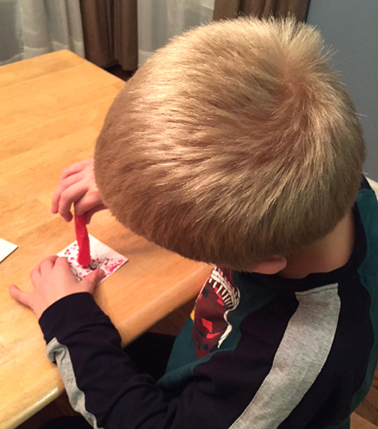 This is when I became a little nervous. I was going to light paper on fire inside of my home. Rather, I was going to let my son (who was thrilled to have full parental permission to strike a match indoors) LIGHT PAPER ON FIRE INSIDE OUR HOUSE! It took a few tries to stand the Wish Paper on the Wish Platform without it toppling over, which also made me nervous.
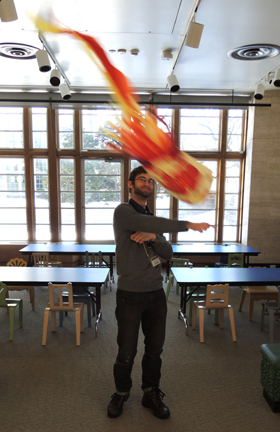
My son very carefully lit a match and touched it to the Wish Paper, which instantly started to burn. When it was nearly done burning, the Wish Paper suddenly lifted off the Wish Platform and flew up to the ceiling, still slightly smoldering. Just before it hit the ceiling, the flame extinguished and the ashy Wish Paper floated slowly down into my son’s waiting hands. It actually worked! Color me surprised!
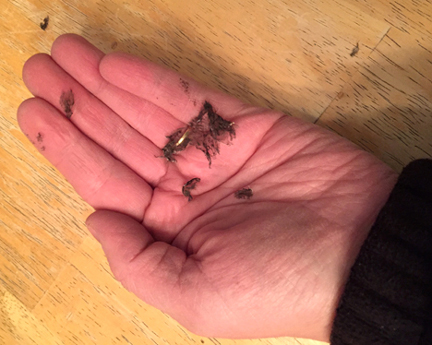
But wish-granting has its ugly realities. One of the problems we instantly encountered was the charred remains of the Wish Paper, which caused quite a mess of black ash over our hands and dining room table. Our mess was easily cleaned up with some damp paper towels and by washing our hands, but if you aren’t careful, the ashes could get everywhere and leave a dirty black trail behind.
 I was also fearful the burning Wish Paper would fall over, (or off!) the Wish Platform. Well, it did fall over during one of our tests. It left a small burn mark on the Wish Platform, but thankfully nothing else happened.
 Flying Wish Paper is a fun activity that my son and I thoroughly enjoyed doing together. There are numerous fire concerns and it is definitely something parents can’t let their children do on their own, but I highly recommend it. It’s a whimsical and thoughtful activity for kids to really think about what their deepest wishes may be. It would be awesome for magic spells at a Harry Potter program too (and so would this)! Just keep paper towels handy to clean up the ash.
As far as my wish coming true, only time will tell. All I have to say is my Mega Millions ticket is purchased, and I’m ready for the next lottery drawing.

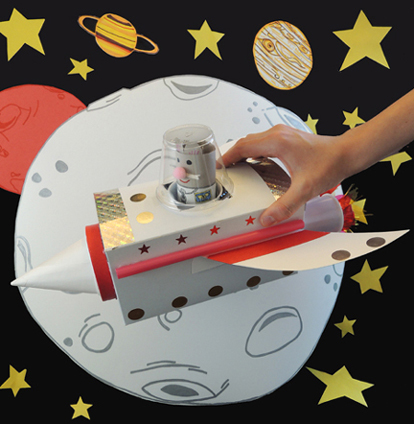 Boldly go where no mouse has gone before. We created a rad rodent rocket, then flew it across the library on a mission to the moon! If you are ever looking for an excuse to bust out a pair of walkie-talkies at story time, this project is for you.
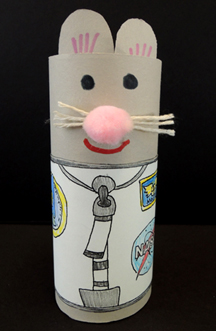 Set the mouse aside for a moment. It’s time for the rocket!
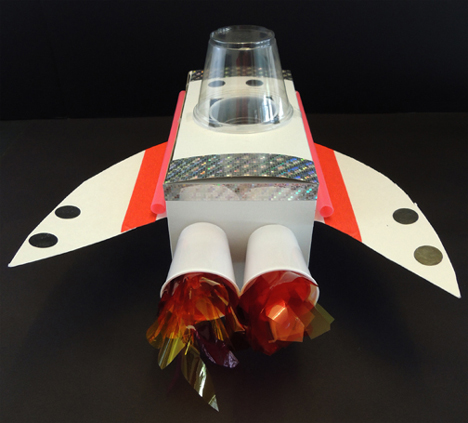
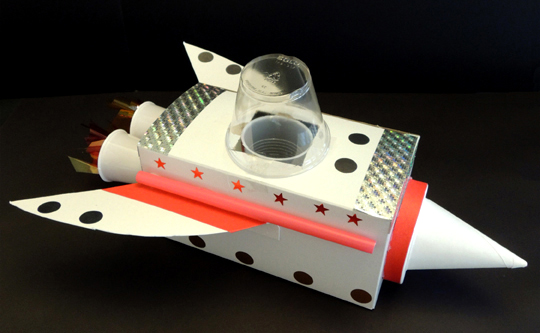 The trickiest part of constructing this rocket? Finding the right plastic cups for the “seat” and “cockpit.” The seat cup needs to hold mouse snugly, while still allowing it plenty of head room. I found some 5oz plastic cups that were just perfect.
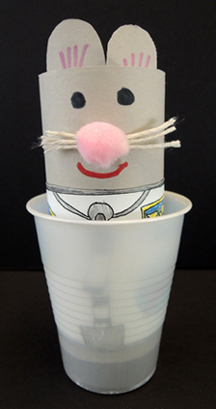 Use a box cutter to cut a square hole in the lid of your box (if you’re using a tissue box, flip the box over and cut the square in the bottom). You want the hole to be big enough to slide the cup into, but not so big that the cup is in danger of dropping through (mine was 2.5″ x 2.5″). Slide the cup into the hole, then secure it to the box with tape. Place your mouse in the cup.
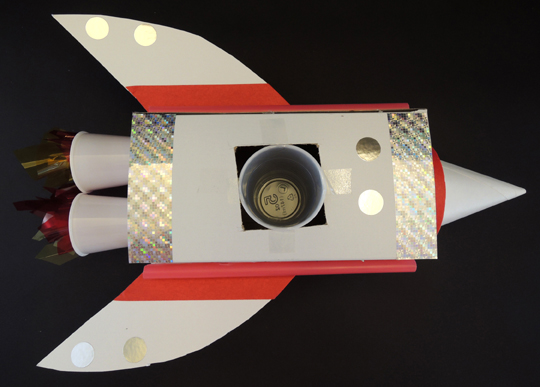 The cockpit cup needs to be wide enough to cover the hole, yet tall enough for your mouse’s ears. This 9oz clear plastic cocktail cup did the job very nicely.
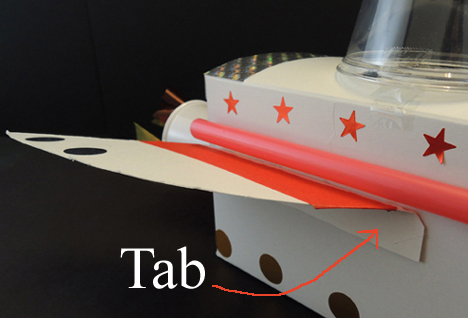
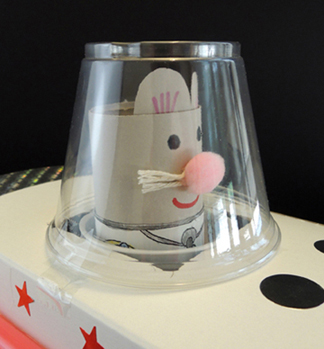 In the image above, you’ll notice that the cockpit cup is attached to the box with a single piece of tape. This is so you can open and close the hatch of the rocket. If you’d prefer your mouse to be sealed in, add more tape. Next, print and cut the wings template, fold along the dotted lines to create a tab, and attach the tab to the side of the box with tape or hot glue.
 To make the rocket’s boosters, twist squares of yellow and red cellophane together, then tape the twists inside a pair of plastic cups (I used white, 3oz plastic cups). Hot glue the cups to the back of the ship.
 The nose of the rocket is a cone water cup. We hot glued our cones to unused, 3.5″ paper lids (the kind you get when you buy hot soup). But you can just go with the cone if you’d like.
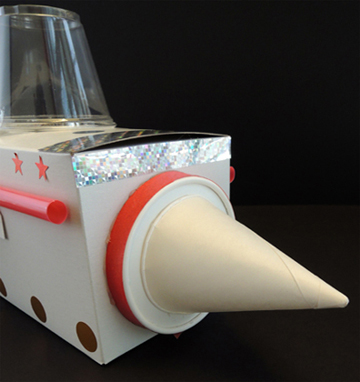 Decorate the ship with metallic dot stickers, color masking tape, and whatever else strikes your fancy (we flashed things up with silver holographic tape). Also, did you notice the awesome
 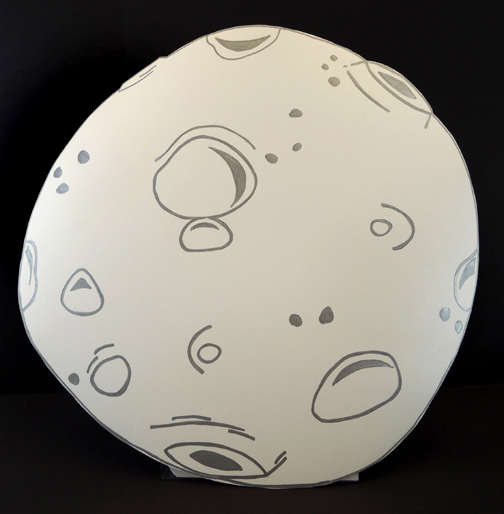 Marissa also crafted this awesome Moon Base out of a tissue box, poster board, a
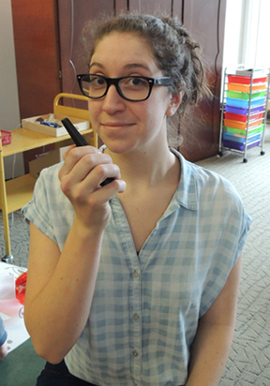
 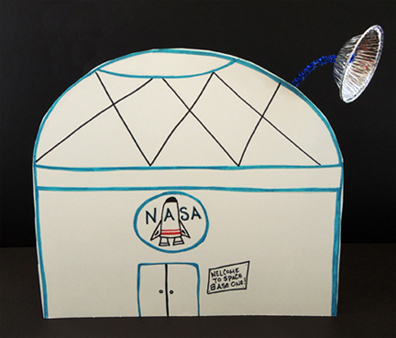 Marissa and I equipped ourselves with a couple of walkie-talkies. Marissa was Mission Control, stationed in the story time area…
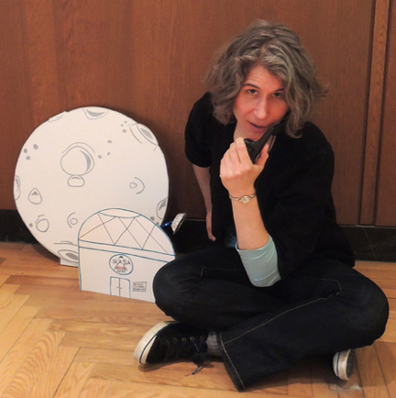
 And I was at Moon Base, waaaaay across the library’s cavernous lobby. Marissa and I couldn’t see each other and definitely couldn’t hear each other without using walkie-talkies. This was intentional. We wanted the kids to feel like they were traveling far away.
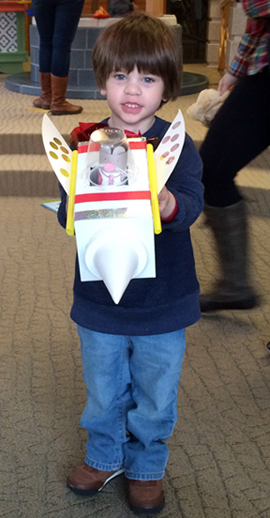 One-by-one, they were treated to some “walkie-talkie space banter:”
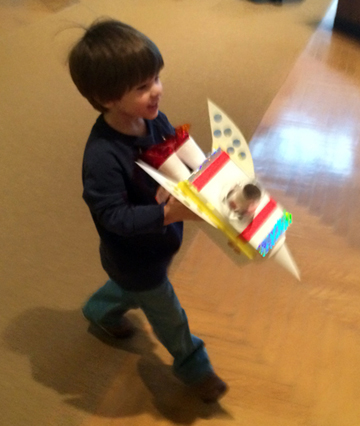 The rocket would navigate the long journey across space…
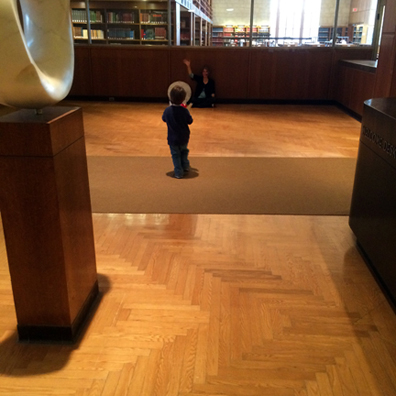 And successfully touchdown at Moon Base! The pilot could then could select some star stickers to further decorate his/her rocket. I radioed back that the mission had been a success, and requested that the next astronaut prepare for launch.
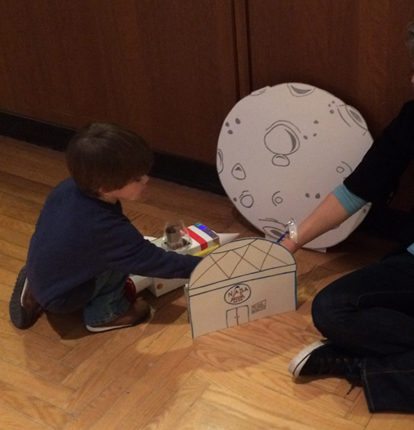 Of course, while waiting for my next rocket to arrive, I couldn’t help treating Marissa to a few songs through the walkie-talkie: This is Ground Control to Major Tom…You’ve really made the graaade!