It’s warm, it’s raining, it’s spring, and that means FLOWERS! If there’s one character close to Katie’s heart, it’s the peaceful, flower-loving Ferdinand the Bull. Pair this simple project up with a nifty wildflower identification activity, and you have yourself a nature walk!
We recommend The Story of Ferdinand, written by Munro Leaf, and illustrated by Robert Lawson (Viking, 1936). Read aloud here by Brighly Storytime. This tale of a peaceful bull who would rather enjoy flowers then battle in a bull ring is a children’s classic. And if you’d like to read Alexis Antracoli’s excellent essay during banned Book Week 2019, click over to the curatorial blog!
You’ll need:
- 1 toilet paper tube
- Brown and white construction paper
- Scissors and glue for construction
- Markers for decorating
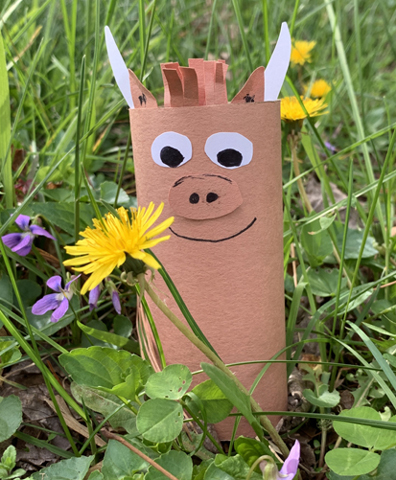
Use the materials above to craft a bull, then head outside with your camera! Keep an eye out for plants and flowers, then take a photo of Ferdinand enjoying them.
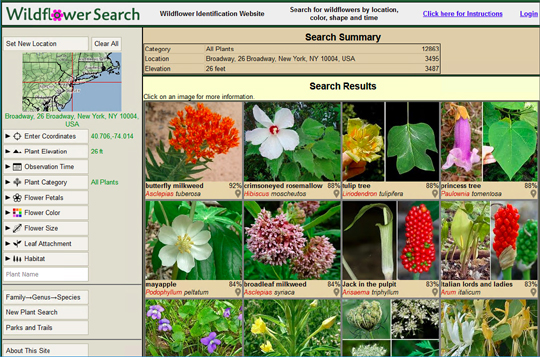
Now to identify your botanical finds! Katie discovered this awesome website for flower identification, Wildflower Search. You can set your locations with the assistance of Google Maps and the site will generate an illustrated list of the wildflowers in your area. It’s an awesome resource!
Using the site, Katie was able to identify a bunch of flowers, as evidenced in this lovely spring photo montage. I think the Bull Thistle is my favorite:
If you live in a more urban area, not to worry! Enter your location and see what happens…you might be surprised to find that there are more flowers then you expected. The screen shot of results I took for this post? That’s not New Jersey! I selected a location in New York City, Financial District, Manhatten. The site of famous Charging Bull statue to be exact.
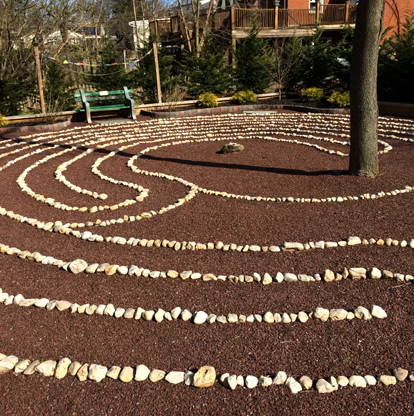 Do you have some restless rovers in the house? How about sending them out to build and navigate a custom labyrinth or maze…for less then five dollars! This idea came courtesy of the Princeton Buddist Meditation Group, which hosts this little labyrinth in the community space behind their center.
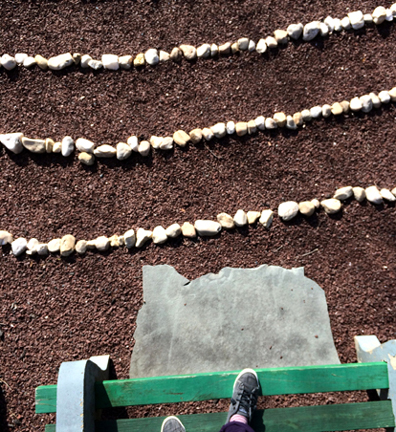
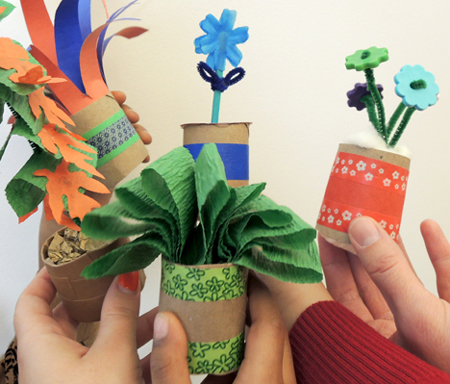
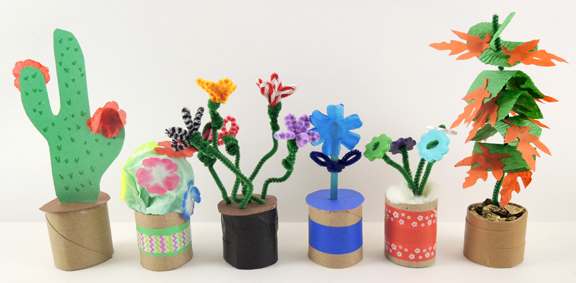
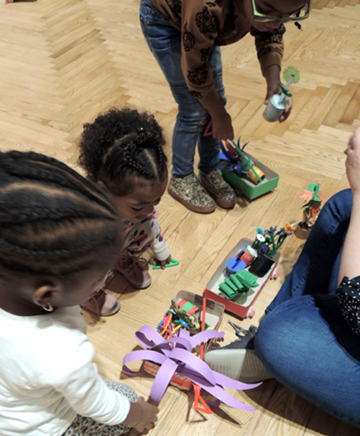
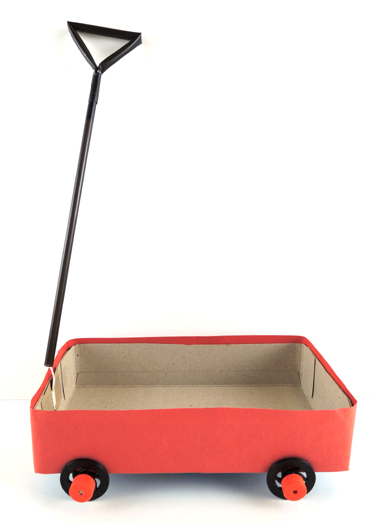 When the wagons were assembled, kids popped their potted plants in and we circled the library’s lobby. Everyone was invited to trade at least one pot with Katie (and we pre-made a number pots for this purpose).