 The credit for today’s simple project goes to my 6-year old daughter! She told me she wanted to make a tambourine, scrounged through art supply central at home, and came up with this a few minutes later.
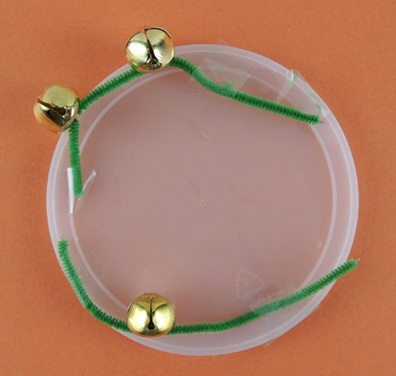
4 things I like about this project: 1) Unlike the paper plate versions, this tambourine uses a plastic oatmeal container lid that won’t buckle or tear; 2) The surface of the oatmeal container lid makes the instrument sound more drum-like (and thus more like a real tambourine); 3) The bells are threaded through pipe cleaner pieces and attached with tape. This made it possible for her to make the project with zero adult assistance; Finally, 4) My kid’s a crafter! SUCH a proud mom right now.
Inspired by her project, I developed a slightly fancier version. It is a little more work, but the threading part of the project really helps build those fine motor skills.
 You’ll need:
- 1 large oatmeal or yogurt container lid
- 3 jingle bells
- 3 pieces of pipe cleaner
- 2 ribbons
- Hole punch
- Tape
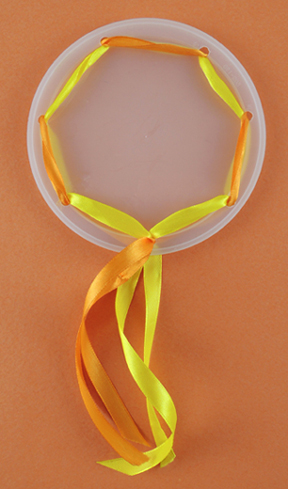
First, punch 7 holes around the perimeter of an oatmeal or yogurt lid. Thread the ribbon through the holes, ending with all the ribbons meeting in the bottom-most hole.
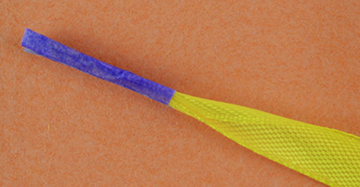
 Quick hint for threading floppy ribbon through holes…create a “needle” using masking tape. When you’re finished, just unwrap the making tape, or cut it off the ribbon entirely.
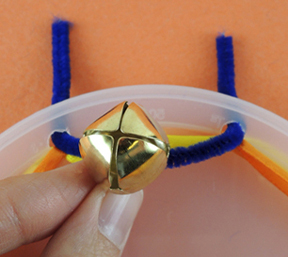
 Thread a jingle bell onto a piece of pipe cleaner, fold it into a U, and and insert both ends into a pair of holes. Unfold the ends of the pipe cleaner and secure them to the back of the lid with tape. Repeat these steps with the remaining 2 bells.
 Your tambourine is finished!
Looking for some musical accompaniment? How about this rockin’ Medieval lute project?
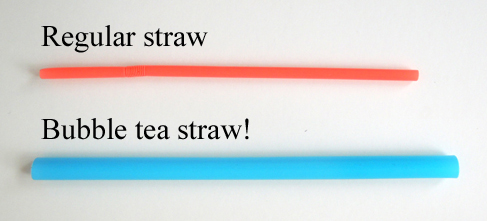
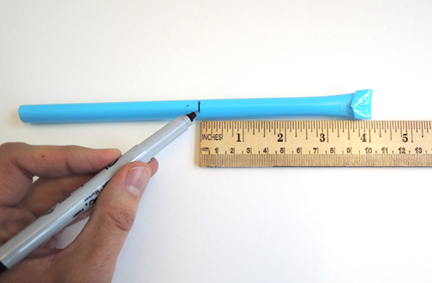
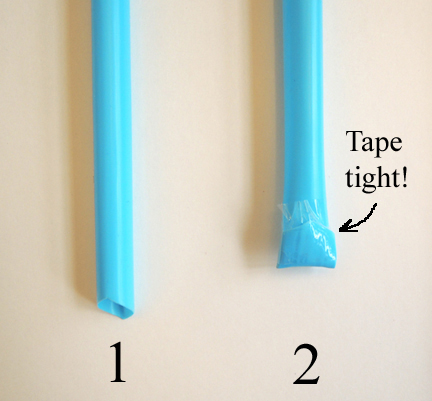 Place the folded straw next to a ruler, and use a permanent marker to mark the desired length of the straw. I cut my straws in 0.5″ increments. So the first straw was 5″, the second straw was 4.5″, the third straw was 4″, and the fourth straw was 3.5″. If you’re doing this at a program or event and don’t want to fiddle with a bunch of rulers, you can use this