Lifestyles of the Rich & Noble

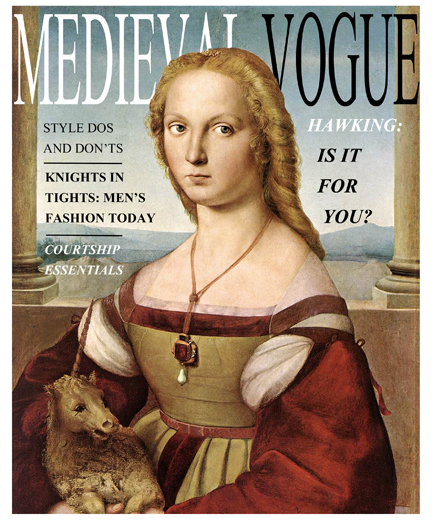
Don’t be sooooo 12th century. Get with the times whilst also enjoying this complementary copy of Medieval Vogue! Katie designed this gorgeous little mag for a massive Robin Hood shindig my library hosted some years ago. If you’d like to browse Medieval Vogue for the newest trends in poulaines this season, here is part 1 and part 2 *. For more about the event, read on!
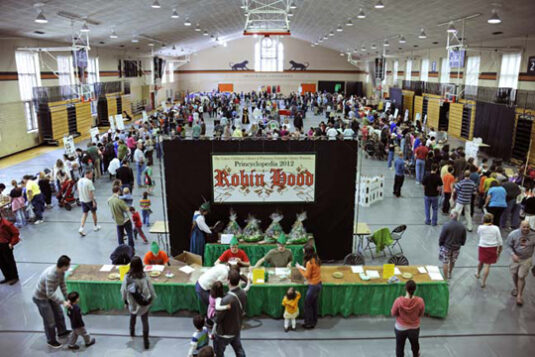
Robin Hood was the book du jour for Princyclopedia, an annual large-scale event that involved bringing a book to life from all sorts of angles – history, science, music, art, food, performances, live animals, you name it! Each table had either a demo, a hands-on activity, or something cool to take home. The 2-sided event map showed you all the table activities and also matched relevant book quotes or historical blurbs to them.

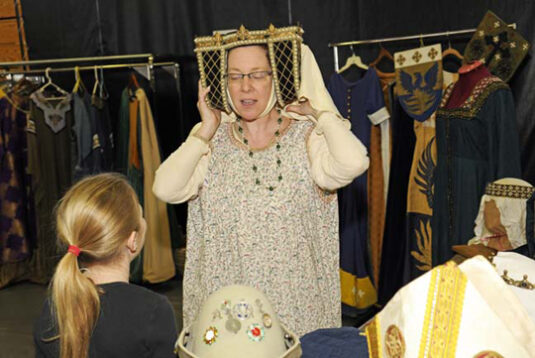
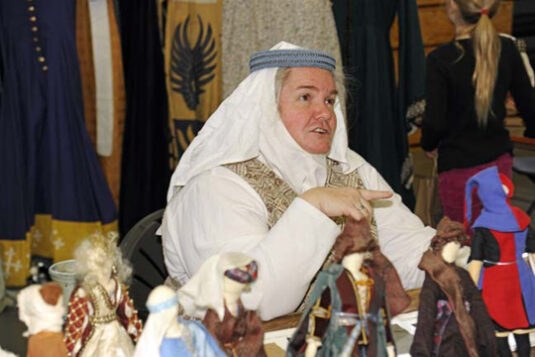
Medieval Vogue was a free take-home at the “Lifestyles of the Rich & Noble” table. Here, we were delighted to be joined by Rose Fox and Kim Hanley from Medieval Scenarios and Recreation.They brought TONS of clothes and costumes for kids to look at and try on, and answered questions about fashion from this time period.
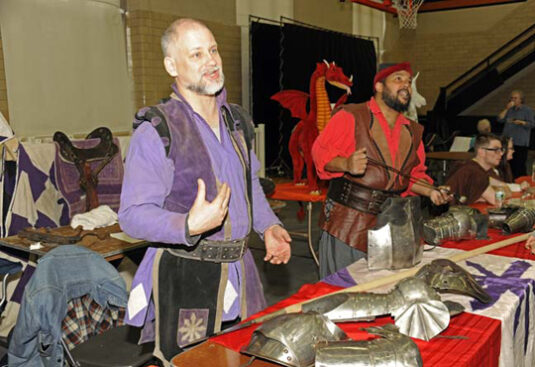
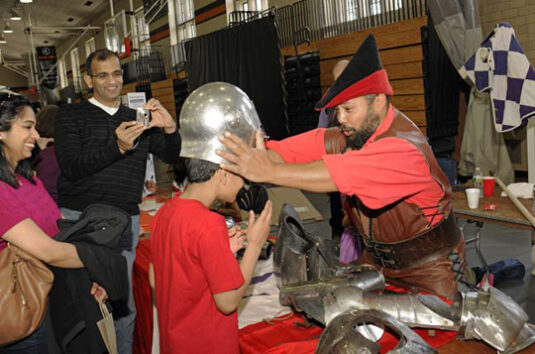
At another table, we had a different take on wearables. Namely, the armor of Sir John Williams (right) and friend (left), two knights who professionally joust at Renaissance Fairs! They brought all their gear and expertise and were simply amazing.
We had a TON of other activities as well…the chemistry of alchemy, venison chili, musical performances on period instruments, live hawks, the science of stained glass, actual longbows with a kid-safe shooting range, illuminated art, the math of taxation, a big play space with multiple cardboard castles, the science of stained glass, herbal amulets, siege engines, gargoyle sculpting, nature tracking, professional stage fight demos, forest conservation, two free roving court jesters, and more! And yes…a table on all the Medieval jobs you DON’T want.

Another fantastic component of the event is that it was a food drive. Families were invited to bring can and box goods to the event to benefit the Arm in Arm food pantry (formally the Crisis Ministry of Mercer County). We donated almost 500lbs of food!

I’ll finish today’s post by sharing the literacy-based table the Princeton Public Library hosted. Since literacy was uncommon during the Middle Ages, shops typically featured pictures of their goods and/or services on their signs. So we designed a game! First, we selected a bunch of images of Medieval signs. Then, we asked kids to guess what the signs represented. Rothenburg, Germany has some fantastic signs currently in use (it being an actual historic Medieval town, wow!).
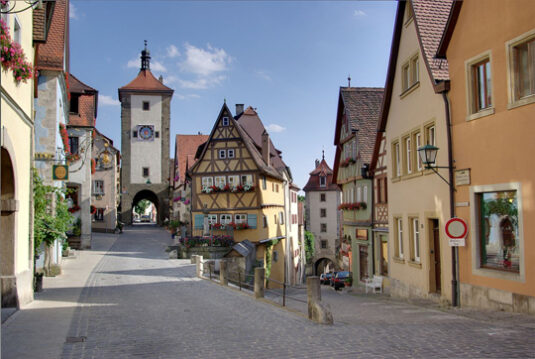
Image source Wikipedia

We also wanted kids to make a personal connection, so Katie and I photographed a few local shops. We photoshopped out any words, then asked kids to guess what the signs represented. They were tickled to recognize signs they saw everyday and make a Medieval literacy connection!
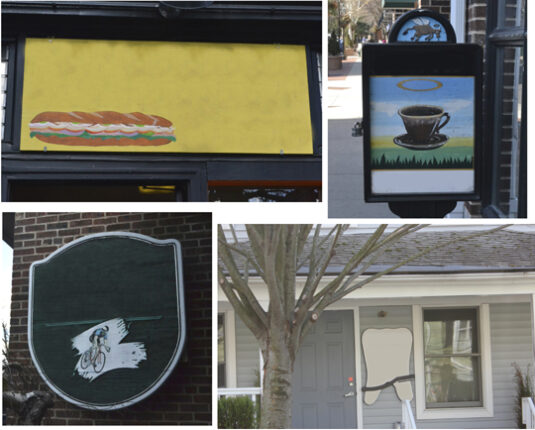

* Images used for Medieval Vogue may be subject to copyright. Please contact danas@princeton.edu if you are the author of one or more of images used here and have objection in such a use.

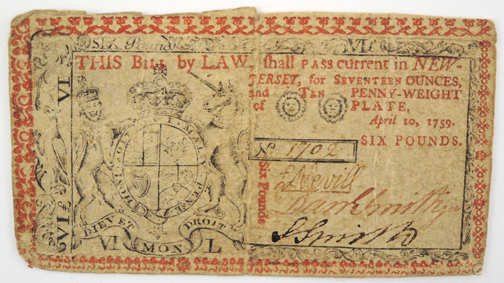
Time Travel 101

colonial note side for blog 1

New Jersey Colonial paper money side 1, 1759

Friends, teachers, history buffs…lend me your ears! Today, I wanted to share something a little different from our creative story times,community  events, and interviews. It’s related to another fantastic area of my job, Namely, working with special collections.

The Time Travel 101 program is a partnership between between our library and Princeton University’s Program in Teacher Preparation. It’s focused exclusively on the teaching of history using primary sources. The program consists of five different suitcases that contain primary sources teachers can borrow and use in their classrooms. Topics include Medieval manuscripts, New Jersey history, and WWII.

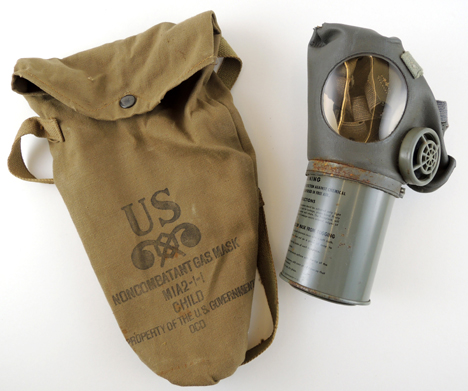
child's gas mask for blog 1

Child’s gas mask and carrying bag, circa 1940

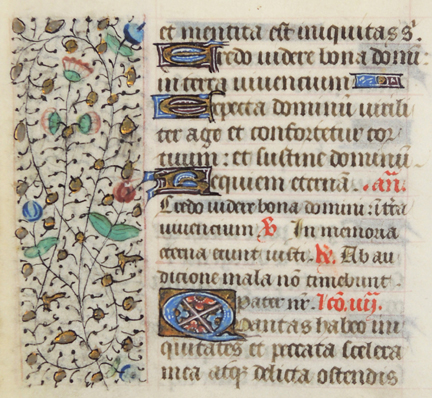
So actual 15th-century illuminated manuscript pages go directly to local classrooms for students to hold, examine, and learn from? YES! And at no cost as well! If you’d like to learn a little more about the program, please see this excellent article by Stephanie Ramírez, Princeton University Library Communications Specialist and Staff Writer.

book of hours for blog 1

Book of Hours page, circa 1425-1450

And while the suitcases can only travel to certain local school districts, blog readers will be delighted to know that digital versions – complete with printable collections materials and curriculum for your classrooms – can be found right here on our library’s website.

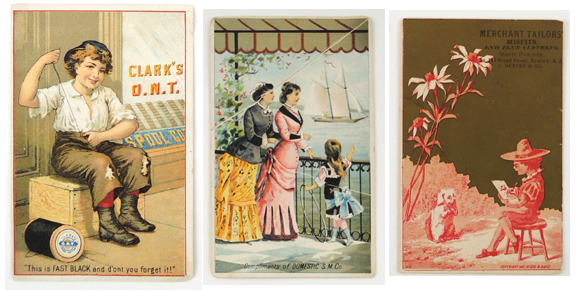
trade card montage 1

Various trade cards, late 19th century

Since Time Travel 101 launched a few years ago, we’ve been hearing great things from schools. My favorite is this e-mail, which was sent to us by a local teacher:

I wanted to give you some feedback on the Time Travel 101 suitcase. We LOVED it!!!! I was able to share it with approximately 10 teachers in grades 4-5-6. A teacher thought the suitcase lesson was too advanced for her students, but then the next day a student brought a copy of a summons for his 9th great-grandmother, accused of witchcraft! He said that he had told his parents about the suitcase, and they showed him this family artifact. He brought it to school to show the teacher and the class. I just thought this was a wonderful connection that this student made because of the suitcase lesson!


If you’re interested in some more of our special collections blog posts, you’ll find original Beatrix Potter stuffed animals here, the art of minim here, rebus puzzle cards here, a weird books post here, constellation cards here, some cool book curses here, an article about a different classroom special collections program here, and our awesome Gutenberg print history event here.

You can also jump over to Cotsen’s curatorial blog, which always has something interesting going on!

Love That Lute

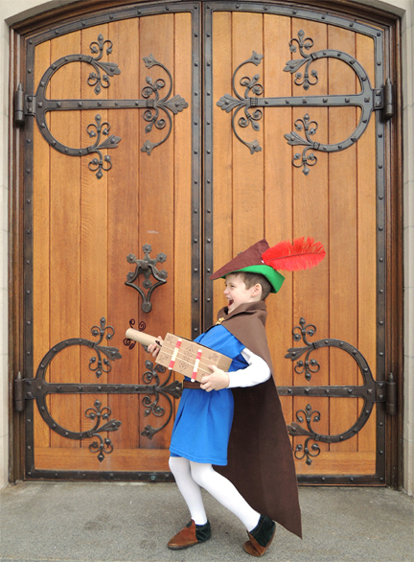
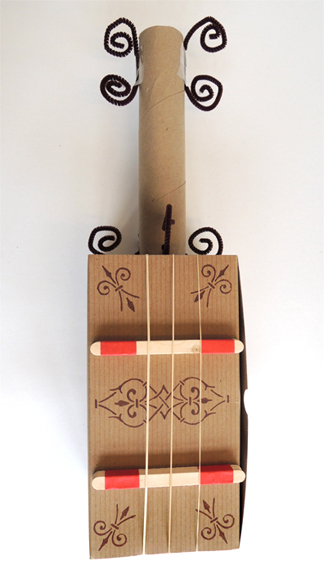
rock outStrum a merry tune! This box lute was designed for a Robin Hood event. It needed to be quick to assemble, made from super cheap materials, and it had to be sturdy enough to handle even the most energetic Medieval power ballad!

You’ll need:

  • 1 box (mine was 4 ½” X 4 ½” x 9” but a large tissue box works too)
  • Stencils (optional)
  • 10 craft sticks (mine were 4.5″ long)
  • 3-4 rubber bands
  • 1 paper towel tube
  • Hole punch
  • 2 pipe cleaners
  • Scissors and tape for construction
  • Markers for decorating

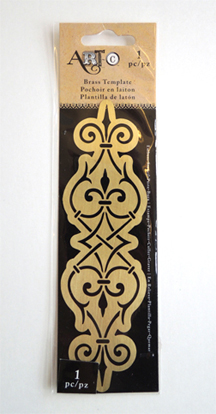
The first step of the project is optional – use a stencil to decorate the front, back, and sides of your box. I found this brass stencil in the stamp and card making aisle at Michaels craft store. It was $4.99 (I used a 20% off coupon on it too).

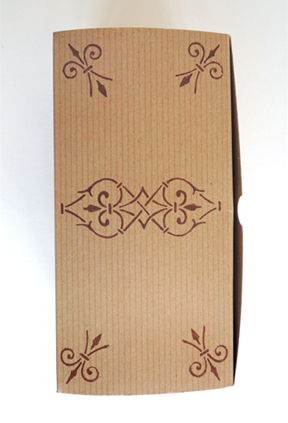
brass stencilI used an ultra fine tip Sharpie on different areas of the stencil to create the look you see below. But you could also use markers and simply freehand your box’s decor!

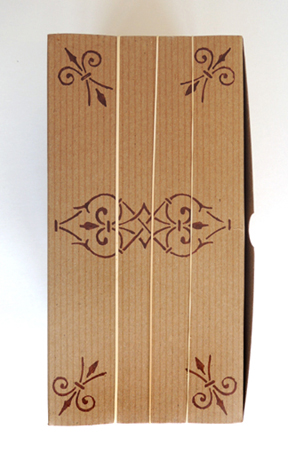
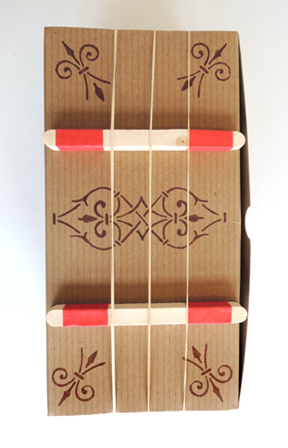
stencilsNext, slide 3-4 rubber bands lengthwise over the box. I used different gauge rubber bands so, when plucked, they would each produce a different sound (Office Max sizes 33, 19, and 18 to be precise).

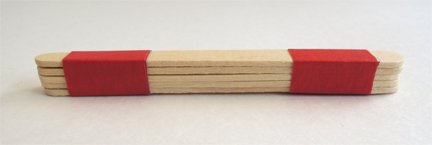
rubber bandsTo make your lute’s “frets,” stack 5 craft sticks on top of one another, then secure them together with tape. I used masking tape to give the lute a pop of color, but scotch tape works too! Try to stick the tape close to the ends of the sticks, where it won’t interfere with the rubber bands. Repeat the above steps with the second set of craft sticks. We prepped the frets in advance, to speed along the construction process at the event.

stacked and taped sticks Slide the frets under the rubber bands. Give the rubber bands a few experimental plucks!

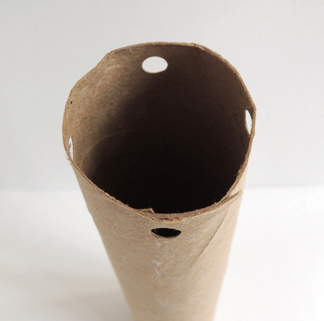
fretsSet the box aside for a moment, and use scissors to cut a paper towel tube down to 8″. Punch four holes in the bottom of the tube like so:

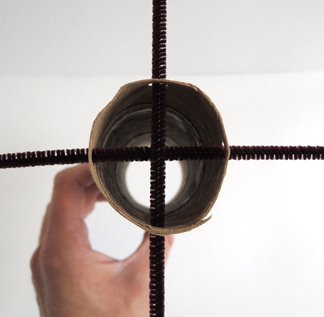
punched holesThen thread two pipe cleaners through the holes.

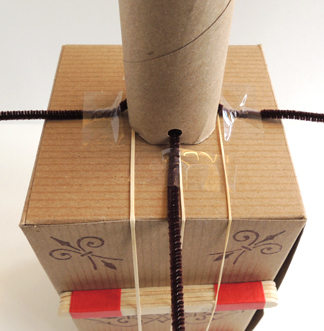
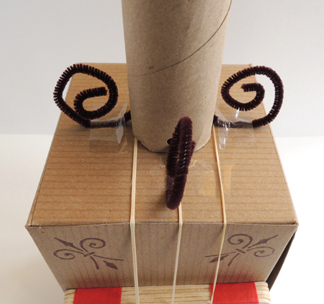
threaded pipe cleanersNow place the threaded tube on top of the box. Bend and tape the pipe cleaners firmly to the top of the box…

taped neckThen curl the ends of the pipe cleaners upwards!

curled

You might be wondering why I didn’t use hot glue to attach the bottom of the tube to the box. The reason is this: the Robin Hood event was 5 hours long and drew big crowds (over 3,000 people). When events get that long and large, I find non-heated adhesives for projects (like the glue dots used on this pom-pom cannon). So, pipe cleaners and tape it was!

You can leave the top of the tube undecorated (which somewhat replicates the actual neck of a lute and it’s angled-back pegbox). Or, you can curl the ends of 2 pipe cleaners and tape them to the top of the tube for some extra flourish.

finished lute