 Everyone loves a good trilogy. Except in this case. Because this is the final chapter in the trifeca of insanity otherwise known as miniature library kits (see parts I and II). But today it ends. Today, Katie is bringing it home with the Rolife 3D Creative Bookend: Sunshine Town. Our FINAL mini library kit (and possibly our favorite, honestly). Take it away, Katie!
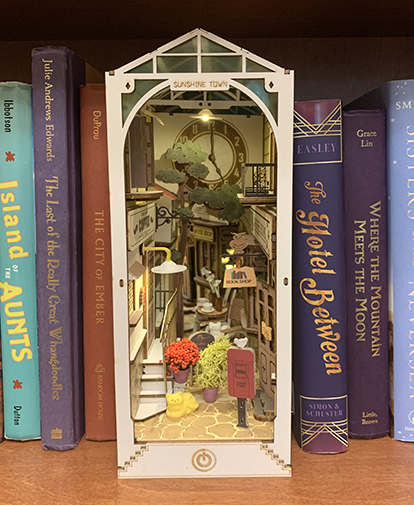
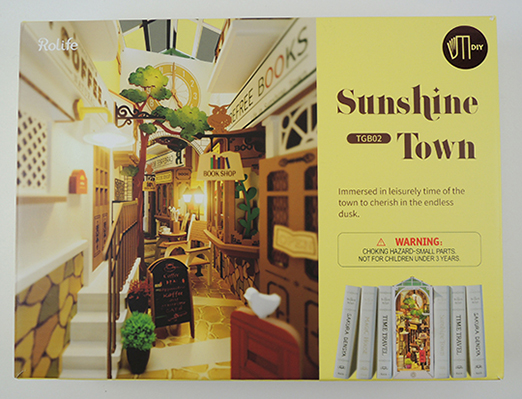
To its credit, the Rolife 3D Creative Bookend: Sunshine Town (TGB02) looked seriously adorable online and, at quick glance, did not appear to be as complicated as Sam’s Study. Added bonus: it has TWO CATS that inhabit the cozy street scene!
Sunshine Town retails for around $45 on Amazon, though I’ve seen it on Etsy and Ebay for less. Like the other two Rolife kits we’ve tested, the suggested age range is 14+, which I completely agree with. Younger children will definitely need assistance manipulating the smaller bits and pieces, as well as tackling the lighting and battery box.
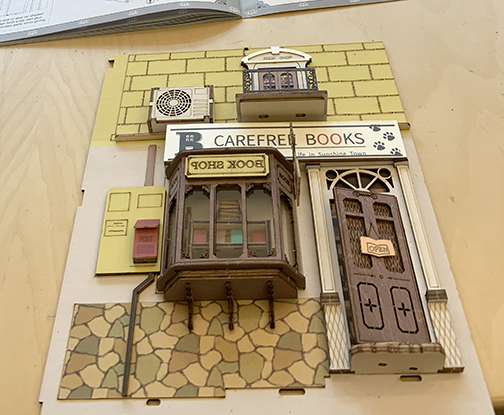
The instruction manual was similar to previous kits. One difference was the use of illustrations to indicate the specific actions I needed to take, such as what to glue together and where to paint. Speaking of paint, almost every step included painting one or more of the pieces white, which I skipped entirely after finishing the sign that greets you at the front of the display. I don’t think there’s much of a difference in appearance and, to be honest, it looks just fine unpainted.
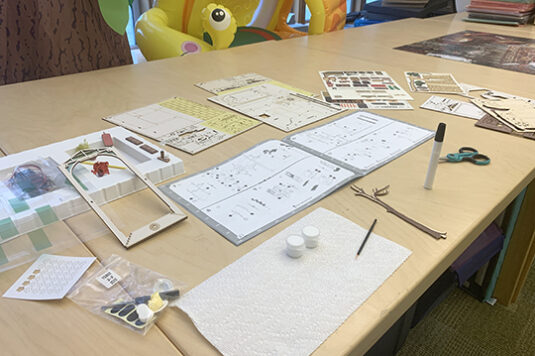
There is a combination of wood and paper pieces to build together, and the provided glue stick has a small tip and works well. There were a few instances I did have to pause and allow extra time for parts to fully dry before moving on, but that was rare.
I was dreading the lighting display, but it was relatively straightforward and, dare I say it, remarkably easy to put together. Since this was not my first mini build rodeo, I knew exactly what to do when the instructions said to heat the “heat-shrink tube.” A lighter from home worked beautifully to melt and bend the little shaded light that illuminates the stairs in front of the coffee shop (a task I finished outside of the library walls, to ease the fears of any of my colleagues who may be reading!). All of the wires neatly tuck into a panel at the rear of the box.
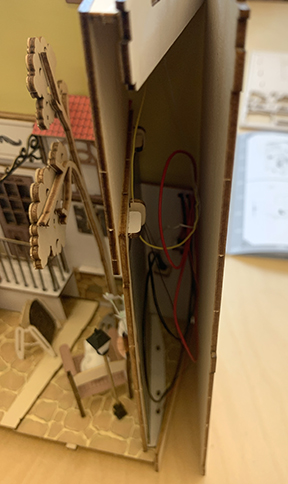
The hardest task was to close the bookend with the final side wall. Making sure all of the connection tabs and the street parts were in the proper place to finish the build was a bit of a struggle.
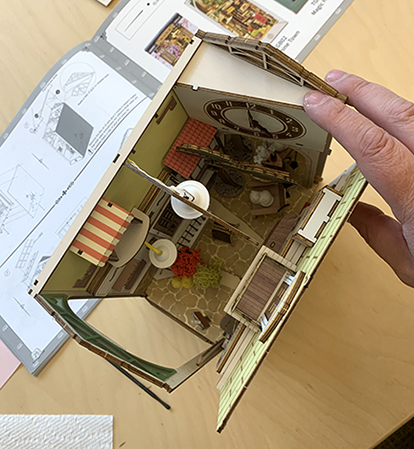
My only other complaint is with the bookend being so deep and narrow, there are a few areas that are hard to see, even with the mirror to help reflect the back of the scene. The curved bay window in front of Carefree Books has a cute display inside that is difficult to enjoy, and you really have to search for the red mailbox on the building wall in the back (which looks similar to the mailbox we used at our Tintin movie event).
The touch pad to turn the lights on and off is really clever, and the two interior street lights along with the overhead pendant envelop the scene with an inviting warm glow.
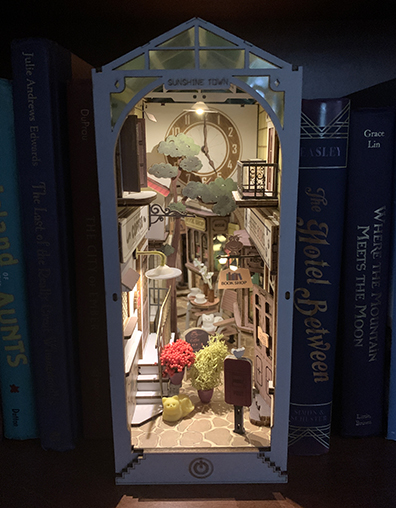
As anticipated, Sunshine Town looks positively charming tucked on a shelf between copies of your favorite books. It’s my personal favorite of the three Rolife miniature kits we’ve tested. Because… cats! I give it a 4.5 out of 5 stars.
And thus ends our miniature library kit tests. They were tedious, delicate, maddening, and took waaaay to much time. But there are much worse games to play.

 Readers might recall the
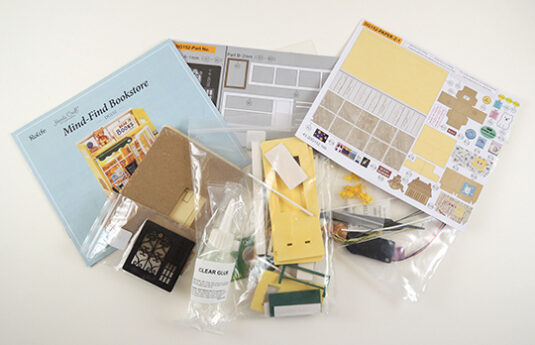
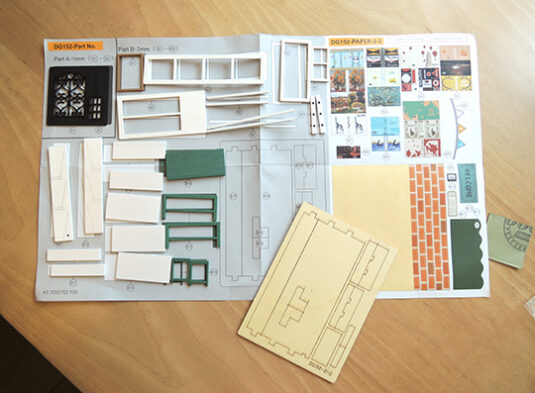
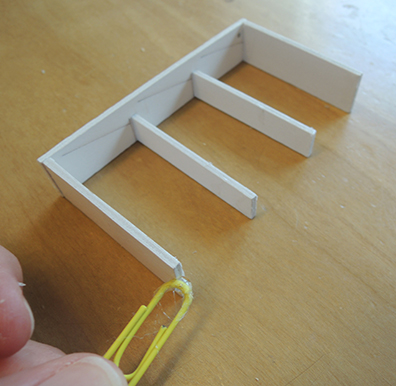
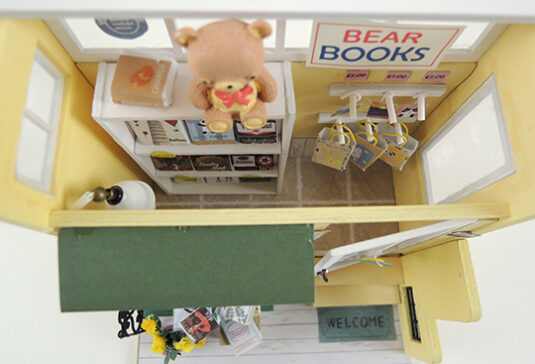
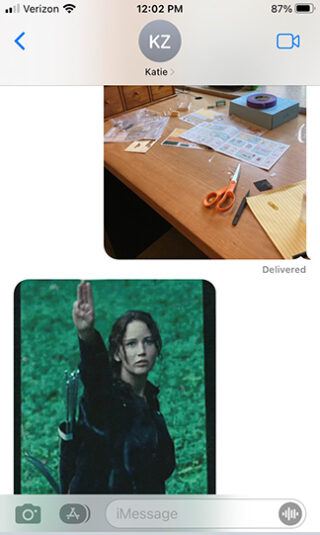
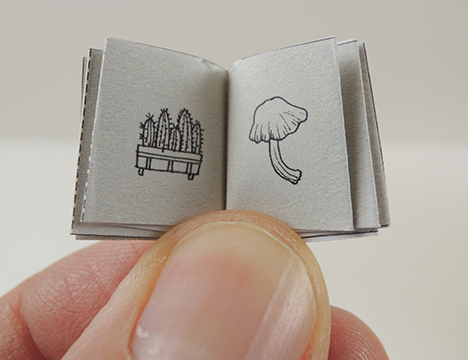 The advertised completion time for the kit is 3.5 hours. Well, it took me 5 hours and lots of complaining, squinting, moaning, and muttering quiet curses. At one point, I sent Katie a photo of my messy progress and bemoaned how crazy the kit was making me. She simply sent back this:
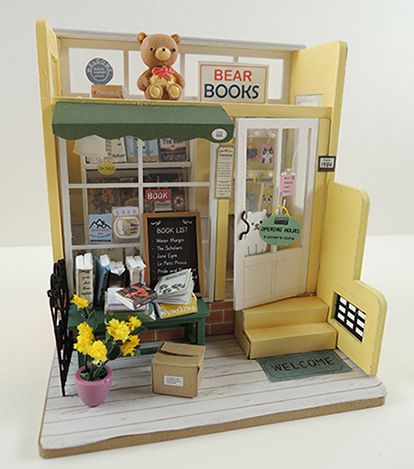
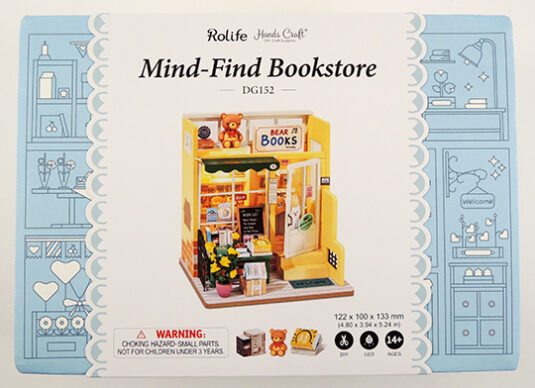
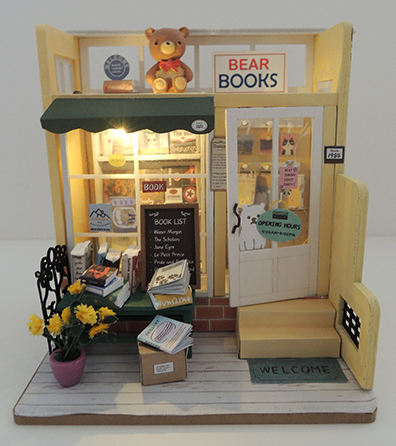 I would say the Mind-Find Bookstore kit by Rolife Hands Craft is mid-range in difficulty. If you are working on this with a kid, plan for lots of extra time and patience as most of the pieces are from scratch, the paper signs are small, and the instructions are a little vague. Ultimately, the results were cute, and this cheerful little bookstore will brighten any room or shelf!
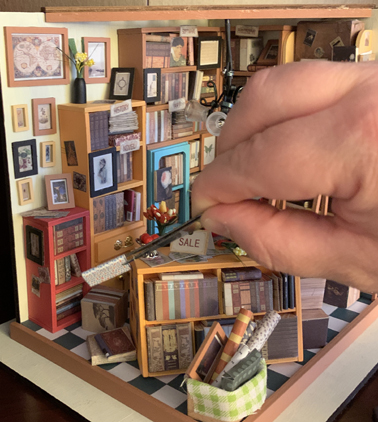
 When Katie saw this DIY miniature library online, she was entranced. It’s perfectly adorable with its tiny little books and knick knacks on the bookshelves and darling framed pictures and actual working chandelier with four lights. But she did NOT love the lengthy process of constructing it. It took 46 hours. 46 HOURS. Katie, share with us your epic journey…
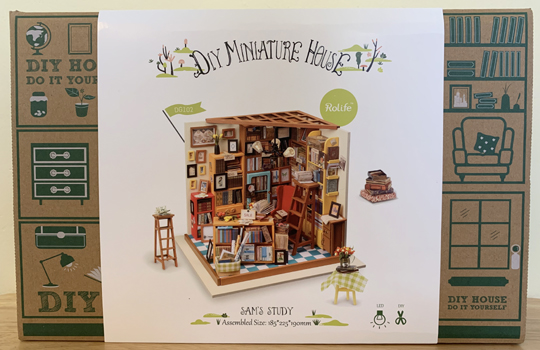
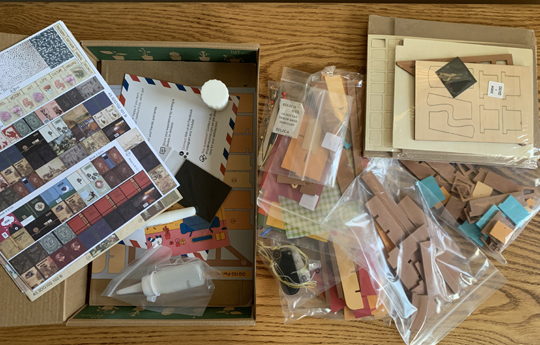
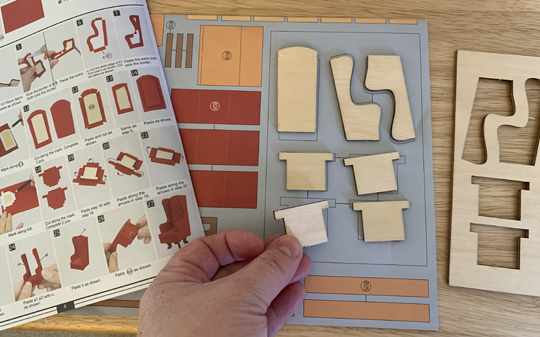 So many pieces! So much glue! Oftentimes I had to be creative with figuring out ways to assist the various parts to hold together as the glue dried. Elastic hair bands for the win!
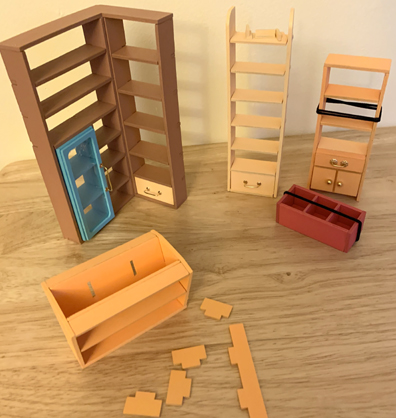
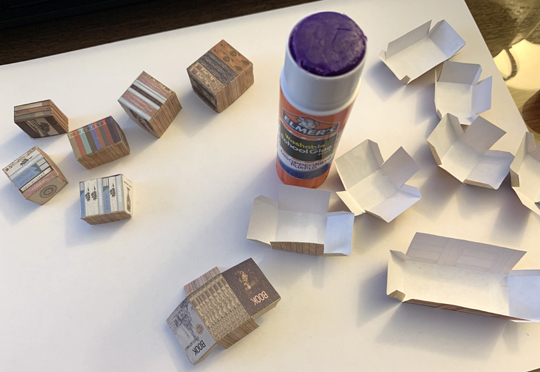 The pièce de résistance was constructing the walls and floor of the bookstore, as well as creating the realistic chandelier that provided the gentle glowing light. The bookstore was relatively easy. The chandelier was complicated. And frustrating. And it nearly didn’t happen because I almost ran out of wire necessary to provide electricity to the bulbs.
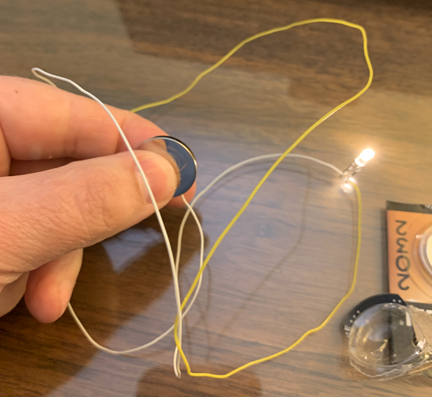
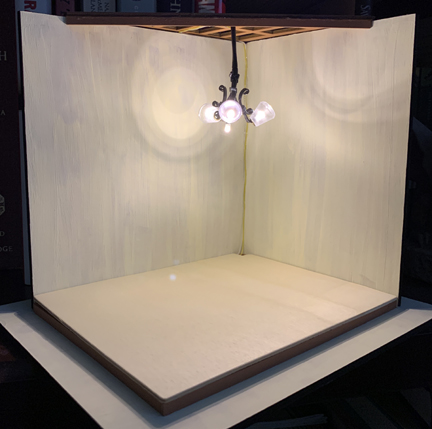 I was just about ready to furbish the bookstore, but I still had to finish the wing back armchair. The various bits and pieces of the chair were ready to go, but I was not looking forward to the actual construction. Begrudgingly, I used every last bit of my dogged patience to put the chair together. It’s not pretty, in fact it’s far from perfect. One side of the chair is slightly taller than the other and there are many areas of the wood frame showing through the red cloth, but I finished it.