Pack your tents and hit the great outdoors with your friends Monster and Mouse. But keep an eye on Monster…he tends to eat the equipment!
We read Monster and Mouse Go Camping, written by Deborah Underwood, and illustrated by Jared Chapman (Houghton Mifflin Harcourt, 2018). Mouse is very excited to camp, but Monster is reluctant…camping seems a little scary. However, with the promise of food, Monster is happy to try. Except that he eats the lantern, sleeping bags, and tent. Another problem? Mouse forgets to pack the ACTUAL food. Now the two friends are quite cold and hungry. Then they spot another campsite. Polite inquiries are made…only to get a unexpected reaction that makes this one of the FUNNIEST read-alouds, ever. Highly recommended!
You’ll need:
- 1 large tissue box
- 1 box cutter
- A selection of construction paper
- 1 manila file folder
- 1 toilet paper tube
- 1 monster camping equipment template on 8.5″ x 11″ card stock
- Scissors, tape, and glue for construction
- Markers for decorating
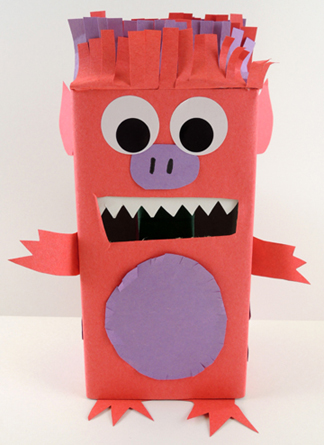
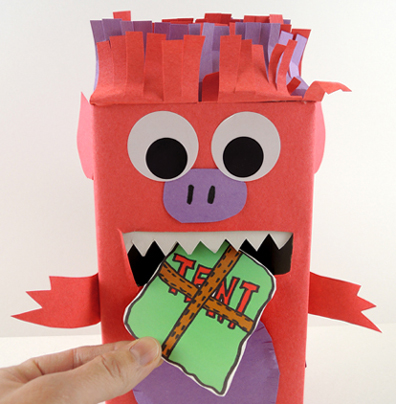
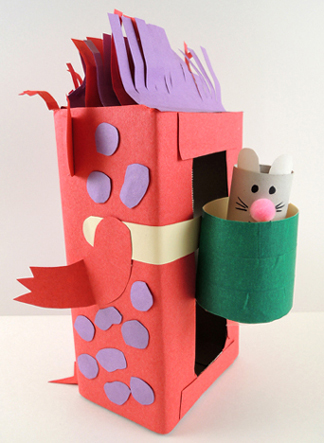
First, the monster! Use a box cutter to create a mouth in a large tissue box. Then decorate the box with construction paper (we also offered large eye stickers). While you are decorating, make sure to leave the tissue box hole hole open in the back. This will allow you to retrieve your camping food later.
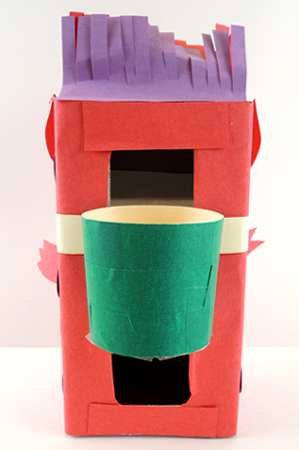
As you can see in the above photo, our monster is also sporting a backpack. Ours was fashioned from an old manila file folder using this template. Curl the wings of the template around the circle, then secure everything in place with tape to create a “cup” backpack (we used color masking tape to decorate the backpacks too).
Attach the cup to an extra strip of manila paper, then tape or glue it to your monster box. Add a toilet paper tube mouse if you’d like:
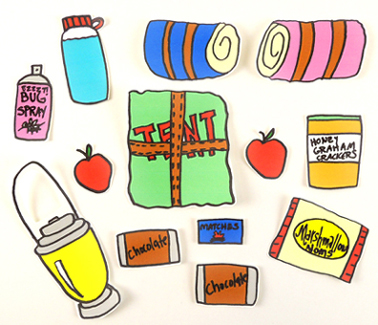
Now for the equipment! Color and cut the items from the template, then feed each item into the monster’s mouth. Retrieve the items using the hole in the back of your monster box. And yes, we did make sure to include all the fixings for s’mores in the set:
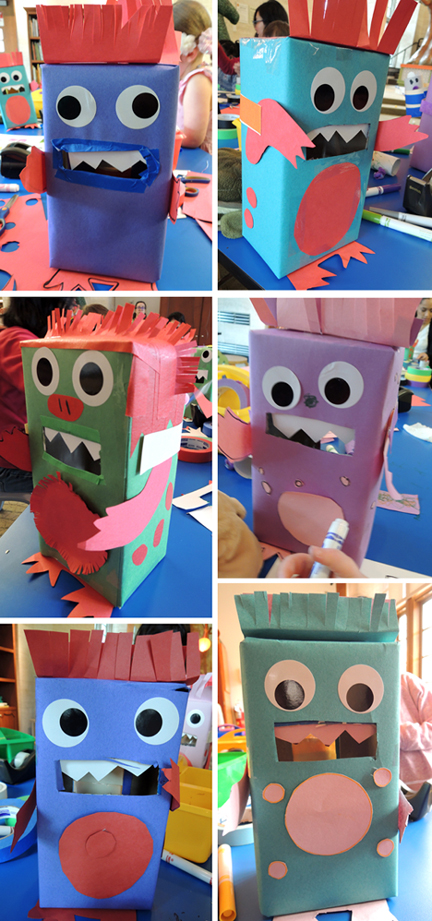
One things I love about the simple and open-ended decoration projects is the styles and color combinations kids come up with. Here are just a few from story time!
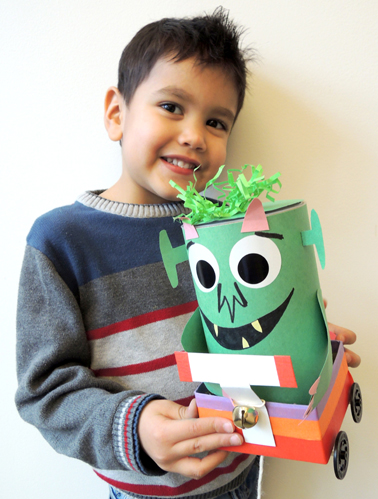 We’ve made a lot of monster projects on the blog, but this is our first monster…on a bicycle! Where is he going? To find YOU, of course. And make a very special delivery.
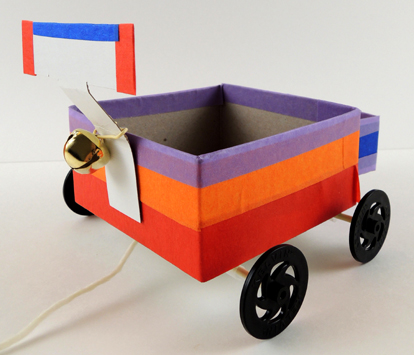 The bike is a 4″ x 4″ x 4″
 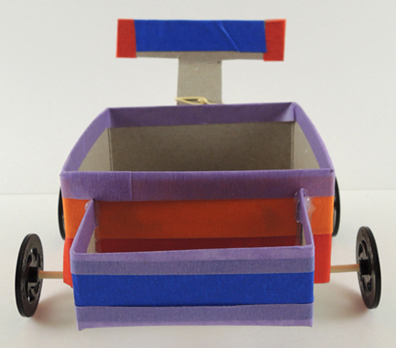 Use a small box or extra cardboard to create a small bike basket, then tape or hot glue to the back of the bike box. Not only does the basket keep the bike from tipping too far back when you’re pulling it, the basket holds something VERY special a little later. Finally, we have our monster…
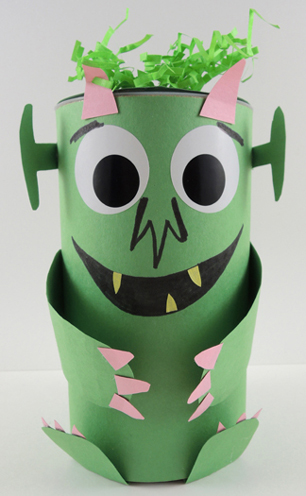 Wrap a small oatmeal container with construction paper, then add arms, legs, eyes, ears, and horns. We added a little
 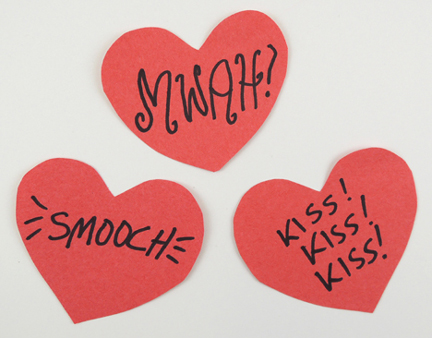 These were “kisses” the monster was carrying with him in his bike basket for you! Awww!
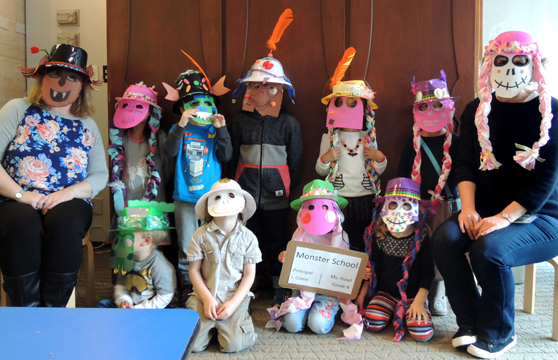
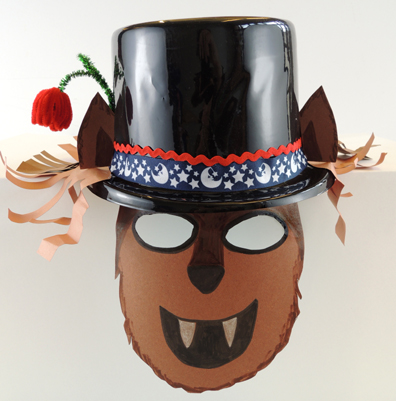 We offered 3 different types of hats, all purchased from Oriental Trading Company:
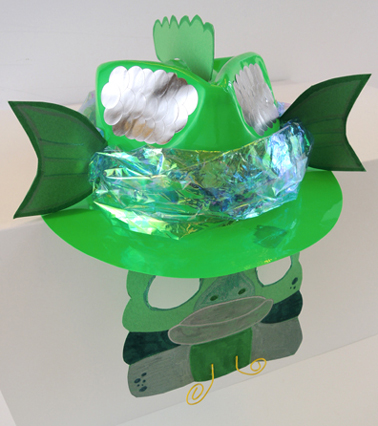 However! It’s best to decorate the mask before you attach it to the hat. Just make sure you leave some empty space at the top of the mask so it rests flat on the inside of the hat.
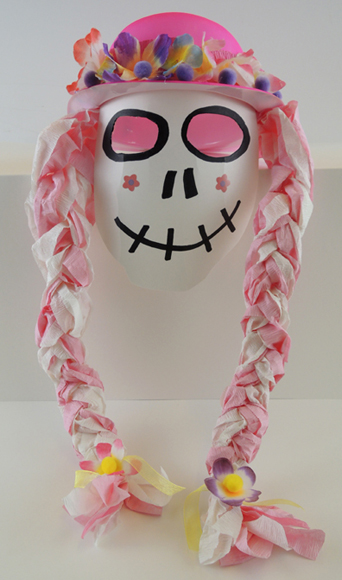 Once the transformation to monster students was complete, we gathered in the “classroom” to learn the monster alphabet. Basically, I created a
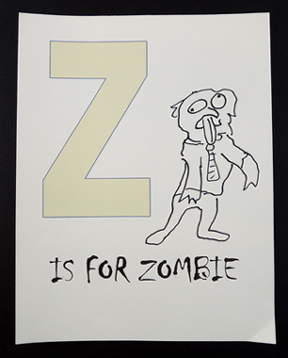
 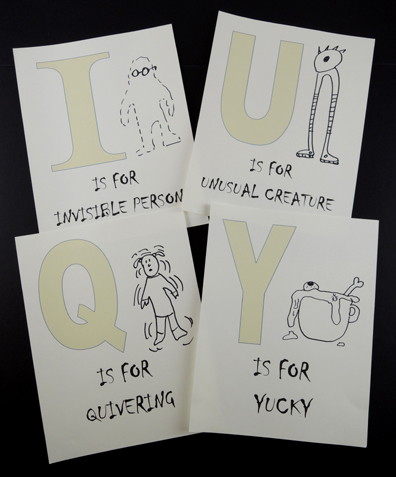 We also printed and stapled together a set of alphabet letters for kids to take home a illustrate themselves. And yes, Z is for ZOMBIE!