Teachers, parents, and librarians, lend me your ears! Today, I present Shadow Puppets Theater by Creativity for Kids, the one stop shop for hours of imaginative narration and story building. Get thee hence and acquire one!
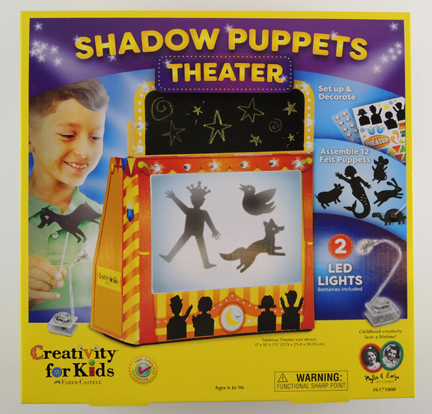 The kit retails for around $20, and is intended for ages “6 to 96.” It contains a theater, a detachable chalkboard marquee, 1 piece of yellow chalk, stickers, rhinestones, 10 felt animal puppets, 2 felt people puppets with accessories, 15 metal brads for the jointed puppets, 12 puppet holders, 8 puppet sticks, and 2 LED lights (batteries included!).
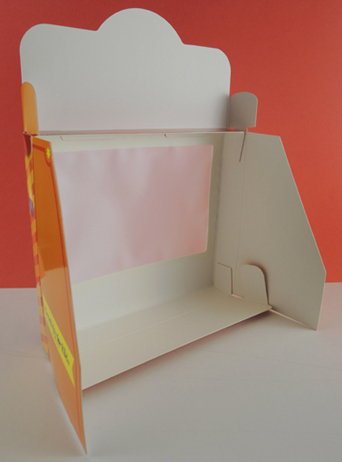
 One of the frustrating things about toy puppet theaters is how flimsy the stage is, and how the slightest nudge will send it tumbling. Not this one! It’s made out of very sturdy cardboard. A few basic folds, and the stage is ready to go, anchored in place with some very helpful velcro fasteners.
 There’s also a detachable chalkboard marquee for the top, which is super cute. Also, unlike some of the cheaper cardboard chalkboards, the chalk wipes off cleanly and easily with a dry paper towel.
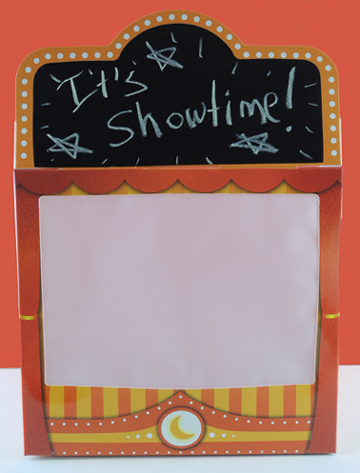 Also included are some terrific stickers and clear rhinestones (yes!) to decorate the front of the theater. They are easily removable, so you can change your theater’s look. The stage’s screen is thick, high quality, and securely mounted (because there’s nothing sadder then your screen buckling, tearing or falling off during a performance).
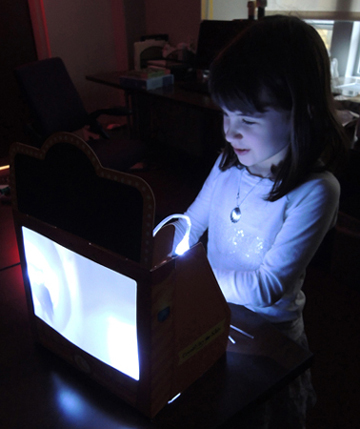
But best of all is the lighting. The sturdy LED lights have flexible necks and are attached to clips. So you can attach them to the top of the theater OR…and I really, really, loved this. They can balance on their clips and act as footlights. Genius.
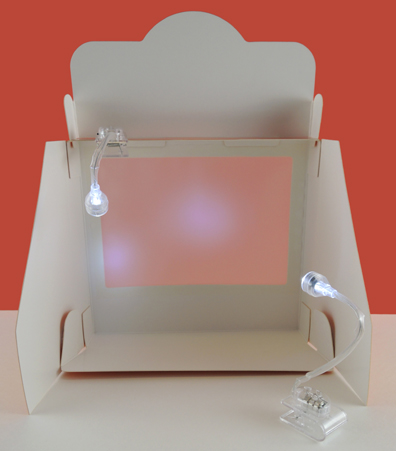 Their illumination power is fantastic. No matter what configuration we put the lights in, we got great shadows and and a well-lit screen.
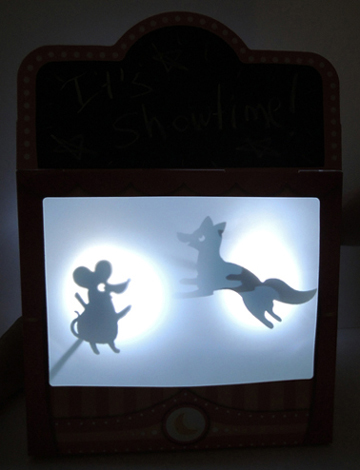 The puppets? They totally rock. Look at them! The mouse! The owl! The happy pig!
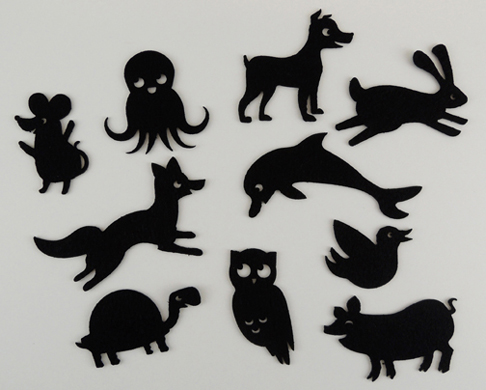
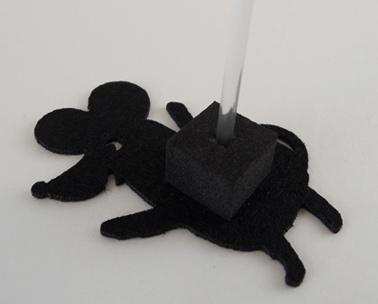
The kit comes with foam blocks that self-adhere to the back of each puppet. Simply stick the block to the back of the puppet, inset the puppet stick in the pre-drilled hole, and you’re ready to go!
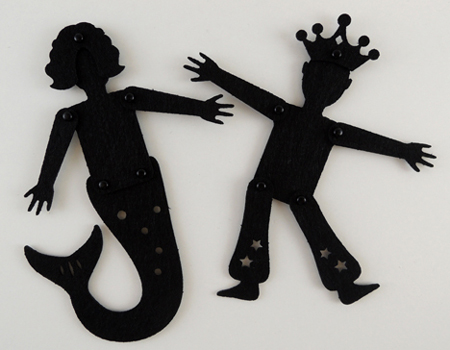
There were also 2 jointed puppets, which consisted of a main body piece and some interesting accessories to attach (hair, hats, skirts, pants, etc.). Note to grown-ups: the metal brads used to hinge the puppets joints are tiny. Younger kids are definitely going to need help with them.
 I only have one quibble with this puppet theater kit. There are 12 puppets in the kit, but only 8 sticks! The instructions say to swap out the sticks during the show, but that somewhat breaks the flow. I made a couple extra out of a balloon stick. But this is the only problem I have with the awesome puppet kit.
How did our kid testers (ages 6 and 9) like the theater? They LOVED it! They loved how the screen lit up, all the different choices of puppets, and how they could move the lighting around for different effects. The stage stood up to an HOUR LONG continuous narrative with no breaks. Yes, that was 60 minutes of total concentration that only stopped because it was time to leave the office.
For $20, the Creativity for Kids Shadow Puppets Theater is a fabulous gift, activity, or program resource that will be throughly enjoyed. It’s packed with fun things, the puppets are great, it’s definitely tough enough to be use by scores of enthusiastic amatuer puppeteers. Bonus! The LED lights also work as clip-on mini lamps for late night reading. It doesn’t get any better than that.
Five out of five stars!

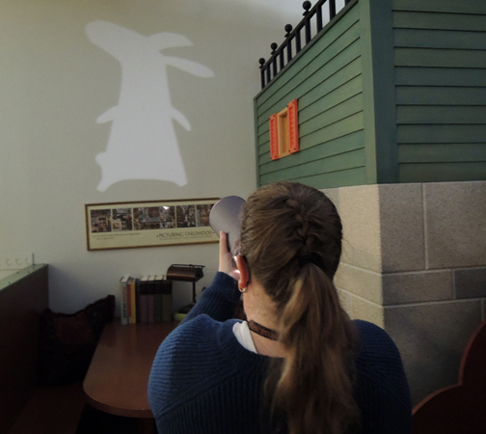

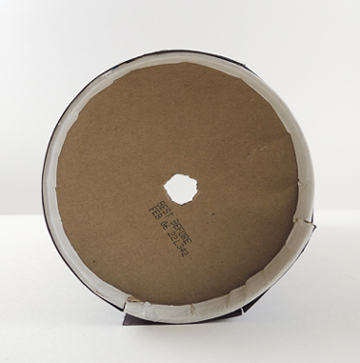 Find a darkened room, activate the flashlight on your cell phone, and place the light against the pinhole of the container. Point the image towards the wall and watch the magic happen! Move closer to the wall for a smaller projected image, and further away for a super large projected image.
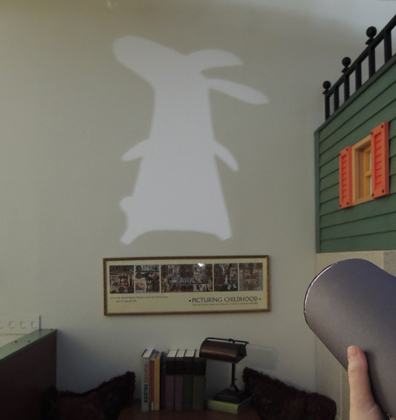 FYI: we discoverd that a cell phone flashlight definitely works best. We tried a regular flashlight and found it produced a blurrier, less definied image, as seen below.
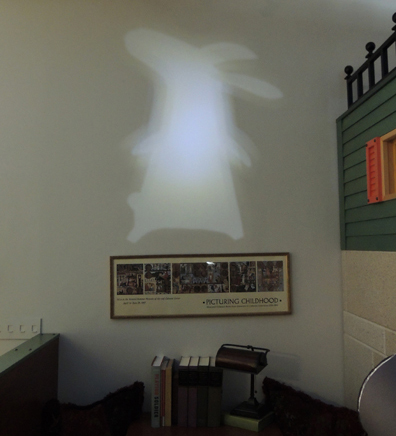
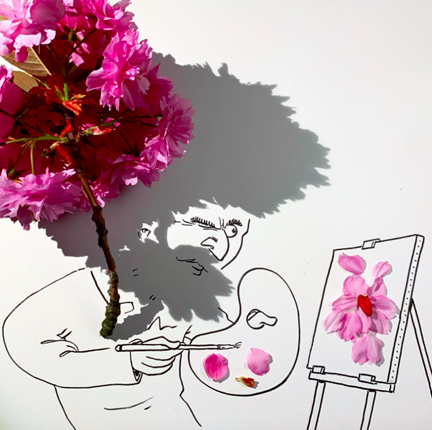
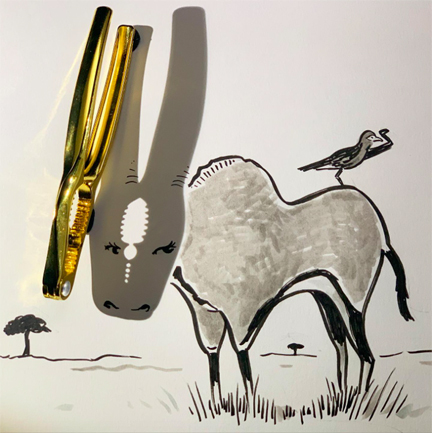
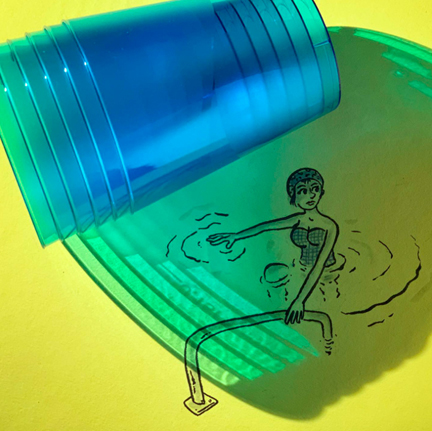
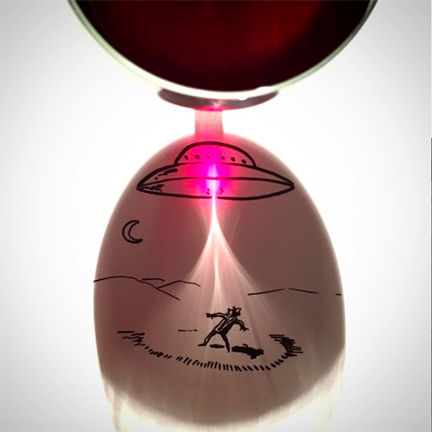
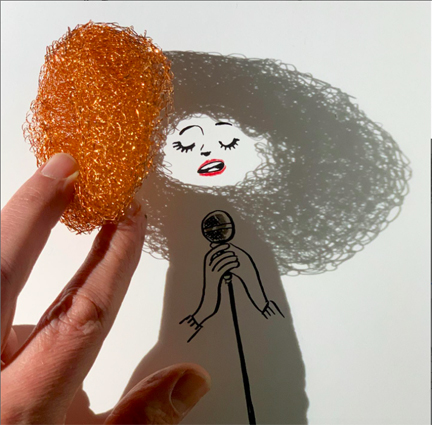
 It began with a spontaneous teacup doodle, and has steadily grown into printed postcards, calendars, two excellent books (Shadowology and Shadow World), and a dedicated