 It’s a simple project, but oh-so-beautiful! Design your own aurora borealis in Arctic skies, then light it up for a creative and colorful glow box!
We read The Lights the Dance in the Night by Yuval Zommer (Doubleday Books, 2021). Beginning as specks of dust from the sun, the story follows them as they whirl to Earth and change into gleaming, shining, lights for Arctic animals and people! Poetic and gentle, this book is just lovely to read and share.
You’ll need:
- 1 box with a clear lid or window (more on this below!)
- An assortment of tissue paper
- 1 string of LED mini lights
- White, blue, and yellow poster board
- Scissors, tape, and glue stick for construction
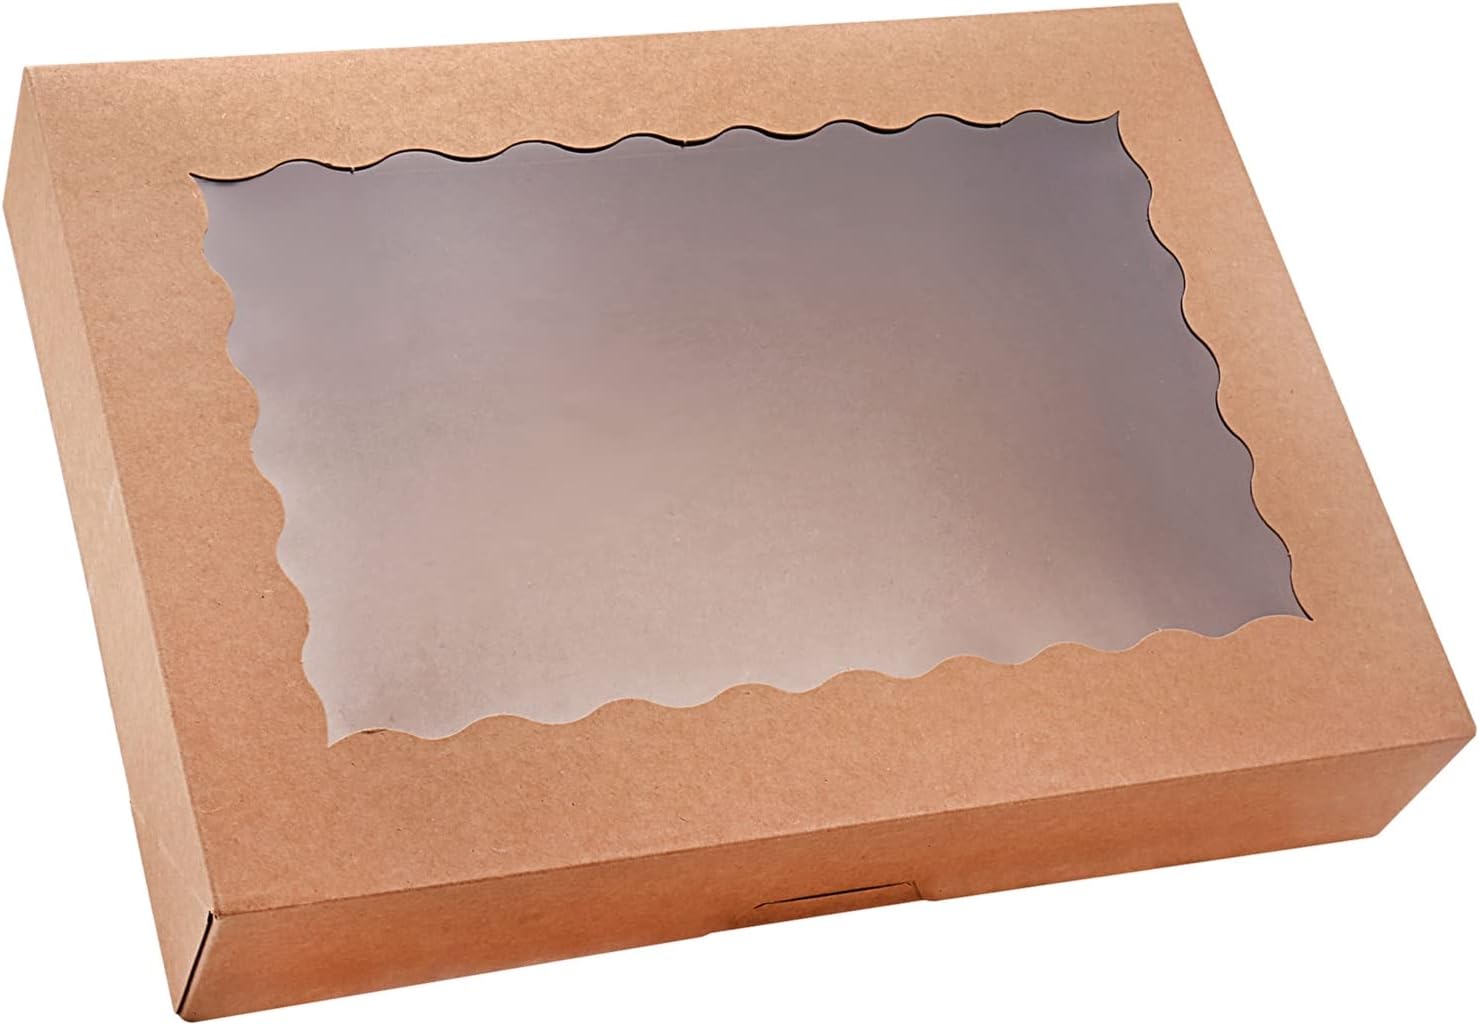
The box for this project will need to be a good size, sturdy, and have a clear lid or window. I found some 12″ x 8″ x 2.5″ cake boxes on Amazon that totally did the trick (20 boxes cost $19).
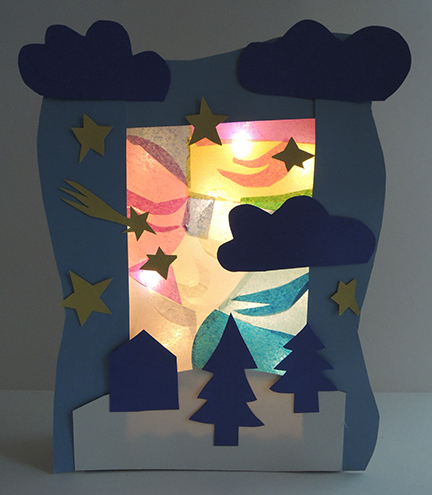
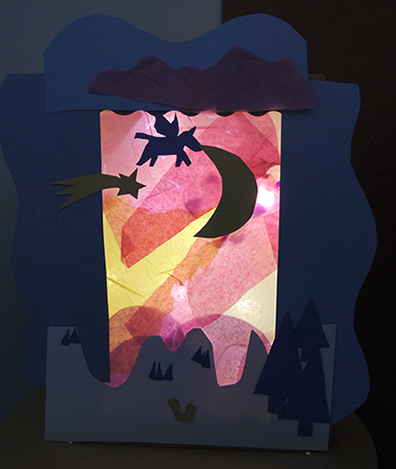
 Now for the aurora borealis! Open the box and glue tissue paper snippets on the interior side of the window. We found glue sticks to be the best way to adhere things, because you can clearly see the glue going on and it dries clear! When the sky is finished, tape a string of LED mini lights to the back of the box like so:
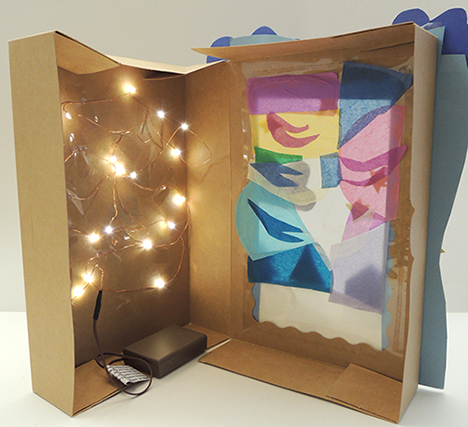 Close the box and use poster board to create a landscape on the front of the box. We used cool Arctic colors: light blue, dark blue, yellow and white. The boxes turned out great…especially this one with a FLYING UNICORN!!!
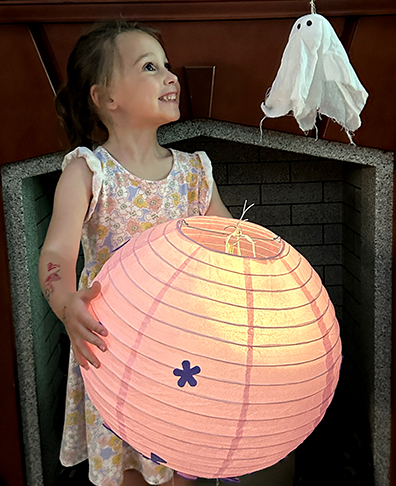
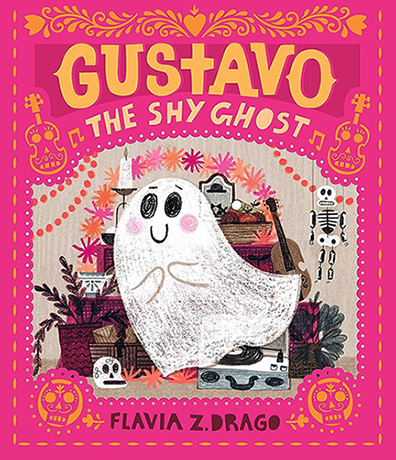 We read Gustavo the Shy Ghost, by Flavia Z. Drago (Candlewick, 2020 and read
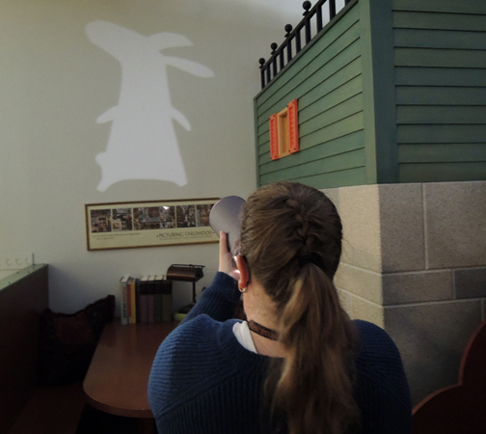

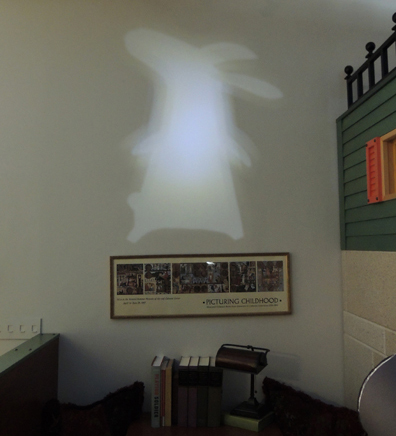
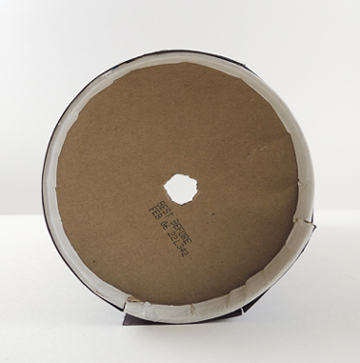 Find a darkened room, activate the flashlight on your cell phone, and place the light against the pinhole of the container. Point the image towards the wall and watch the magic happen! Move closer to the wall for a smaller projected image, and further away for a super large projected image.
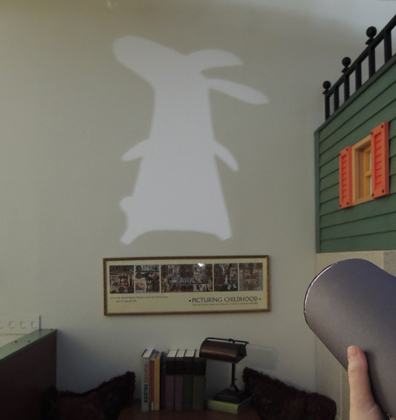 FYI: we discoverd that a cell phone flashlight definitely works best. We tried a regular flashlight and found it produced a blurrier, less definied image, as seen below.