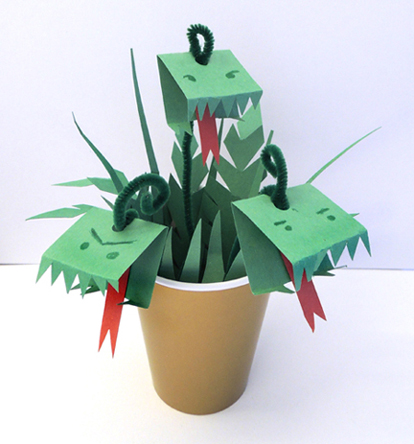
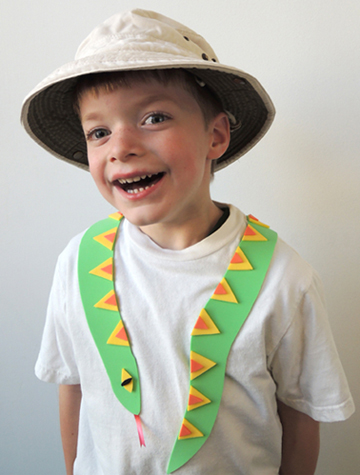
 You’re walking through the jungle when, suddenly…a snake slides onto your shoulders. Stop! Do NOT panic! It’s perfectly safe. This snake is made out of self-adhesive foam!
You’ll need:
- A selection of self-adhesive foam (including a 9″ x 12″ sheet)
- Scissors
- A 2″ piece of curling ribbon
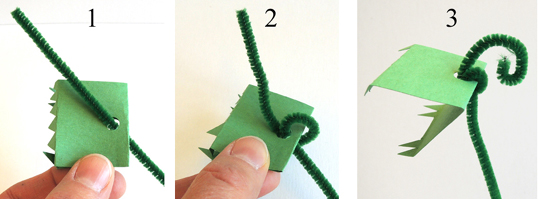
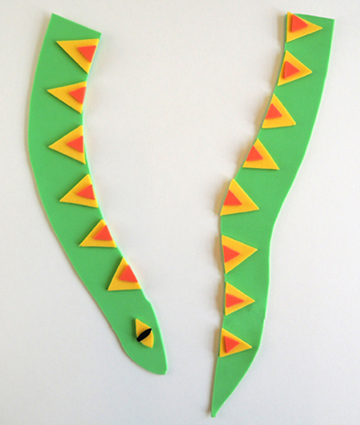
First, trace the 2 halves of your snake onto a 9″ x 12″ sheet of self-adhesive foam (I purchase my sheets from Blick Art Supplies and Michaels Craft store). The “head” half of my snake was approximately 11″ long. The “tail” half was approximately 12″ long.
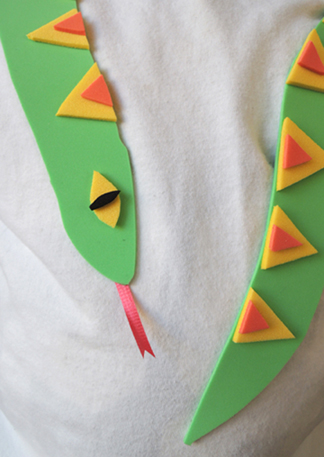
Cut both snake halves out, but don’t peel the backing from them just yet. The next step is to cut, peel, and stick little pieces of foam to your snake’s body. I did a triangle pattern, but stripes also look fantastic. And don’t forget the eye!
 When the snake is decorated to your satisfaction, peel the backing off the big pieces and stick them to the front of your shirt. It looks best if you wrap the ends a little past your shoulders.
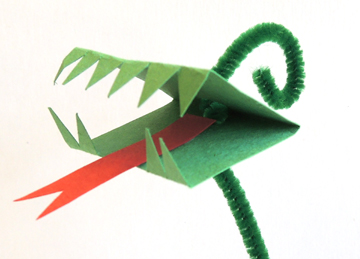
 If you’d like to add a tongue to your snake, fork one end of a 2″ piece of curling ribbon, and stick it to the underside of the snake’s head.
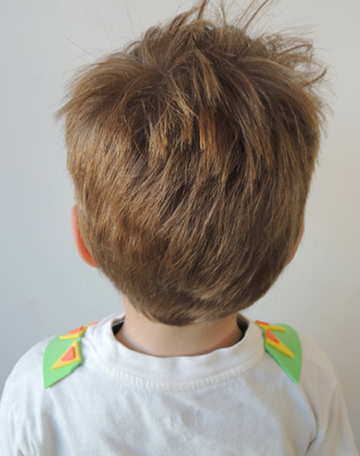
 It’s important to note that the snake doesn’t go all the way around your neck. This foam doesn’t do too well on long, uneven curves. I didn’t want it to buckle, pop off, and tangle in (or stick to) longer hair.
 I tested the foam on plain t-shirts, as well as shirts with embroidery, plain decals, and glitter decals. All of them were fine, with the minor exception being the glitter decal. The foam did take some glitter off with it, but no more than comes off when you rub the decal with your fingers. However, when I peeled the foam off a mesh sports jersey with vinyl numbers, bits of the foam ripped off the snake and stuck to the vinyl numbers! So if you’re wearing a mesh sports jersey, peel slowly, and know that you might have to do a little extra peeling where the foam sticks.
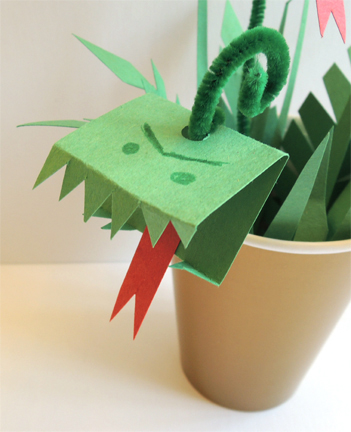
And there you have it! A super easy shoulder snake, ready for your next story time. May I suggest Snake, His Story by James Marshall? It’s one of my favorites!