 It’s not June, but we’re already rolling out the fancy wedding cakes for romantic reptiles! This simple project was met with incredible enthusiasm with the story time kids, both with cake decorating, and well-dressed dinosaurs.
We read There’s a Dodo on the Wedding Cake by Wade Bradford, illustrated by Kevin Hawkes (Candlewick, 2021). When Mr. Snore, violinist for hire, arrives at the Sharemore Hotel for a wedding reception, he quickly discovers a dodo nibbling on the wedding cake. He shoos him away, but is soon accosted by two beavers who also want the cake. The situation escalates, with more and more creatures invading the room until FINALLY it’s a booming dinosaur. What’s Mr. Snore to do? Thankfully, the wedding planner explains that the animals are all guests (except the mischievous dodo). Apologies are made, and a delightful wedding reception ensues.
This book is HILARIOUS and so fun to read for a story time. Highly recommended!
You’ll need:
- A number of assorted boxes
- Cake decorating craft supplies
- 2 toilet paper tubes
- Construction paper
- Scissors, glue, and tape for construction
- Markers for decorating
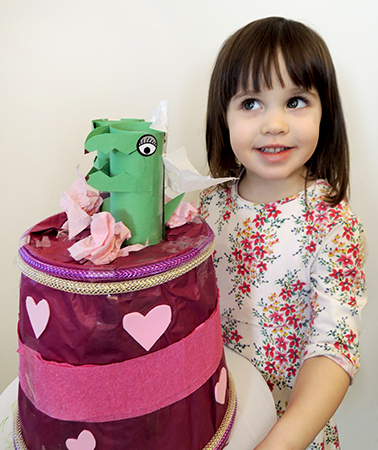
First, the cake! As you can below, the cake is very simple – just stack some boxes on top of one another and decorate. We offered tissue paper, color tape, stickers, cotton balls, pipe cleaners, self-adhesive foam, and crepe paper streamers. Kids were free to be as elaborate as they liked!
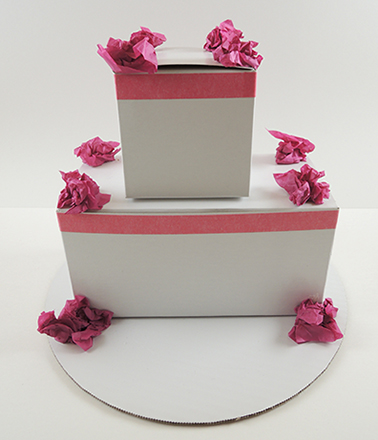
To make your dinosaur cake toppers, wrap 2 toilet paper tubes in green construction paper, then add mouths, eyes, wedding togs, and little arms.
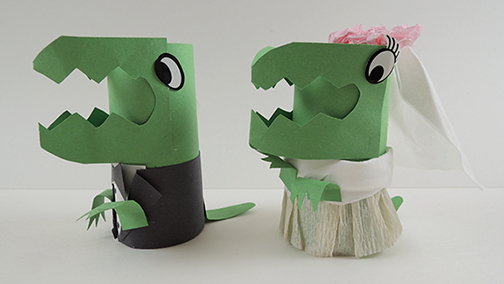
We had a number of different wedding topper combinations – including no wedding togs at all, just dinos running all over the tiers of the cake. It’s all good!
 It’s a simple project, but oh-so-beautiful! Design your own aurora borealis in Arctic skies, then light it up for a creative and colorful glow box!
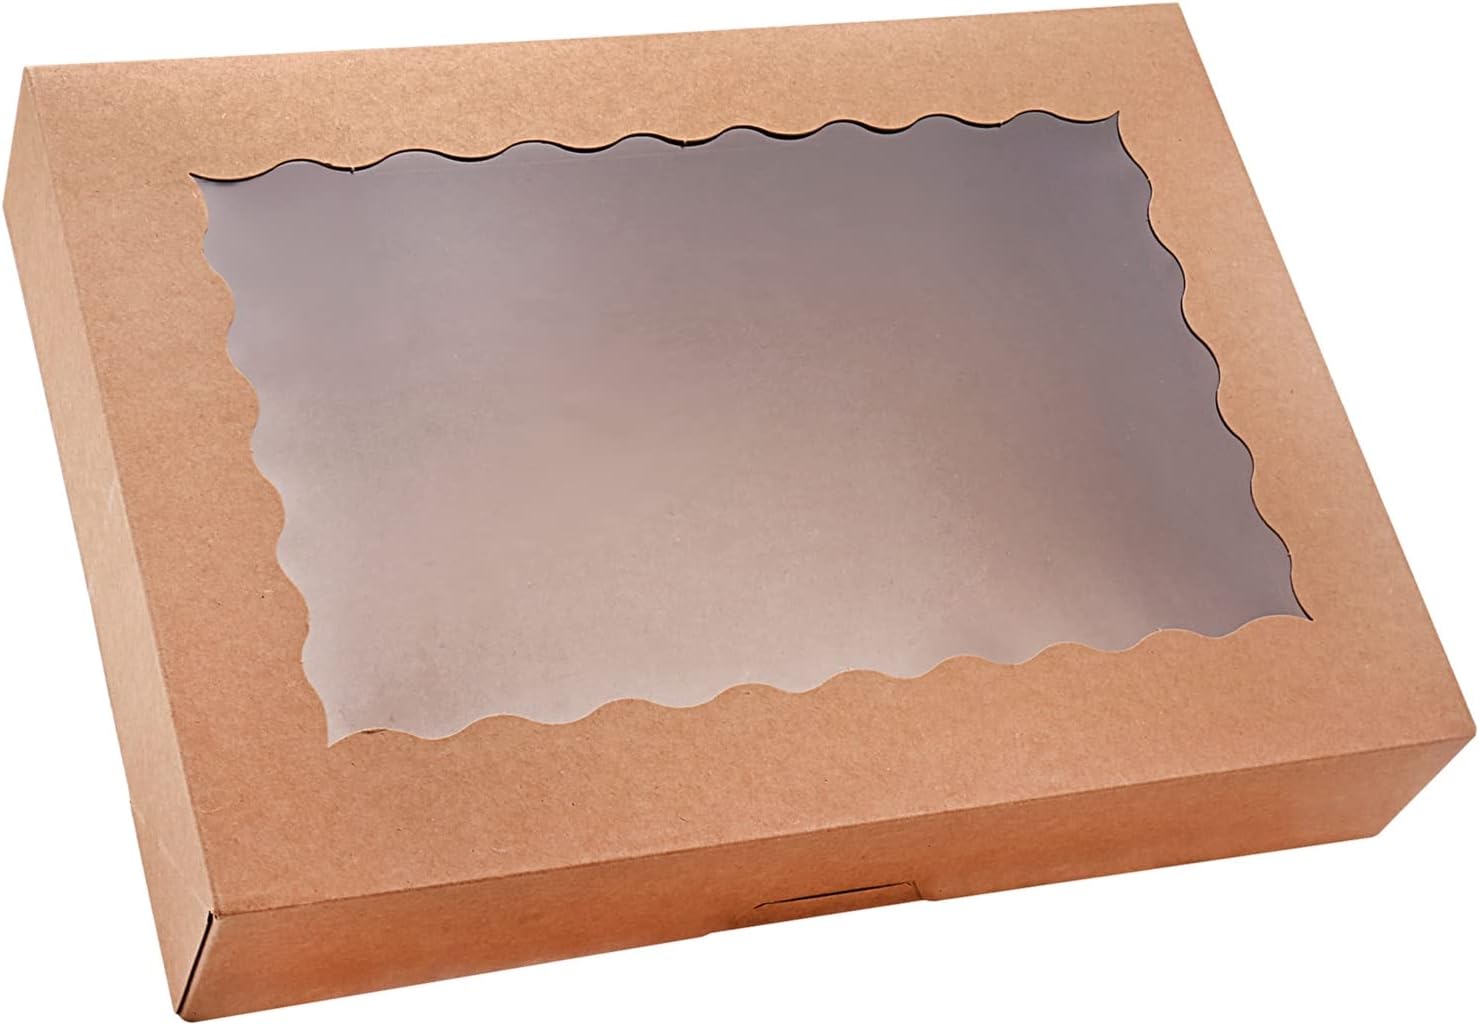 Now for the aurora borealis! Open the box and glue tissue paper snippets on the interior side of the window. We found glue sticks to be the best way to adhere things, because you can clearly see the glue going on and it dries clear! When the sky is finished, tape a string of LED mini lights to the back of the box like so:
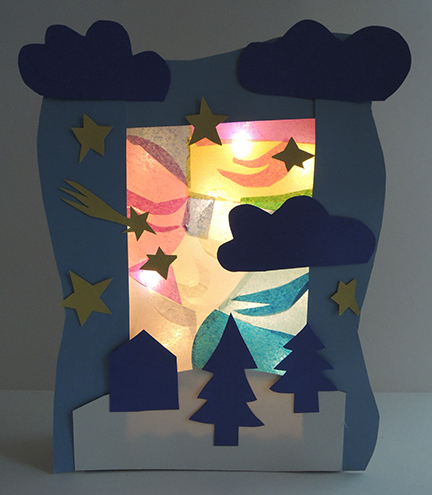
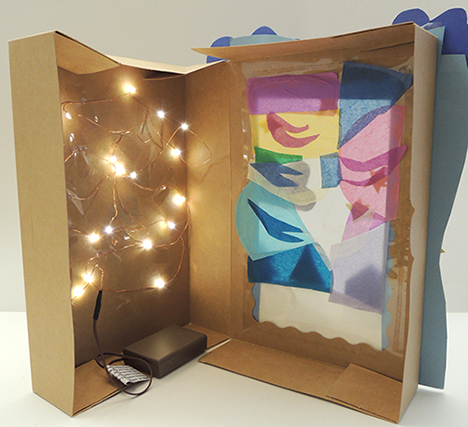 Close the box and use poster board to create a landscape on the front of the box. We used cool Arctic colors: light blue, dark blue, yellow and white. The boxes turned out great…especially this one with a FLYING UNICORN!!!
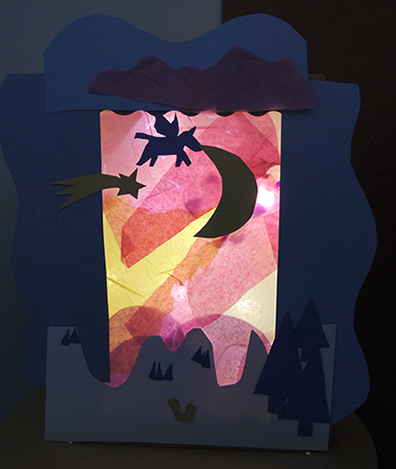
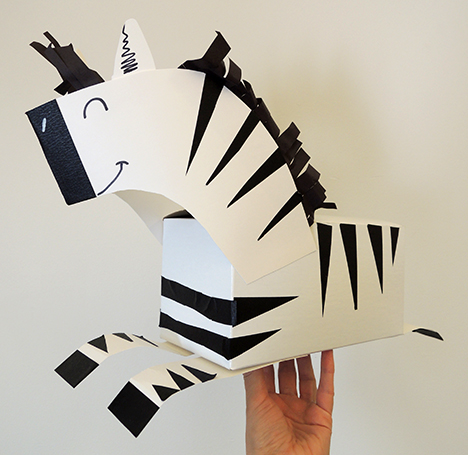
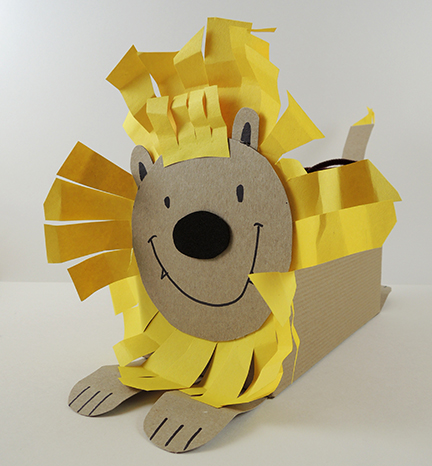 Once the box animals are complete, loop together a pipe cleaner, then tape it to the top of the box, right in the middle. At the top of the loop, either attach a large paperclip to form a hook, or use a carabiner (we had some leftover from
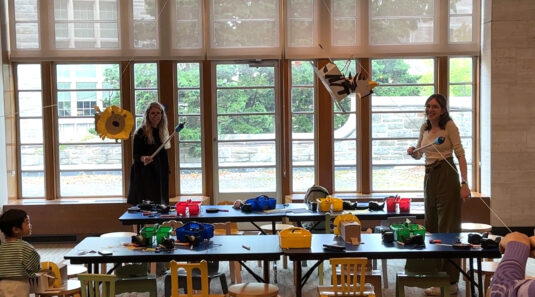
 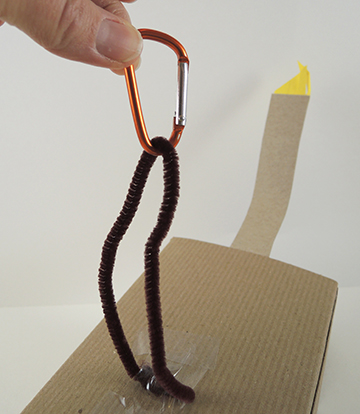 Your animals are ready to race! We set up two zip lines using coated wire. One end of each wire was stabilized on the ceiling of the library, and the other end was held by a volunteer, who could adjust the slope of the zip line to make the box animals go slower or faster. Each kid brought their box animals to the starting line, then scooted over to the finish line (which we marked on the floor with red masking tape). We clipped the boxes to the wire, counted to three, and the race was on!