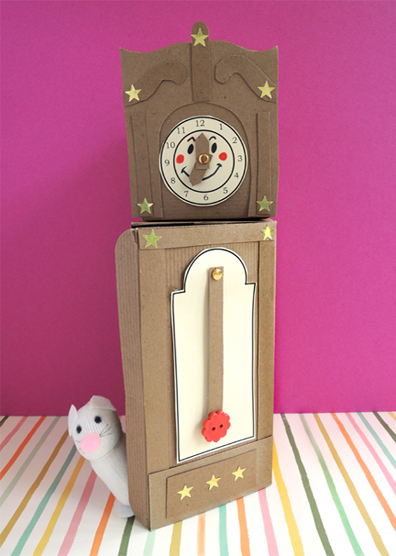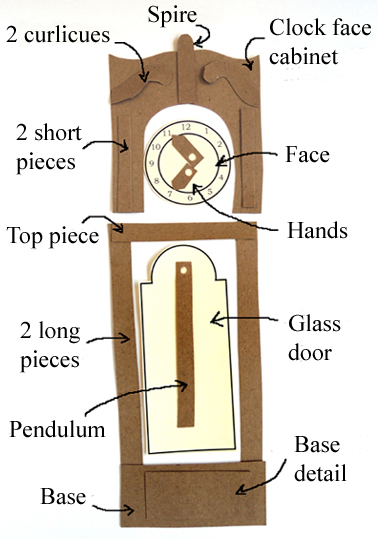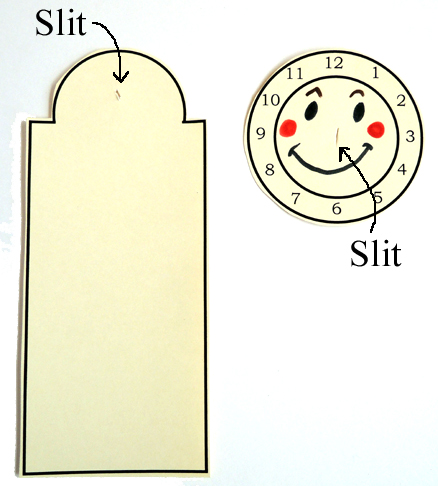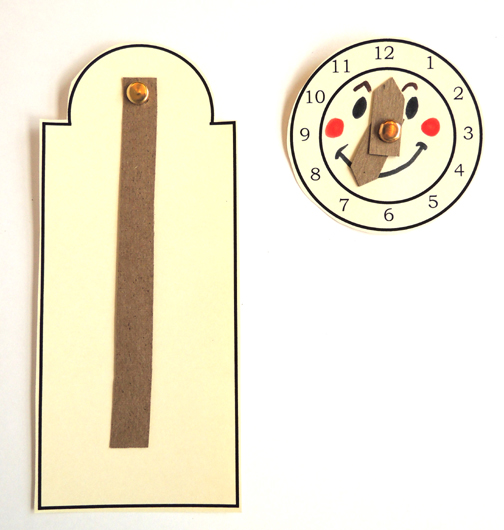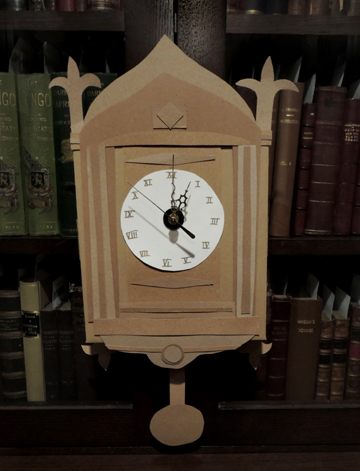
In a dark castle, a clock hangs, hands frozen. Our stylish cardboard clocks, however, work perfectly! This clock was one of the most popular To Be Continued projects of all time. Considering our previous projects have involved singing stones, tabletop magic shows, and booby-trapped Incan temples, that’s saying a lot!
We read the classic book The 13 Clocks, written by James Thurber, and illustrated by Marc Simont (Yearling, 1950). Once upon a time, in a castle full of stopped clocks, there lived a cold and ruthless Duke and his beautiful niece, the Princess Saralinda. Scores of suitors seek the Princess’ hand, but all are chased away, sent on impossible tasks, or slain for trivial reasons (such as starting at the Duke’s gloves for too long). One day Prince Zorn, disguised as a minstrel, asks for Saralinda’s hand. The cruel Duke decrees that Zorn must find 1,000 jewels in 99 hours. Also, when he returns, ALL the frozen castle clocks must be striking the hour. However…unlike the other suitors, Zorn has the help of the Golux – a funny little man with an indescribable hat and distinctly sideways logic. An impossible task, yes. But you never know. With the Golux, things might just work out happily ever after!
You’ll need:
- 1 box lid
- 1 box cutter
- 1 circle of white card stock
- A couple pieces of brown poster board or tagboard
- 1 clock mechanism kit (more on this below)
- Scissors and glue for construction
- Markers for decorating
First, let’s talk about clock movements. You know the hour hand, minute hand, second hand, and the little motor that makes them move? All those parts are knows as a clock movement. You can find clock movement kits in the woodworking section of Michaels Craft store.
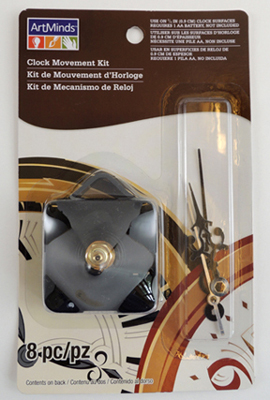 At $8.50 a pop, they can get pricey, especially if you’re doing this project with multiple kids. However, you can find them for a couple bucks cheaper on Amazon. The important thing to keep in mind is the length of the motor’s shaft (i.e. the part that the clock hands slide on to). The shafts can range anywhere from .25″ to 1″. For this project, you want to aim for the shorter shafts. Otherwise, your clock hands will stick pretty far out of your cardboard clock base. Also pay attention to the lengths of the clock hands. You don’t want them to extend past the body of your clock.
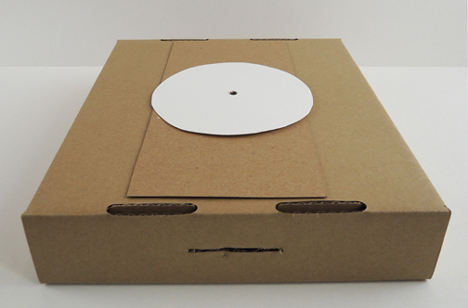
So…onto the clock! The project begins as a cardboard lid. We used these 9.5″ x 11″ cardboard trays (you might recognize them from this bear cave and this butterfly garden). Decide where you want your clock face to be, then drill a hole into the lid (I used an electric drill to keep things tidy). If you’re going to add a pendulum, you’ll also need to cut a narrow rectangular slit in the bottom of the box (our slit was .25″ x 3″ ).
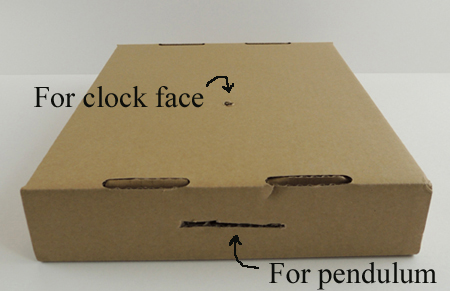 Next, place a piece of tagboard and a circle of white card stock over the hole, then redrill the hole. The circle is your clock face, and the tagboard piece elevates the clock face a little bit.
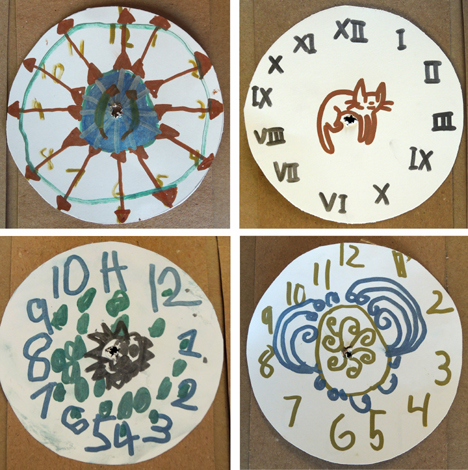
 Before you glue the tagboard and the clock face to the lid, however, you’ll want to use markers to add numbers and decoration to your clock face. Check out these awesome clock faces. The smiling kitty!
 When your clock face is finished, glue it to your clock. Then start adding a bunch of tagboard flourishes. We cut a bunch of different shapes and styles of flourishes, and let the kids decide what they wanted to use on their clocks. The more layers and texture, the better it looks.
 You can also use markers to decorate the clock. We offered Crayola metallic markers, and the results were fantastic.
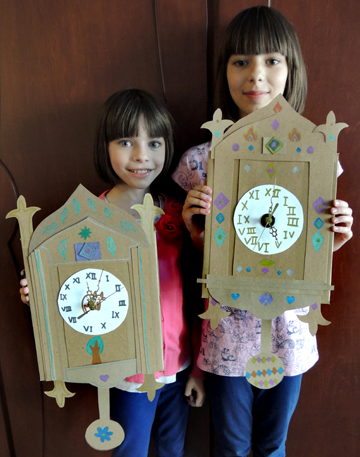 When all the decorating is done, install the clock movement. Just follow the instructions on the packaging, add a battery (a single AA), and you’re done!
If you’d like to add a pendulum, punch a hole in one end of a narrow rectangle of tagboard, then glue a tagboard circle to the other end. Stick the top of the pendulum through the slit in the clock body, then thread a piece of balloon stick (or a drinking straw) through the hole. Secure the balloon stick to the inside of the box with tape. Here’s a shot of the interior of the clock box with the threaded pendulum.
 Tap the pendulum to watch it swing back and forth. Eventually, it winds down and comes to a stop, but while it’s swinging, the illusion of a working clock is quite real!

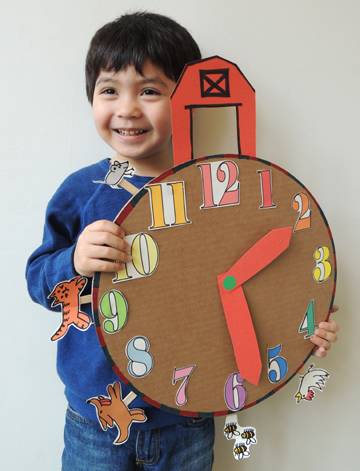 Go beyond Hickory Dickory Dock with this clever crank clock! Turn the handle on the back to send the characters dashing around the numbers and through the big red barn (scroll to the bottom of the post to see it in action)!
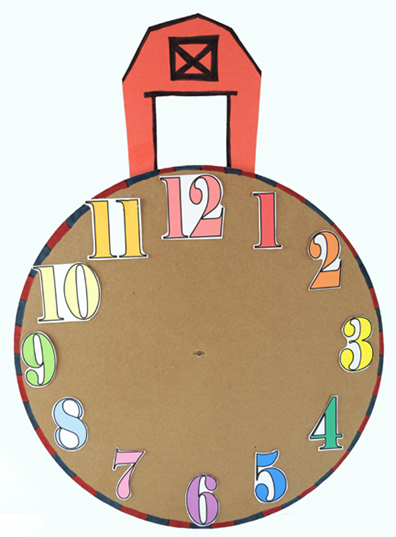
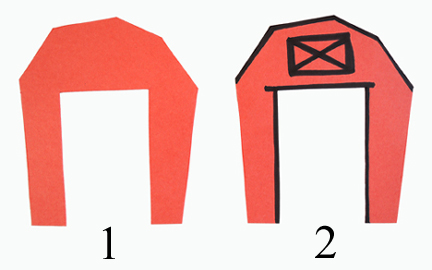 Attach the barn to the back of the clock face, right above the number 12. I highly recommend attaching the barn with hot glue. You really want the barn to stick because later, it can be used as a carrying handle for your clock! Here’s what the finished clock face looks like:
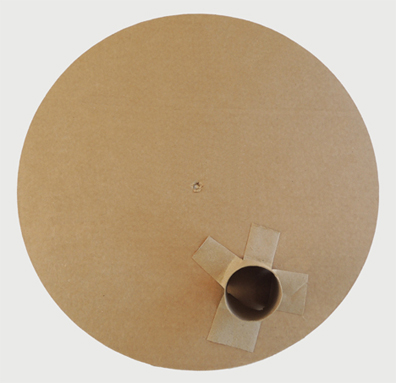
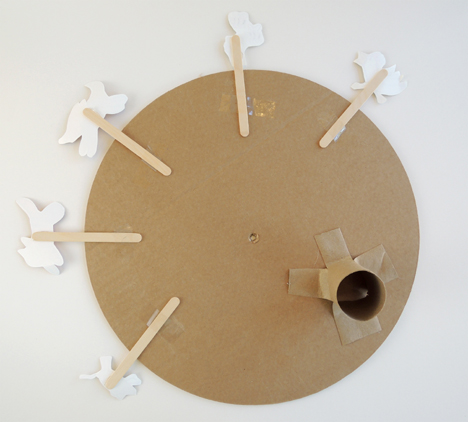
 Set the finished clock face aside for a moment. Cut four, 1.5″ tabs in the end of a toilet paper tube. Then bend the tabs outward and hot glue the toilet paper tube to the back of the second cardboard circle:
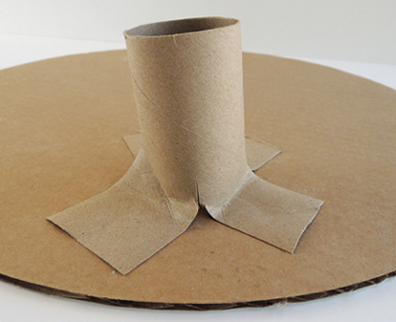 You’ll notice that the toilet paper handle gets glued on the perimeter of the cardboard circle. We experimented and found that was the best handle position for cranking the clock.
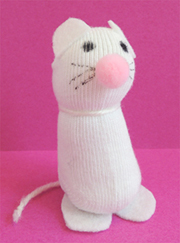
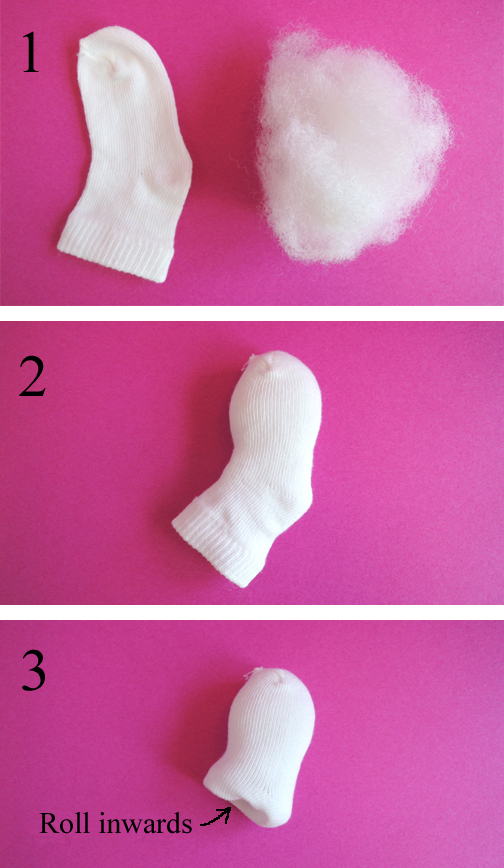
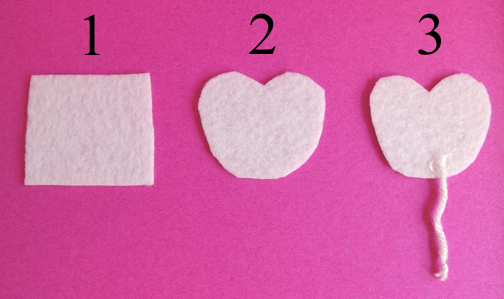
 Cut and color the animals from the template, and tape (or glue) them onto the ends of the craft sticks. Make sure there’s plenty of room at the bottom of the craft sticks – you’ll need some space to attach the sticks to the clock.
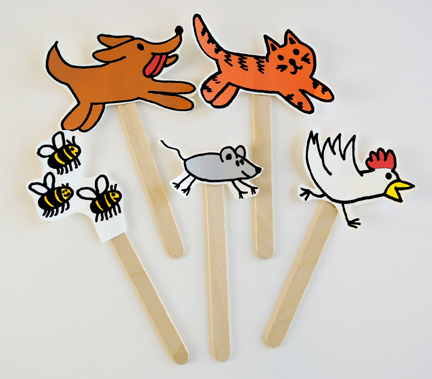 Tape the craft sticks to the cardboard circle. Note – the craft sticks need to be on the same side as the toilet paper tube handle. If the sticks are taped on the opposite side, they will rub and bump into your hand while you’re operating the clock. If you want to follow the order of the characters in the book, the mouse should go first, followed by the cat, dog, bees, and hen.
 The back is done, time to put two clock circles together! Push a brass fastener through the clock face’s slit (you might need to enlarge the slit a little with a pair of scissors). Thread 2 foam beads on the fastener’s prongs:
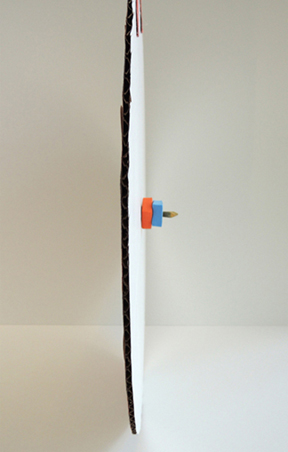 Push the prongs through the second circle’s slit, then unfold the prongs and secure in place with tape. Depending on your cardboard, foam beads, and brass fastener, you might have to do a little adjusting to get the circles to rotate smoothly.
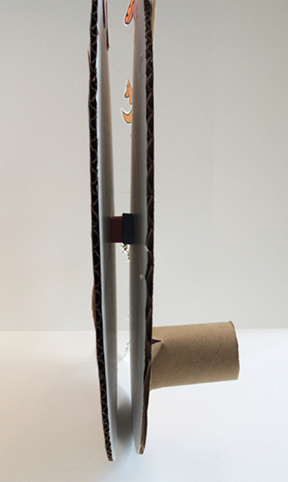
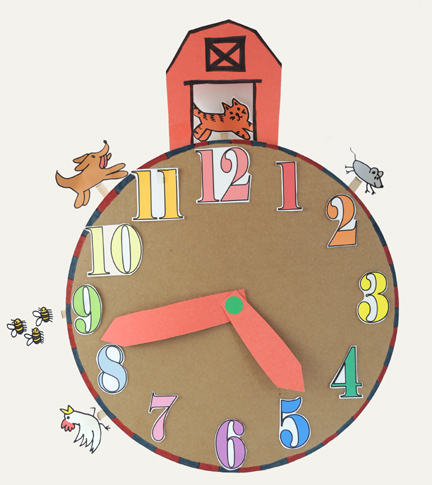 To operate the clock, grip the clock face firmly at the bottom. Use your other hand to crank the toilet paper tube handle. You might have to adjust the animals a little, or bend the clock hands upward a bit, if they snag on the barn door or the numbers. But eventually, you’ll have a smooth race around the clock!