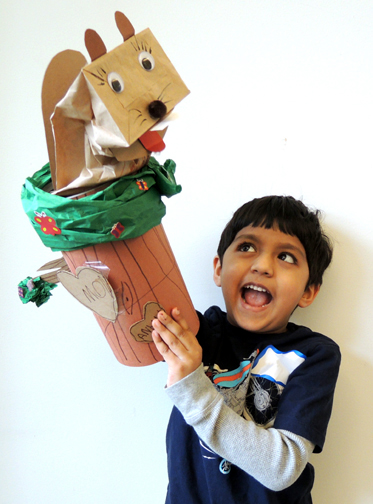
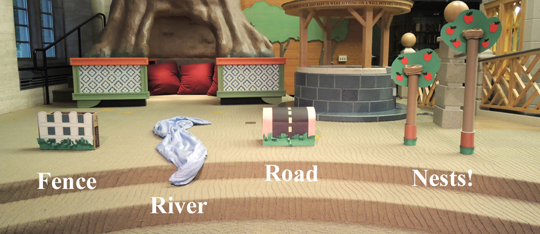
It might look like an innocent tree…but beware! This leafy vision of loveliness has a feisty squirrel puppet hidden inside it. Get too close and you’ll receive a serious scolding!
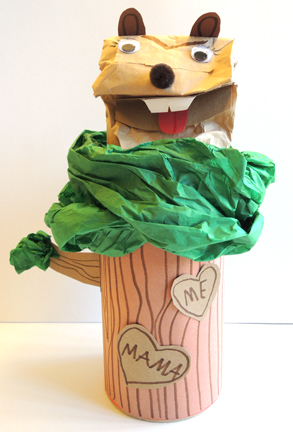 We read ‘Ol Mama Squirrel by David Ezra Stein (Nancy Paulsen Books, 2013). ‘Ol Mama Squirrel is super-protective of her babies. Any cat, owl, or dog who even shows the slightest interest in her family gets a serious scolding (“Chook! Chook! Chook!”). This treatment also applies to kites, airplanes, and an innocent man who comes to prune the tree. But when a grizzly bear shows up, ‘Ol Mama Squirrel is outmatched. But not for long. She rallies mama squirrels from fire escapes, under the tracks, in the tree tops, and all over the park. Together, they scold the bear right out of the park!
You’ll need:
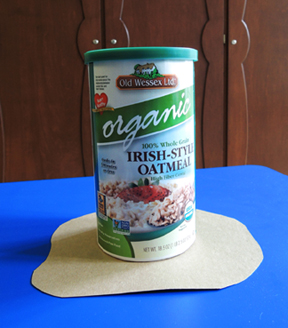
- 1 large oatmeal container
- A box cutter
- A 9.5″ x 17.5″ piece of brown construction paper
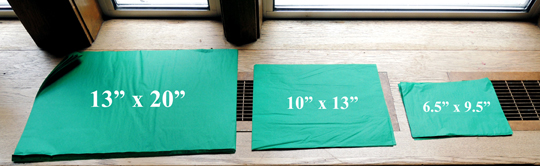
- A sheet of green tissue paper (mine was 20″ x 29″)
- A 1.75″ x 6″ rectangle of tagboard for tree branch
- A square of green tissue paper (mine was 6″ x 6″)
- Extra tagboard pieces for “wooden” hearts
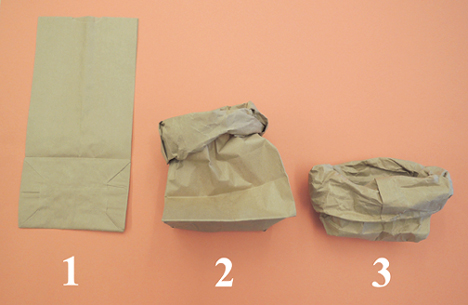
- 1 brown paper lunch bag
- A 3″ x 4.5″ rectangle of tagboard for the mouth
- A pair of 2″ x 2.25″ rectangles of brown construction paper for ears
- A 1.25″ x 1.75″ rectangle of red construction paper for the tongue
- A pair of wiggle eyes
- 1 small pom-pom for the nose (mine was 1″)
- A 1.5″ x 2″ rectangle of white card stock for the teeth
- A 3.5″ x 7.75″ rectangle of tagboard for the tail
- Tape, stapler, and scissors for construction
- Markers for decorating
- Hot glue
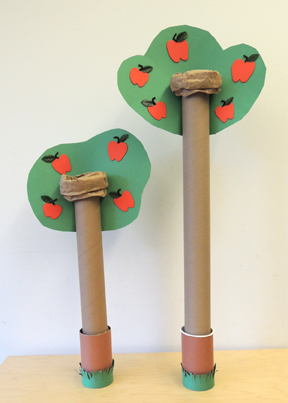
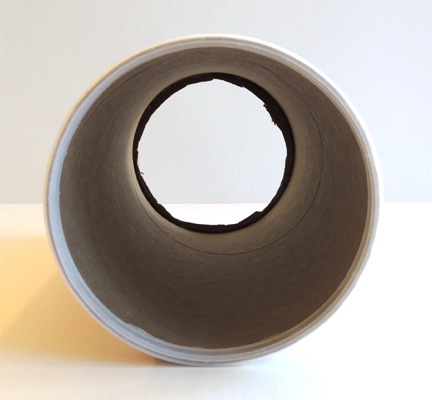
Begin by taking the lid off the large oatmeal container. Then use the box cutter to remove the circular cardboard bottom from the container. You now have an oatmeal container tube.
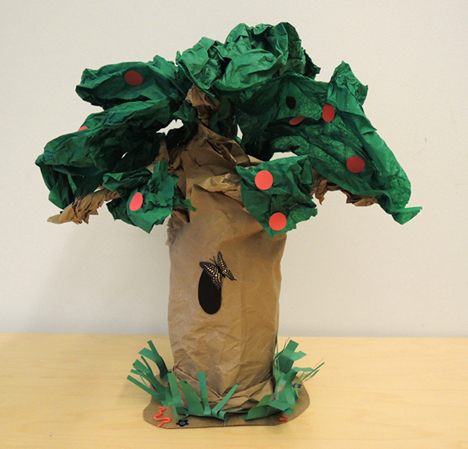
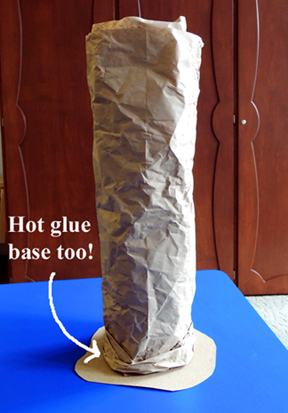
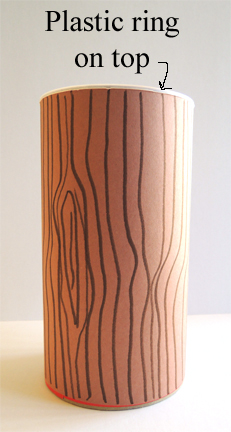
 Use markers to draw lines of “bark” on the brown construction paper and then wrap it around the oatmeal container. The important thing to remember is that the plastic ring around the top of the oatmeal container is also the top of your tree. The cut end of the container is too ragged and will catch your squirrel puppet as it pops in and out of the tree.
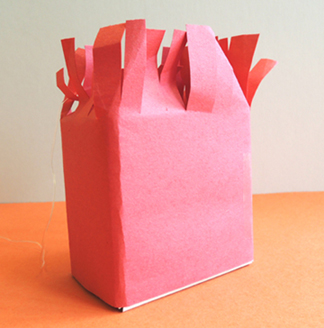
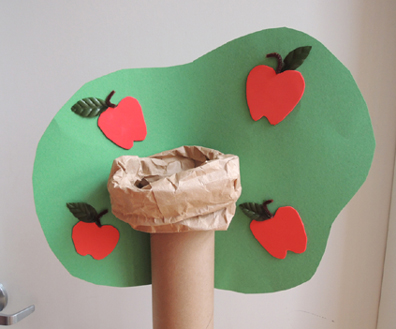
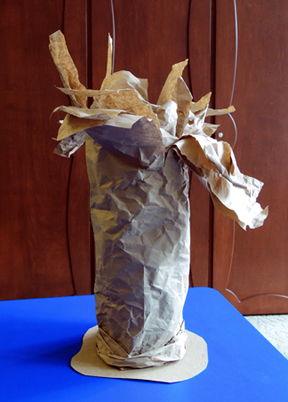
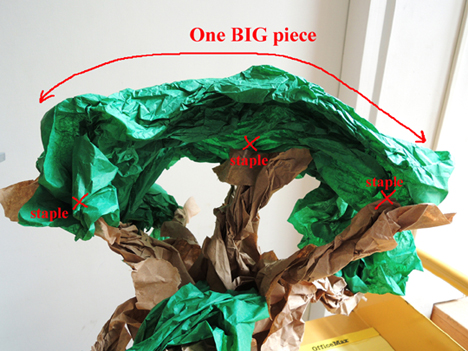
 Gently bunch one end of the sheet of green tissue paper together, then securely tape it to the tree, just underneath the plastic ring. Wrap the tissue paper repeatedly around the top of the oatmeal container, stopping every once in a while to secure it to the tree with pieces of tape.
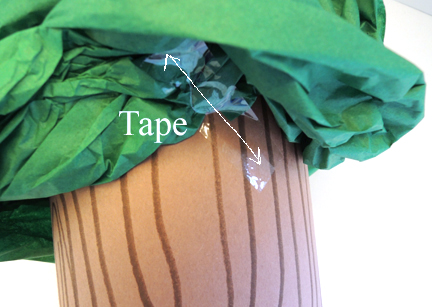 Make sure that the tissue paper doesn’t hang over the edge of your plastic ring and droop into the oatmeal container. Otherwise, your squirrel puppet will get caught in the foliage as it pops in and out of the tree. I found some butterfly stickers in the art cabinet and we added those to the foliage for a little extra color.
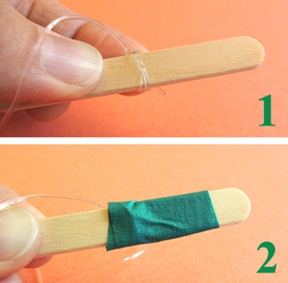
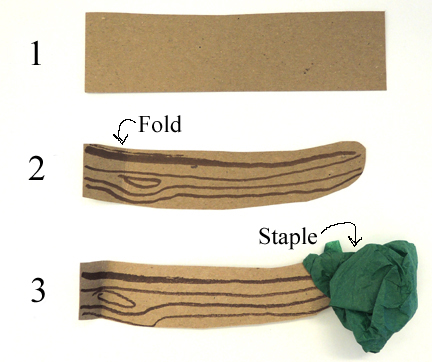
Next, cut the first rectangle of tagboard into a branch shape. Use markers to add some “bark” lines, and fold on one end. Staple a crumpled green tissue paper square to the other end. Then tape (or hot glue) the folded end of the branch to the tree trunk.
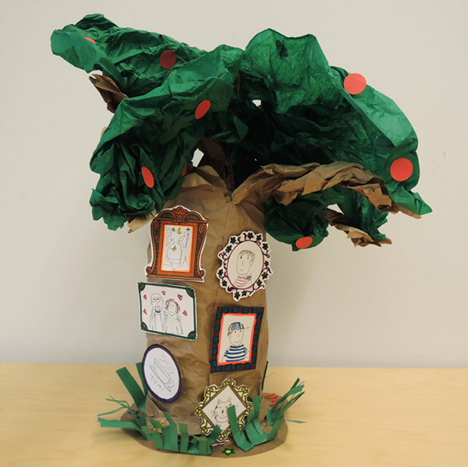
 Cut two “wooden” hearts out of tagboard and write names in them. I suggested “Mama” or “Mom” and then the child’s name or a simple “Me.” Tape (or hot glue) them to the front of the tree.
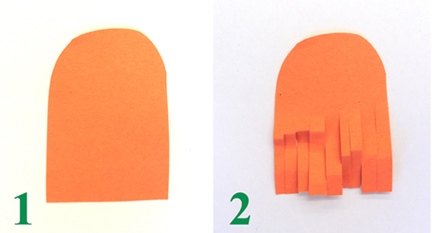
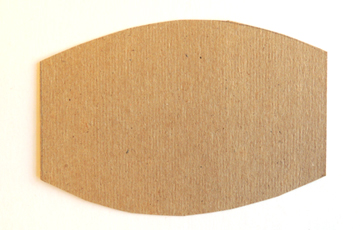
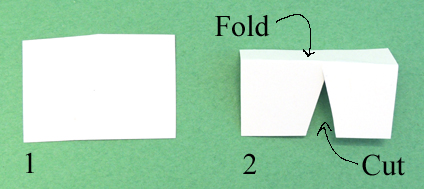
 All this tree needs is a fiercely protective squirrel inside it! Cut your second tagboard rectangle into this shape:
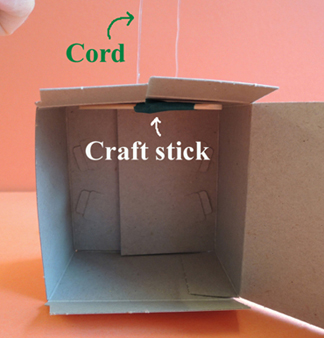
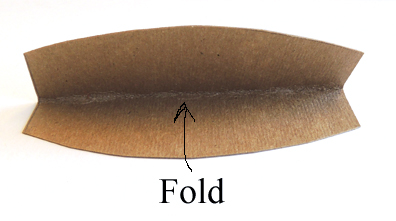
 Then fold it lengthwise to create your squirrel’s mouth.
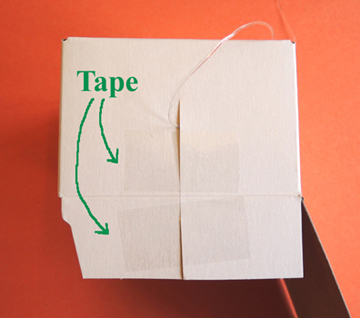
 Hot glue the mouth inside the paper lunch bag
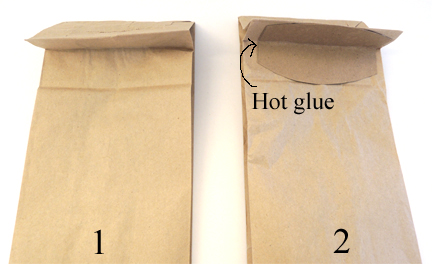 You could skip the tagboard mouth entirely, but I found that it made the puppet easier to operate. The rest of the squirrel’s face is very simple.
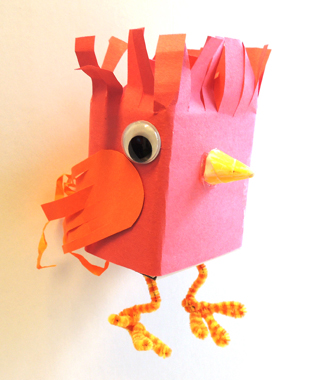
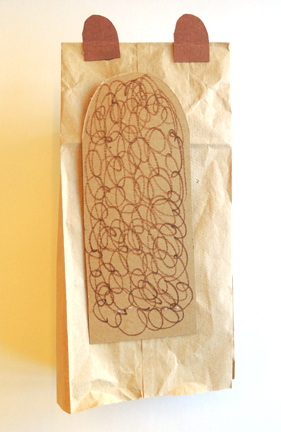
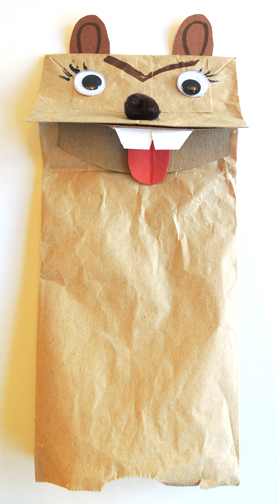 Make two ears out of brown construction paper and tape (or hot glue) them to the back of the bag. Use red construction paper to create the tongue, and tape (or hot glue) it into the mouth. Hot glue wiggle eyes and a pom-pom nose to the bag. Use markers to add eyebrows and eyelashes. Last come the teeth – basically, a piece of white card stock folded and cut like so:
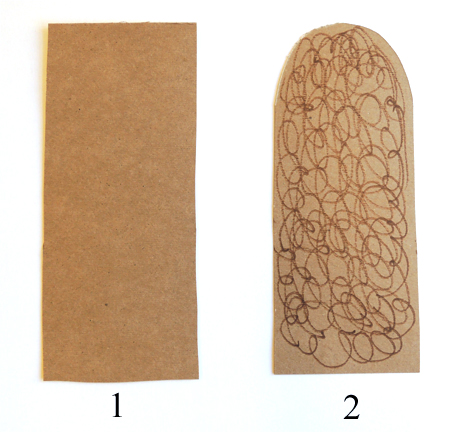
 Attach the teeth to the mouth with tape (or hot glue). The face is done – all that remains is the tail! Cut the third tagboard rectangle like this, and scribble all over it with marker.
 Staple to the back of the squirrel.
 Ready to load your squirrel puppet in the tree? Put your hand into the puppet, then gently insert it into the bottom the the tree. Guide the squirrel up the tube and push it slowly and gently out the top (you might have to squish it’s head a little when you’re doing this).
To operate the puppet, use your free hand to grab the bottom of the tube. Then pop your squirrel puppet in and out of the tree. Don’t forget to scold!