- Team members: Kiran Vodrahalli, Collin Stedman, Raymond Zhong, Dale Markowitz
02/19/2013
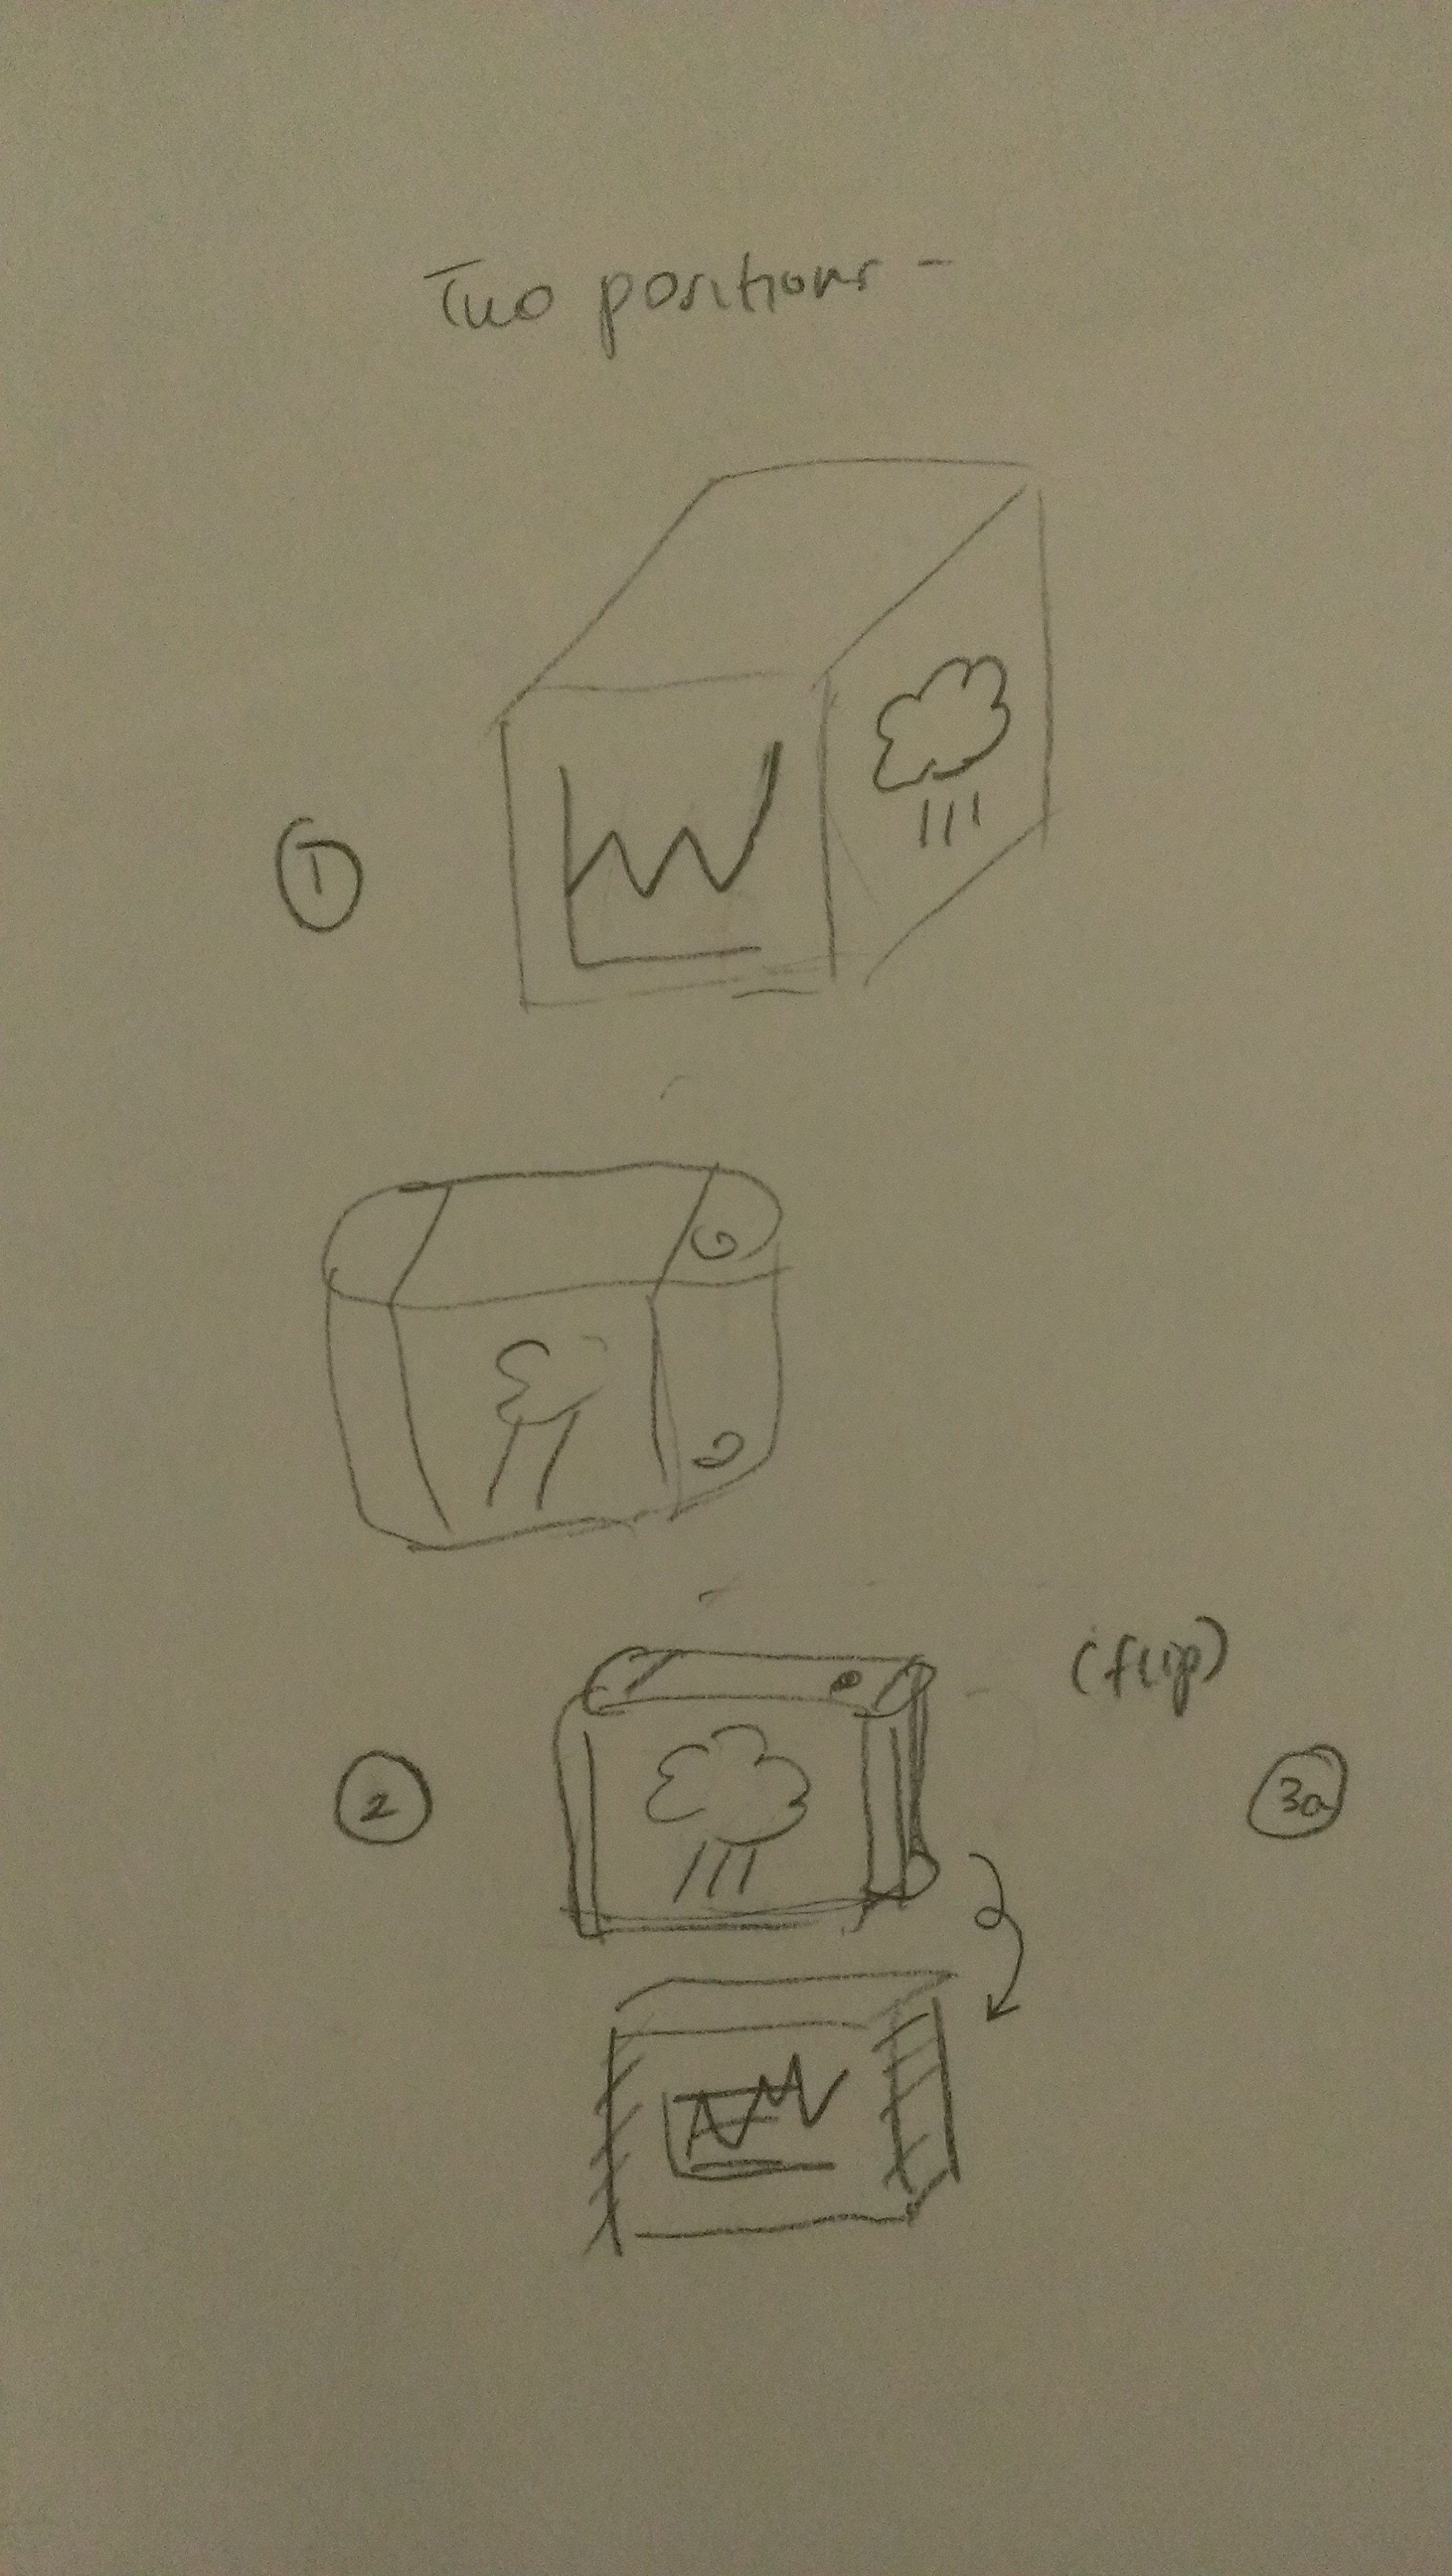
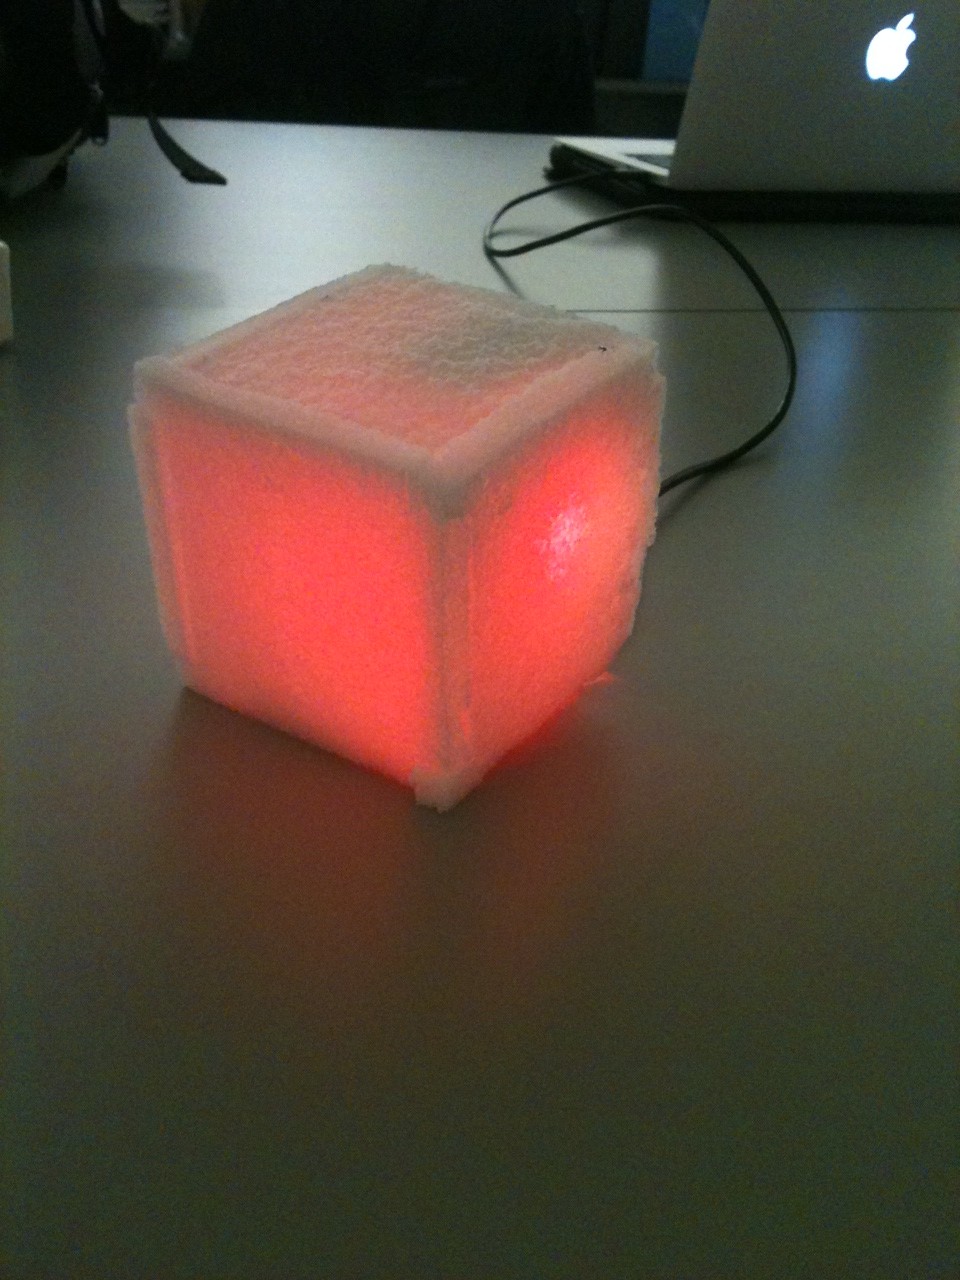
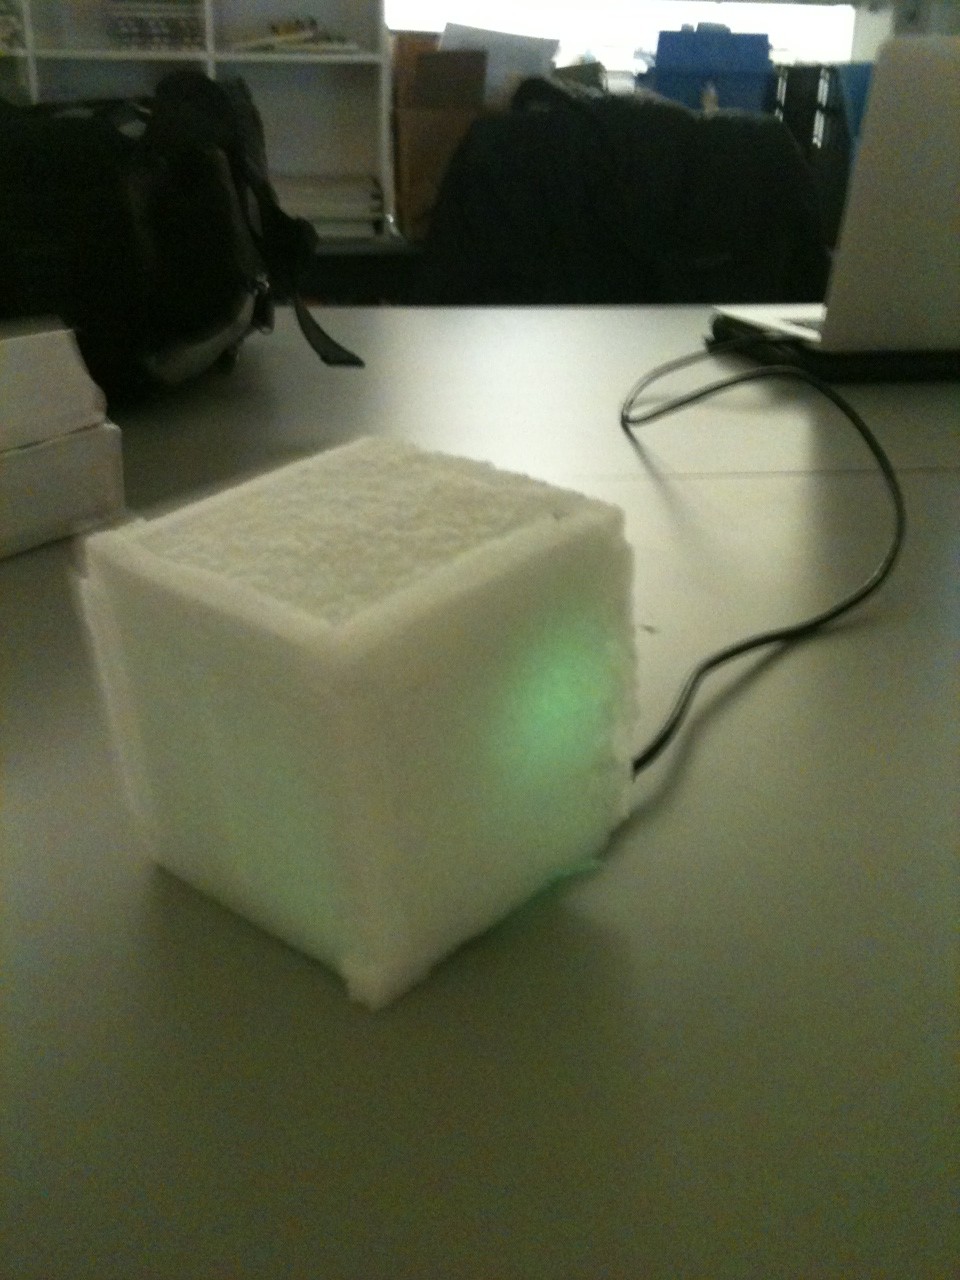
We created an Internet-enabled companion cube for your computer, which displays different kinds of information by glowing red or green. Depending on its orientation, and which labeled face is oriented upwards, our companion cube displays either stock readings of the NASDAQ or the outside temperature in Princeton. As the temperature or stock index changes, the Arduino inside the cube fetches updated data from the host computer it is connected to, and modulates the brightness of red and green LED arrays inside. We thought it would be a perfect match for the topic of the first lab, LED diffusors, and that it also makes a useful and elegant desktop accent.
Ideation and Design
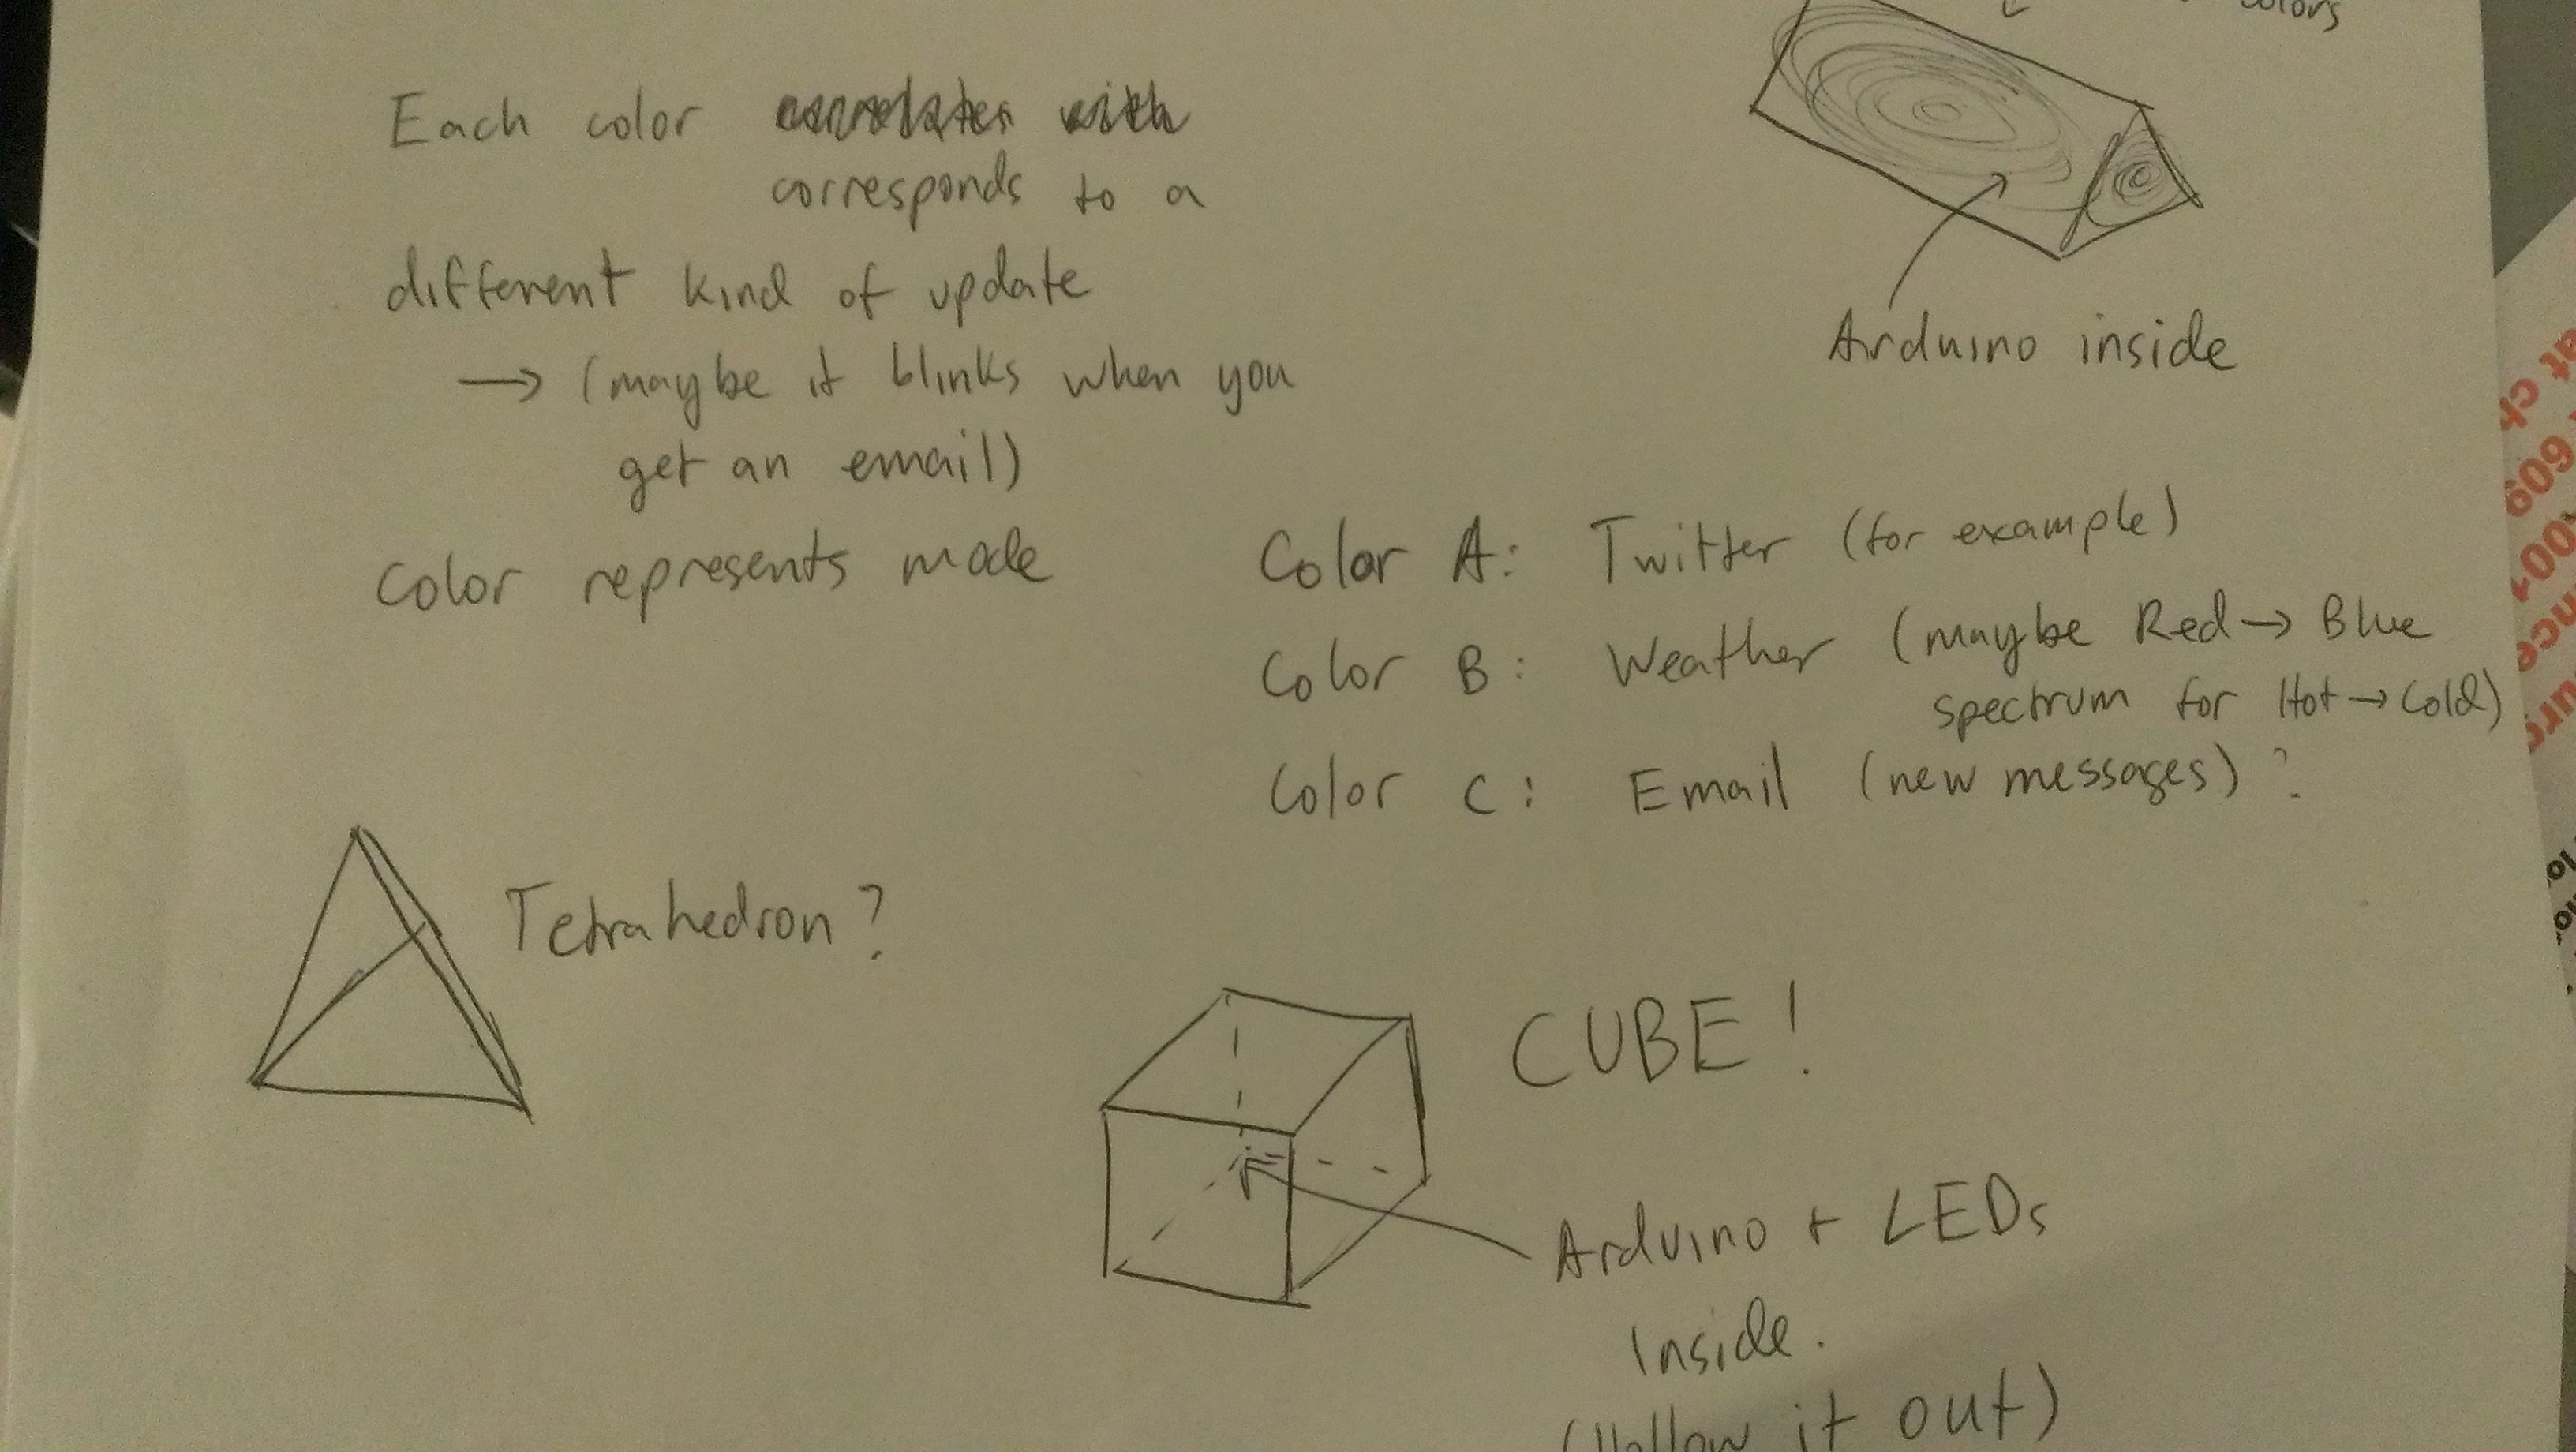
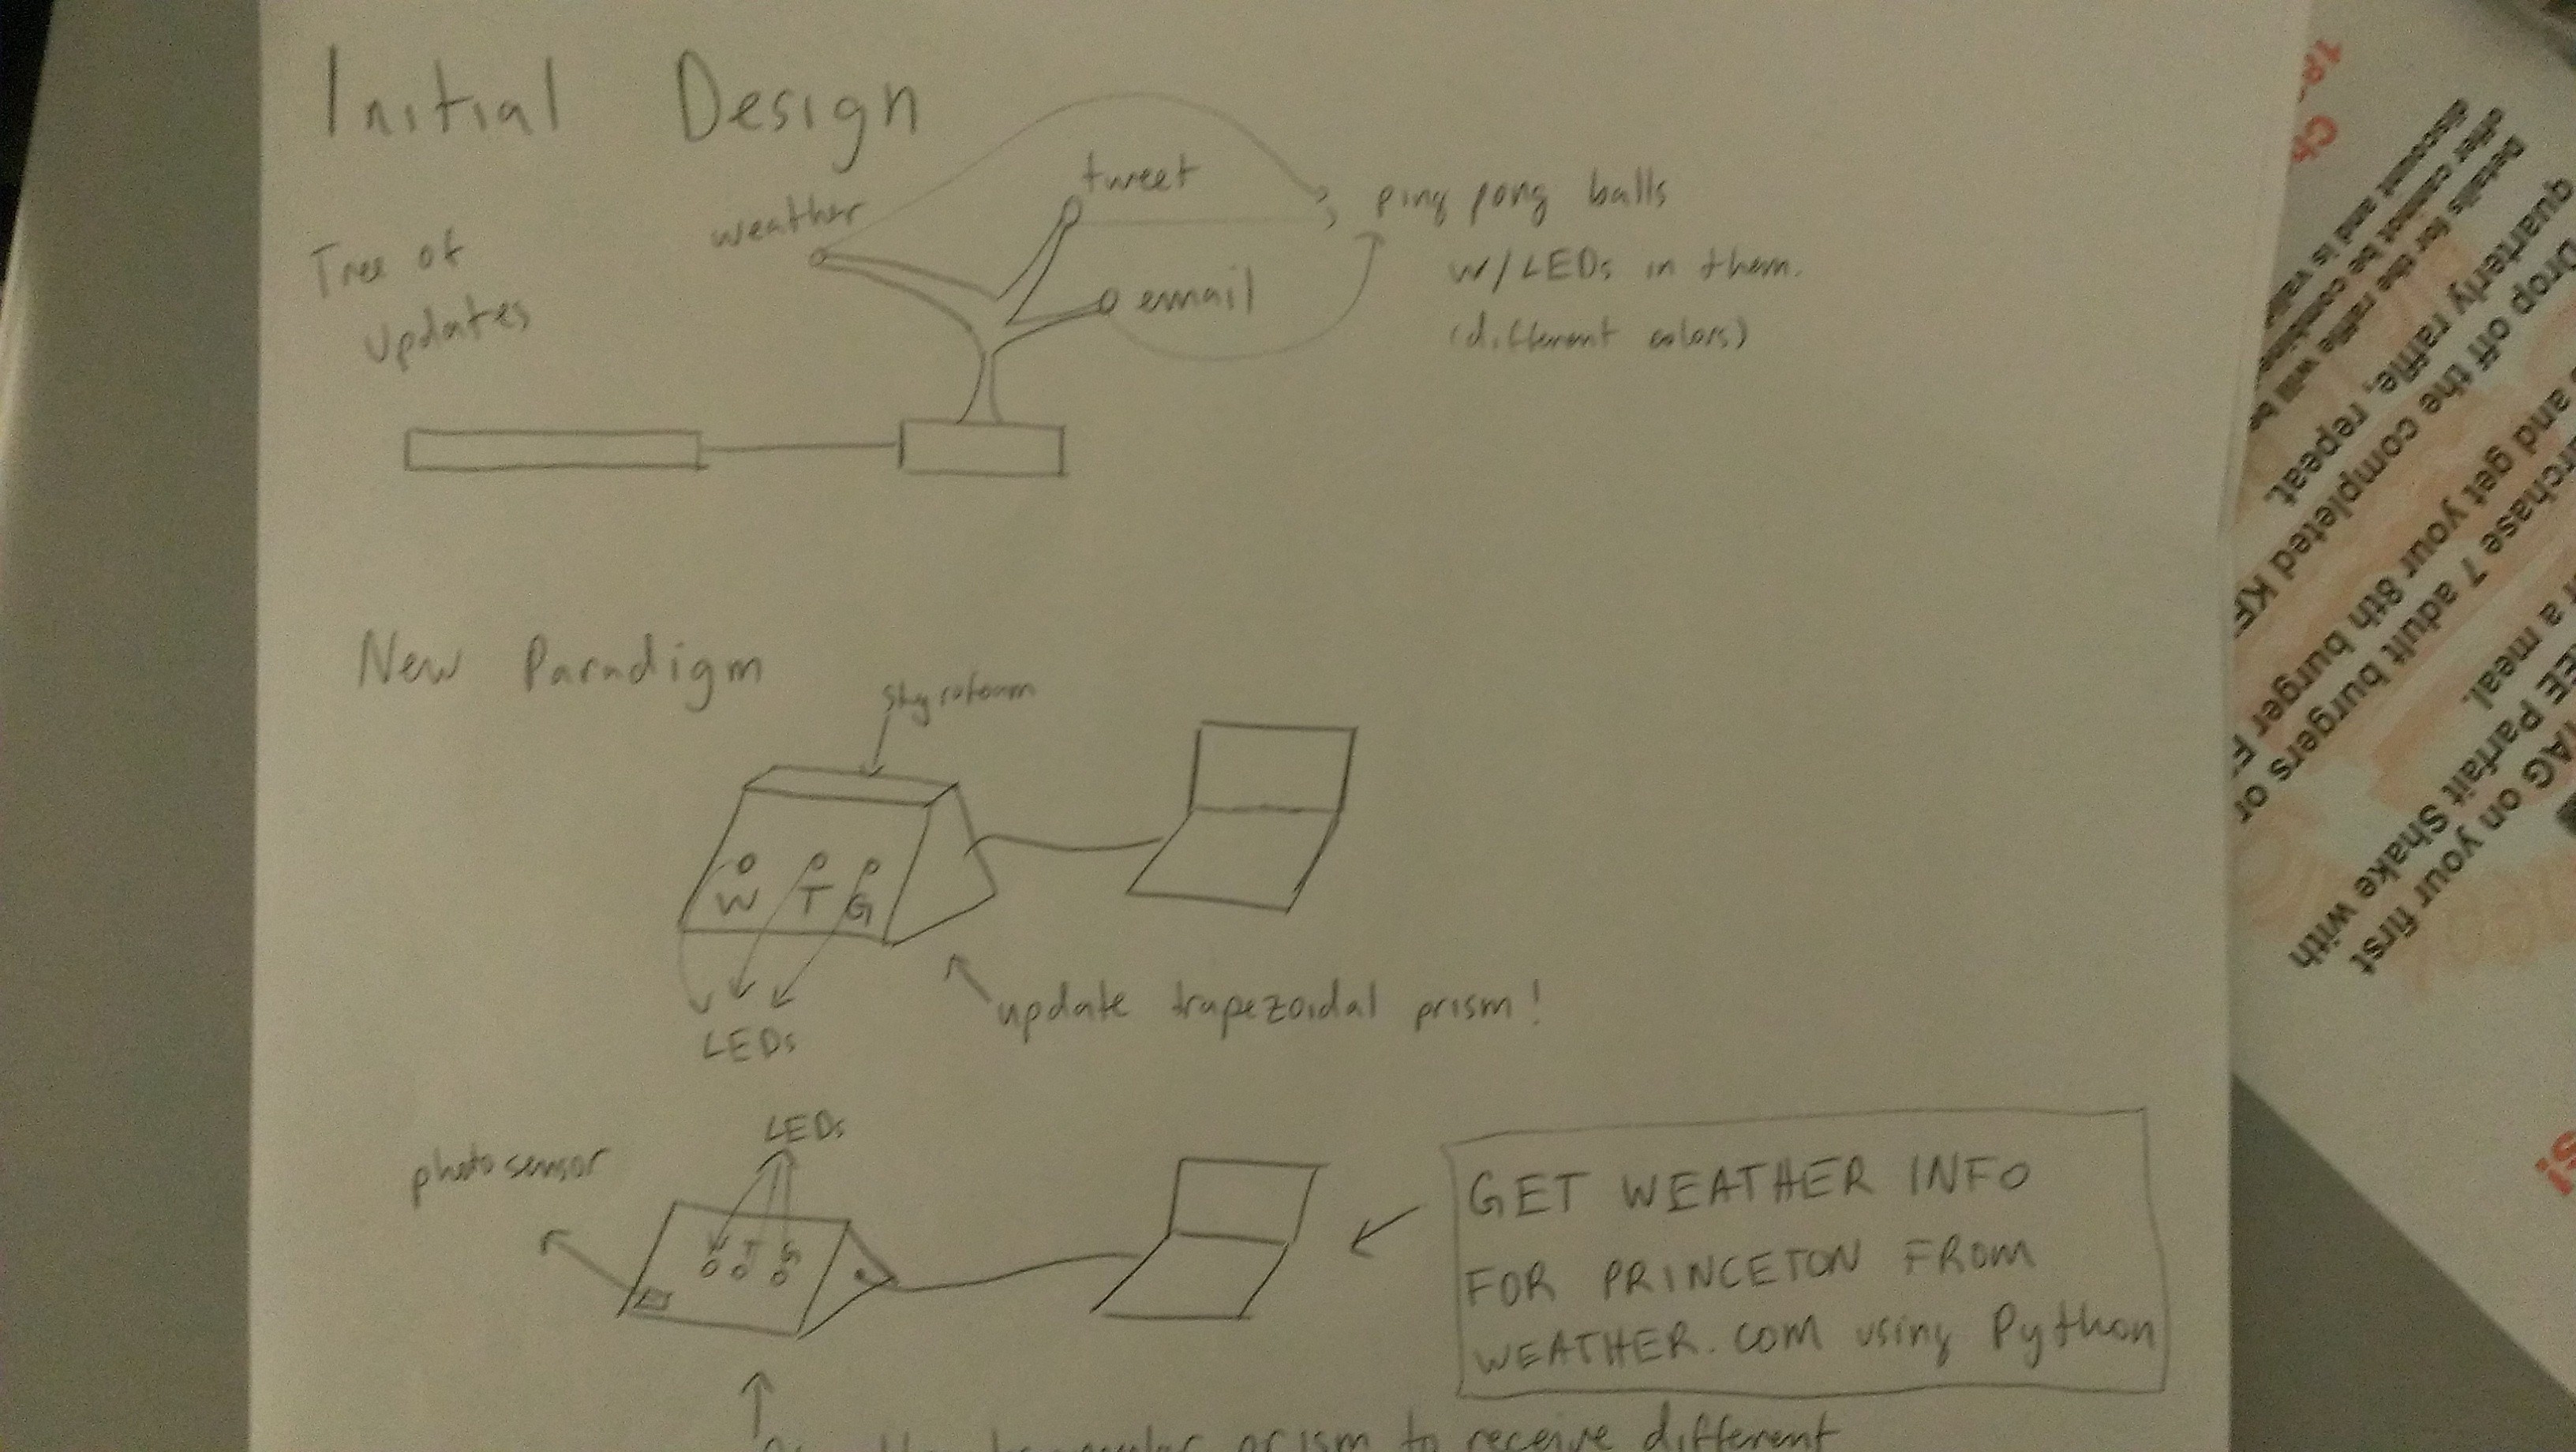
We started by thinking about LED diffusers, and found that the most interesting applications for us related to using them to display or convey information. We then considered a number of physical interfaces, including a tree, a panel, and various geometric shapes. We settled on a cube because we expected users to want multiple sources of information from the cube, and we thought rotating the cube was a better interface than configuring it by computer, since it would make use of the different sides of the cube. Since we have some Arduino experience, adding Internet connectivity so the Arduino and computer could talk to each other followed rather naturally.
Construction
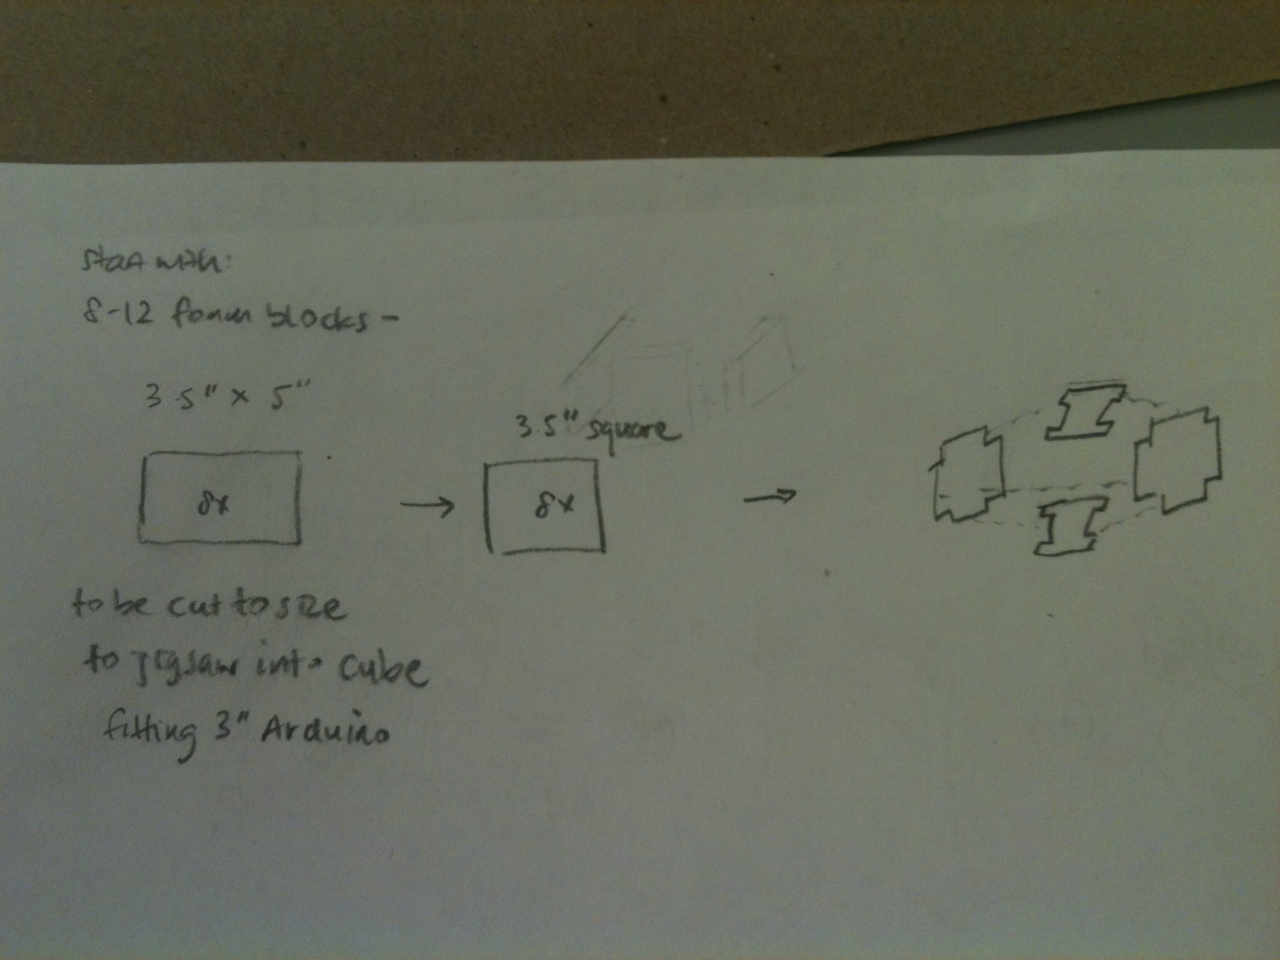
We found that there was scrap foam in many different places we looked – the upper levels of the E-Quad, the Architecture building, and Frist among others. We went with that, instead of making our cube out of paper, because foam seemed like an excellent prototyping material. It was easy to cut, already pre-formed into sheets, and most importantly fit together like a jigsaw puzzle, allowing us to assemble the foam simply by pushing metal leads into the joints. Eventually we would want to use a laser-cut enclosure for this kind of box.
Concerns and Conclusions
We would have preferred a better spectrum of colors from our cube, but we did not have enough tricolored LEDs to produce enough light to be visible through our cube. We ran into a number of problems because of the differences in brightness and voltage between red vs. green LEDs and indicator vs. lighting LEDs, but we managed to circumvent most of those because foam was such a great diffusing material and blocked little light. Finally, we observed that the Cube is sometimes slow to respond as we scrape data from the web, because of latency. So, we’d like to make it faster if possible.
We think our companion cube is pretty and works well. If we had developed the cube further, it would have more applications — possibly one for each side of the cube, including email notifications, facebook notifications, etc. — and it would use an orientation sensor rather than photoresistors on each side to figure out its orientation.
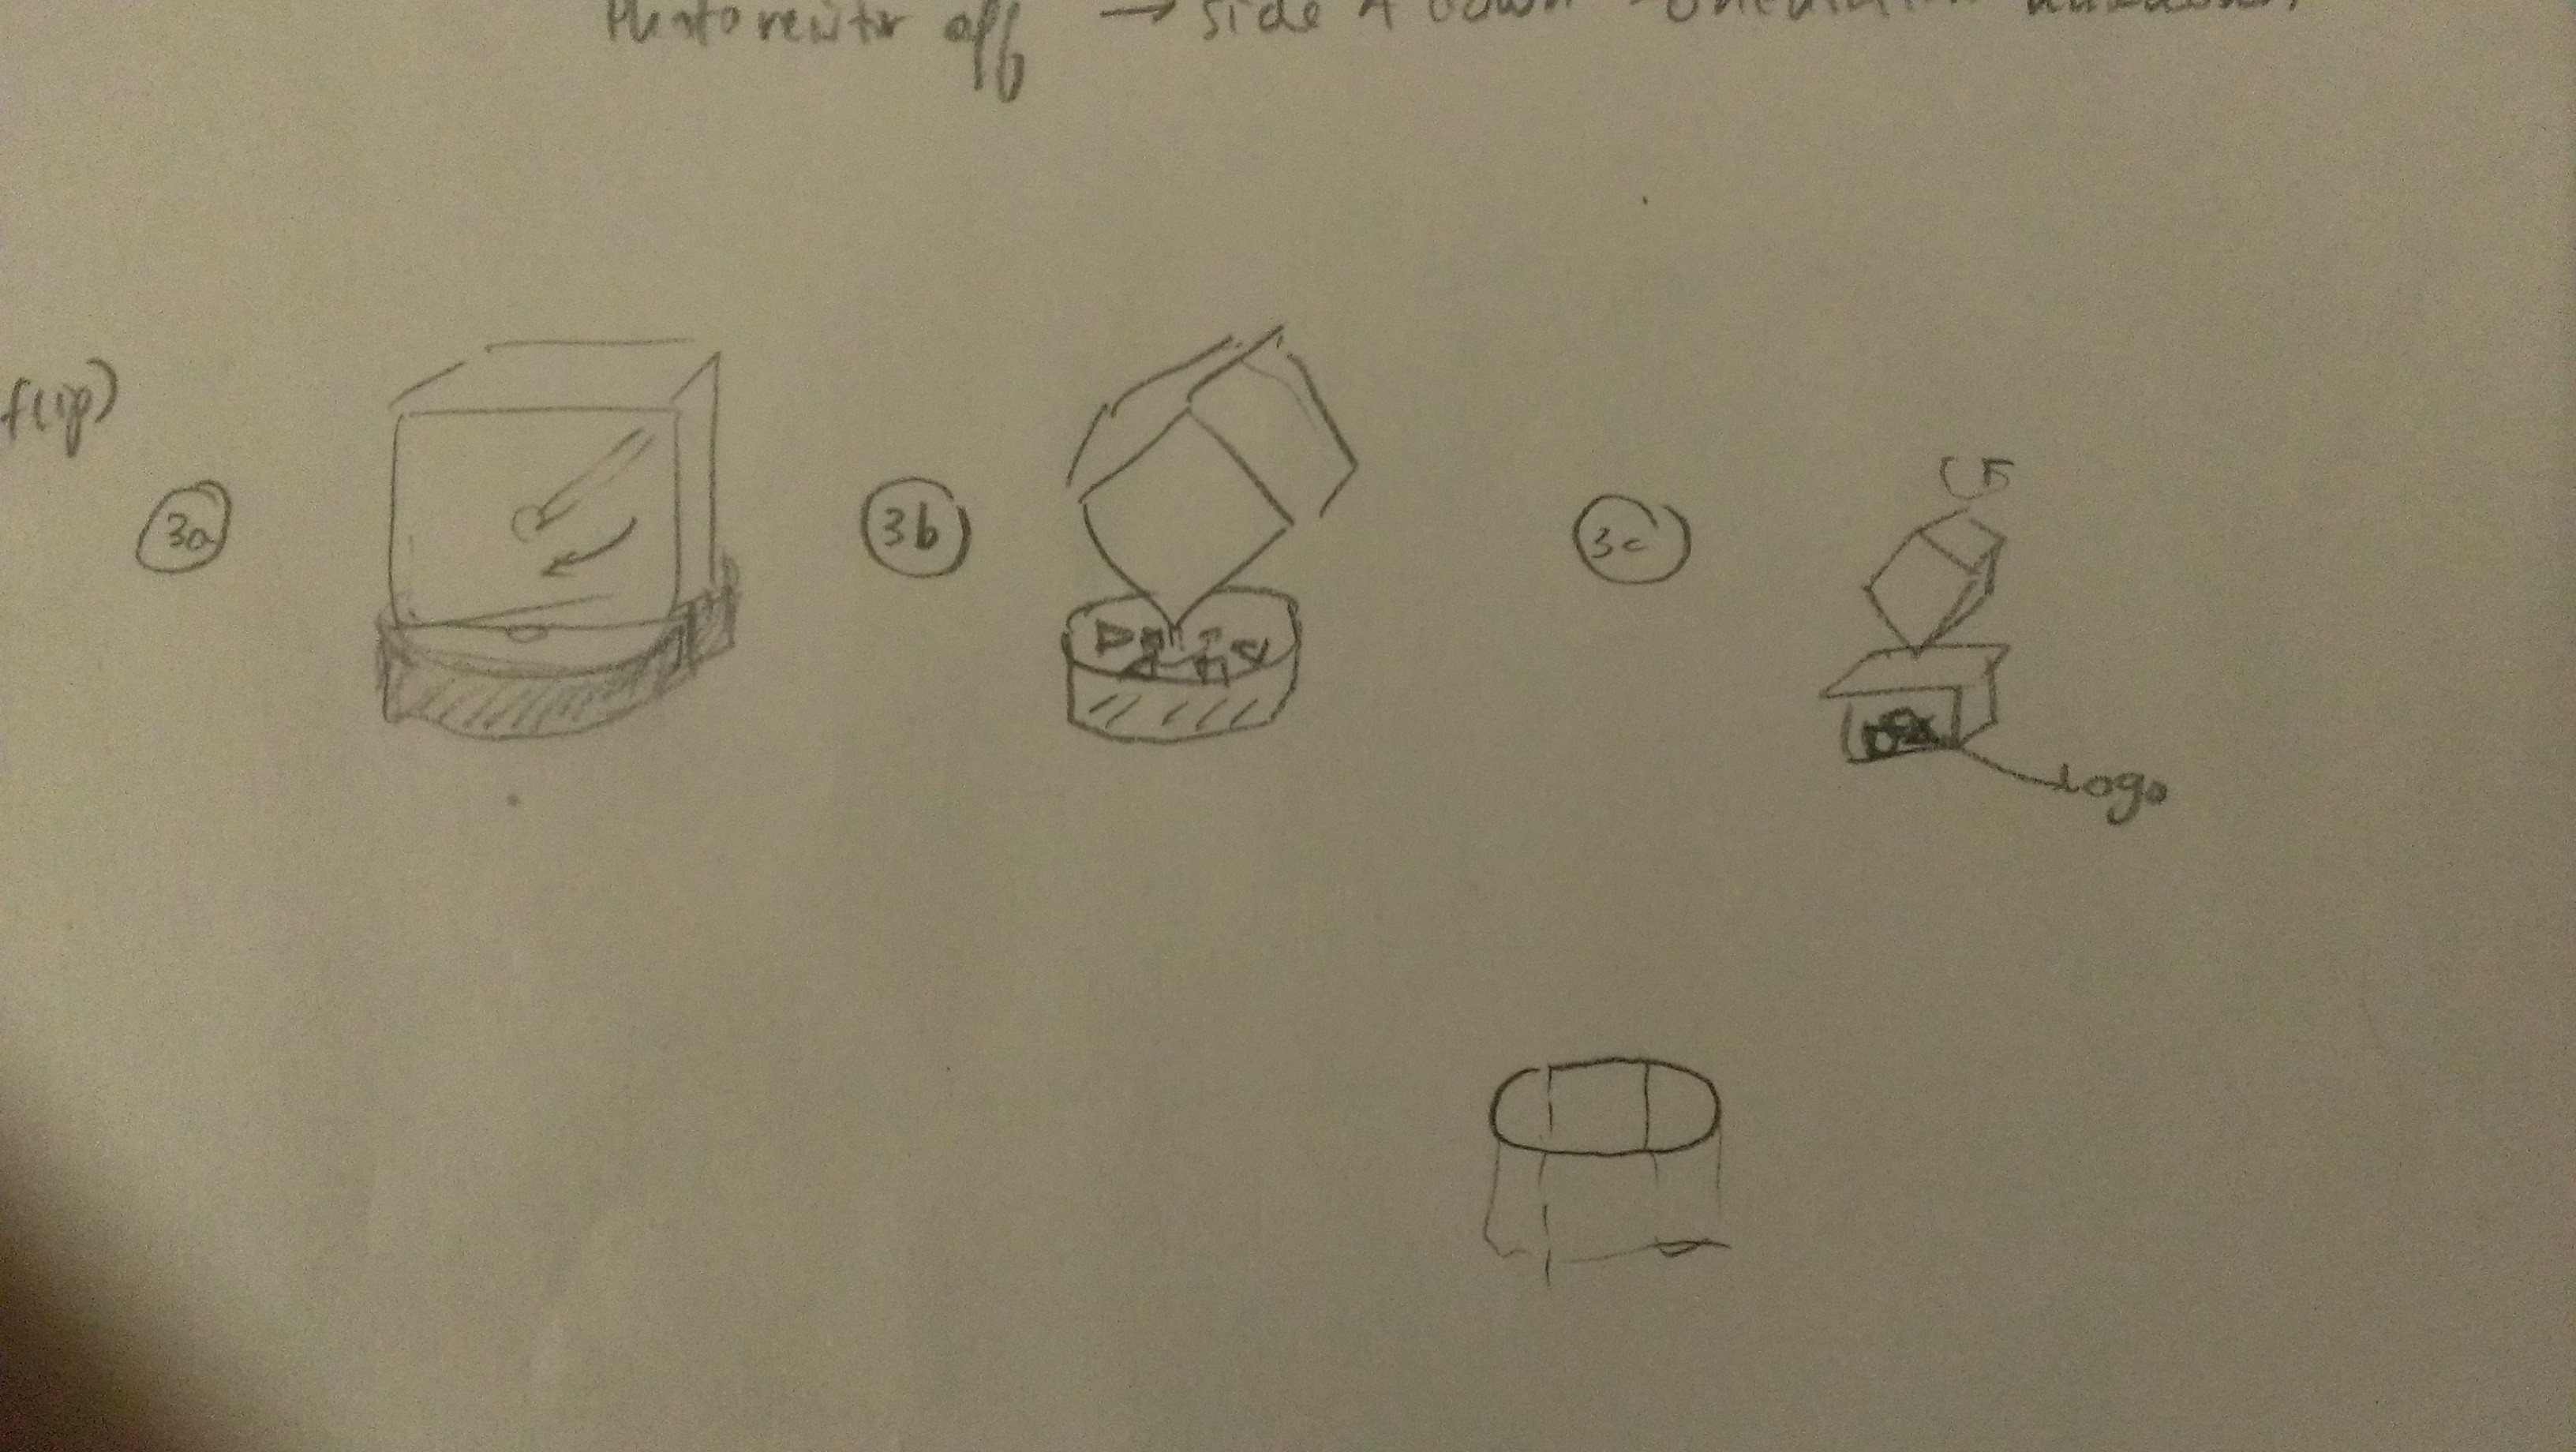
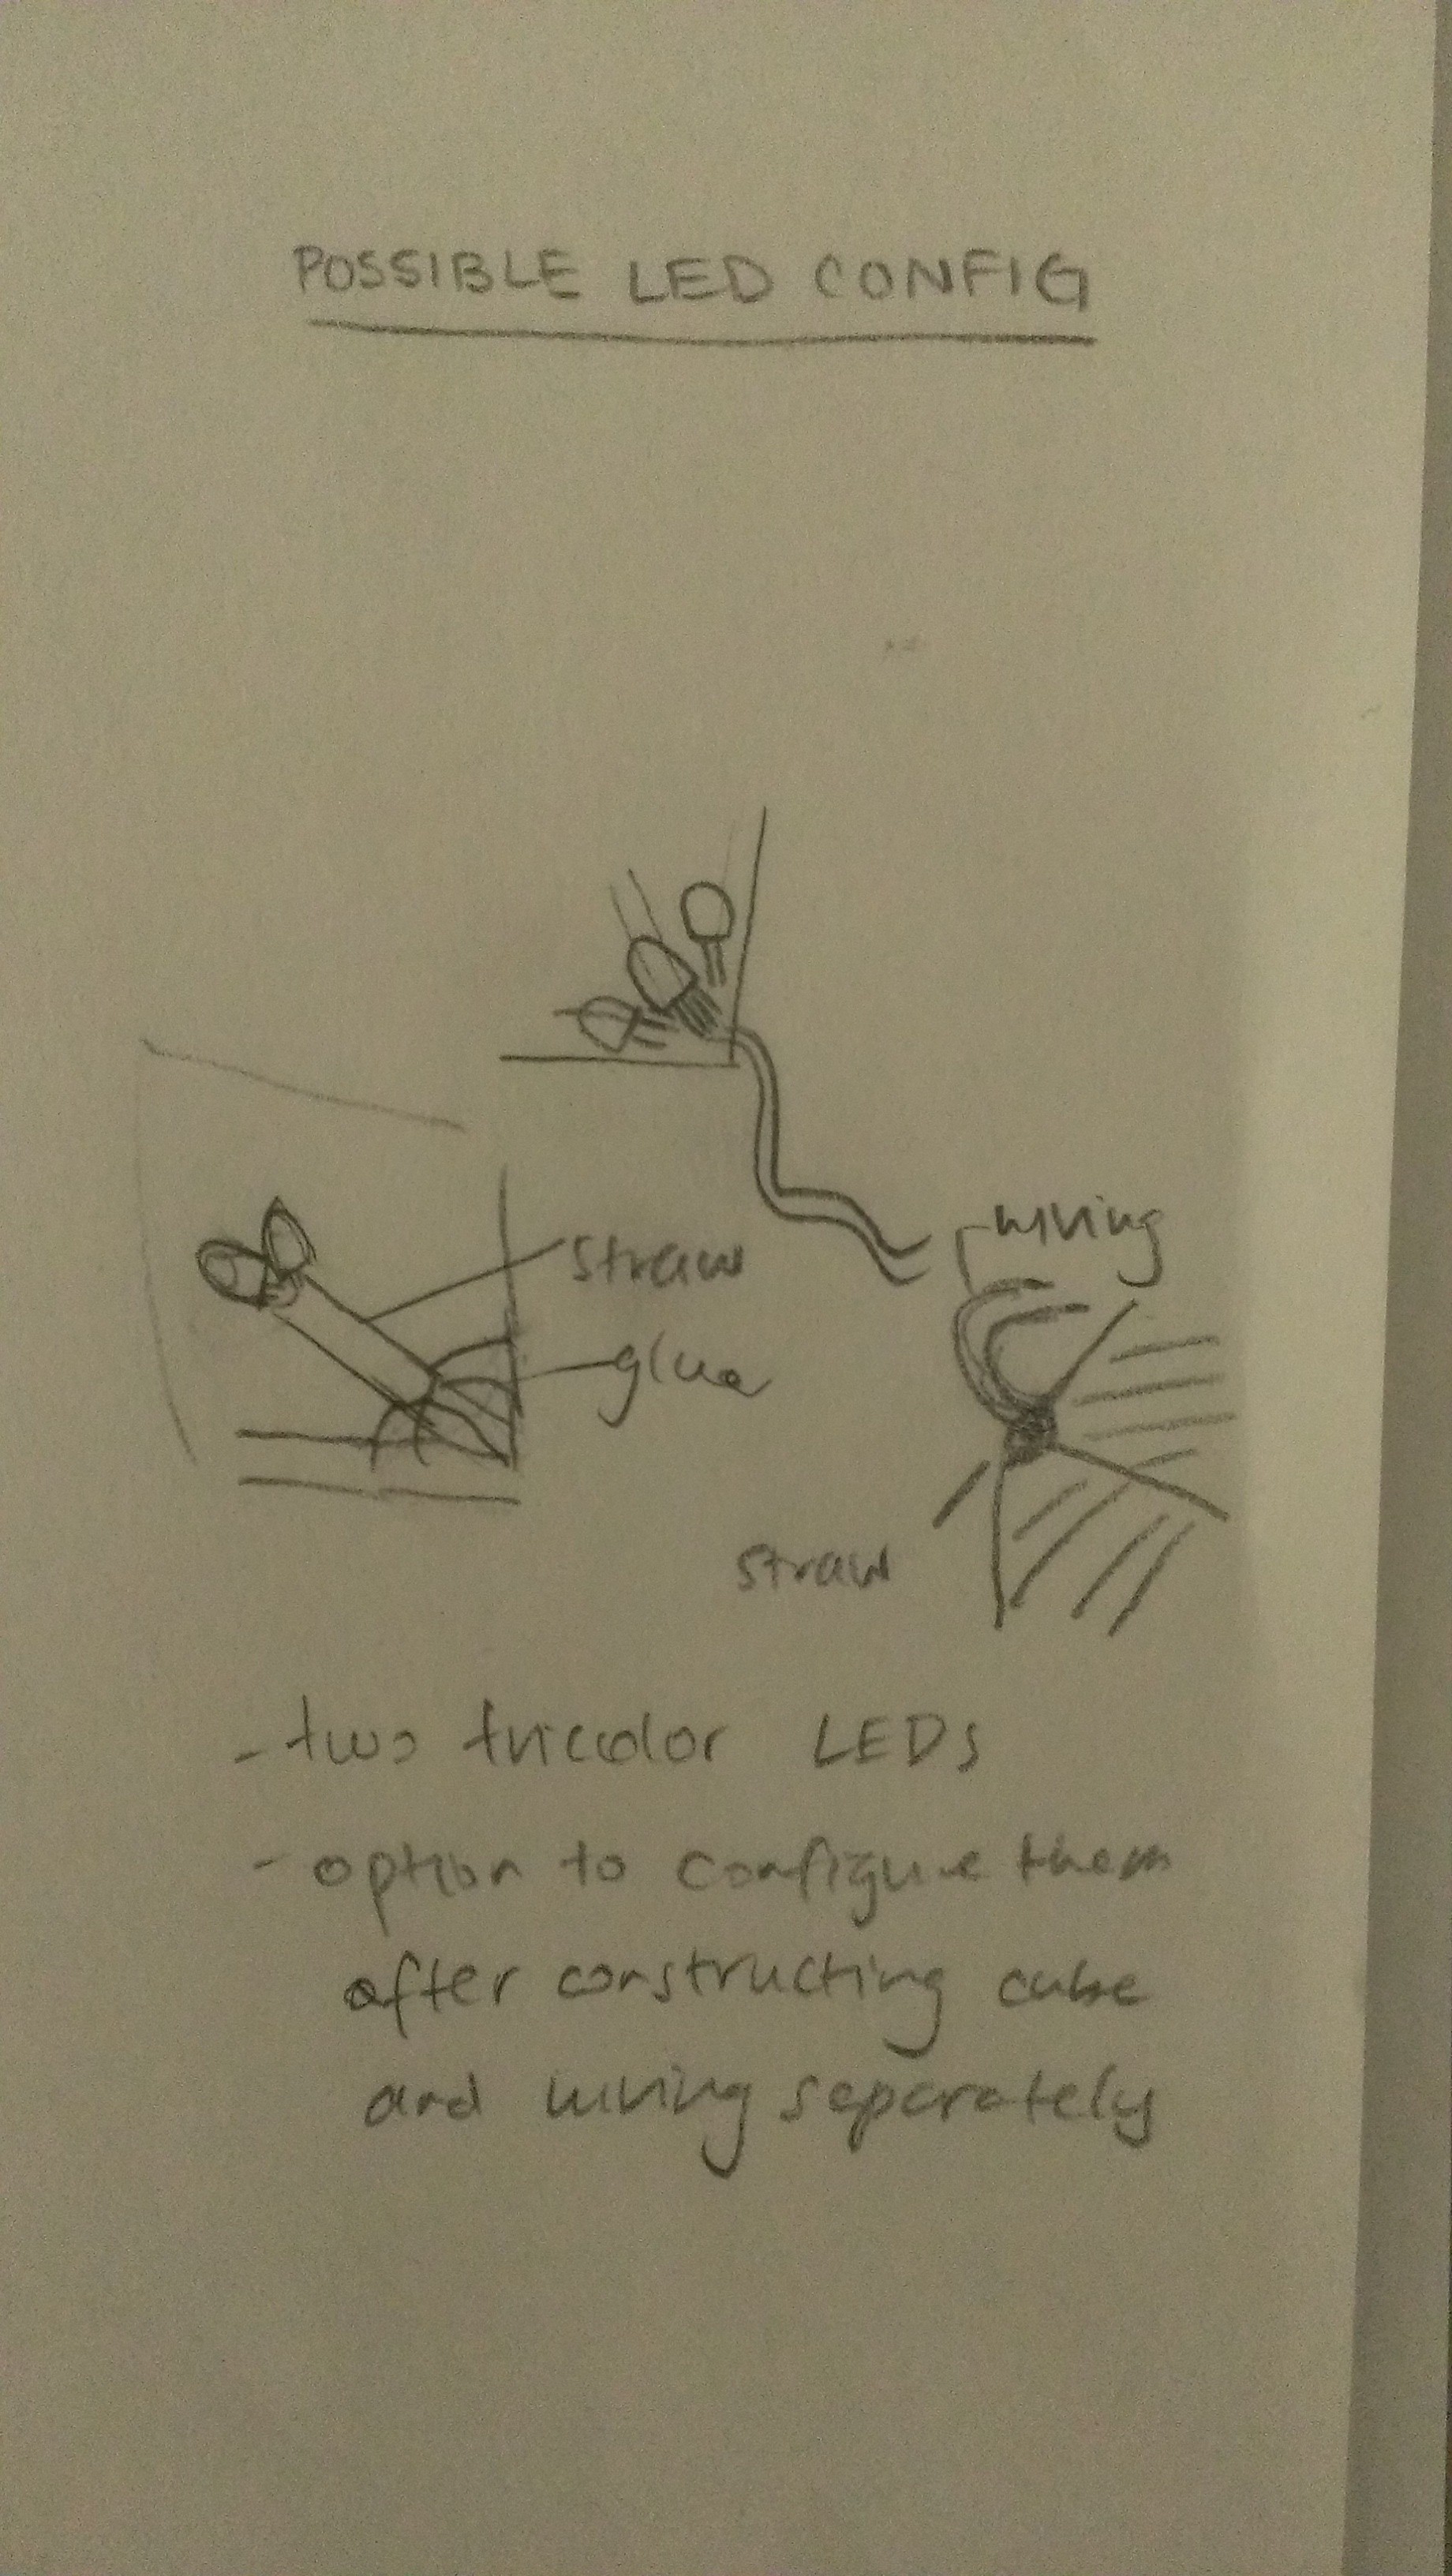
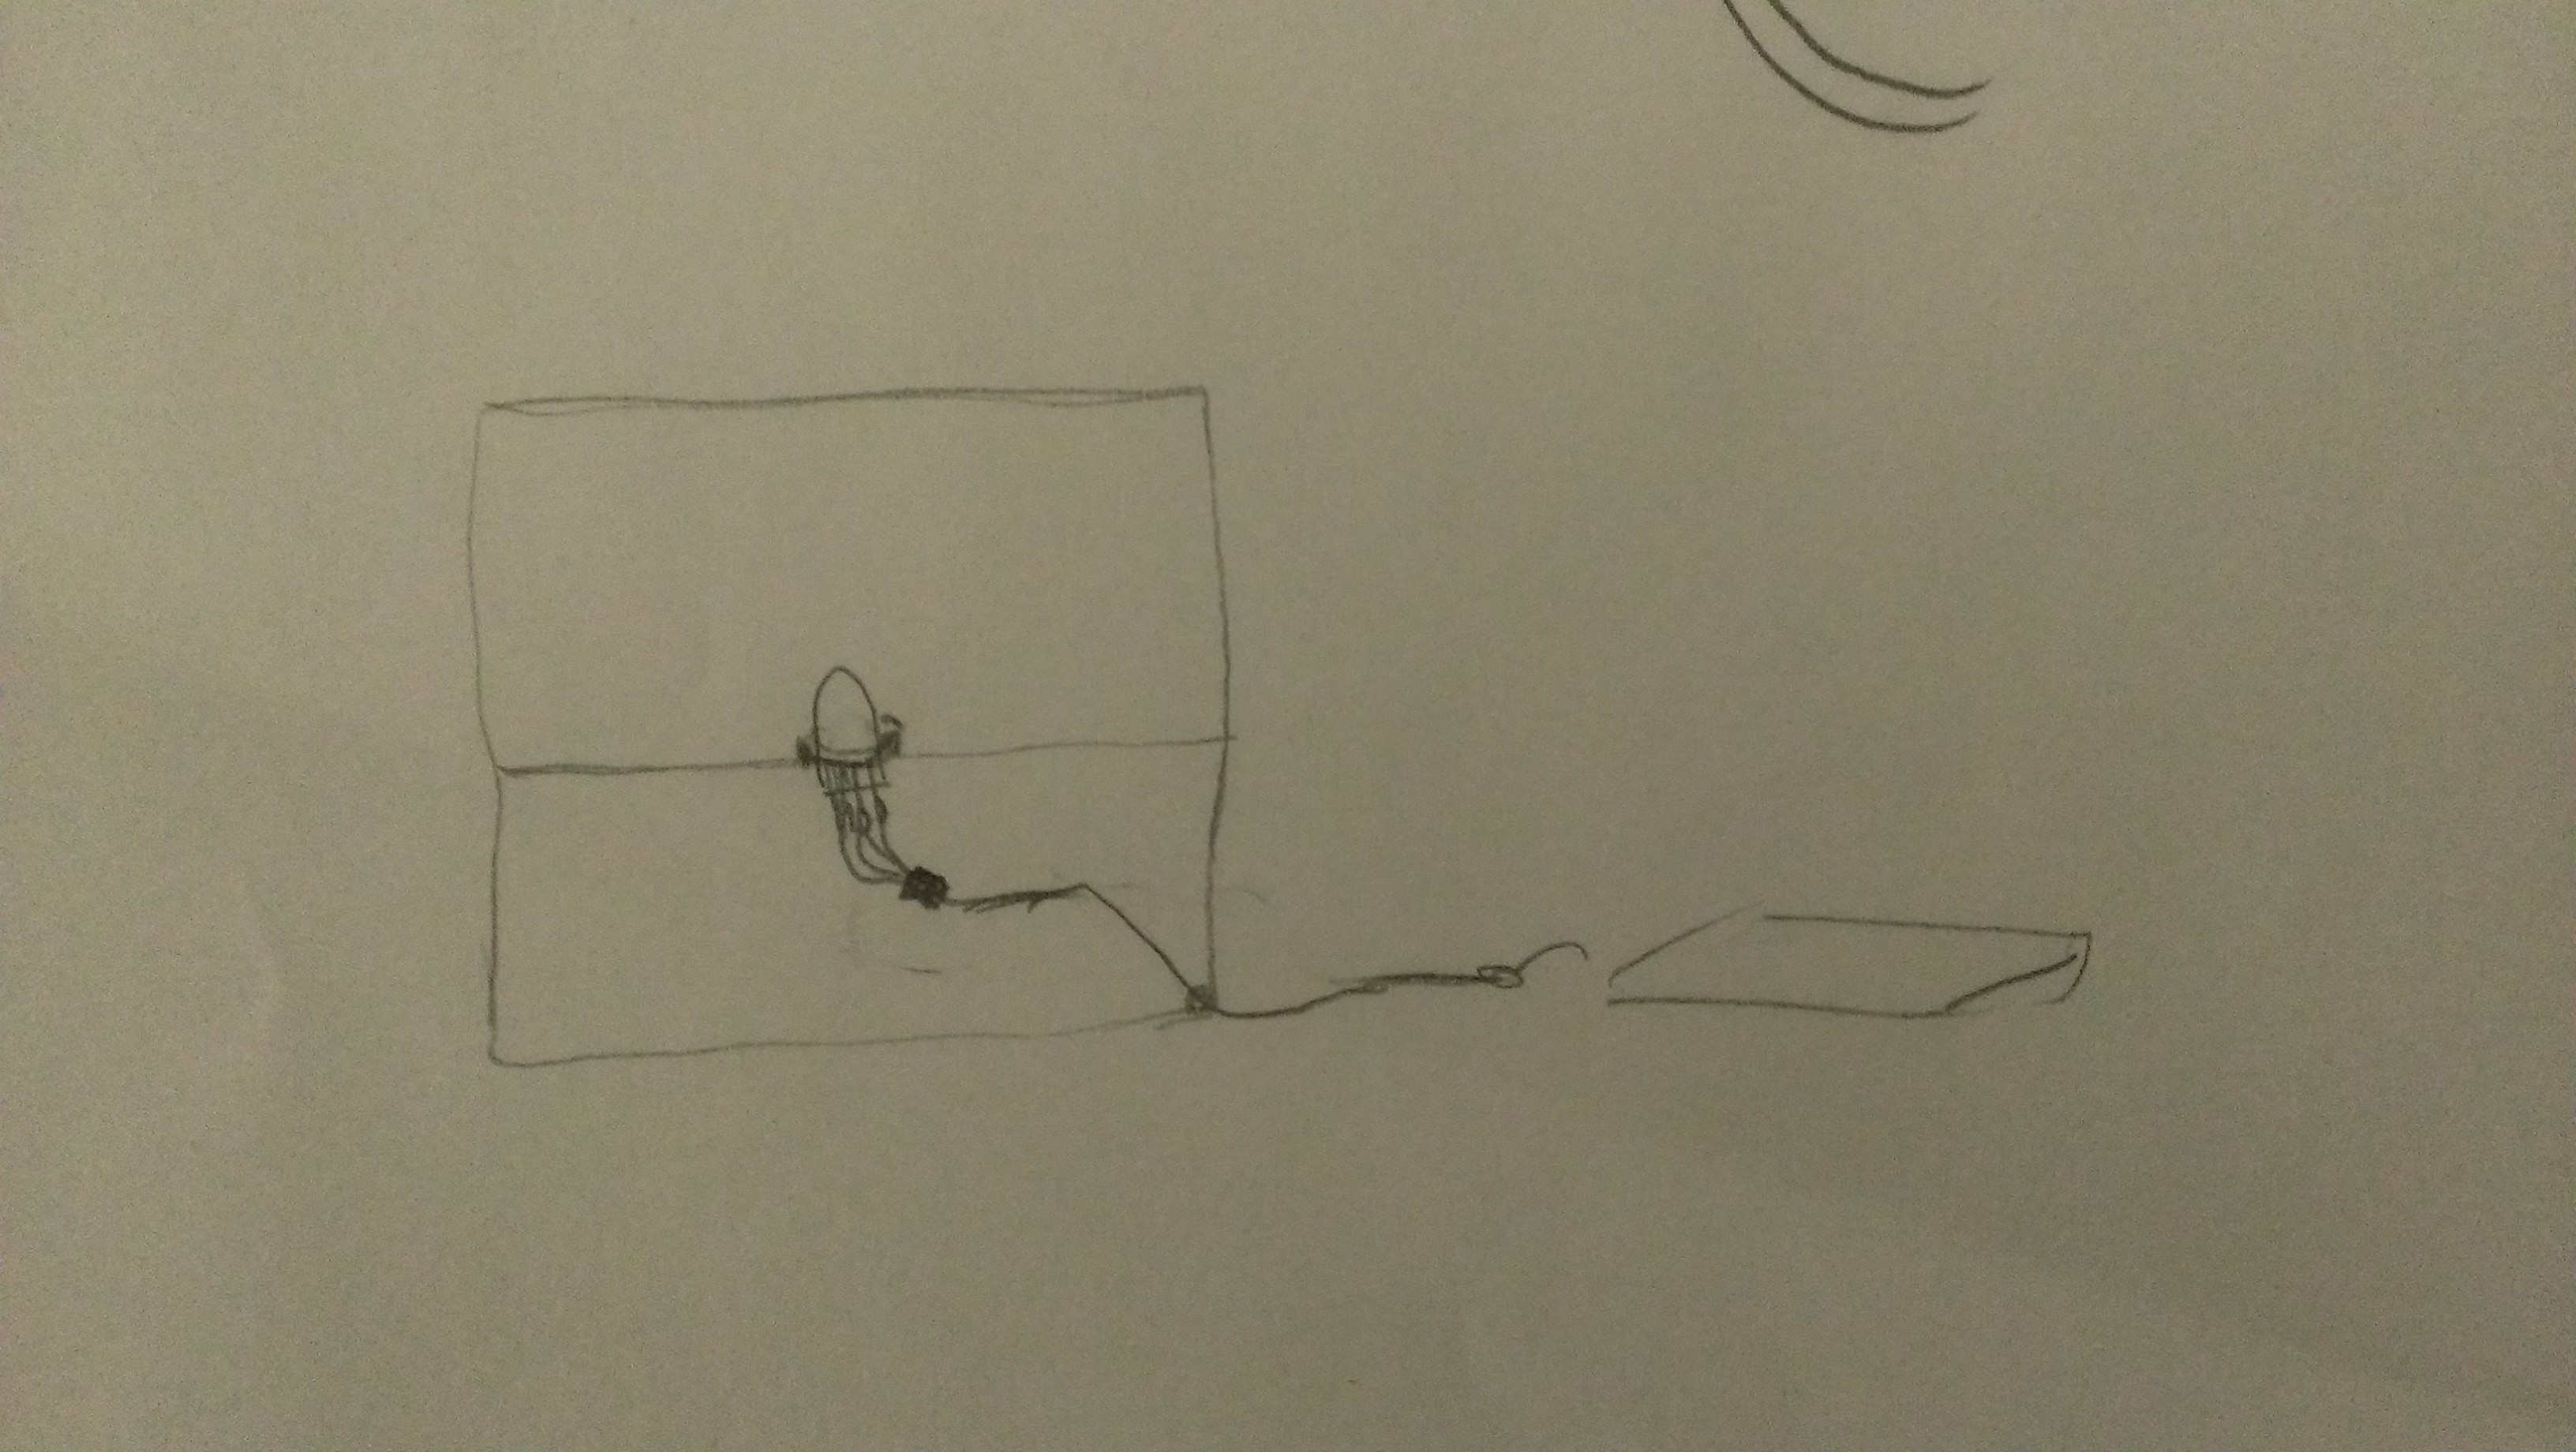
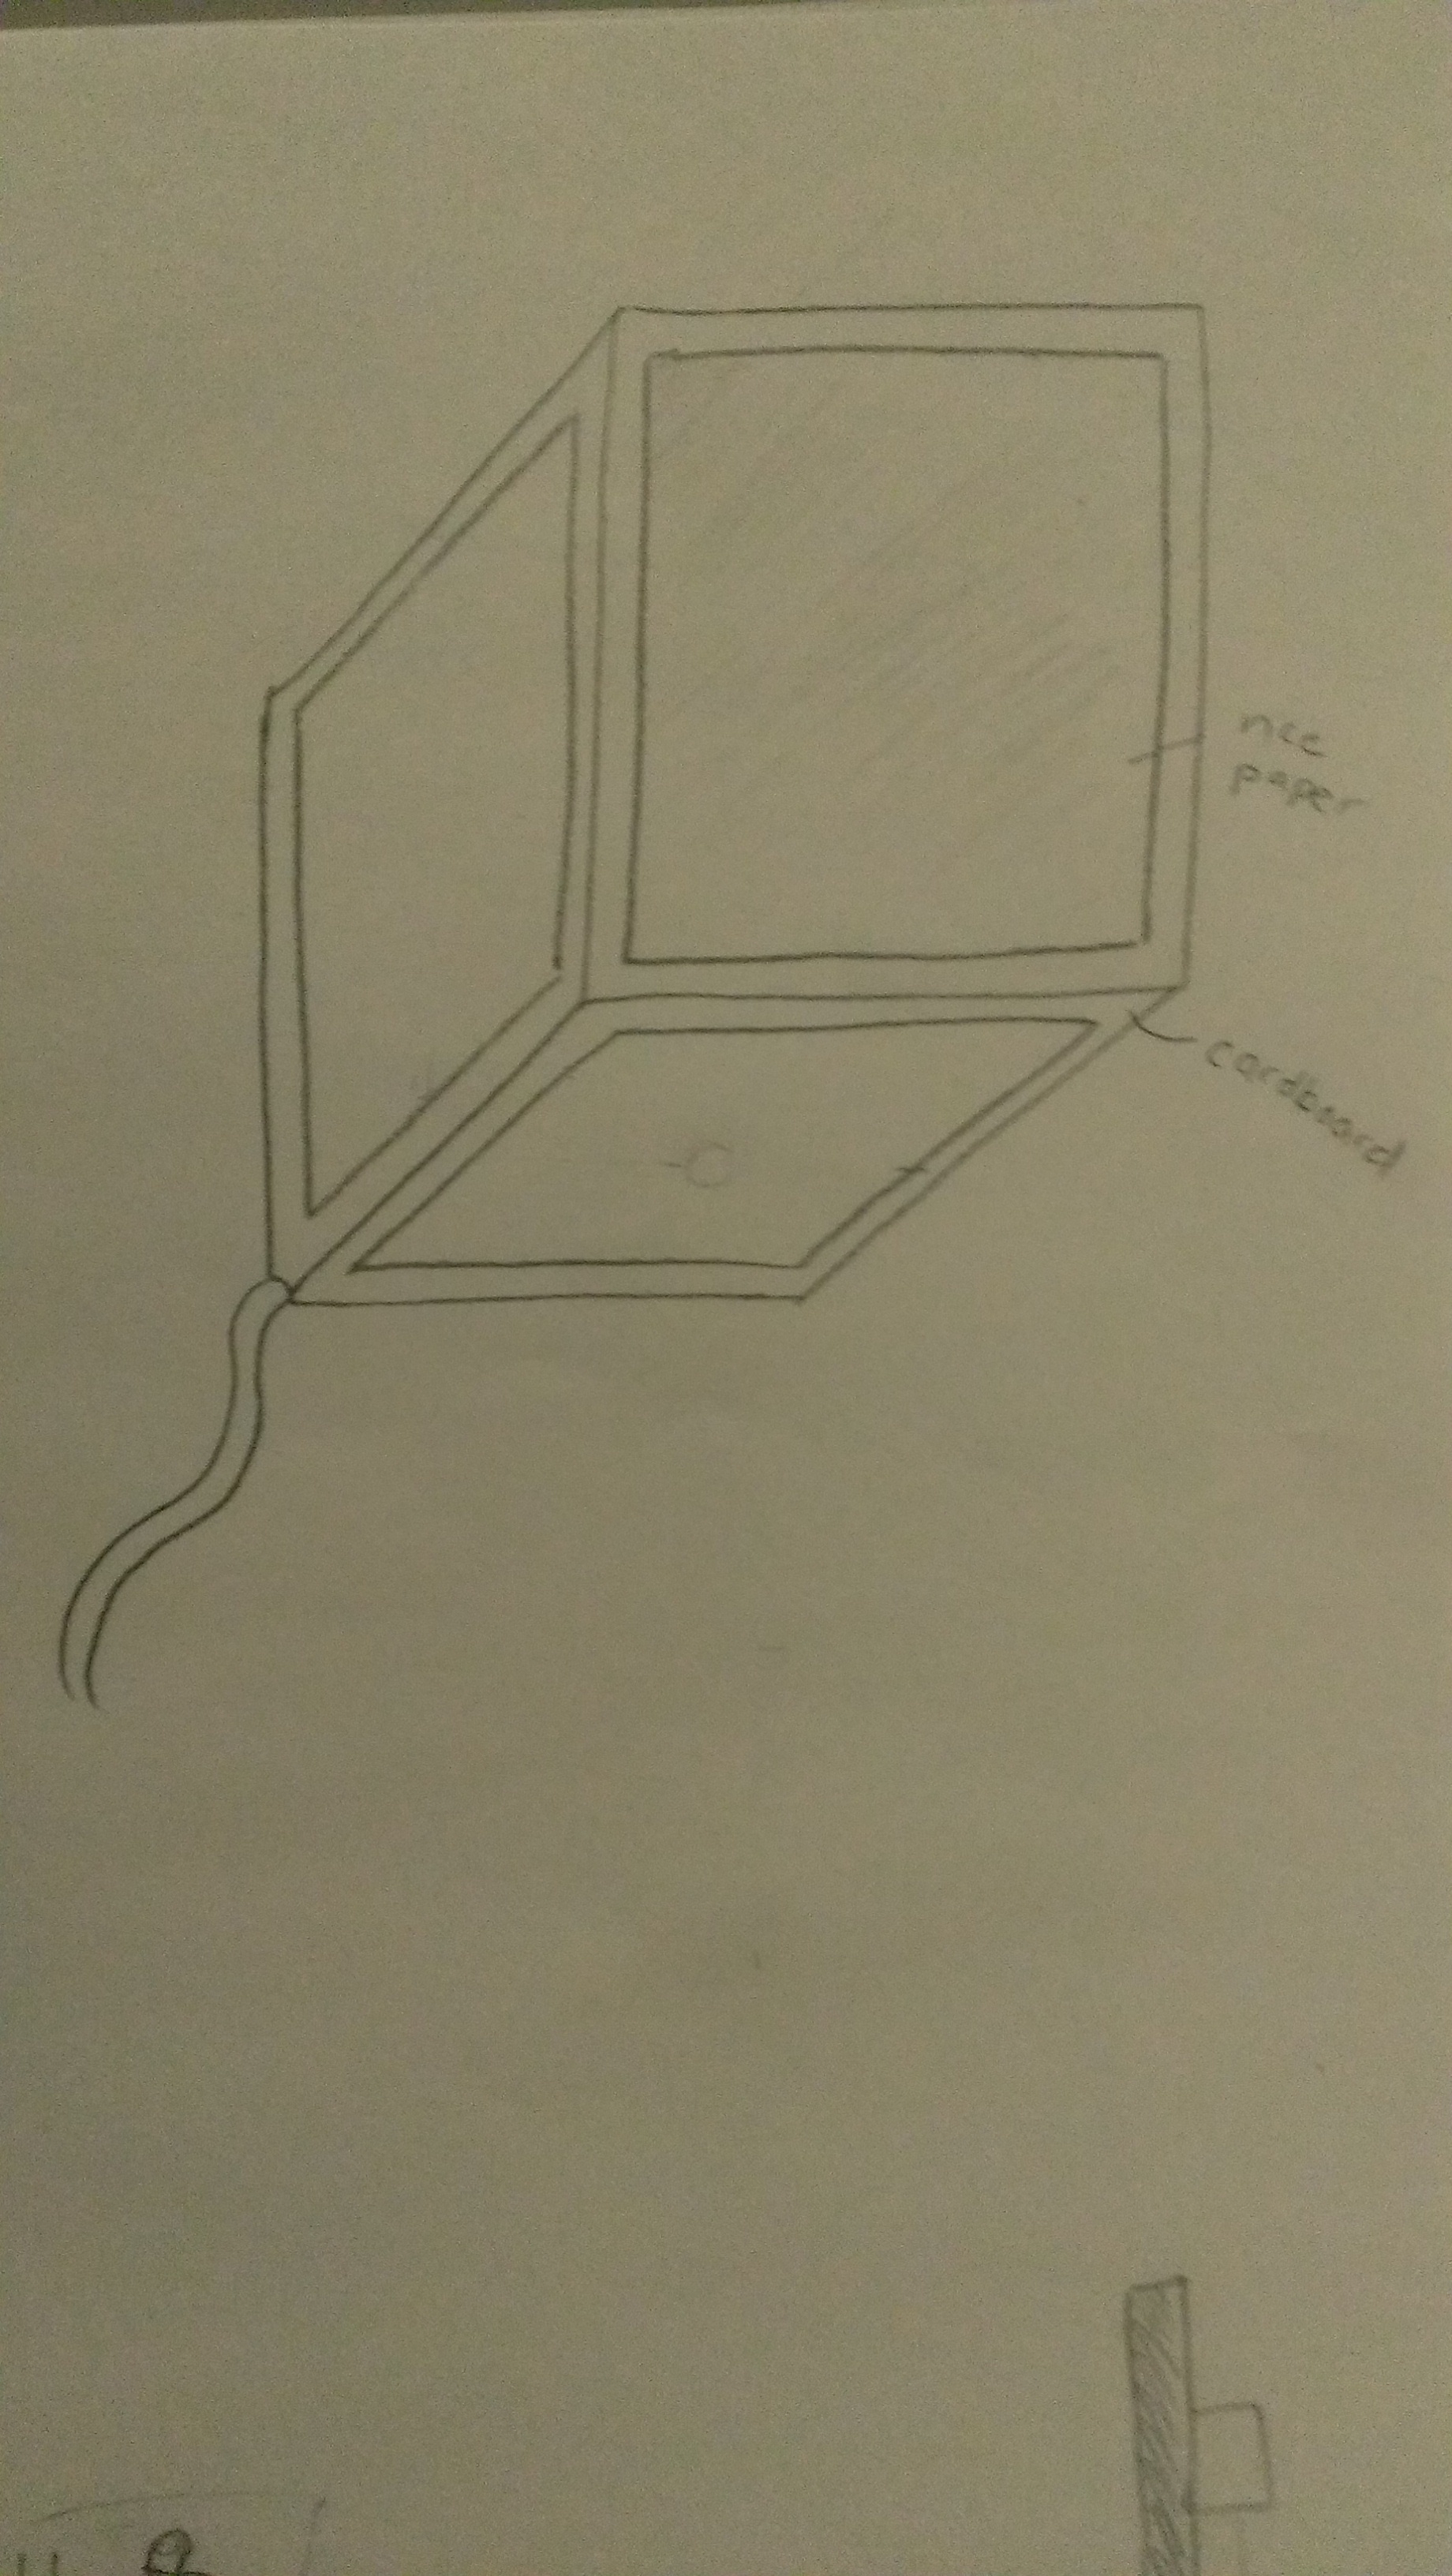
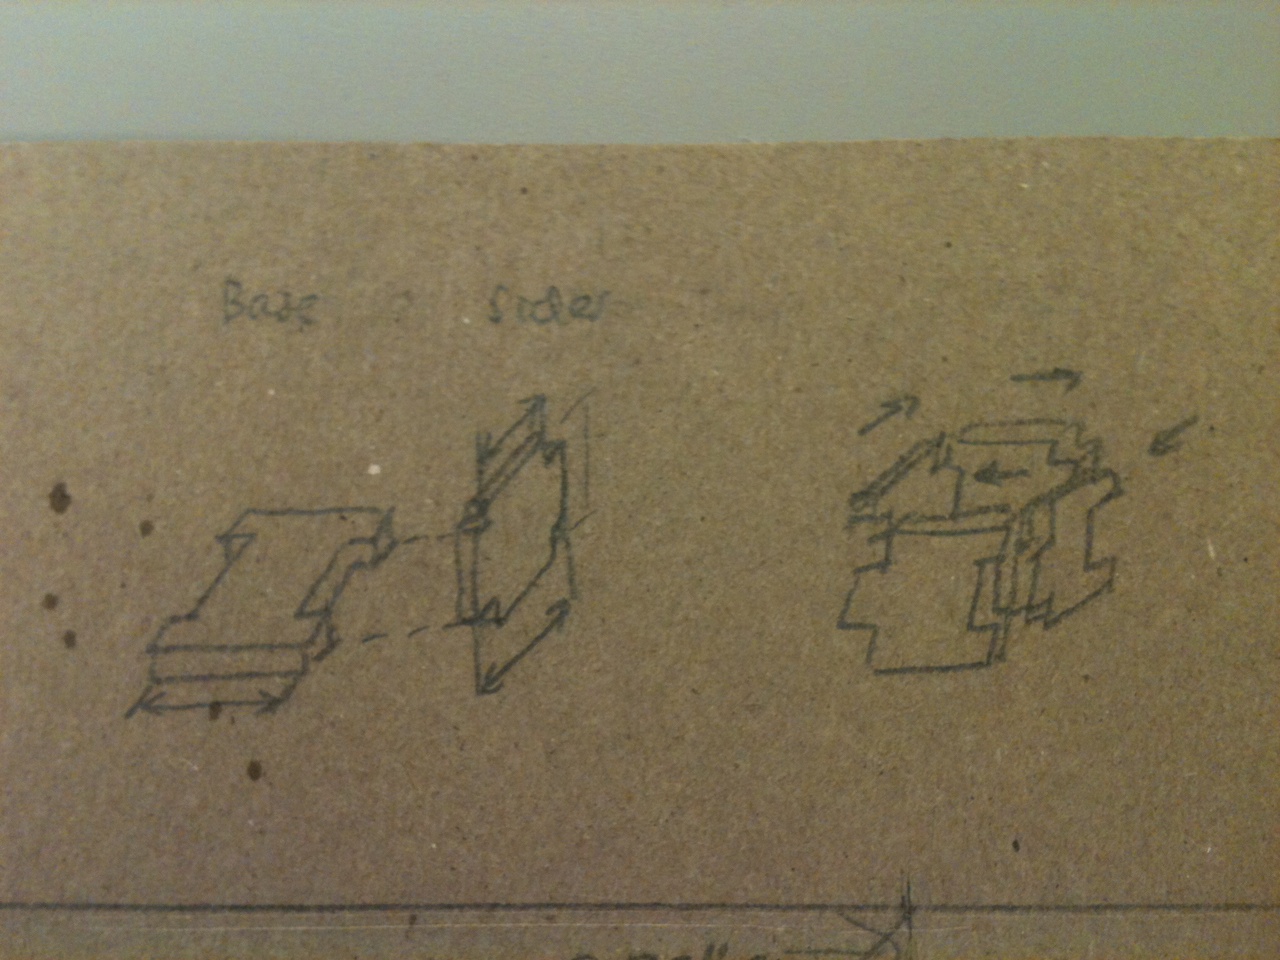
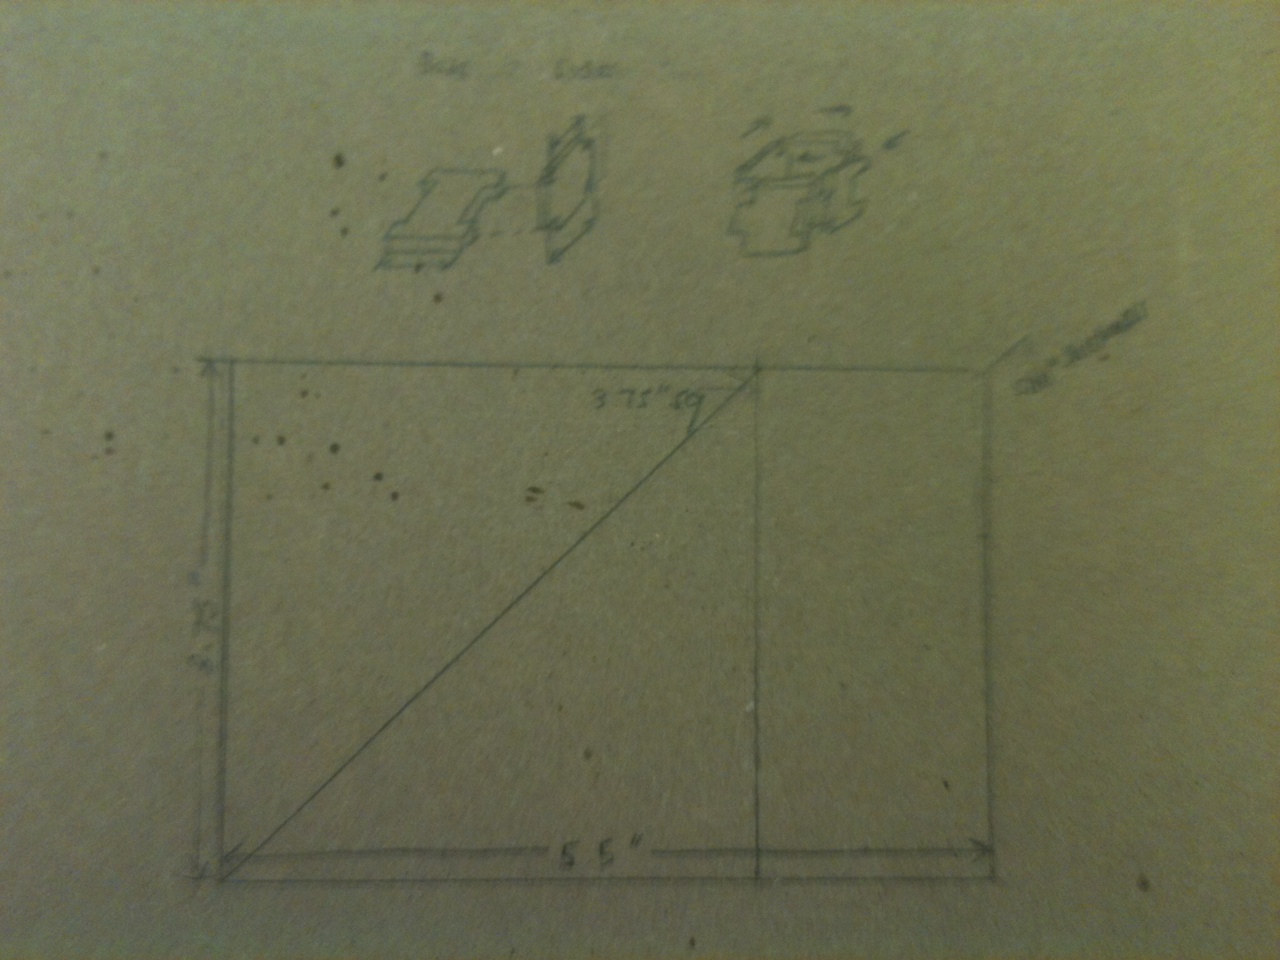
Design Sketches
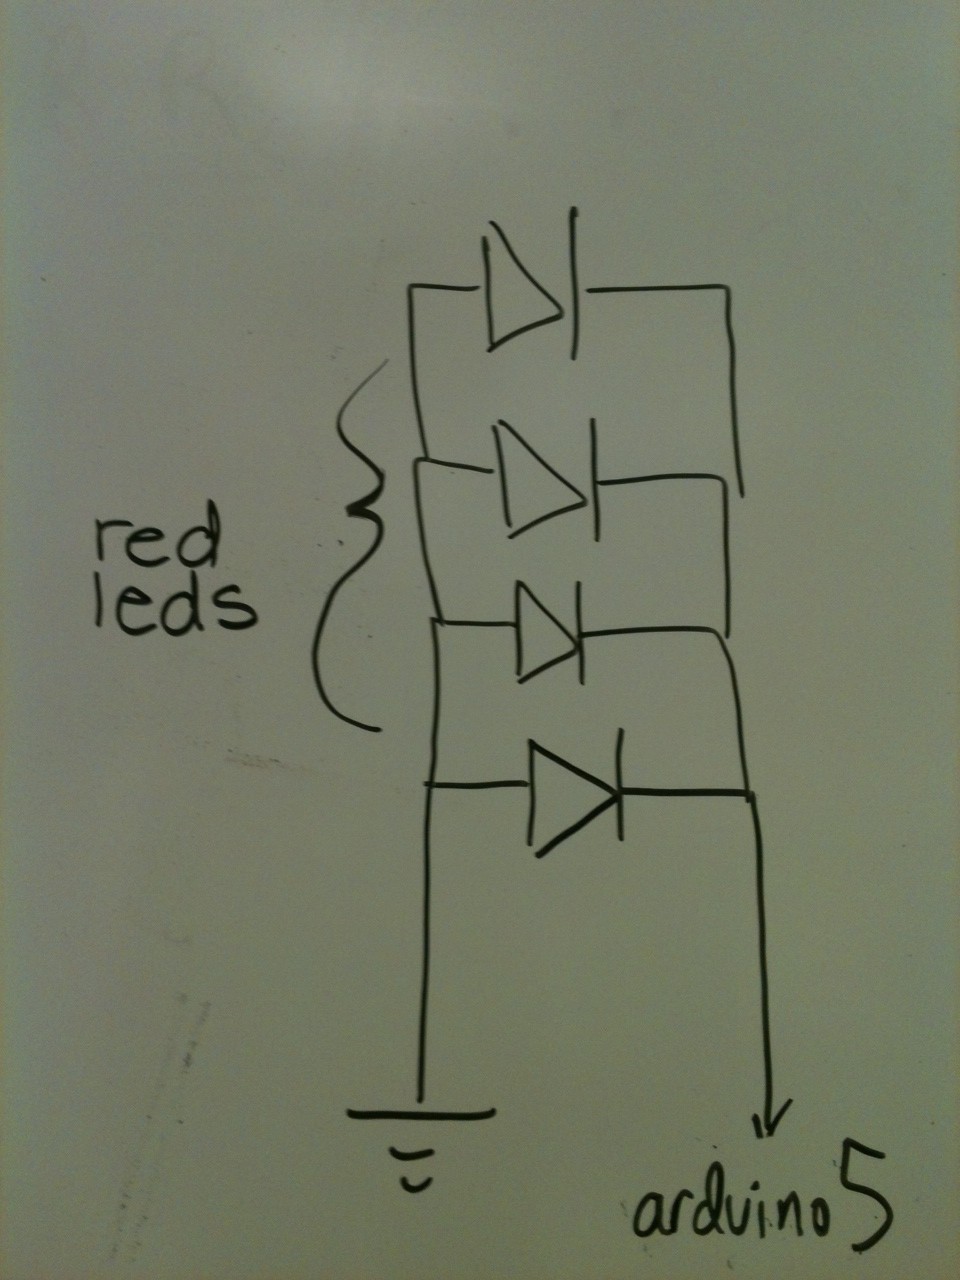
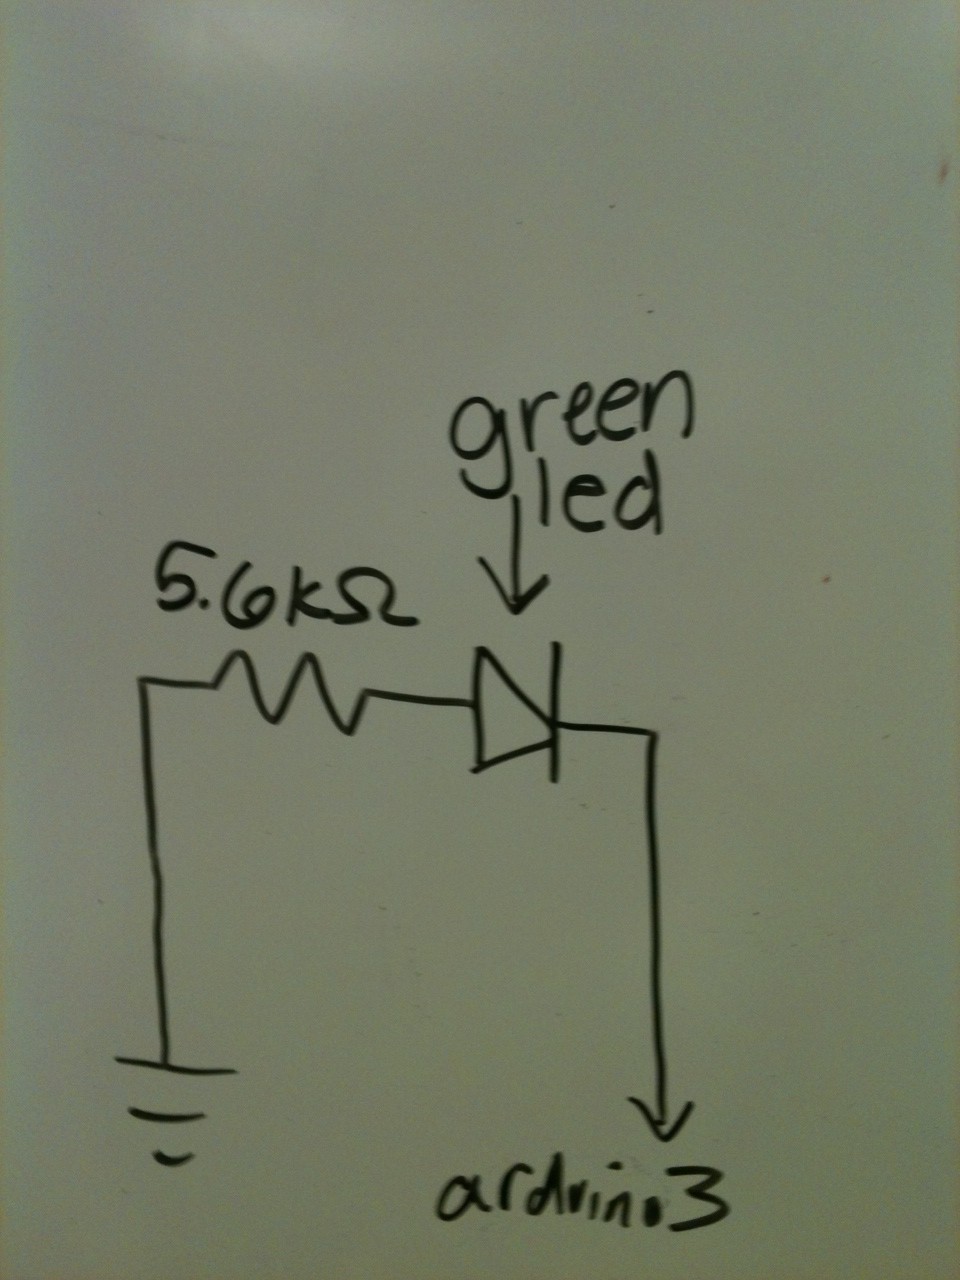
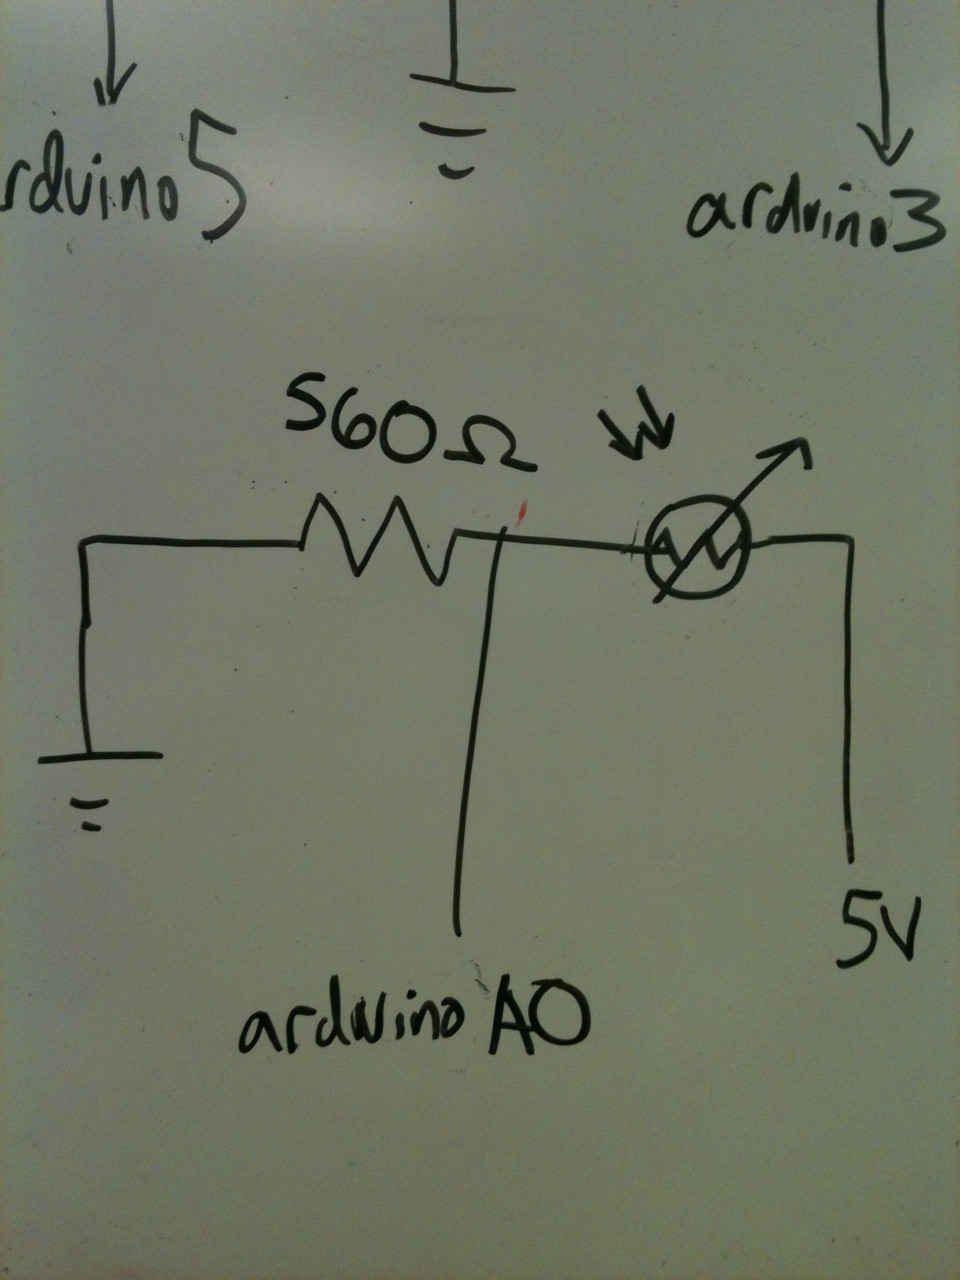
Circuit Design:
The Final Product! :
Video:
Parts we used:
4 Red LEDs, 1 White LED, Green marker, Arduino Board, USB Cable, MacBook Air, Wires, 5.6 KOhm resistor, 560 Ohm resistor, photosensor, glue, styrofoam, breadboard
Tools we used: Wire strippers, Multimeter, Scissors, Razor
We also used some Python libraries, as documented in the code.
How to make your very own Wondrous Weather Cube:
You’ll need the parts given above, as well as the code given on the GitHub repo listed below. Assemble the circuit given in the circuit diagram included above. Hopefully the product should look similar to the picture of the completed circuit provided above. Then, build the cube by cutting the Styrofoam squares as shown in the design pictures. Glue the sides of the foam together. You may have to cut a small hole for the USB cable. Then, put the Arduino into the cube, and connect to a computer. First run the arduino code (weather_nasdaqCube.ino), then run the Python code (cube_handler.py). Flip the cube over to test modes. Voila! You now have your own working Wondrous Weather Cube!
Some sources:
http://apexlogic.net/code-bank/python/pyserial-example/ http://docs.python.org/2/library/re.html http://pyserial.sourceforge.net/pyserial_api.html#module-serial
Documented Source code: https://github.com/kiranvodrahalli/WondrousWeatherCube

