
Group #1
- Avneesh Sarwate (asarwate@)
- John Subosits (subosits@)
- Joe Turchiano (jturchia@)
- Kuni Nagakura (nagakura@)
- Yaared Al-Mehairi (kyal@)
Ideas and Sketches
- Squat Coach – Detects the depth of your squats and assesses your form.
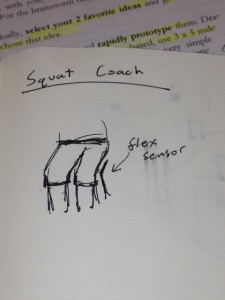
Flex sensor is positioned to run up the back of knee joint
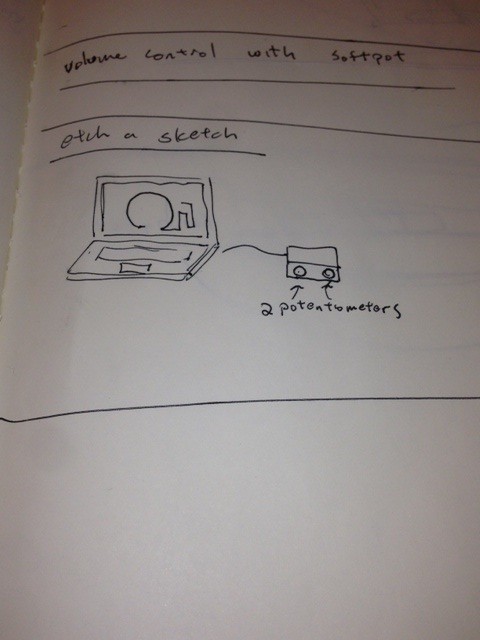
- Etch-A-Sketch – Arduino version of Etch-A-Sketch game.
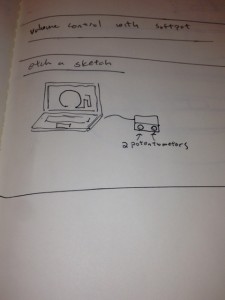
Users control stylus with 2 rotational potentiometers
- Adaptive Lighting – LED changes brightness depending on lighting of room.
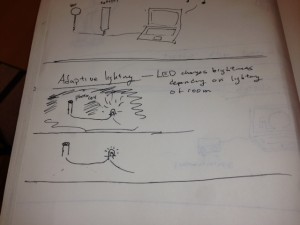
Photo cells connected to LED vary brightness of light emission based on surrounding light
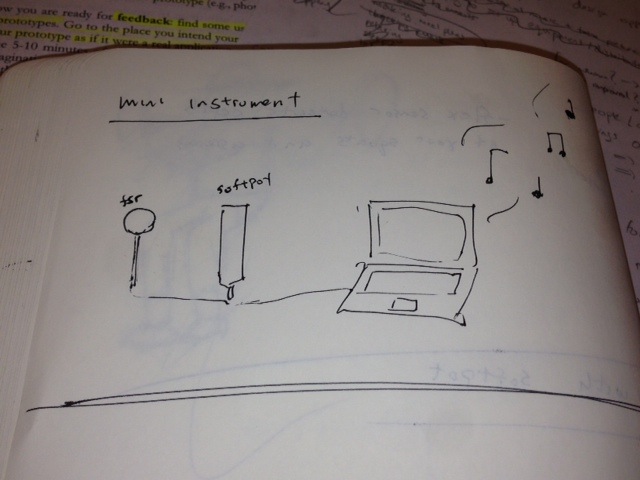
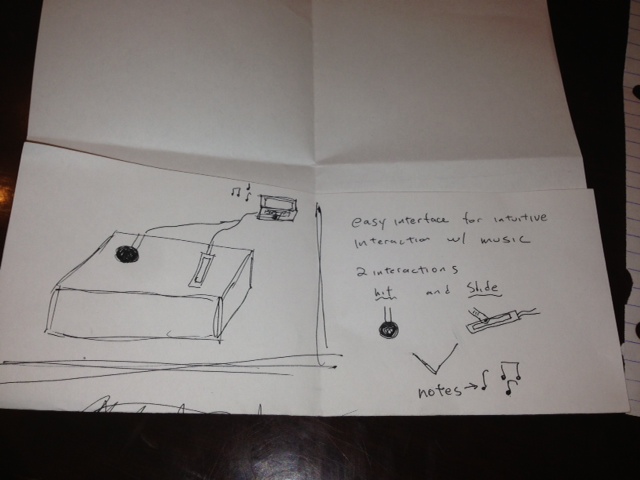
- SoundBox – Musical instrument with a simple interface for intuitive interaction and immediate results.
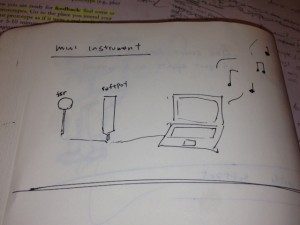
Users can control amplitude with FSR (force sensing resistor) and pitch with slider


We decided to choose idea #4. While we liked our other ideas, we felt creating a SoundBox would be the most feasible and rewarding endeavor.
Project Description
We built a musical instrument, called the “SoundBox”. The “SoundBox” allows users to create notes by applying pressure to a force sensing resistor. The amount of pressure applied determines the volume of the note and users can control the pitch of each note they create with a SoftPot Membrane Potentiometer (slider). When users create notes, a python program reads the incoming signals from the USB port (which the Arduino is speaking to). Our python program then feeds these signals to ChucK, an audio programming language, which then creates the sounds you hear. We are definitely pleased with the result of our project. The intuitive and simple nature of the “SoundBox” interface allows any user to create a variety of sounds and patterns. Thus, in giving the gift of music (albeit limited) to users, we feel that our project is successful. One thing we could certainly improve is the limited functionality of our “SoundBox”. For example, we could add a switch to the Arduino which would enable users to toggle through ChucK instruments (as of now the default instrument is the mandolin). Furthermore, we could add multiple sliders to enable users to play multiple notes at once. What’s more, we could speak to any MIDI receiving Audio Software, such as Ableton Live or Logic (which have extensive sound libraries), to fashion sounds out of user input. As such, there is definitely a lot of room for improvement in our design, which would seriously enhance the functionality of the “SoundBox”.
SoundBox
Storyboard
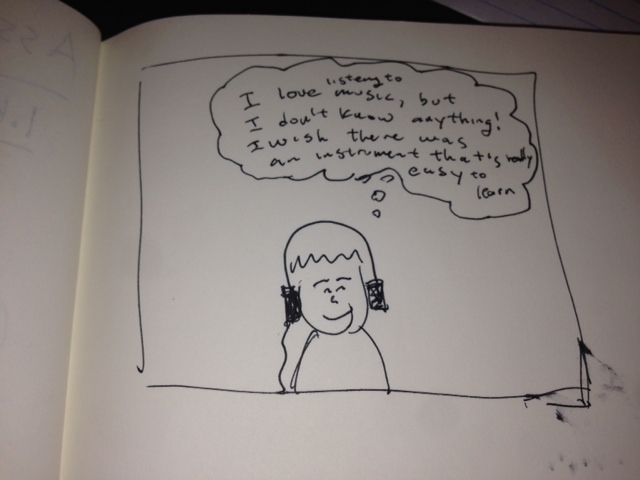
I love music but I can’t play any instruments
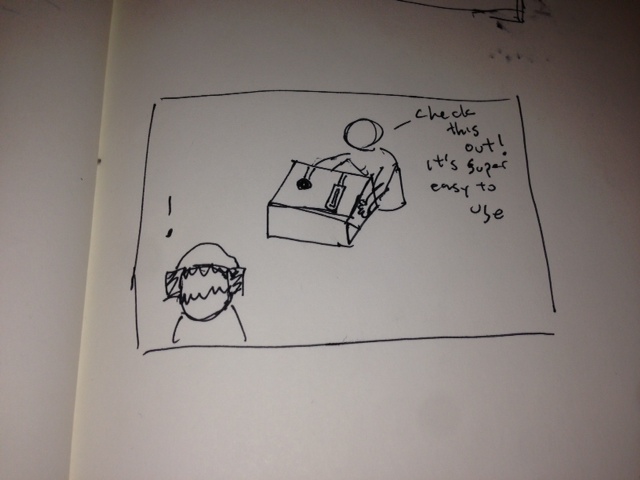
This instrument is really easy to play!
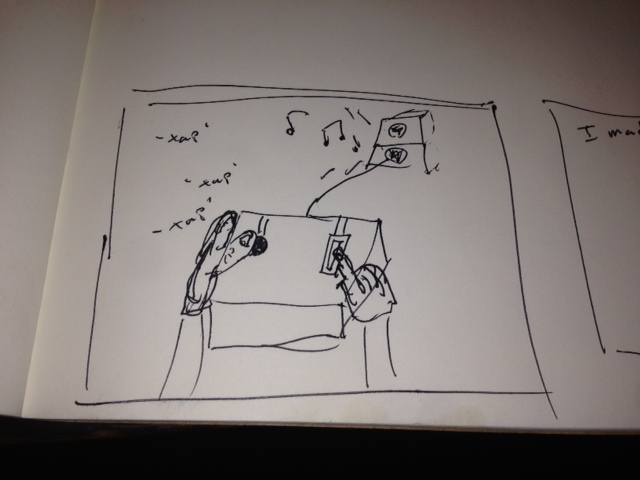
‘Making music’
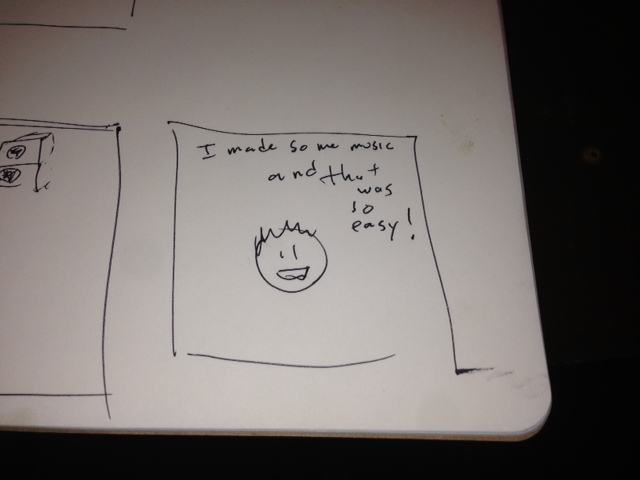
Wow, that was so easy!
Photos and Video
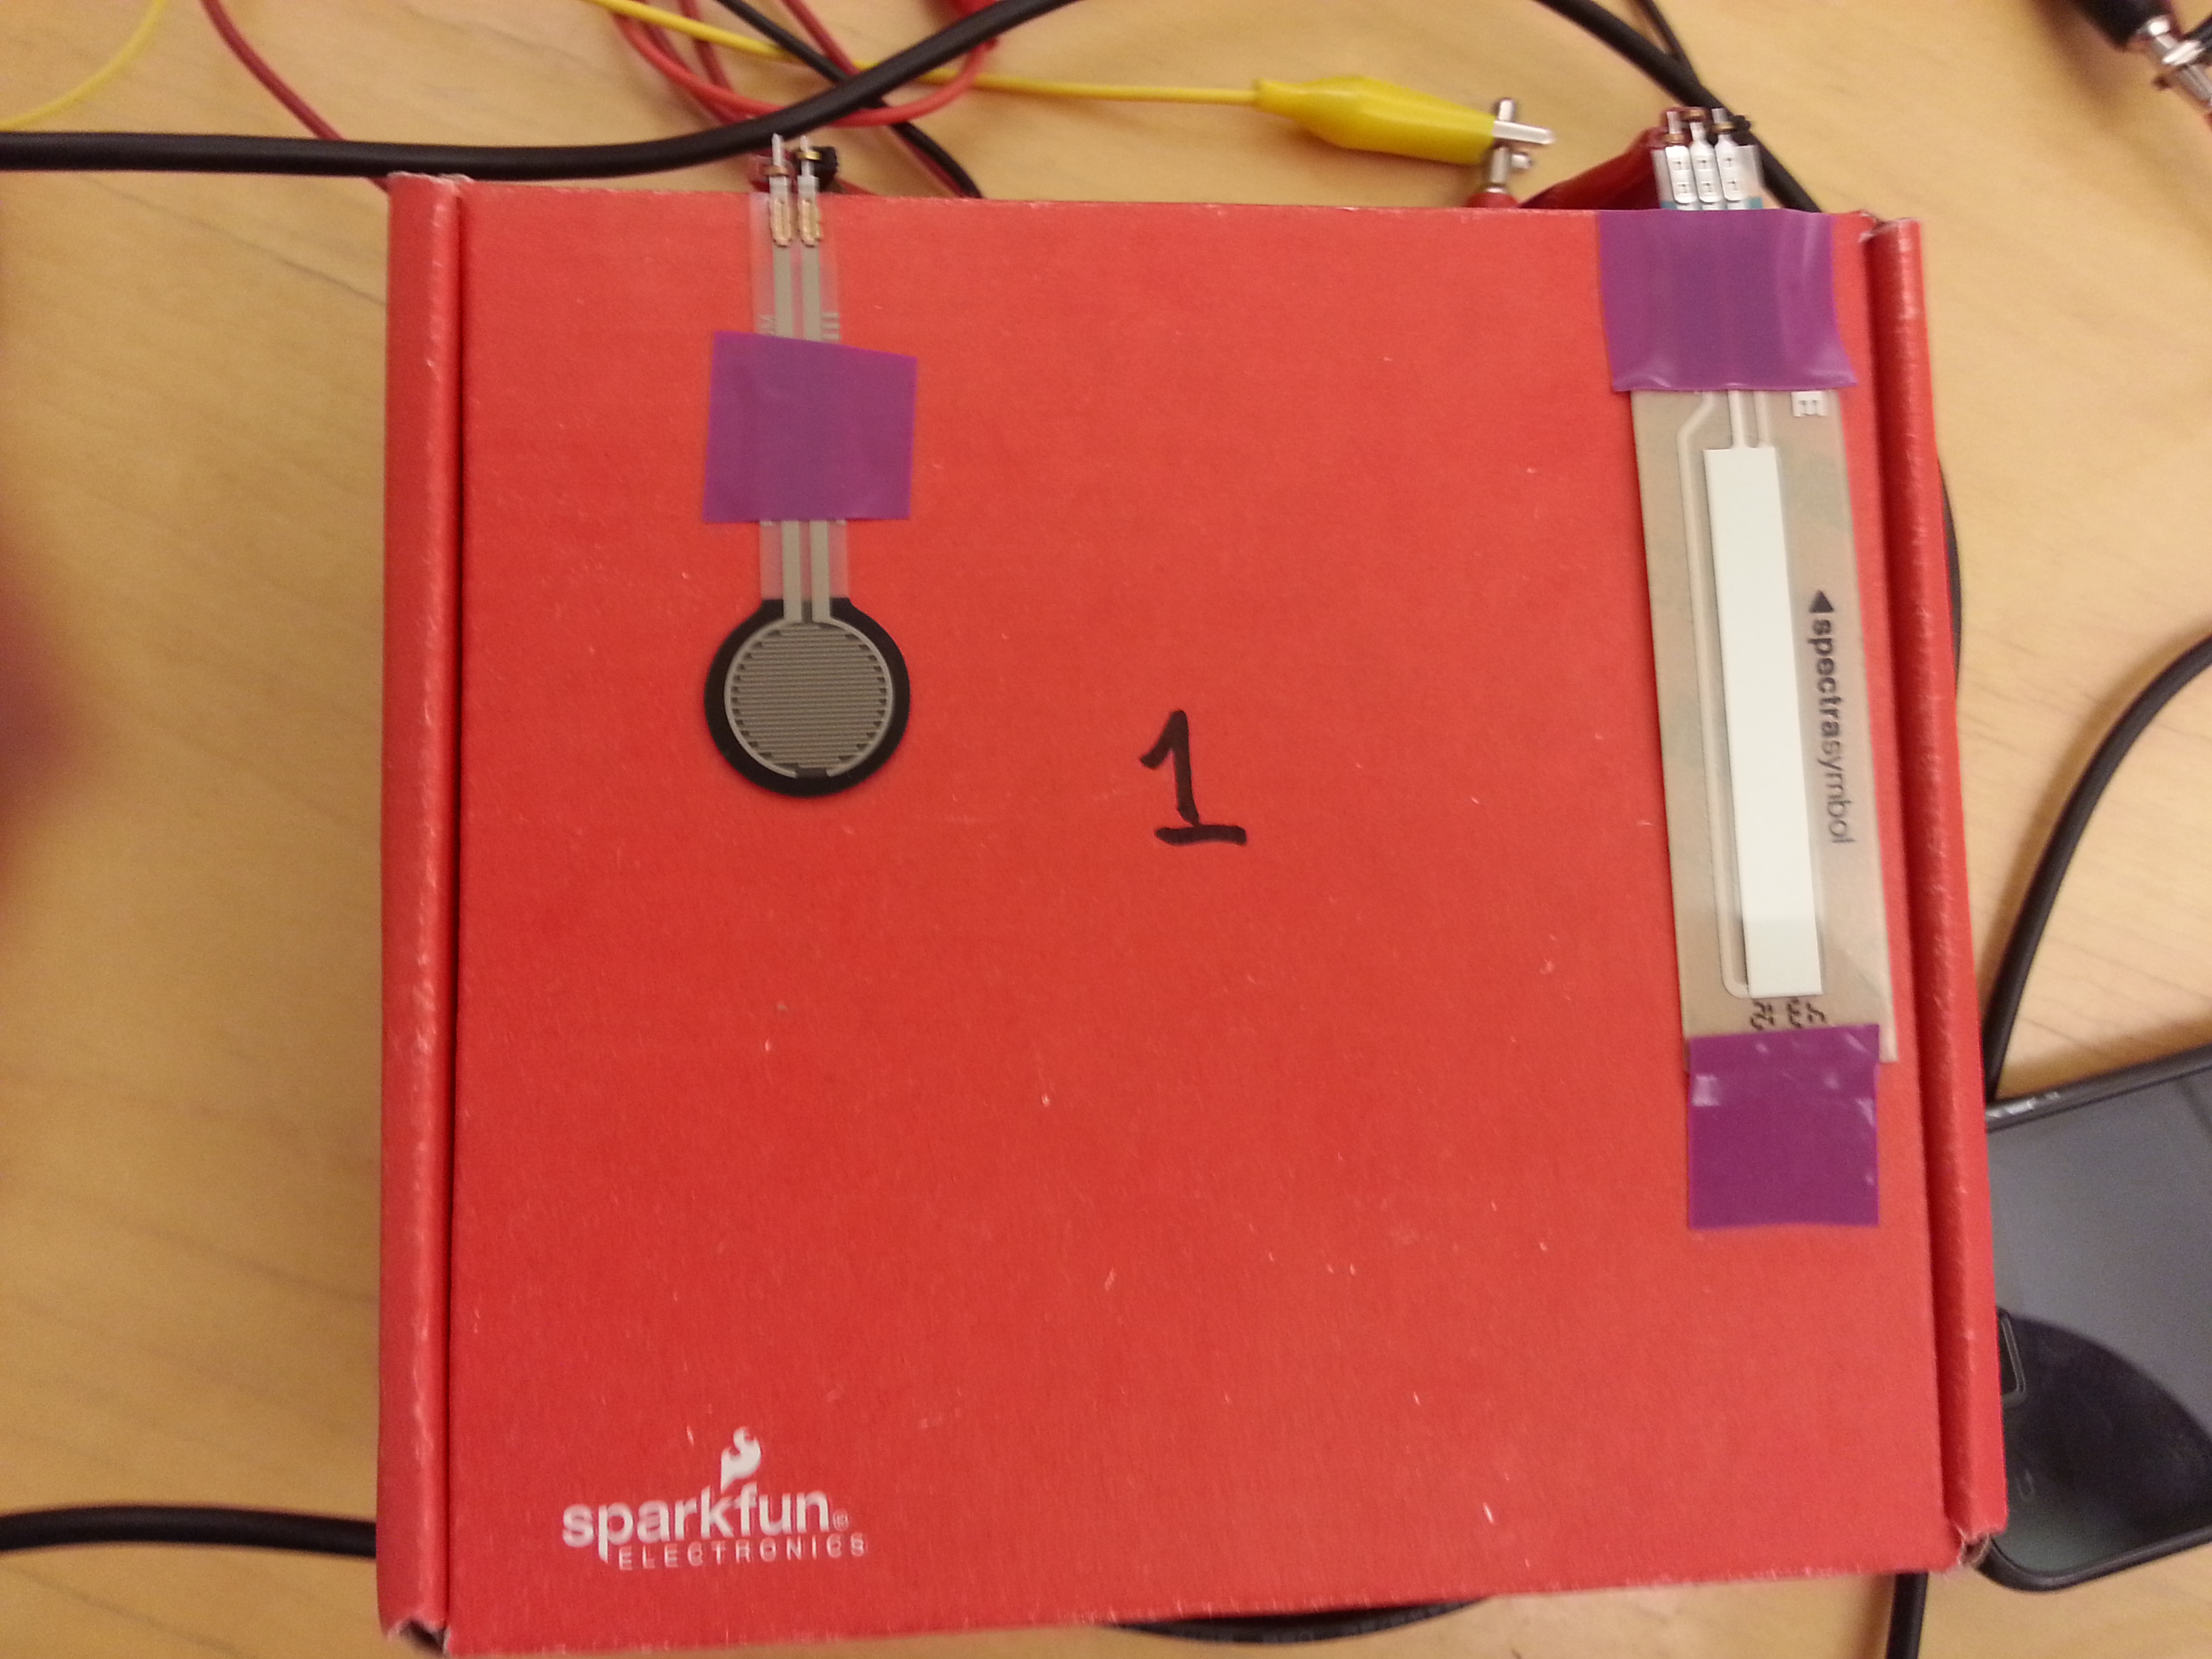
SoundBox interface closeup

SoundBox interface connections
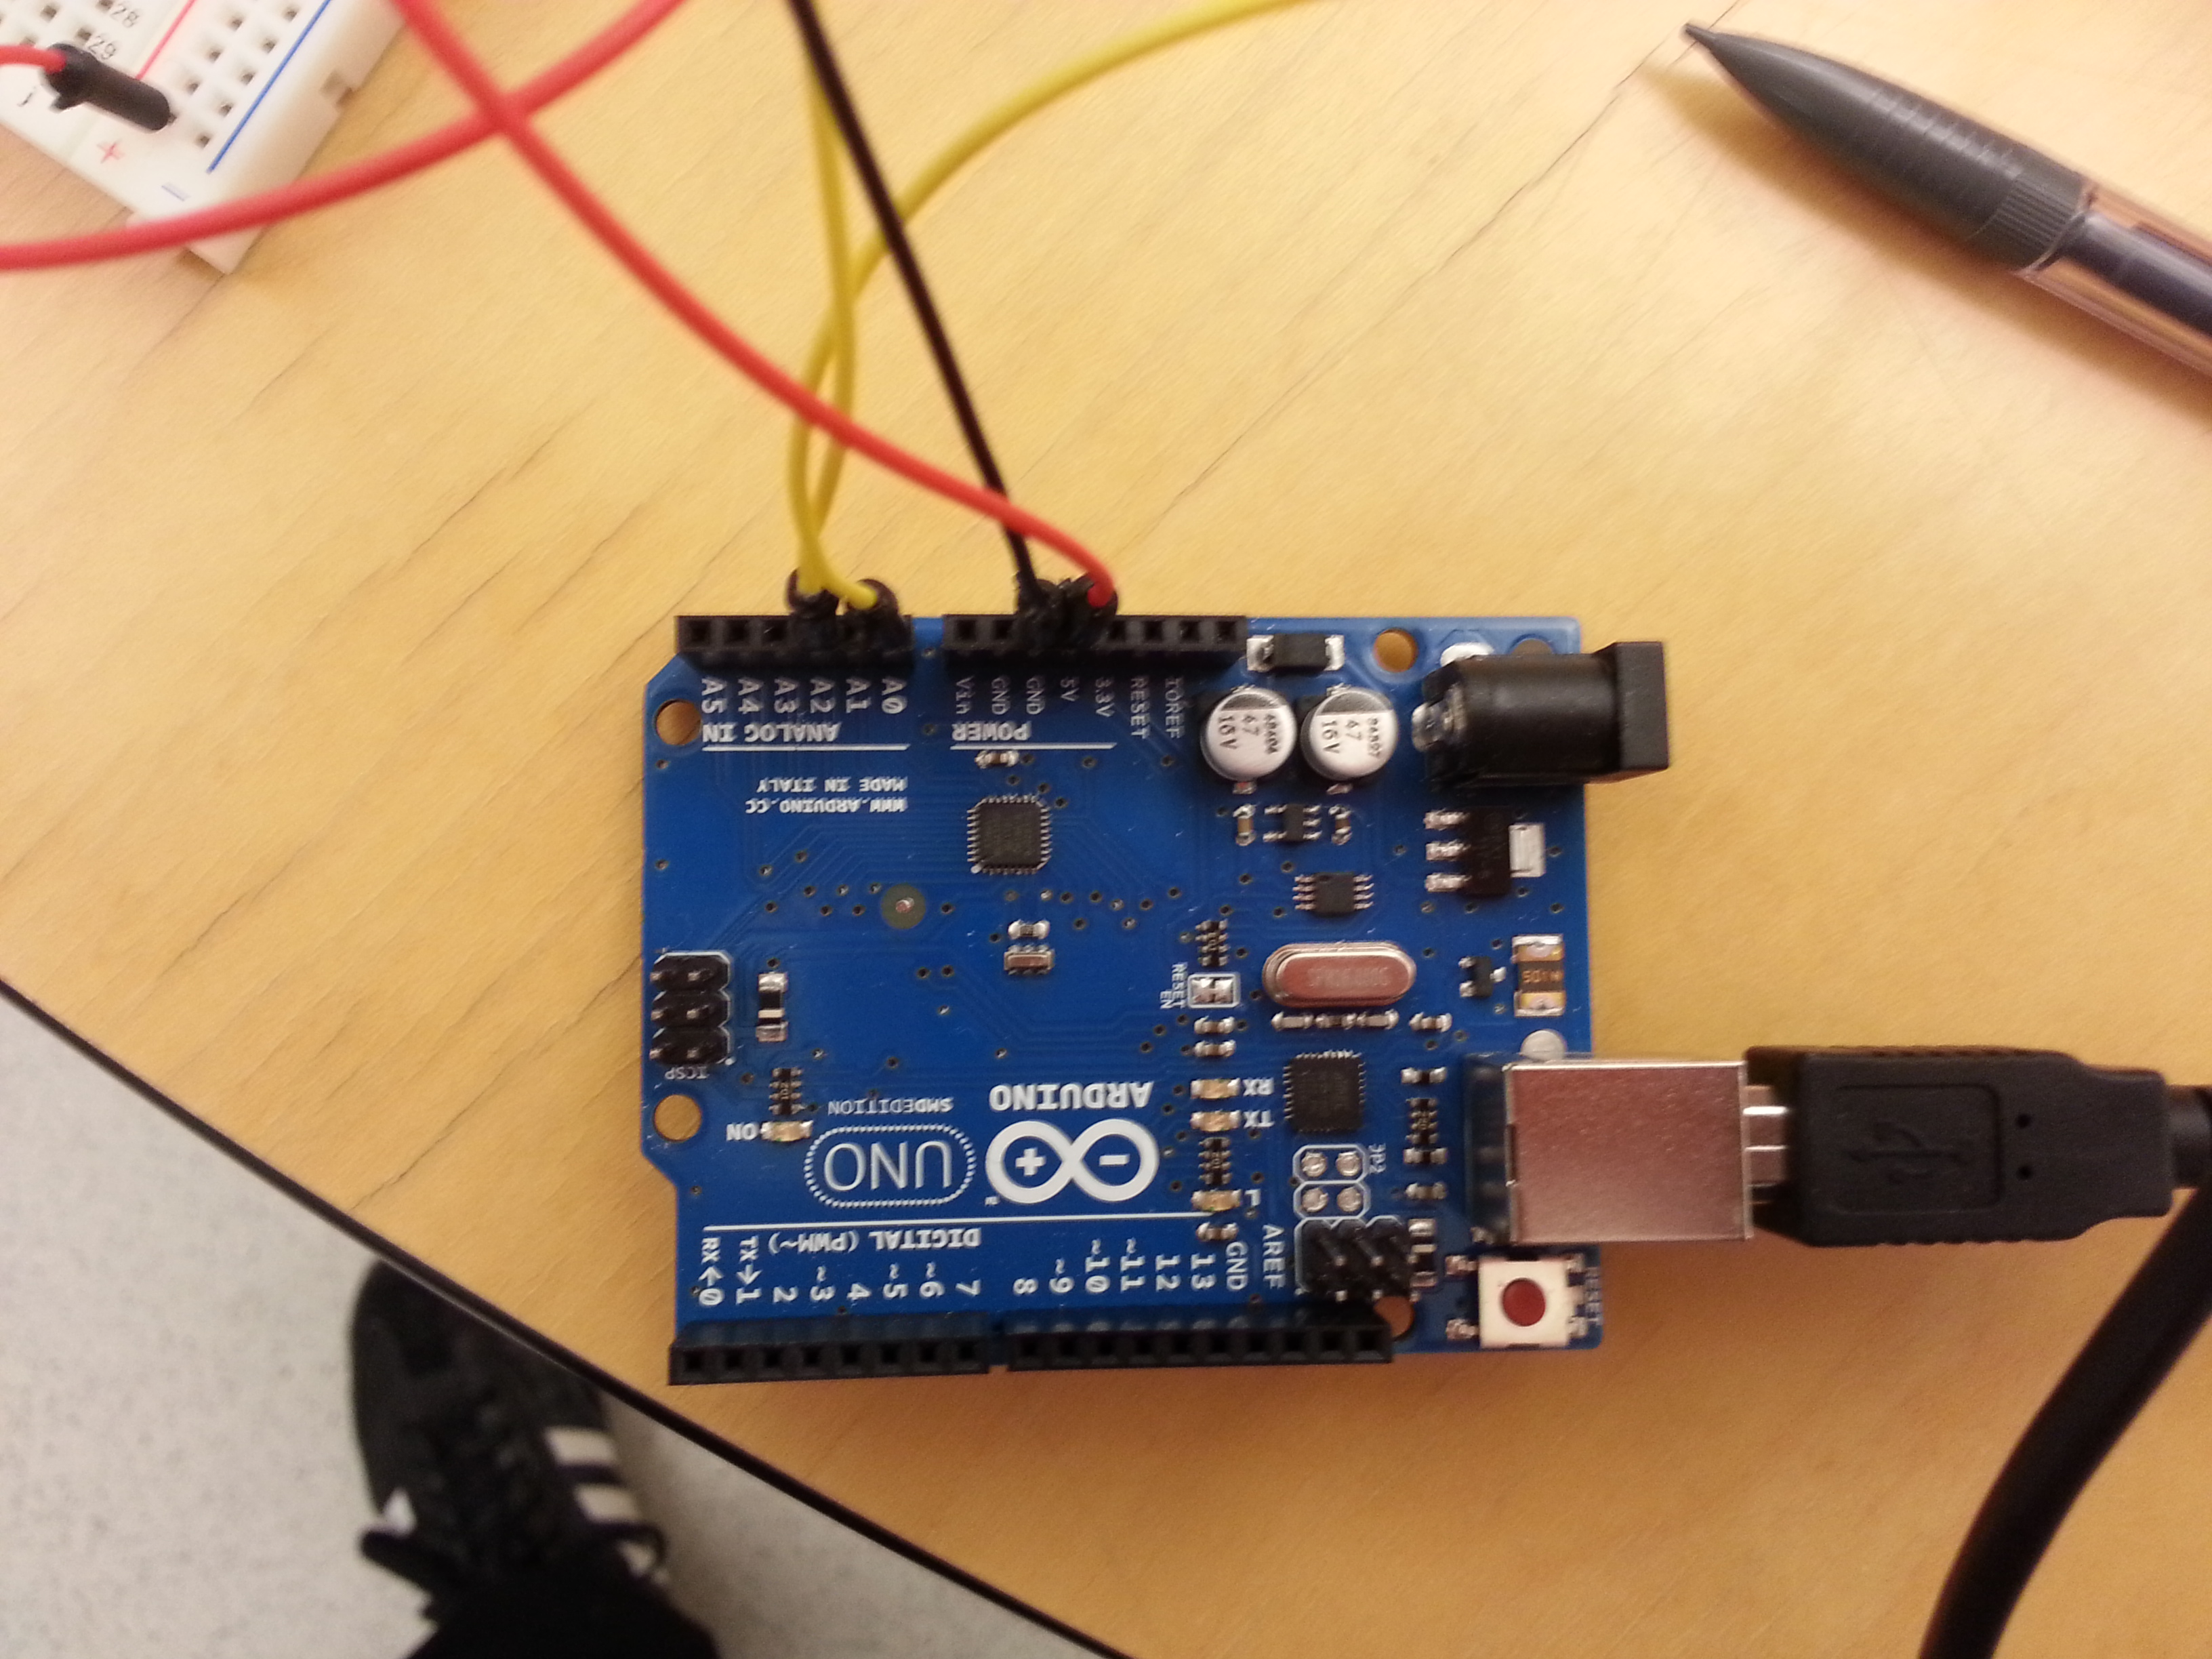
Arduino setup
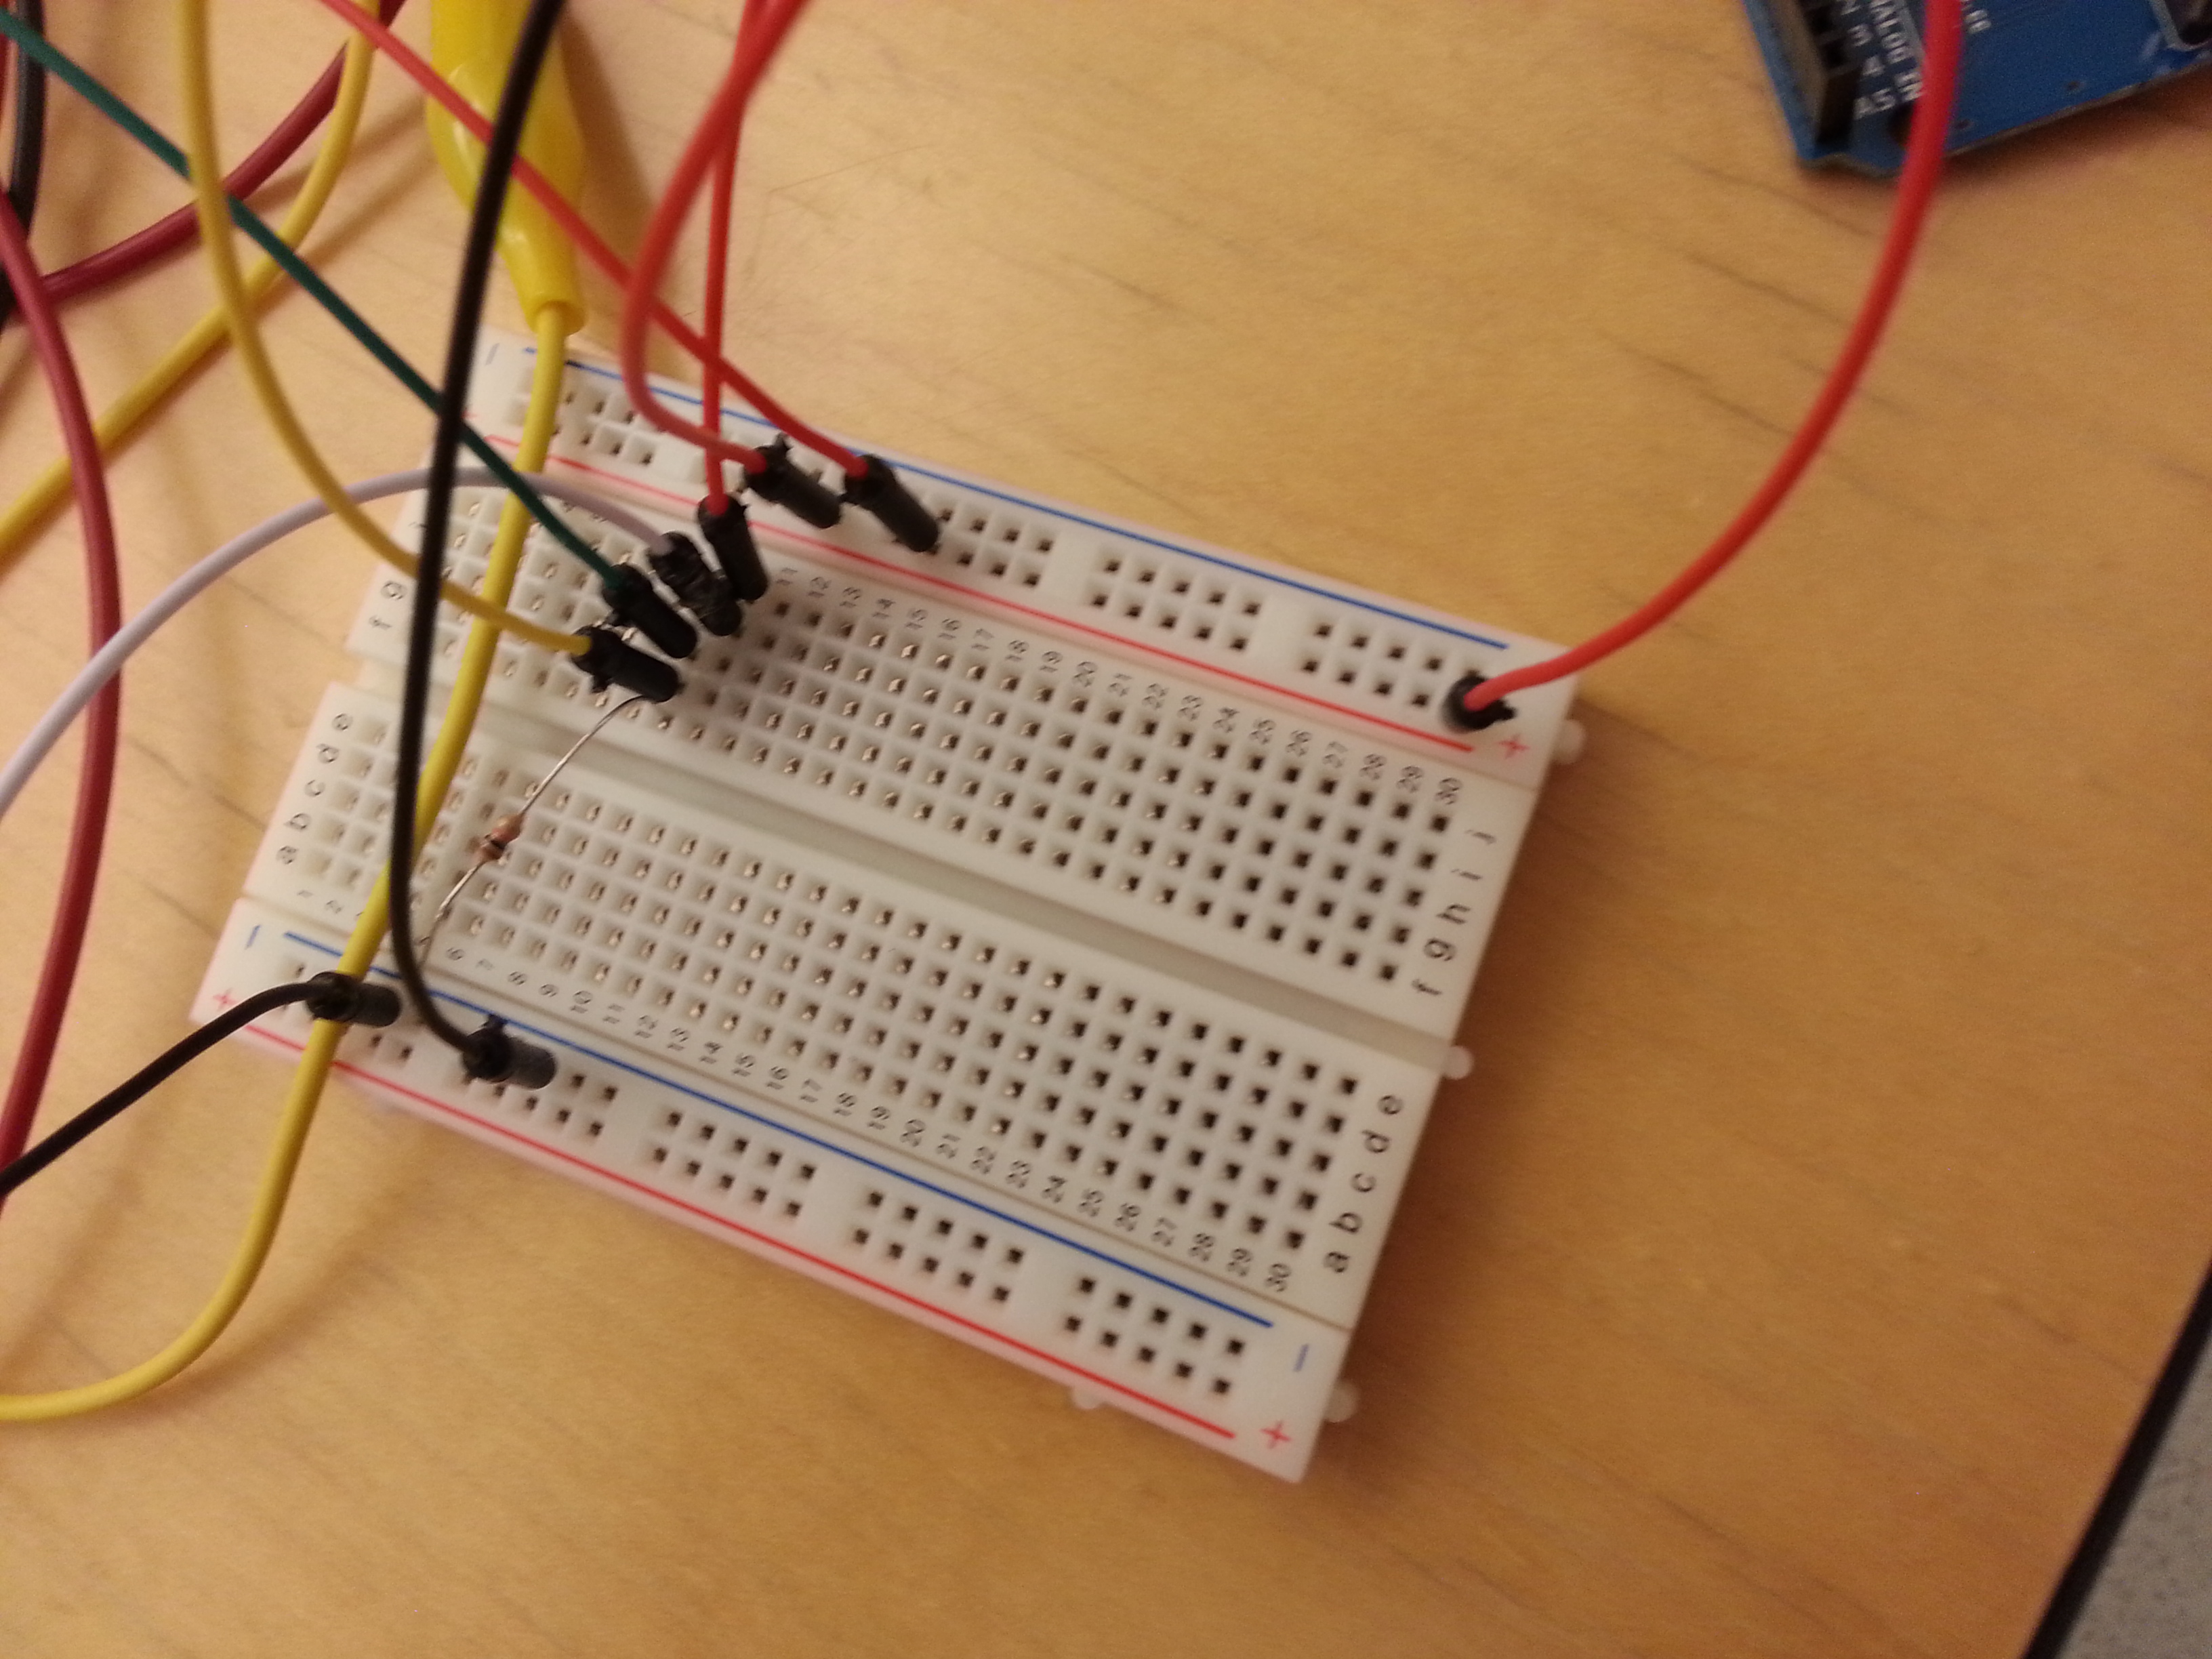
Breadboard setup
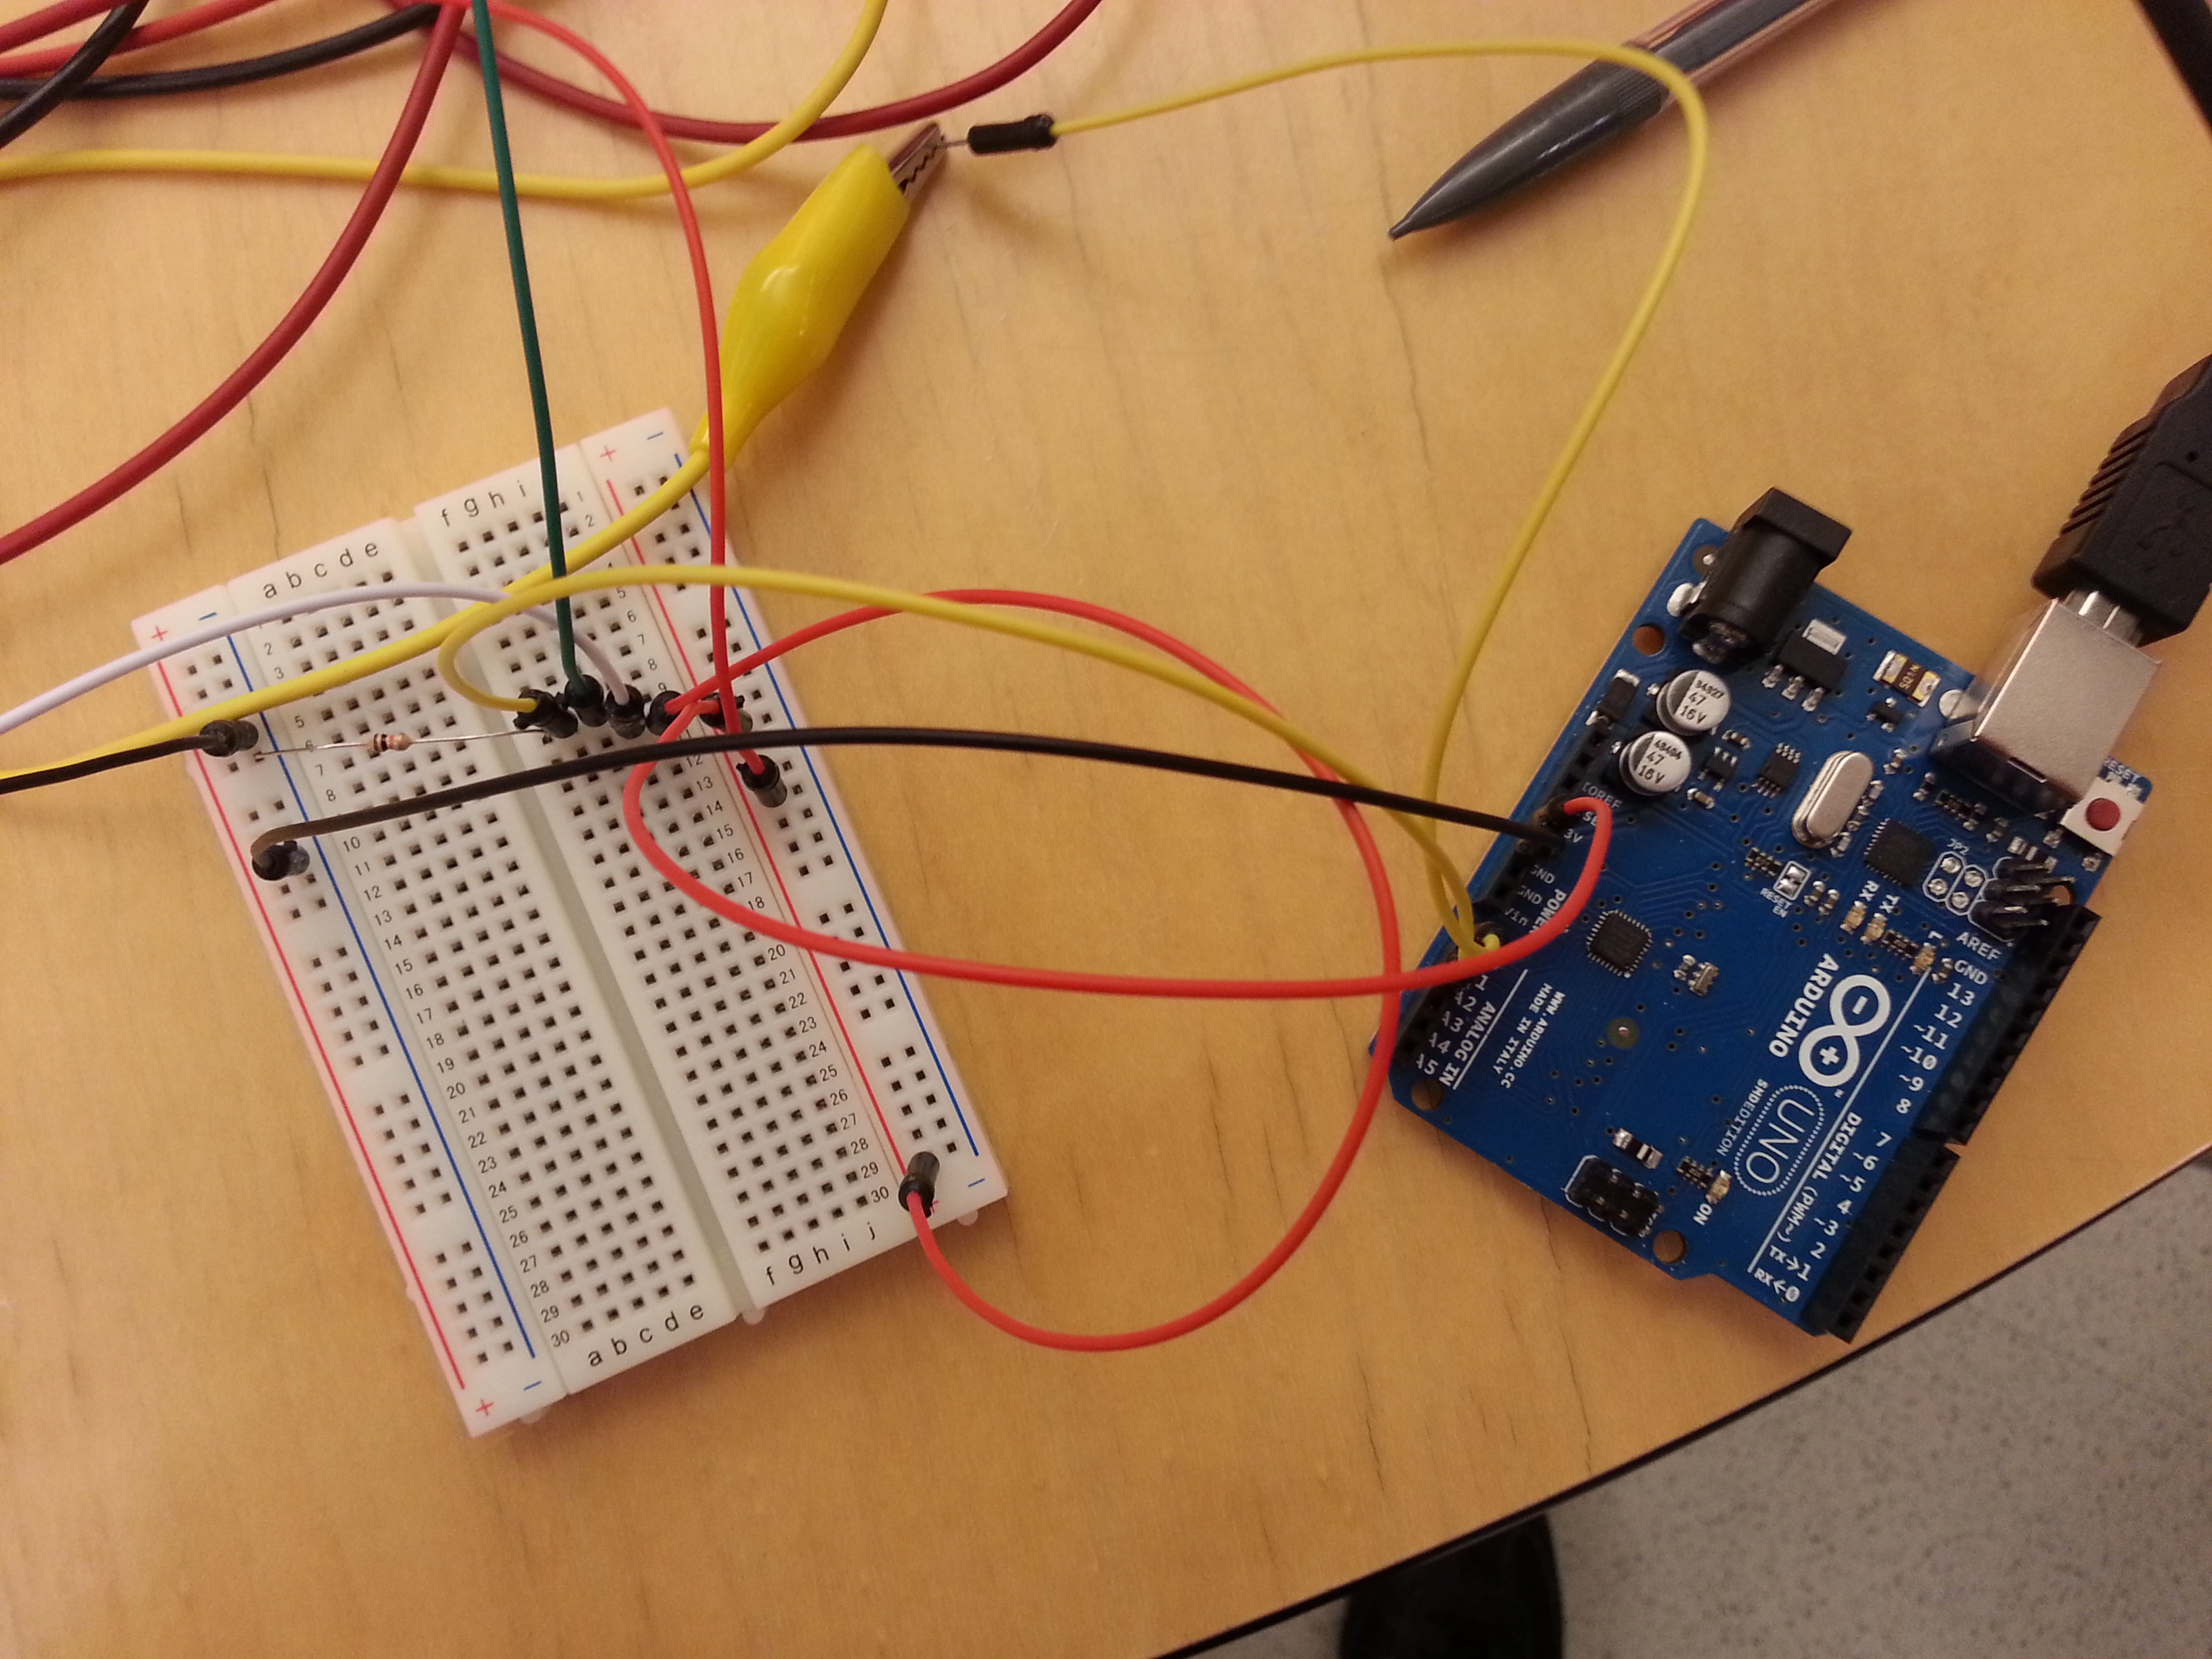
Arduino and breadboard

Whole system
Evaluation
The FSR was quite effective at picking up varying pressures and gave a
pretty convincing and natural feeling “pluck” that was sensitive to
tap intensity. The Softspot was adequate, but would sometimes behave a
bit unpredictably. We weren’t sure whether this was because of
hardware issues or simply our own clumsiness with a controller that
required very precise motions. Regardless, it was very intuitive to
use. Next time, we would have possibly added some kind of visualizer
to see what note you are at on the Softspot, or maybe added the
functionality to “bend” notes by sliding on the Softspot after
pressing the FSR to “pluck” a note.
List of Parts
- Arduino
- Breadboard
- Force Sensing Resistor
- Soft
- 10 kΩ Resistor
- Wires
- Alligator Wires
- Cardboard Box (to mount resistance)
- Electrical Tape
Circuit
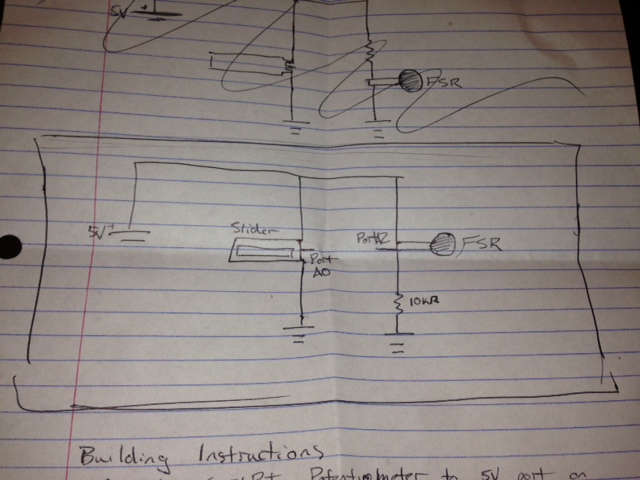
“SoundBox” Circuit Diagram
Instructions
- Place sensors on cardboard box at comfortable distance and clip the alligator clips onto the ends. Use electrical tape to hold down the wires to the box.
- Connect SoftPot Potentiometer to 5V port on one end and ground on the other. Input goes to Port A0 on the Arduino. (follow pictures and circuit diagram)
- Connect Force Sensing Resistor in series with 10kΩ resistor. Input to Port A2 on the Arduino. (follow pictures and circuit diagram)
Code
SimpleMidi.ino
#include <MIDI.h>
/* FSR simple testing sketch.
Connect one end of FSR to power, the other end to Analog 0.
Then connect one end of a 10K resistor from Analog 0 to ground
For more information see www.ladyada.net/learn/sensors/fsr.html */
int sliderPin = 0; // the FSR and 10K pulldown are connected to a0
int fsrPin = 2;
int sliderReading; // the analog reading from the FSR resistor divider
int fsrReading;
int pitch;
int velo;
void setup(void) {
// We’ll send debugging information via the Serial monitor
MIDI.begin(0);
Serial.begin(9600);
}
boolean touched = false;
void loop(void) {
sliderReading = analogRead(sliderPin);
fsrReading = analogRead(fsrPin);
pitch= map(sliderReading, 0, 1023, 0, 20);
velo = map(fsrReading, 0, 1023, 0, 127);
// the raw analog reading
if(velo > 5 && !touched) {
MIDI.sendNoteOn(pitch,velo,0);
//Serial.print(“FSR reading = “);
Serial.print(velo);
Serial.print(” “);
Serial.println(pitch);
touched = true;
}
if(velo <= 5) touched = false;
// if (MIDI.read()) {
// // Send a Note (pitch 42, velo 127 on channel 1)
// Serial.println(“YO!”);
// delay(1000); // Wait for a second
// MIDI.sendNoteOff(42,0,4); // Stop the note
// }
delay(5);
}
run.py
import serial
import OSC
import time
ser = serial.Serial(‘/dev/tty.usbmodemfa141’, 9600)
client = OSC.OSCClient()
client.connect( (‘127.0.0.1’, 6449) )
vel = OSC.OSCMessage()
vel.setAddress(“vel”)
pitch = OSC.OSCMessage()
pitch.setAddress(“pitch”)
while 1:
line = ser.readline()
# line = “50 13″
# print line
if ” ” in line:
print line
vel.append(int(line.split(” “)[0]))
pitch.append(int(line.split(” “)[1]))
client.send(vel)
client.send(pitch)
vel.clearData()
pitch.clearData()
# time.sleep(1)
chuckOSC.ck
// create our OSC receiver
OscRecv recv;
// use port 6449
6449 => recv.port;
// start listening (launch thread)
recv.listen();
// create an address in the receiver, store in new variable
recv.event(“vel, i”) @=> OscEvent vel;
recv.event(“pitch, i”) @=> OscEvent pitch;
Mandolin m => dac;
[0, 2, 4, 5, 7, 9, 11] @=> int scale[];
40 => int root;
3 => int octaves;
int pitches[octaves * scale.size()];
for(0 => int i; i < octaves; i++) {
for(0 => int k; k < scale.size(); k++) {
root + i*12 + scale[k] => pitches[i * scale.size() + k];
}
}
while(true) {
vel => now;
vel.nextMsg();
vel.getInt() => int v;
pitch => now;
pitch.nextMsg();
pitch.getInt() => int p;
<<<v, pitches[p]>>>;
v / 128.0 => float v2;
p + 60 => int p2;
Std.mtof(pitches[p]) => m.freq;
v2 => m.noteOn;
}