Last updated May 27, 2025
Overview
The following post is a quick overview of creating content on our shared WordPress multisite platform.
Logging in
After requesting a new site to be added to our WordPress platform, you should receive an email that confirms your site is available, normally within two business days. That email has an admin link for your website. Click this link and enter your Princeton netID and password on the Central Authentication Service login form. Logging in should redirect you back to your site, and the WordPress Admin Bar should now be across the top of the site.

Alternatively, you just add slash wp-admin after the address of your site’s front page, for example:https://example.princeton.edu/wp-adminhttps://blogs.princeton.edu/example/wp-admin
Pages and posts
By default, WordPress allows you to add content via two main post types: Pages and Posts.
You might create a Home page with a large image and a quick blurb about your group to use as the front page of your site.
A student organization might add an About Us or History page, a page that list Members or Officers, a how to Join page, and a page with Contact information.
Page navigation on most sites is usually via a horizontal menu across the top of a site. However, some sites might choose to add a list of secondary page links at the bottom of each site page (in the footer).
Posts are usually date-sorted items of content similar to news articles or social media updates. With posts, you might choose to have a page with a list of post headlines and post excerpts, sorted from newest to oldest.
Some sites adapt Posts to use them for News articles.
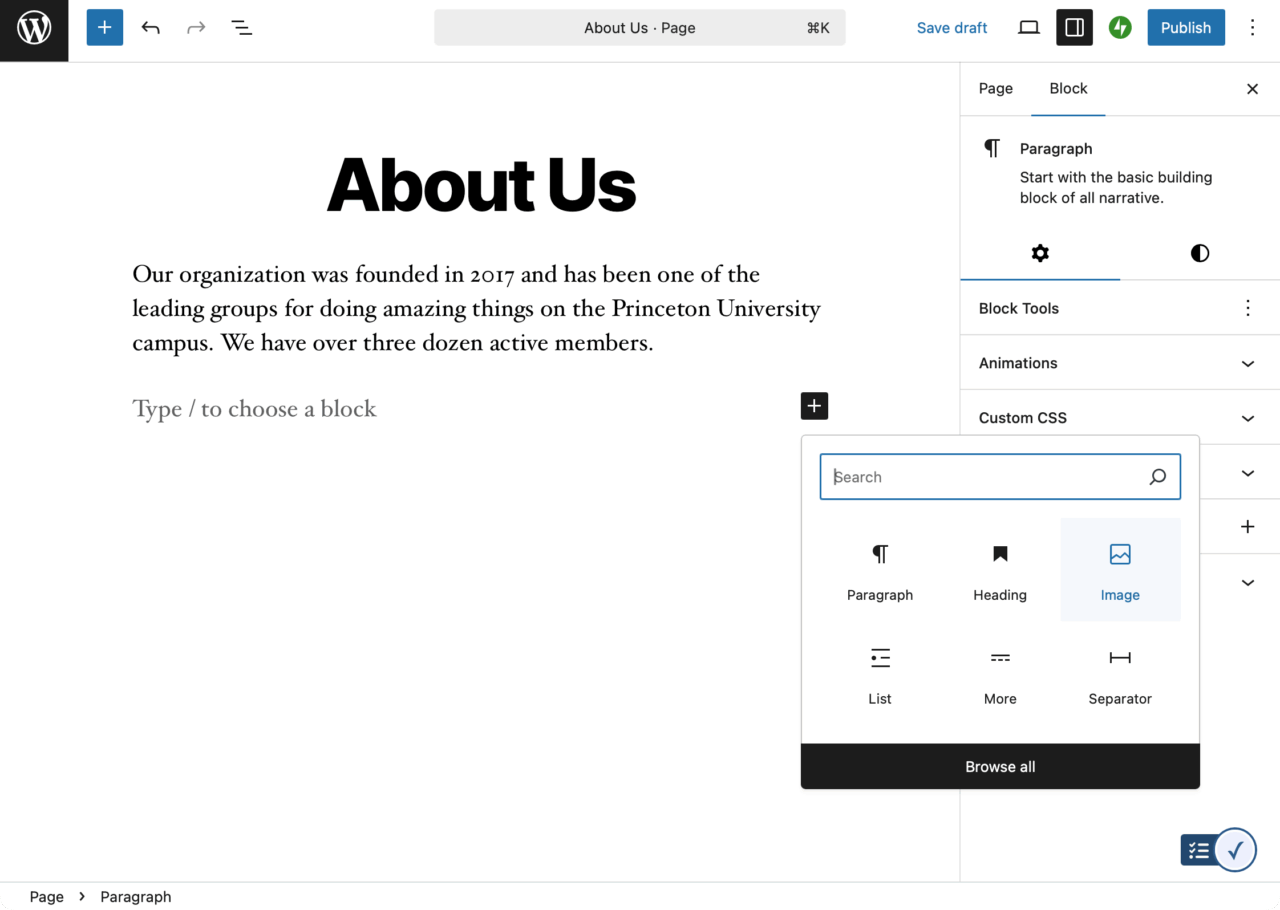
Select either Page or Post from the left hand menu, and then click on either the Add Page or Add Post link. That will take you into the WordPress block editor, where you can add a title, paragraphs, headings, bulleted lists, images, and many other block types.
After you have created a post or page, click Publish to add it to your site. You can see how your new post or page looks on your site by clicking the View → Preview in new tab button for draft posts or the View Post button for published posts.
You can also go back and edit an existing post. Click on Posts (or Pages) in the left-hand menu then hover your mouse over the title of the post you would like to edit. Several links should appear directly below the title, including one labeled Edit.
Adding media
You can add images, video, audio, and documents to a post or page.
Within the block editor, typing a forward slash and the letter I brings up the Image block. You can use the dialog to upload a new image or choose an existing image from your site’s Media Library.
To comply with University accessibility guidelines, make sure you fill in the Alternate Text field for images to describe your images so that visitors using assistive devices like screen readers can perceive that image.
Adding a Gallery block will give you additional options for adding multiple images in a customizable grid.
You can also use the Add Media File button in your Media Library to add a document like a PDF or Microsoft Office file and then use the Link button in the block editor to directly link to that document.
The maximum file upload size on our WordPress network is 30 MB. You will want to store larger videos on an external video sharing service. You will want to compress massive PDF files.
For YouTube, Vimeo, or MediaCentral videos, you can simply copy the video URL and paste the plain text URL into an empty block in the block editor. The dynamic embedding feature (oEmbed) will take care of the rest. You can also try using one of the specialized blocks, such as YouTube Embed, Vimeo Embed, or SoundCloud Embed.
Tags and categories
WordPress allows you to attach tags and categories to posts. These serve similar, but slightly different functions. You can group your posts into Categories in case you later want to display them as a menu on your site. Tags can mark or label posts with a specific word so it is easier to search for them on your site. To add a tag or a category to your site, you can go to Posts in your Dashboard and choose either Categories or Tags. You can also add new tags or categories while editing a post or choose previously entered tags or categories.
Changing the theme
You can change the design of your site by changing the theme. Click on the Appearance link on the left side of the admin dashboard to choose a theme. You can click on the theme to see a live preview of how that design will look with your content. You may have additional style or customization options, depending on the theme. Once you have selected a theme, look for an Activate button. Many newer themes allow you full control over the layout of various page templates and also site headers and footers.
Logging out
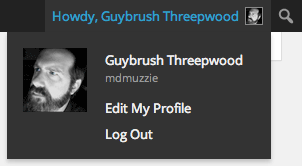
To log out of your WordPress site, go to the top right corner of the Admin Bar and hover over the “Howdy” link. In the dropdown menu, you will see a menu option for you to log out. Once you log out, you will need to sign in again to make any edits or changes to your blog.
Additional help
Additional help can be found at LinkedIn Learning. Search for the course “WordPress Essential Training.”
You must be logged in to post a comment.