
Group Name: %eiip
Group members: Mario Alvarez (mmcgil@), Bonnie Eisenman (bmeisenm@), Erica Portnoy (eportnoy@), Valya Barboy (vbarboy@)
What we built: We built a “coin chime” — a small, windchime-like instrument using a bunch of quarters and alligator clips. Some of the quarters act as proximity sensors; when they come near the other quarters (or even better, touch), they send a signal to the Arduino, which in turn causes the buzzer to make noise based on this input. We built this because we thought that windchimes are cool, and somewhat unconventional in terms of “musical instruments.” We really like our result; it’s fun to play with, even though it’s difficult to intentionally produce “music.” If we were to improve upon our design we would probably add more proximity-sensing coins (currently there are only two), and we would probably refine the code that determines what sounds are played to make it more closely mimic a set of chimes. We also would like to experiment with the proximity sensors; using the code provided, if the delay between readings is too short the sensors don’t function correctly.
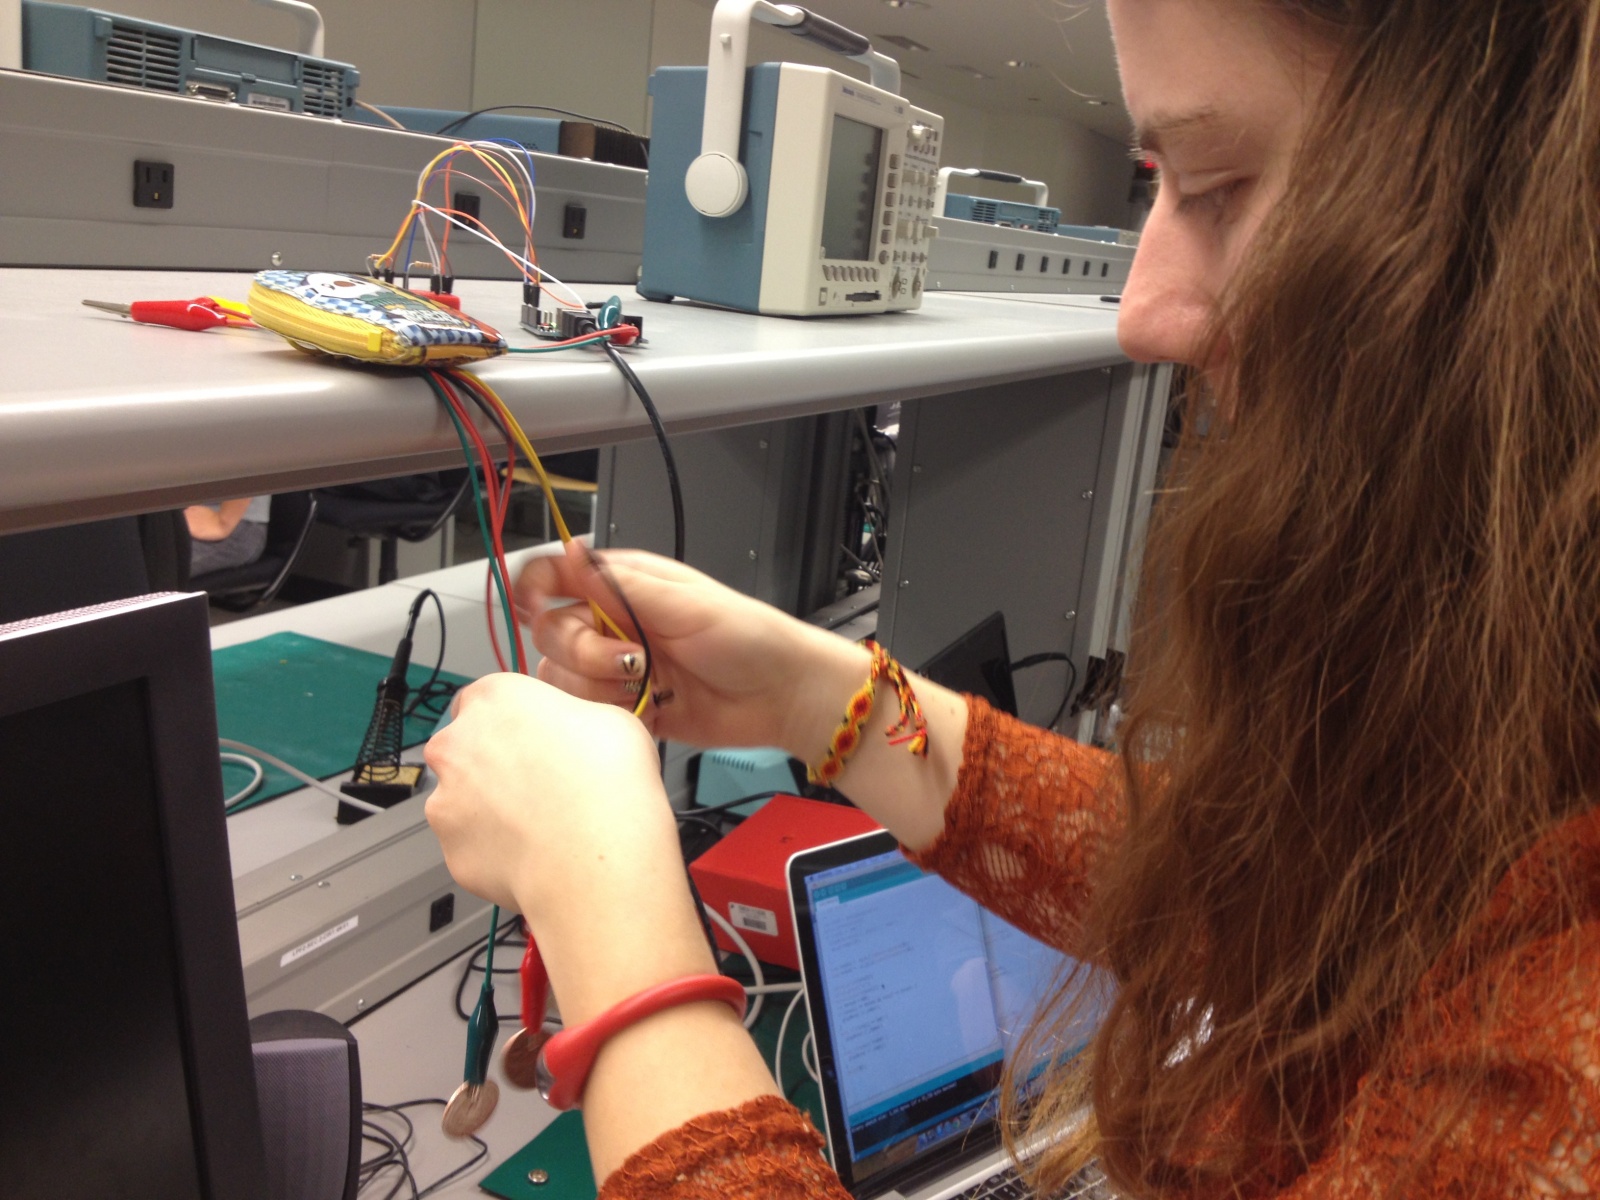
Erica using the coin chime. Above, you can see the setup, including the Arduino and buzzer.
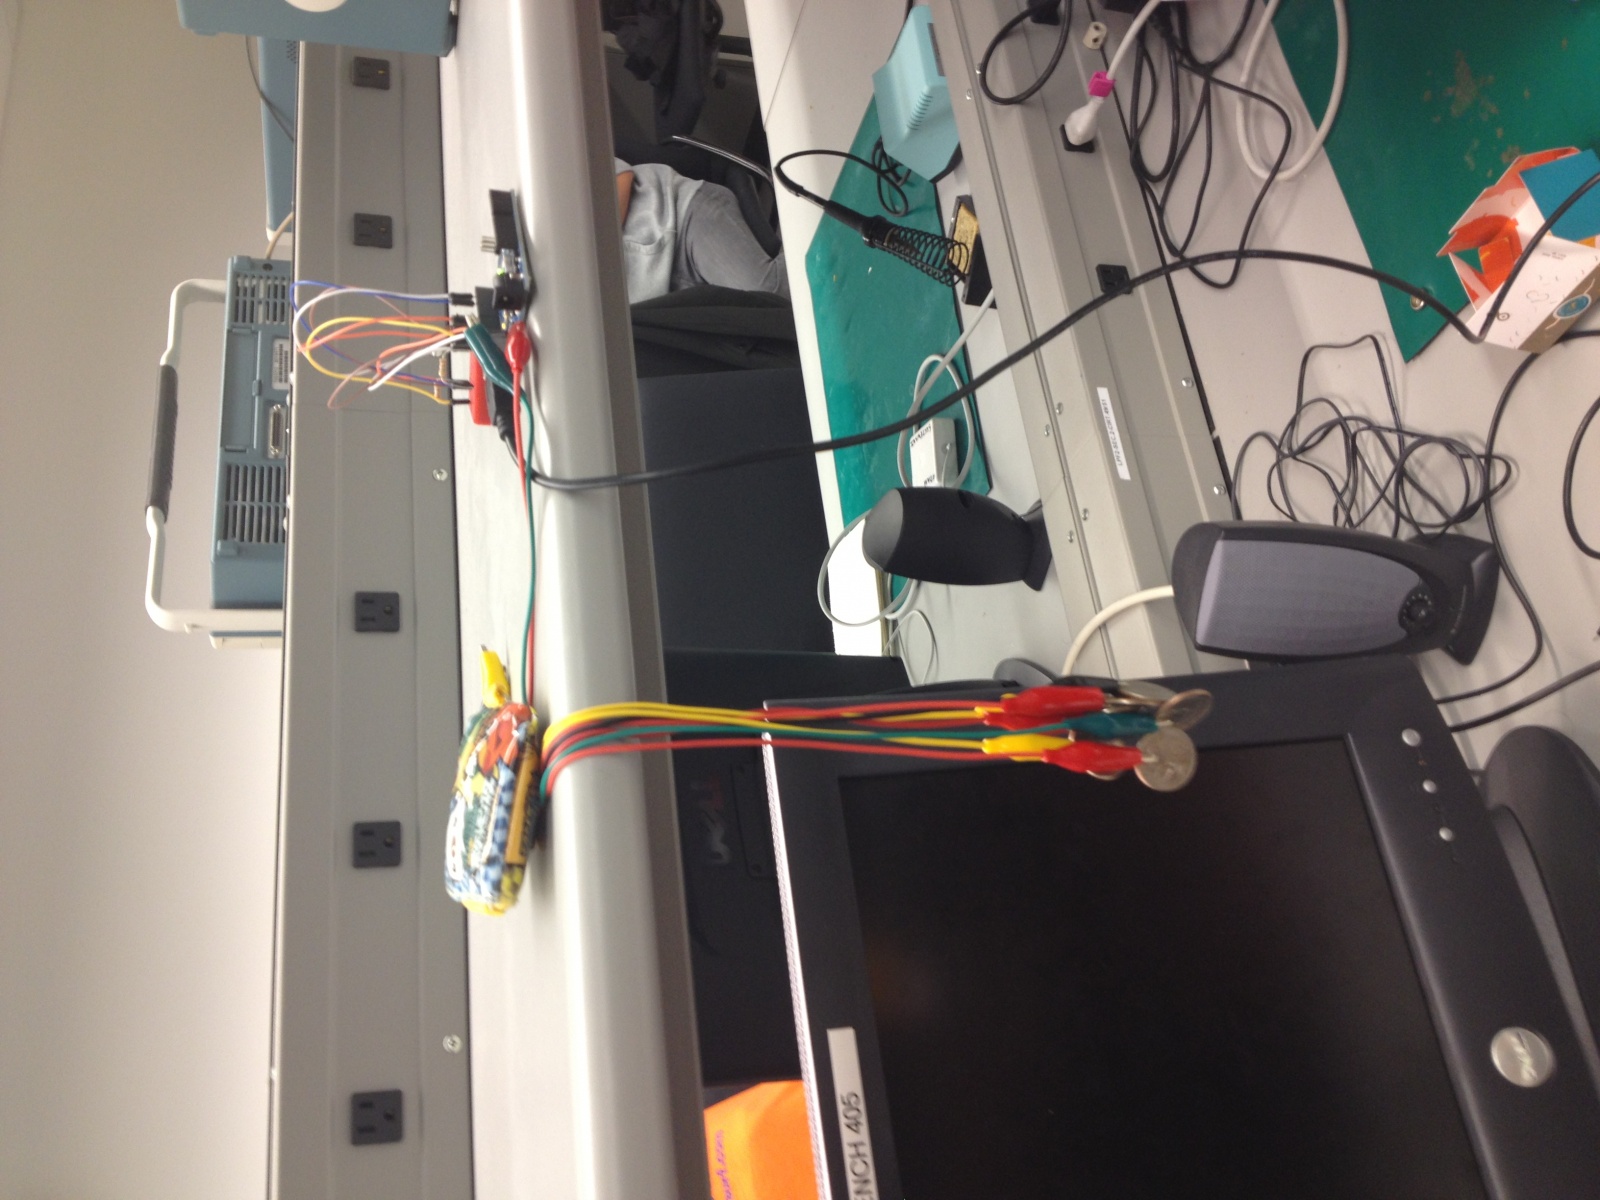
The final setup: a bunch of quarters hanging from alligator clips, an Arduino, and a buzzer. The coin pouch keeps the quarters in place. Two of the quarters are proximity sensors.
Prototype 1: Gong with Piezo.
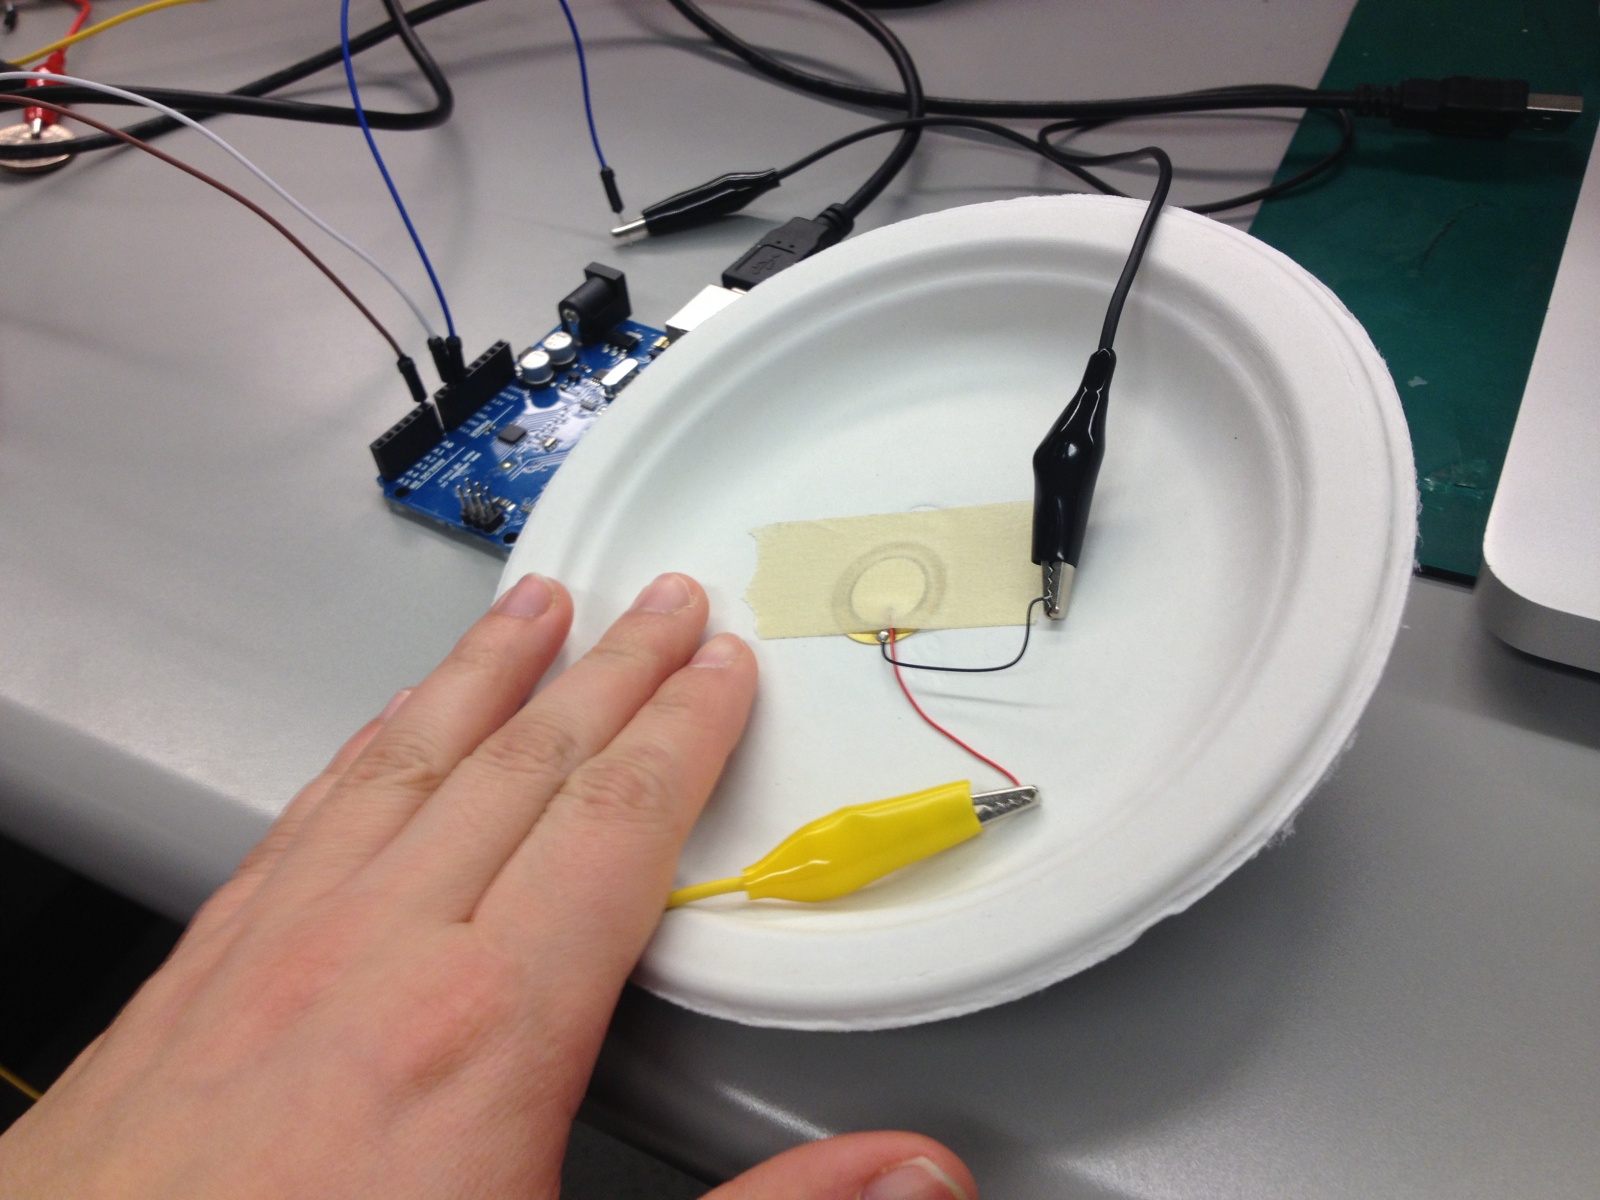
Building the prototype of our “gong,” using the Piezo and a paper plate.
Our first prototype is a “gong”-style instrument using a Piezo. The Piezo detects vibration, and then based on the level of vibration, a short program instructs the buzzer to sound.
Prototype 2:
We call our second prototype the “Shakey.” It creates noise using a buzzer depending on how much you shake it (which is measured using the accelerometer). The noise is pseudorandom.
Prototype 3:
This is an early version of our coin chime. The first coin is a proximity sensor; we were testing what threshold was necessary for it to sense the second coin somewhat reliably. When the proximity sensor’s output passes a certain level, the buzzer sounds.
List of Parts:
- ~12 Quarters
- 1 Arduino
- 2 10 Megaohm Resistors
- Wires
- Alligator clips
- 1 Buzzer
- 1 USB cable
- 1 Breadboard
Instruction for Recreation:
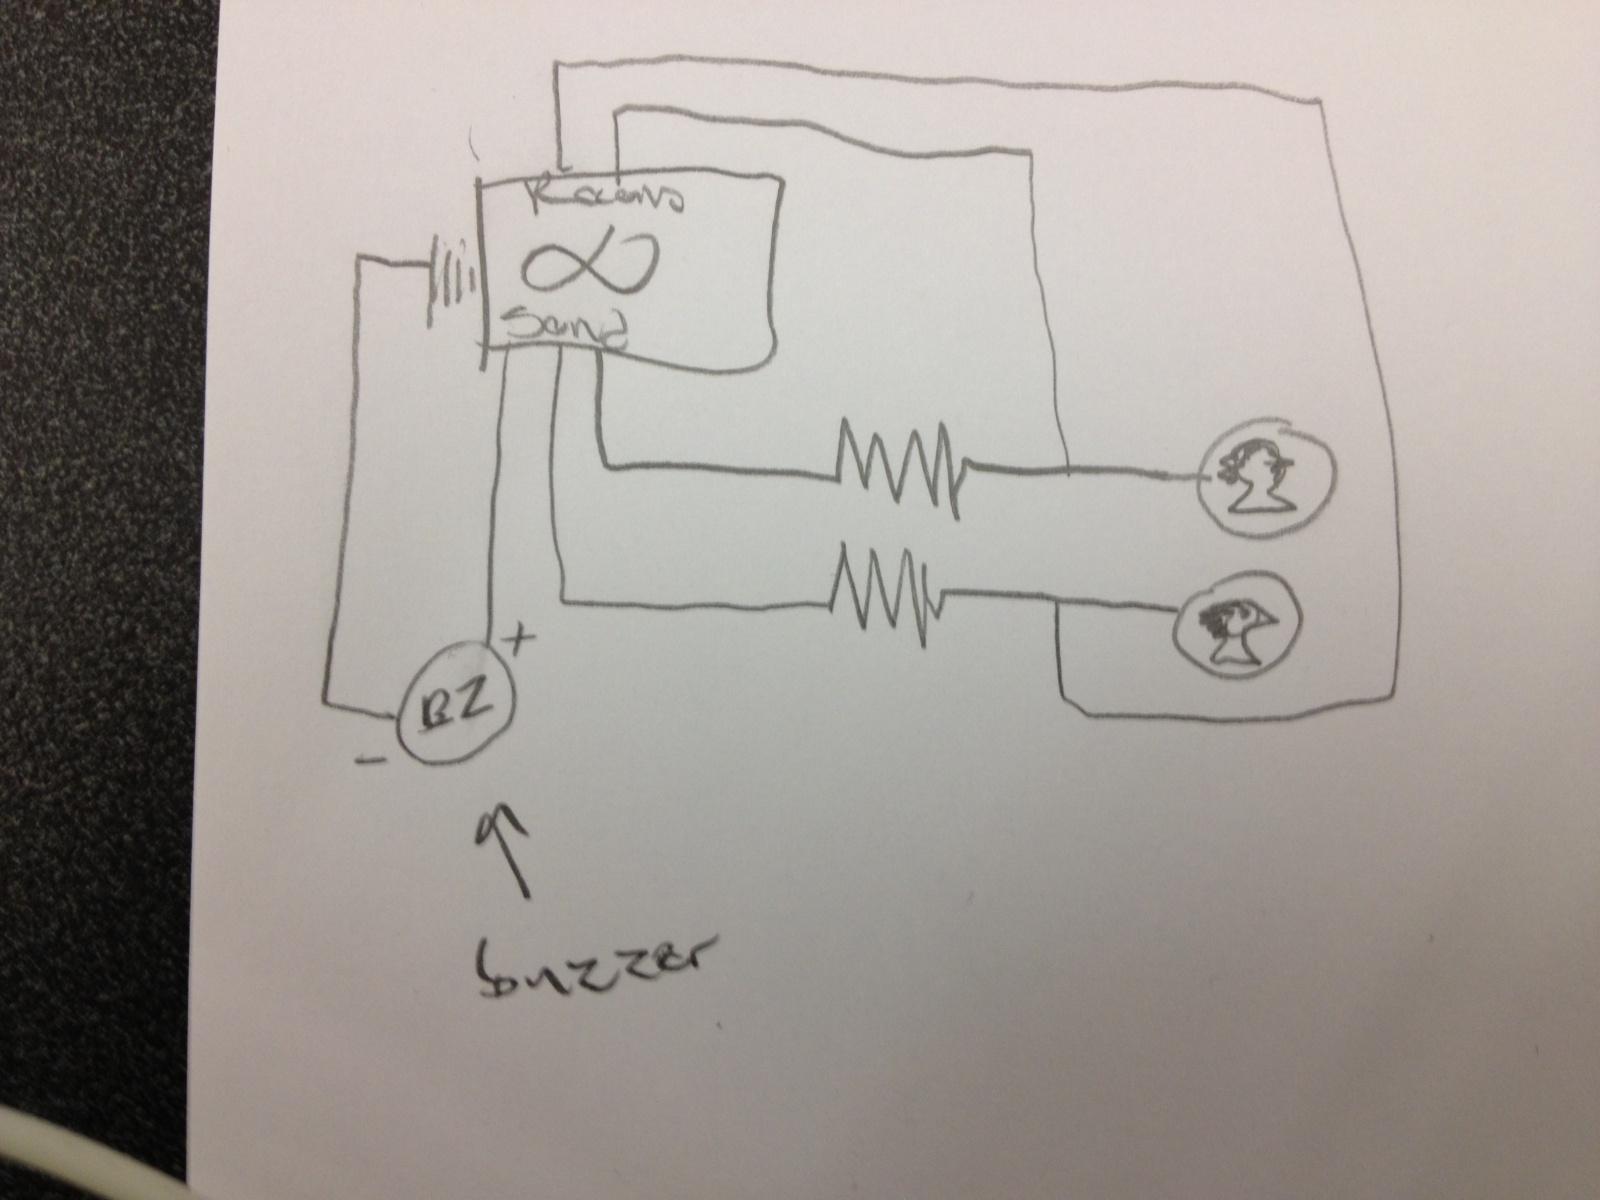
Circuit diagram for Coin Chime
Using the above diagram, recreate the circuit; the resistors pictured should be 10 megaohm resistors, and the two circles connected to them are quarters. The quarters should be connected using alligator clips or something similar, so that they can be dangled off of a ledge. Then, attach a bunch of other quarters to alligator clips and dangle them together with the two proximity-sensing quarters. (The extra quarters needn’t be connected to the circuit.) Finally, load up the code below, and start playing with your coin chime! Optional modifications include adding extra proximity-sensing quarters.
Source code:
#include
int speakerPin = 9;

CapacitiveSensor   cs_4_2 = CapacitiveSensor(4,2);
CapacitiveSensor cs_13_12 = CapacitiveSensor(13,12);

int tempo = 300;

void playTone(int tone, int duration) {
  for (long i = 0; i < duration * 1000L; i += tone * 2) {
    digitalWrite(speakerPin, HIGH);
    delayMicroseconds(tone);
    digitalWrite(speakerPin, LOW);
    delayMicroseconds(tone);
  }
}

void playNote(char note, int duration) {
  char names[] = { 'c', 'd', 'e', 'f', 'g', 'a', 'b', 'C' };
  int tones[] = { 1915, 1700, 1519, 1432, 1275, 1136, 1014, 956 };

  // play the tone corresponding to the note name
  for (int i = 0; i = thresh && total2 >= thresh) {
    playNote('b',tempo);
  }
  else if (total1 >= 900) {
    playNote('C',tempo);
  }
  else if(total2 >=900) {
    playNote('a',tempo);
  }
  // Make the delay too short, and the proximity
  // sensors won't work. :(
  delay(50);
}