The Elite Four (#19)
Jae (jyltwo)
Clay (cwhetung)
Jeff (jasnyder)
Michael (menewman)
Project Summary
We have developed the Beepachu, a minimally intrusive system to ensure that users remember to bring important items with them when they leave their residences; the system also helps users locate lost tagged items, either in their room or in the world at large
Our Journey
P1: http://blogs.princeton.edu/humancomputerinterface/2013/02/22/elite-four-brainstorming/
P2: http://blogs.princeton.edu/humancomputerinterface/2013/03/11/p2-elite-four/
P3: http://blogs.princeton.edu/humancomputerinterface/2013/03/29/the-elite-four-19-p3/
P4: http://blogs.princeton.edu/humancomputerinterface/2013/04/08/the-elite-four-19-p4/
P5: http://blogs.princeton.edu/humancomputerinterface/2013/04/22/the-elite-four-19-p5/
P6: http://blogs.princeton.edu/humancomputerinterface/2013/05/06/6008/
Videos
Photos
-
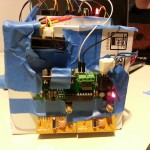
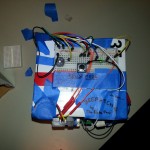
- Beepachu Front
-
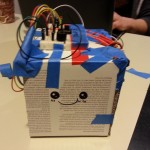
- Beepachu Face
-
- Beepachu Top
-
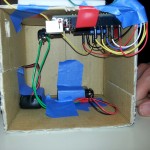
- Beepachu Inside
Changes Since P6
-
We added sound to the prototype’s first function: alerting the user if important items are left behind when s/he tries to leave the room. The system now plays a happy noise when the user opens the door with tagged items nearby; it plays a warning noise when the user opens the door without tagged items in proximity.
-
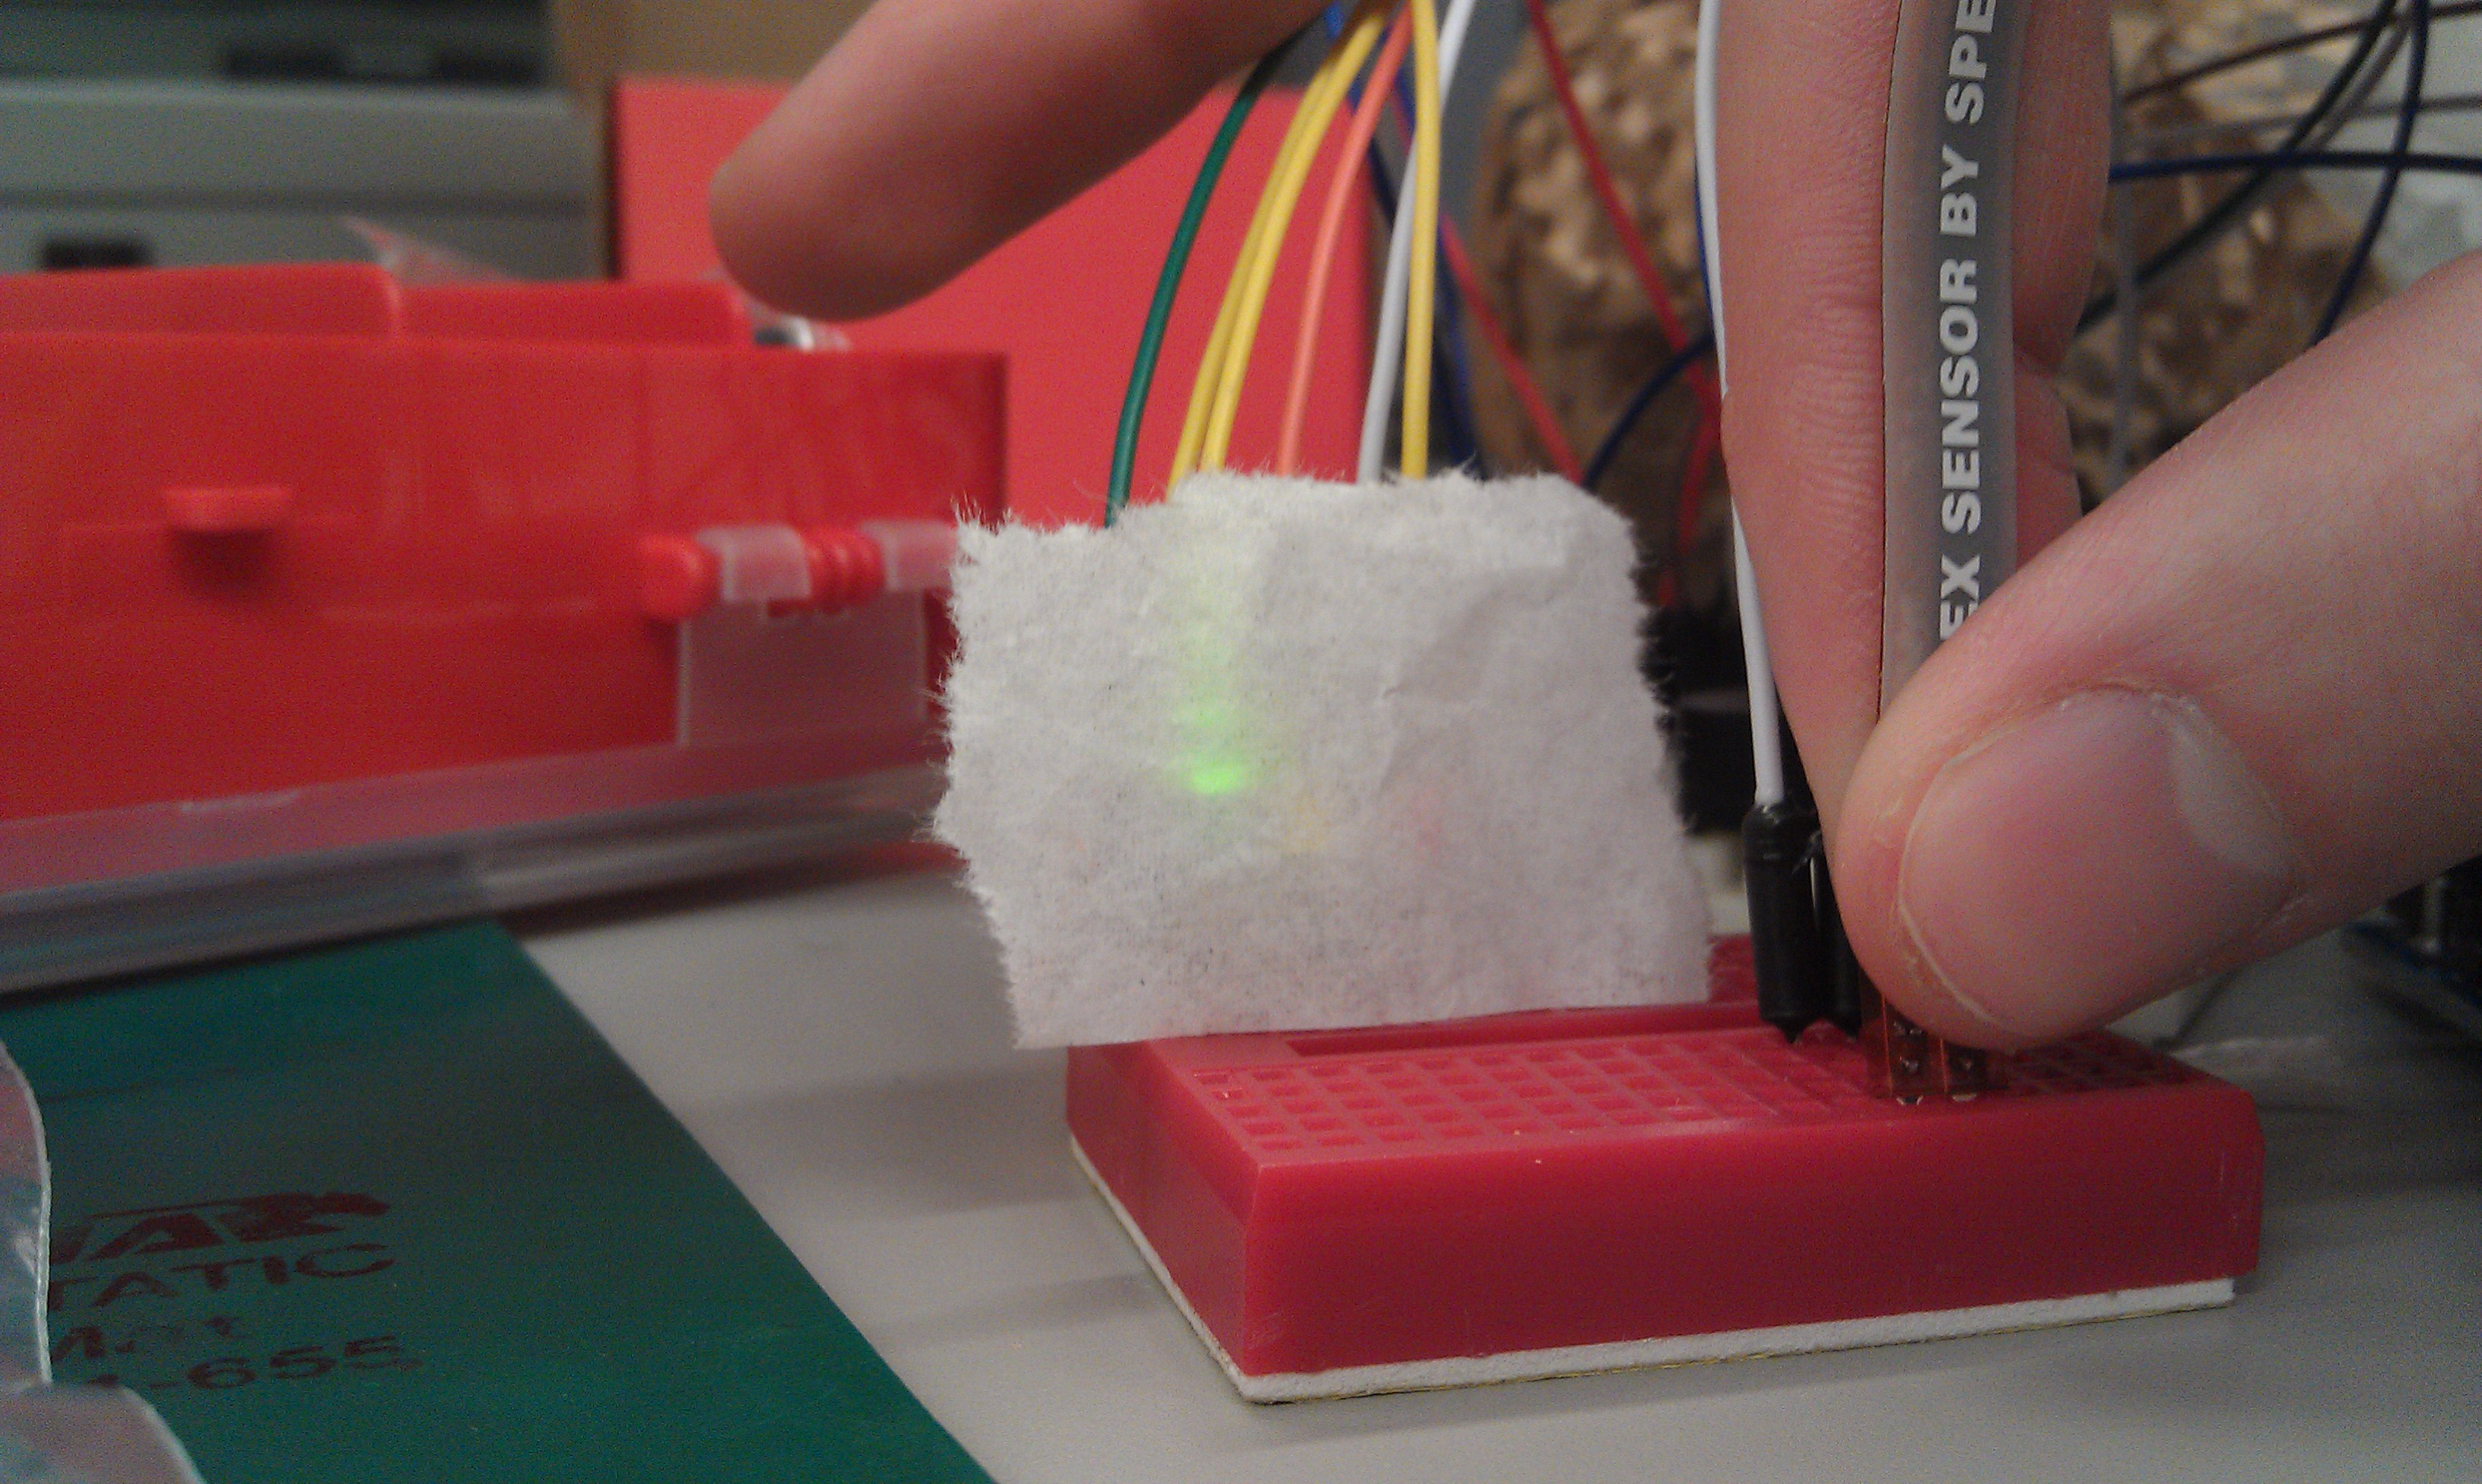
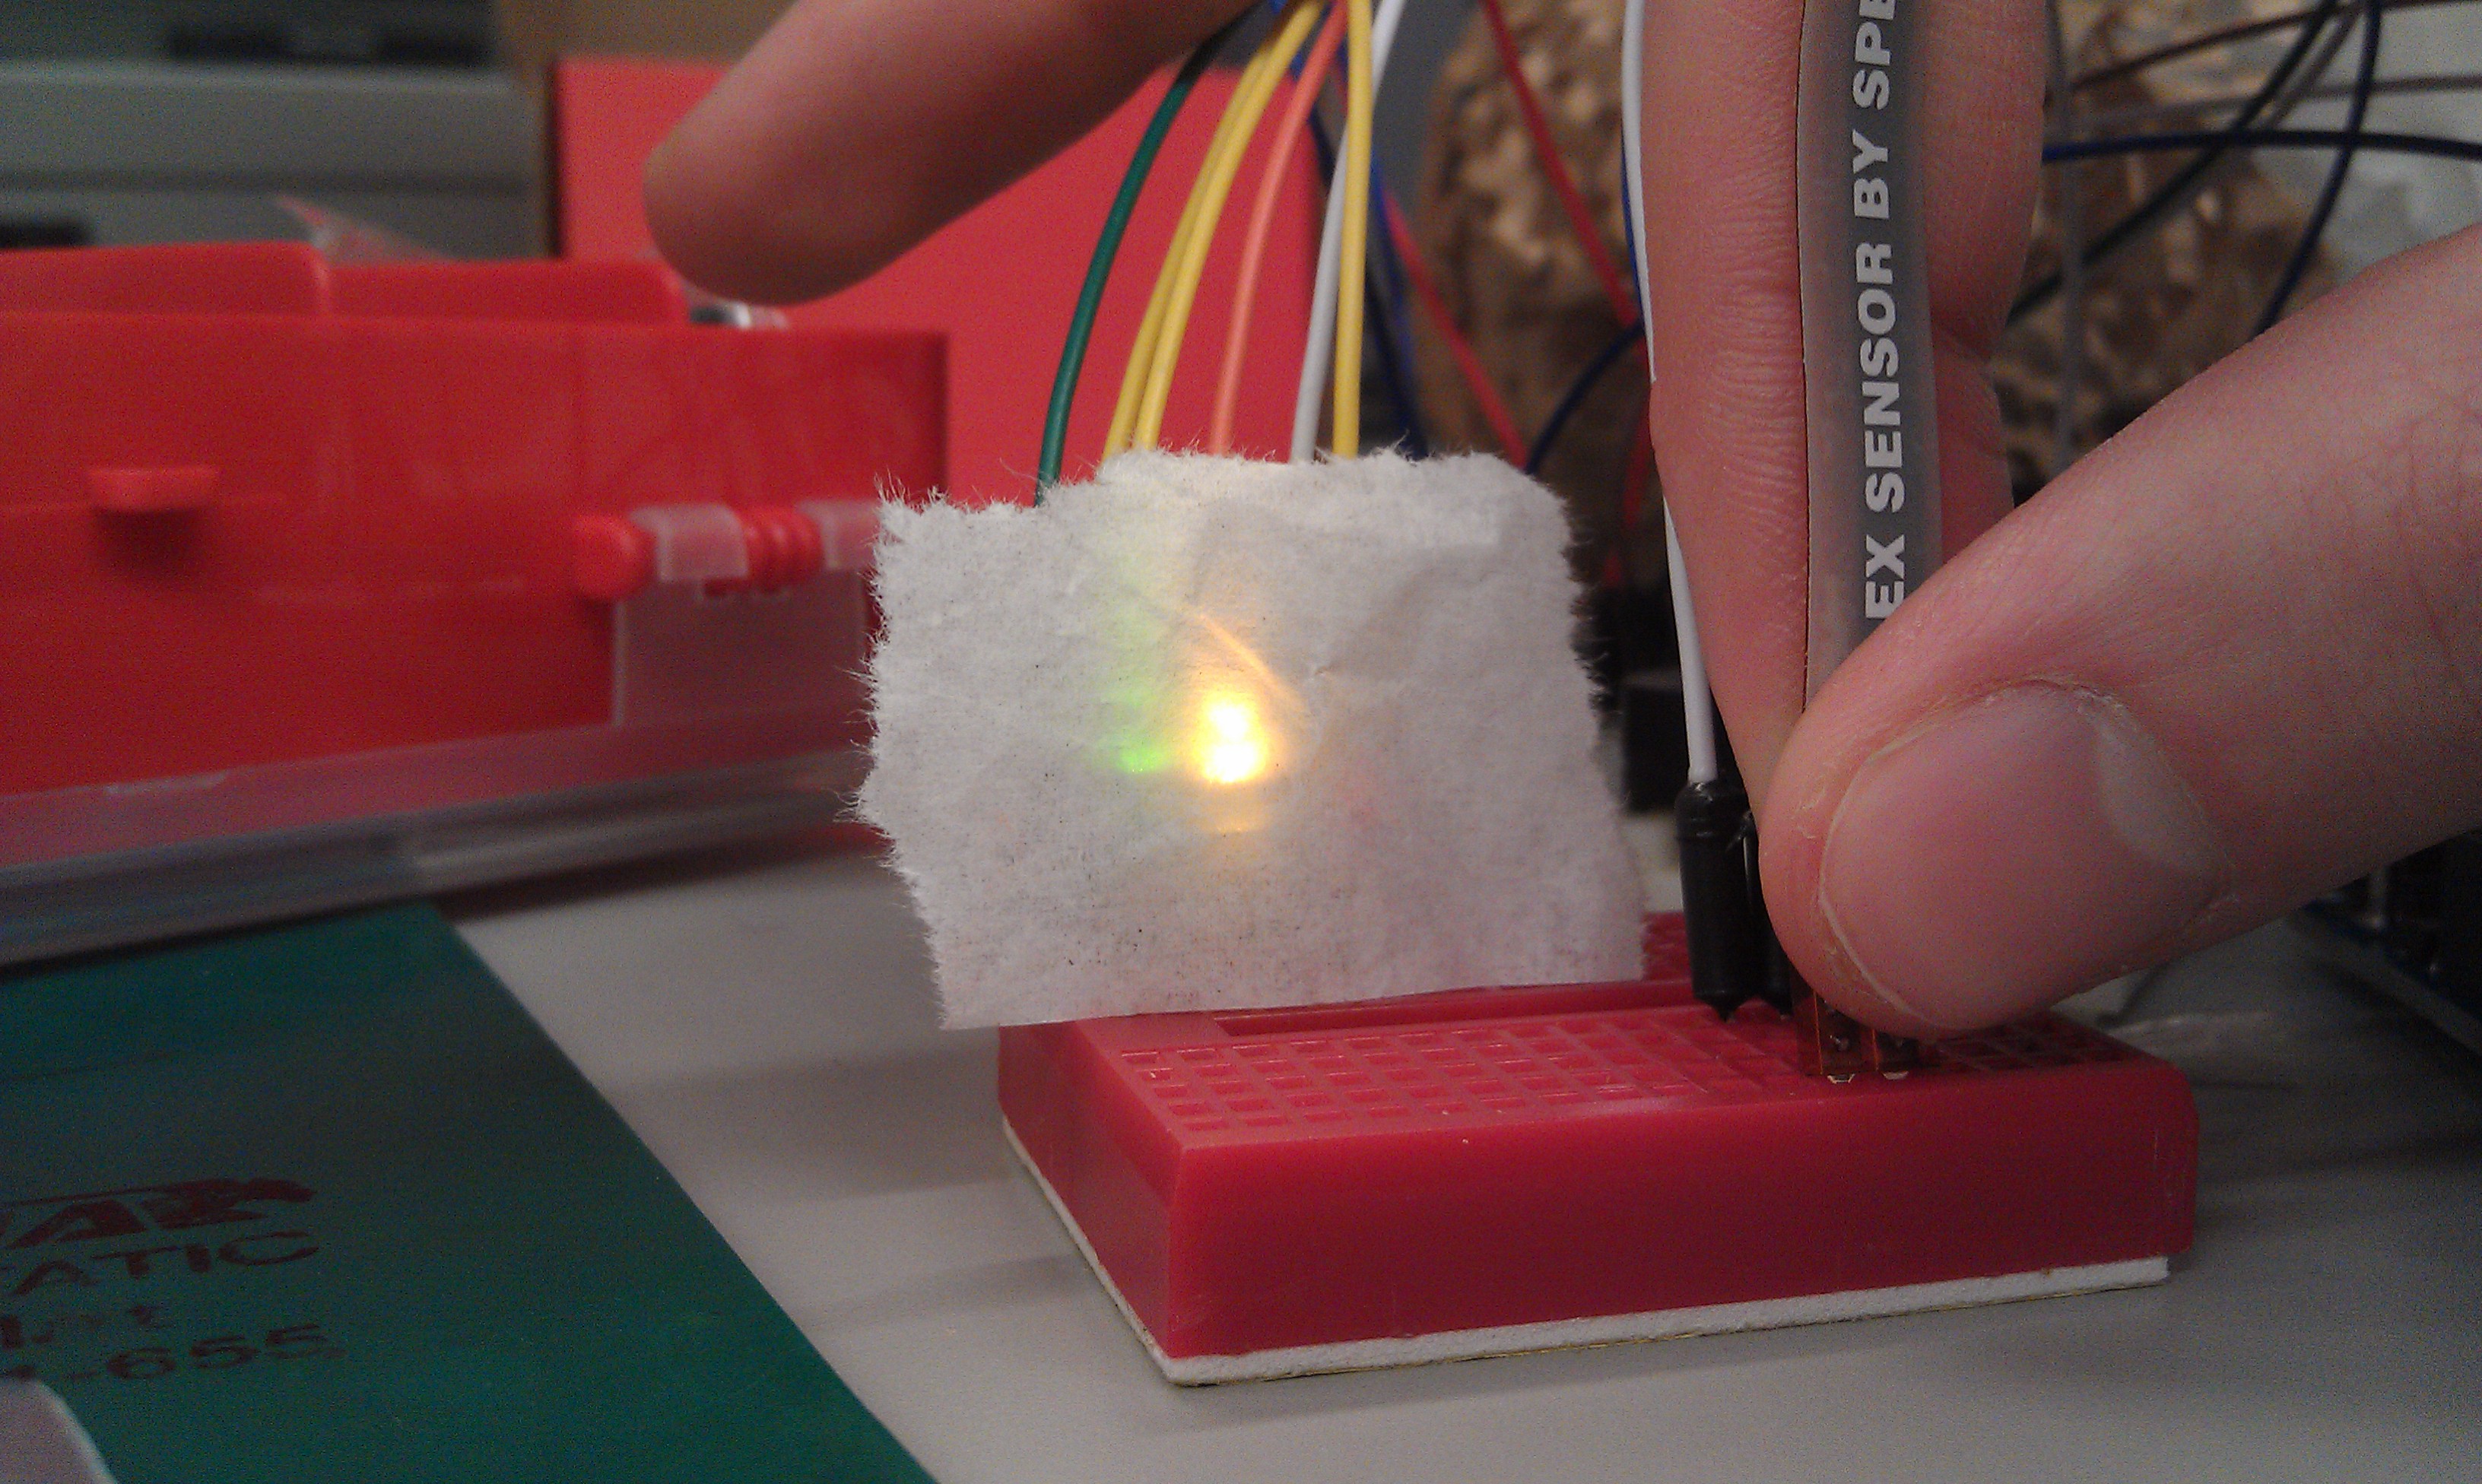
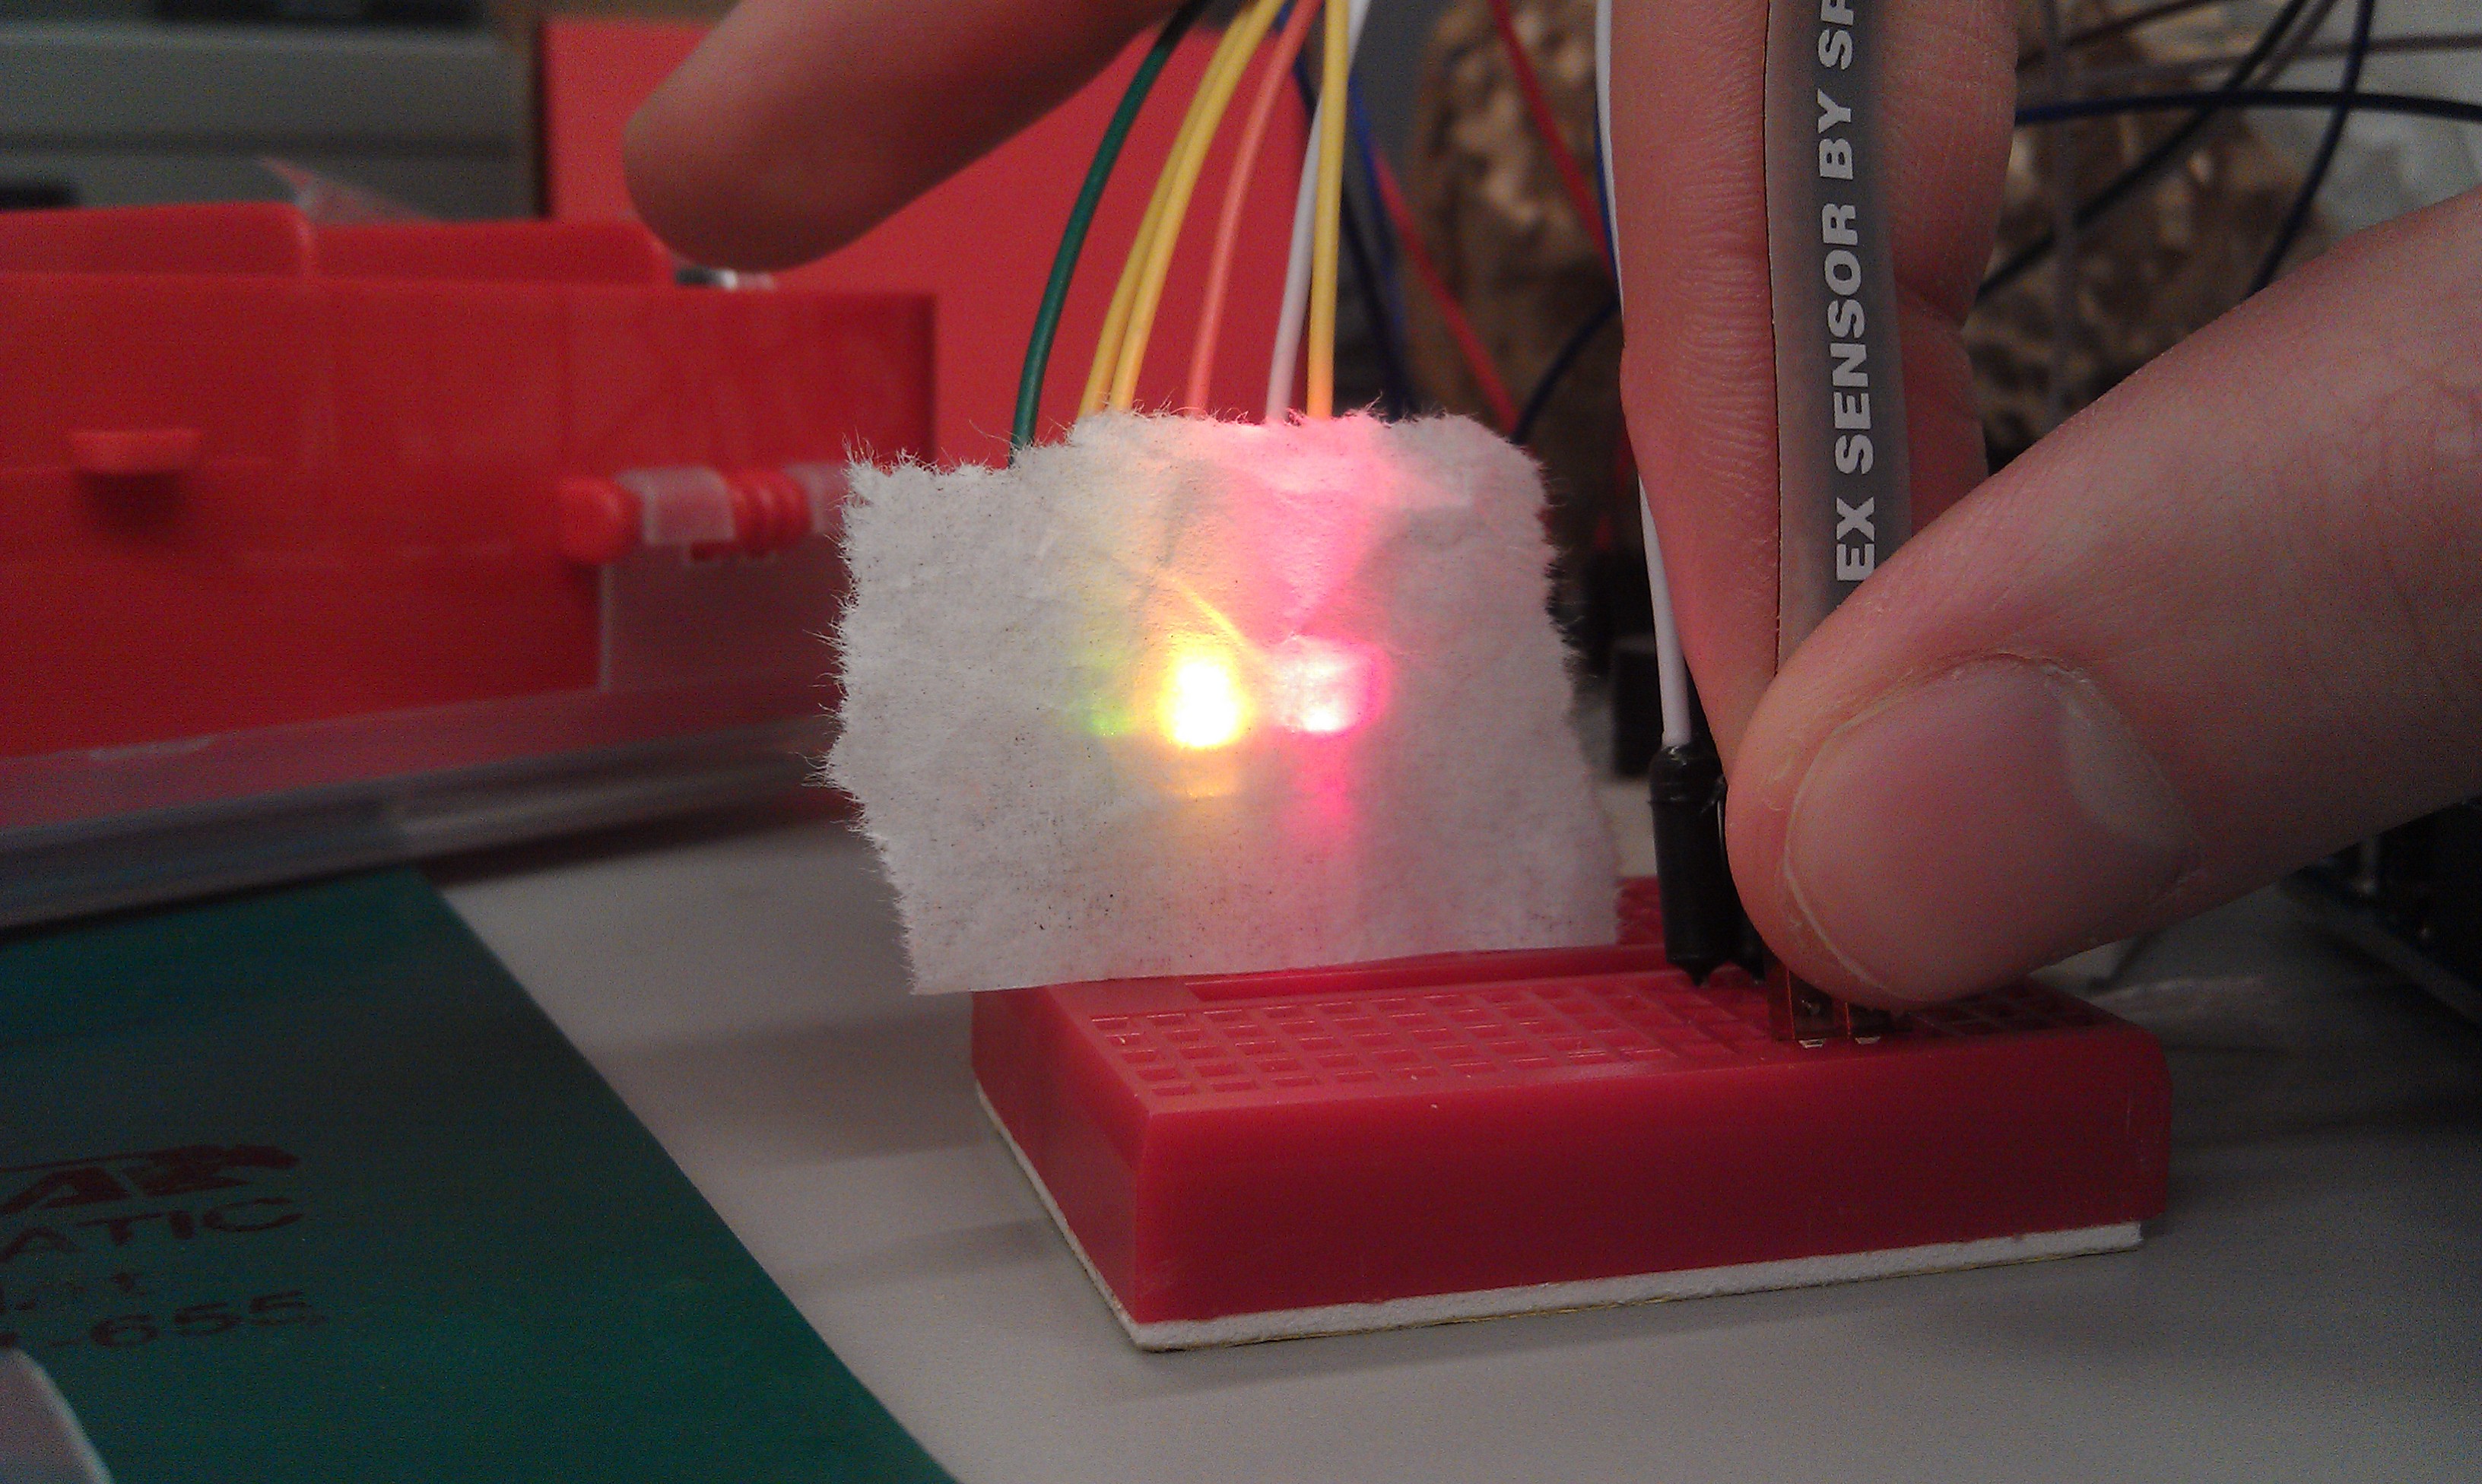
We added sound to the prototype’s item-finding feature. At first, we had used the blinking rate of the two LEDs to indicate how close the user was to the lost item. We improved that during P6 by lighting up the red LED when the item was completely out of range, and using the green LED’s blinking rate to indicate proximity. We now have sound to accompany this. The speaker only starts beeping when the lost item is in range, and the beeping rate increases as the user gets closer to the lost item.
By adding sound to the prototype, we made our system better able to get the user’s attention–after all, it is easy to overlook a small, flashing LED, but it is more difficult to both overlook the LED and ignore beeping. For the second function, the system allows the user to operate the prototype without taking their eyes off of their surroundings, thus improving their ability to visually look for missing items.
Goals and Design
Our primary goal has not changed since the beginning of the semester. Our prototype’s main function, as before, is to save users from their own faulty memories by reminding them not to forget important items when they leave their residences. However, our prototype has evolved to include a related secondary goal/task, which is finding items once they are already lost/forgotten. Because our hardware already incorporated item-detection via RFID, this was a natural extension not only of our stated goals, but also of our hardware’s capabilities.
Critical Evaluation
From our work on this project, it appears that a system such as ours could become a viable real-world system. The feedback we received from users about the concept shows that this has the potential to become a valuable product. We were able to address most of our testers’ interface concerns with little difficulty, but we still suffered from hardware-based issues. With improved technology and further iterations we could create a valuable real-world system.
The primary issue with the feasibility of developing this project into a real world system comes from hardware and cost constraints, rather than user interest. The current state of RFID presents two significant issues for our system. The first is that, in order for our system to function optimally, it needs a range achievable only with active RFID or extremely sophisticated passive RFID. That level of passive RFID would be unreasonable in our system due to its astronomical cost (many thousands of dollars). Active RFID, which our prototype used, is also quite expensive but feasible. Its primary issue is that the sizable form factor of most high quality transmitters does not allow for easy attachment to keys, phones, wallets, etc. Therefore, ideally, our system would have a high-powered and affordable passive RFID, but currently that technology appears to be unavailable. EAS, the anti-theft system commonly used in stores, is another feasible alternative, but its high cost is also prohibitive.
Moving Forward
As stated in the previous section, the best option for moving forward would be to improve the hardware, specifically by switching to more expensive high-powered passive RFID. Other avenues of exploration include refinement of range-detection for our first task, which would become increasingly important with increasingly powerful RFID detection systems, and implementation of tag syncing. Range limiting is important because if our system can detect tags from a significant distance, it is important not to give a “false positive” if a user has left items somewhere else in their relatively small room but does not have them at the door. Syncing of tagged items would become important for a system with multiple tags; it would allow users to intentionally leave behind certain items, or for multiple residents of a single room/residence to have different “tag profiles.” Syncing could also permit item-detection of particular items, which would allow greater specificity for our second and third tasks. Finally, for most of our testing we used laptops as a power source for the Arduino. This was fine for the prototype, but in a real version of this product, ideally the system would have its own power source (e.g., a rechargeable battery).
Code
https://drive.google.com/folderview?id=0B5LpfiwuMzttMHhna0tQZ1hXM0E&usp=sharing
Third Party Code
- pitches.h: Arduino sound library. Found here – http://arduino.cc/en/Tutorial/tone
Demo Materials
https://drive.google.com/folderview?id=0B5LpfiwuMzttX2ZPRHBVcmlhMUk&usp=sharing