The Cereal Killers
Group 24: Andrew, Bereket, Lauren, Ryan

Our Project
A program to create computer shortcuts that can be replayed using hand gestures via a wireless gesture bracelet.
Previous Posts
- P1: https://blogs.princeton.edu/humancomputerinterface/2013/02/22/the-cereal-killers/
- P2: https://blogs.princeton.edu/humancomputerinterface/2013/03/11/p2-contextual-inquiry-and-task-analysis/
- P3: https://blogs.princeton.edu/humancomputerinterface/2013/03/29/p3-brisq-the-cereal-killers/
- P4: https://blogs.princeton.edu/humancomputerinterface/2013/04/08/p4-group-24/
- P5: https://blogs.princeton.edu/humancomputerinterface/2013/04/22/p5-cereal-killers-team-24/
- P6: https://blogs.princeton.edu/humancomputerinterface/2013/05/07/p6-usability-study/
Our Final Project in Action
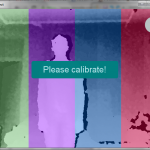
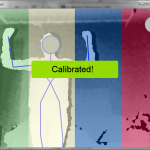
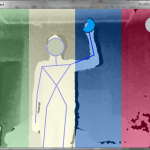
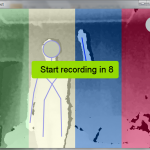
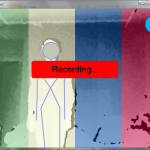
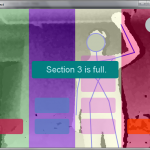
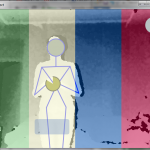
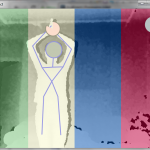
Gui:
Gesture Bracelet Design:
Gesture Recognition Demo:
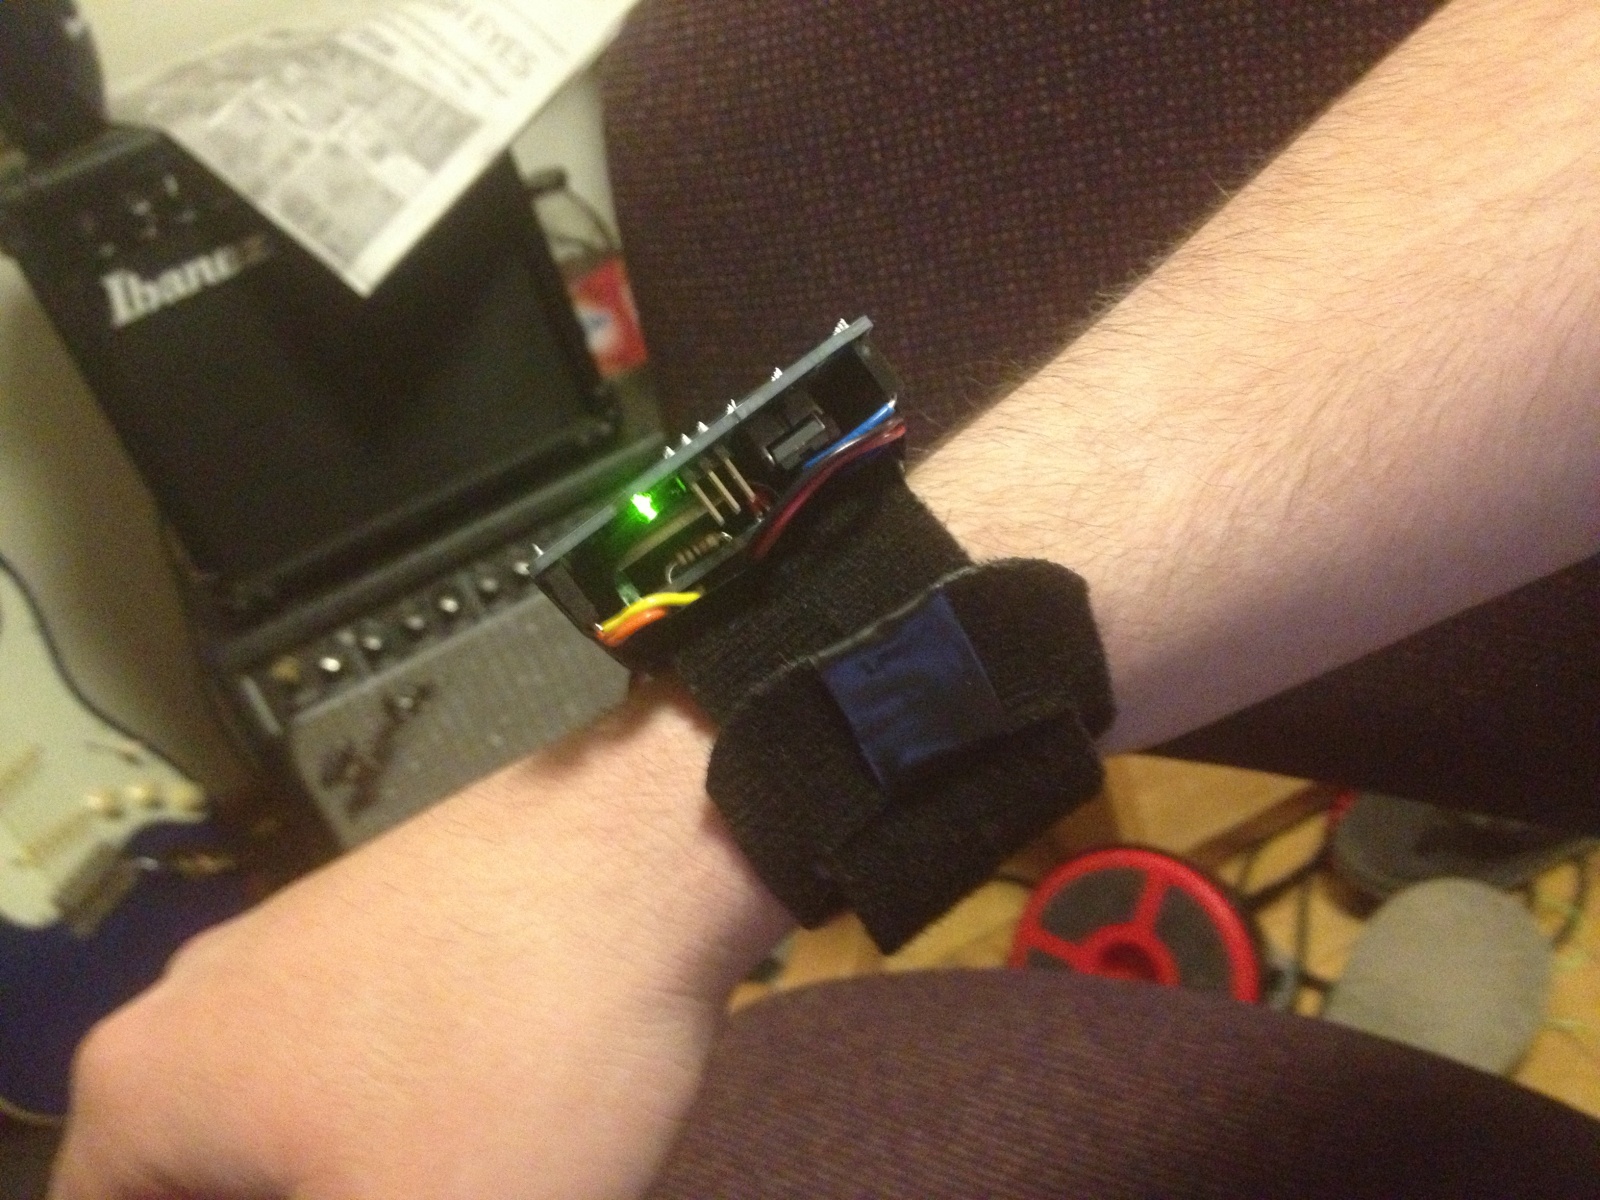
Bracelet Images:
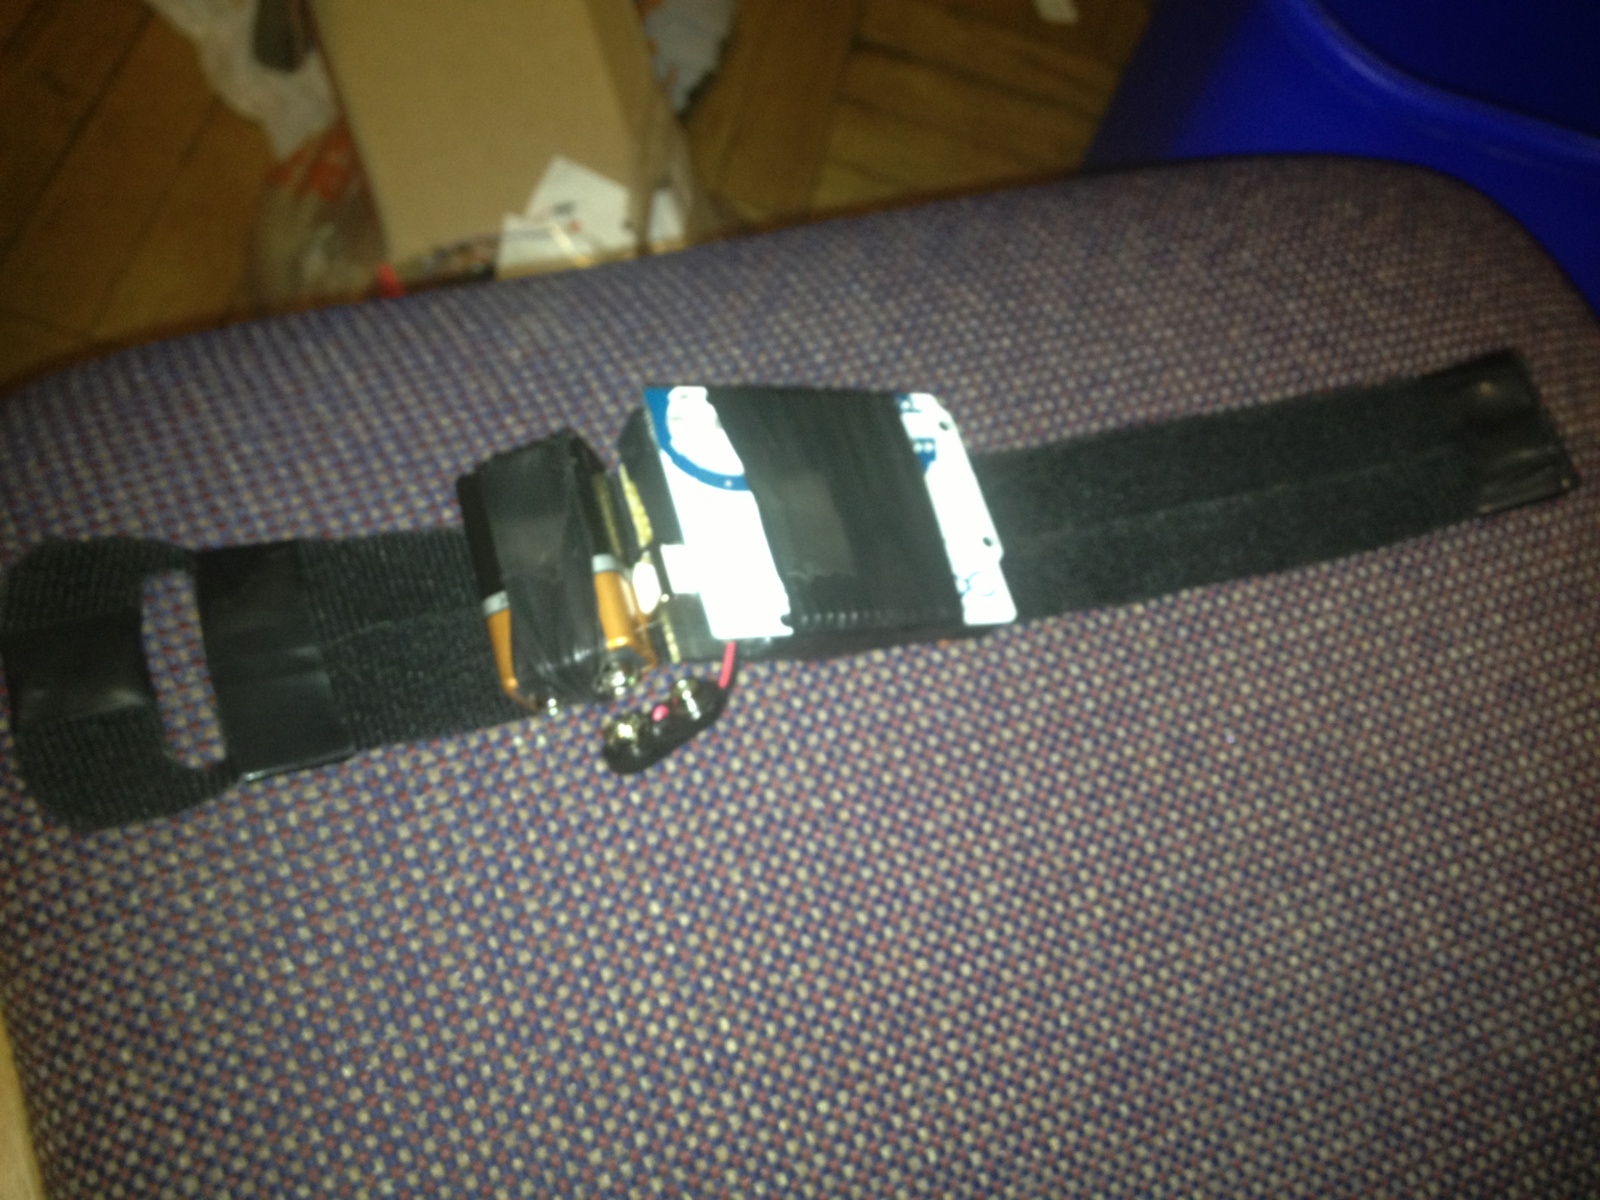
Gesture Bracelet
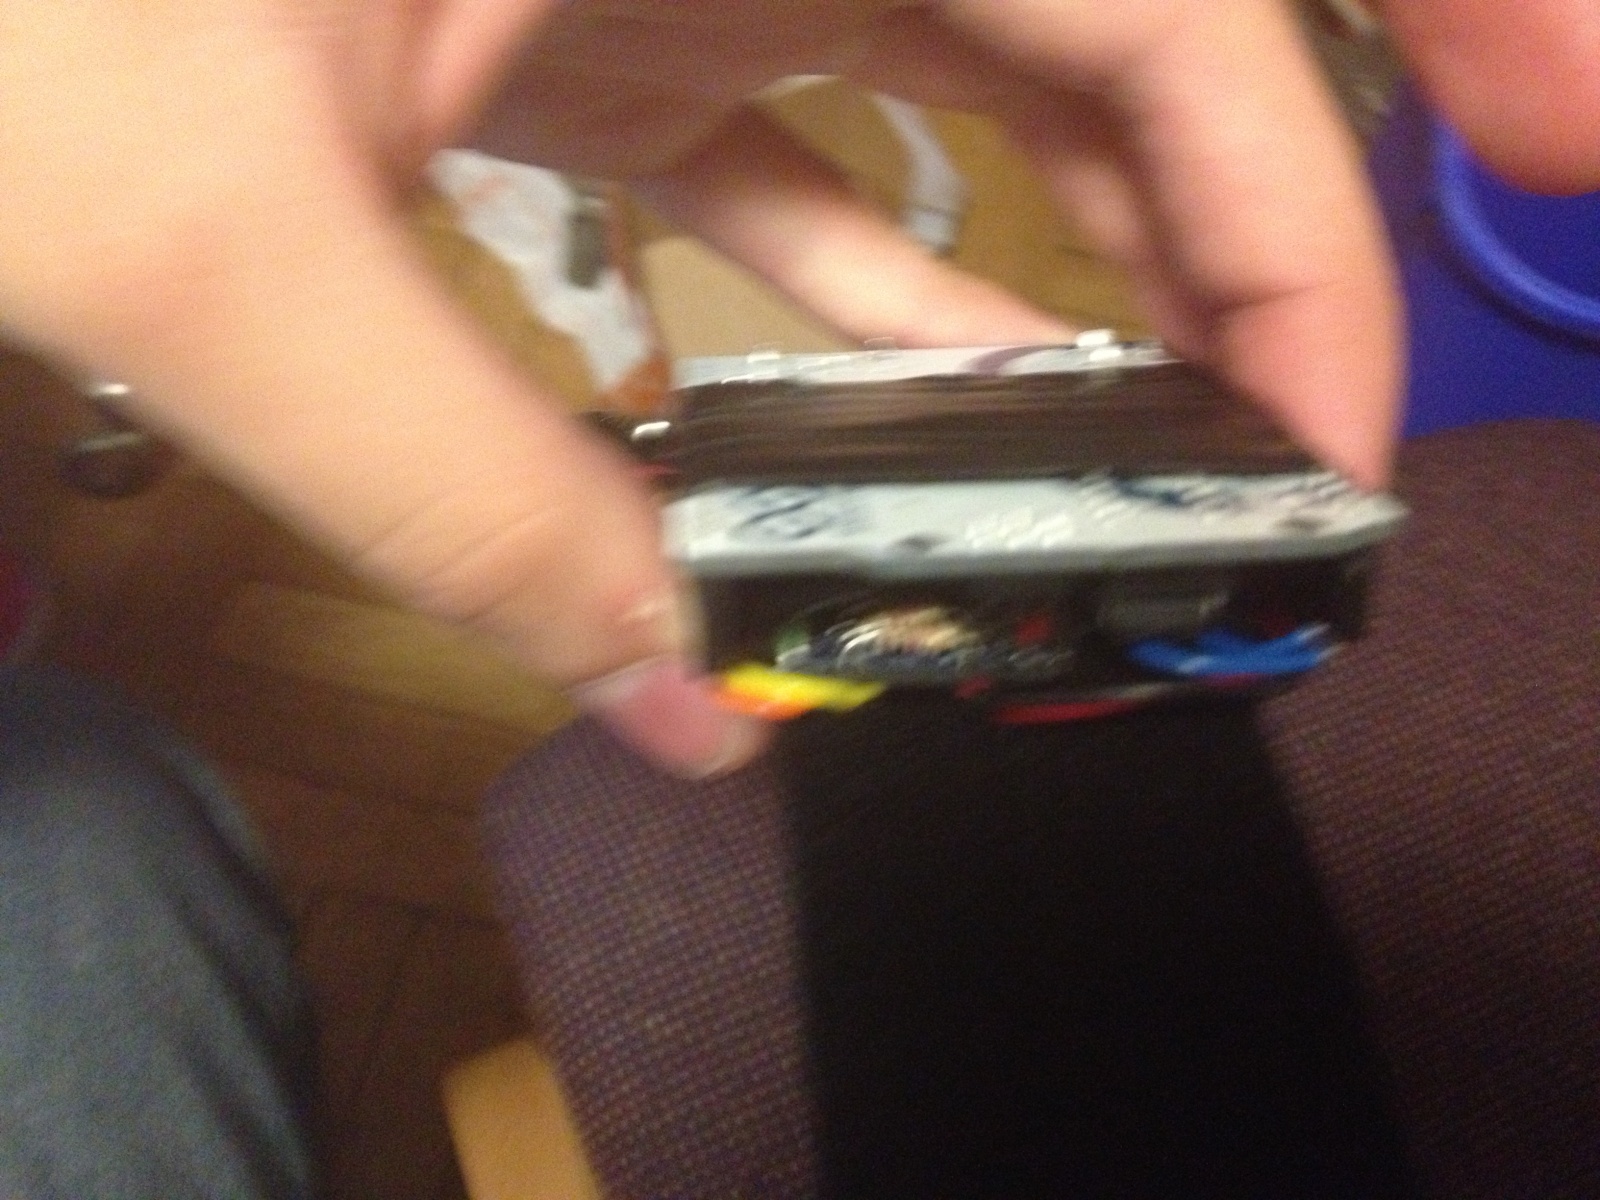
Side View 1
Side View 2
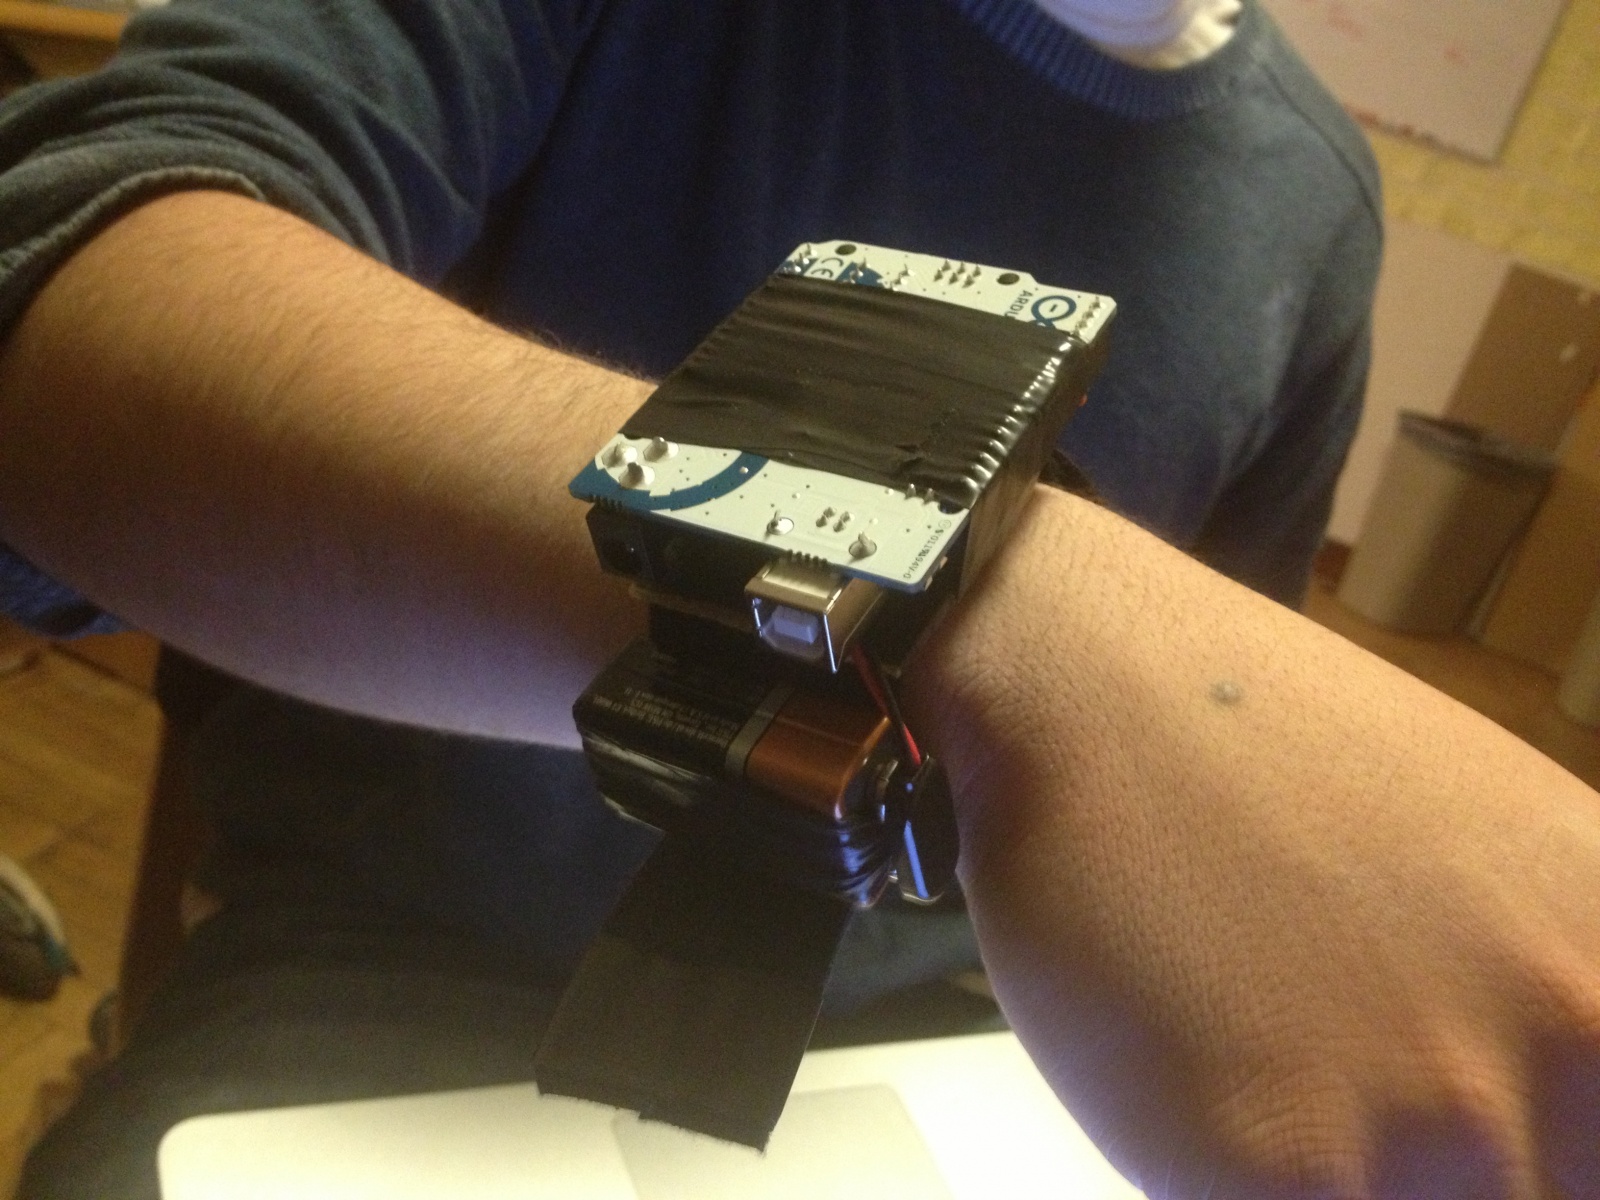
Bracelet on Wrist
Changes since P6
- In P6, since we did not have the gesture recognition or gesture recording part working yet, we made another GUI with temporary buttons. Now we have a GUI with the final layout which reflects the programs ability to record gestures.
- One button would “record the gesture,” but when pressed we used a Wizard of Oz technique by simply remembering which gesture the user assigned to an action. Now we decided to go with six predefined gestures.
- We had another button to replay the actions. Now, the actions will be replayed when a certain gesture (which was mapped to that action) is performed.
- We have gesture recognition.
- We created the gesture bracelet using wireless xbee devices, an arduino uno, and accelerometer
- We wrote code in python to receive data from the bracelet wirelessly, compare it with a library of data, and find the closest match using a nearest neighbor DTW algorithm
- We were aslo able to make the use of the bracelet easier. We replaced the idea of shaking before and after a gesture to signal its start and stop by instead just jerking the bracelet in any direction fast enough to trigger the start of transmission form the bracelet to the laptop, and sending roughly 3/4 a second of data to the computer. Thus, we no longer needed the user to do an action to end the gesture
- The keylogger handles multiple keys. In P6, it would not record when multiple keys were pressed simultaneously.
- Now that we have predefined actions, our GUI maps gestures to action by writing the mapping to a file.
- And therefore we have a page in the gui that lists the available gestures.
Evolution of Our Goals and Design
Our goal to create an easy to use system that would make users more connected to their laptops has not changed. However, due to feasibility, module functionality and user feedback, we made some changes to the implementation of this goal.
Six Predefined gestures vs User Created gestures
We changed some design decisions based on feedback from users. We went with six predefined gestures, as opposed to users having to create their own gestures, based on our interviews. Our users found that it was hard to think up gestures on the spot. This way, a user does not have to worry about creating a gesture, and all the gestures are distinct. This limits the variety for the user. However, in our usability tests, users spent quite a few minutes simply trying to think of a few gestures, and they often needed suggestions, or were hesitant about their choice of movement.
Bracelet size
Our initial plan was to have the bracelet small and light for comfort and ease of use. In order to do this, we had planned to use bluetooth to transmit the accelerometer data to the computer. However, we had a problem with our bluetooth module not working properly, so we had to go for the bulkier radio frequency option with xbee devices. Additionally, after testing a femtoduino and arduino micro, neither of these would work with the bluetooth or xbee devices, so we had to use the larger arduino uno. Therefore, we had to modify and increase the size the of the bracelet.
Evaluation
We were happy with the gui we were able to make and the ability to log both keyboard and mouse input and replay them. We felt the gui was intuitive and provided everything the user needed to understand and interact with the program. We were also very happy with our gesture recognition. We could do six gestures and recognize each: left and right swipes, up and down swipes, and clockwise and counterclockwise circles. We felt that these covered a nice range of intuitive gestures, and were different enough to be recognized effectively.The unfortunate part of our project was the inability to link the gesture recognition with the gui. We had problems installing the necessary libraries for gesture recognition in windows, in which the gui and shortcut processing was written, so we were left with a mac that could recognize gestures and a windows laptop that contained the guy.
We definitely felt that this was applicable in the real world, and our users who tested the product agreed. It has a place in the market for expanding computer use, and we think that the three scenarios we came up with are still applicable. It would be exciting to see how the device would do in the real world, and since we mostly use low cost materials that could be further reduced in cost if buying in bulk, we think the device could be priced in an attractive range. Of course, the program would need to be linked to the gesture recognition so we could run both on the same laptop, but we feel that this project is very applicable and even had some users ask if we could update them when we finished because of their interest in the product.
Moving Forward
We would of course like to link the gestures and the gui on the same computer. We think that with some more time, we could either figure out how to install the problematic library (pygsl on windows), or change the machine learning library we are using to make it compatible with windows. We would also like to investigate more wireless and microcontroller options so we could reduce the size of the bracelet. We were happy with how compact the final product was, but we feel that it could even be further reduced for a sleeker design. We would also like to replace the xbees, which require a receiving end hooked up to the computer, with just a bluetooth transmitter on the bracelet that could pair with any bluetooth compatible laptops.
Future testing would include observing users using the bracelet with the gui and seeing how easily they are able to pair the gestures with actions. Additionally, we would like to see users using the bracelet. We were happy that we were able to put code on the bracelet that activated it with just a simple jerk, and felt that this made it easier to use than the initial shake actions. We would like to see if users agreed with this, and if they felt it had an intuitive feel and ease of use.
Code
Zip file:
https://www.dropbox.com/s/cohxt7l9eo6h378/brisq.zip
The libraries we used with our code were numpy, scipy, pyserial, pygsl, and mlpy, all python libraries. Numpy was used to store and load data, mlpy was used to compare accelerometer vectors (x,y,and z), pyserial was used to read data from the usb port, and scipy and pygsl were required for the mlpy library.
Poster/Presentation Documents:
https://docs.google.com/presentation/d/1GAqPCLOdXqt-w-z_E4qPgnXzB4sn4m1c-HoclzbxlmE/edit?usp=sharing