Group 16:
Andrew
Brian
Kevin
Saswathi
Description
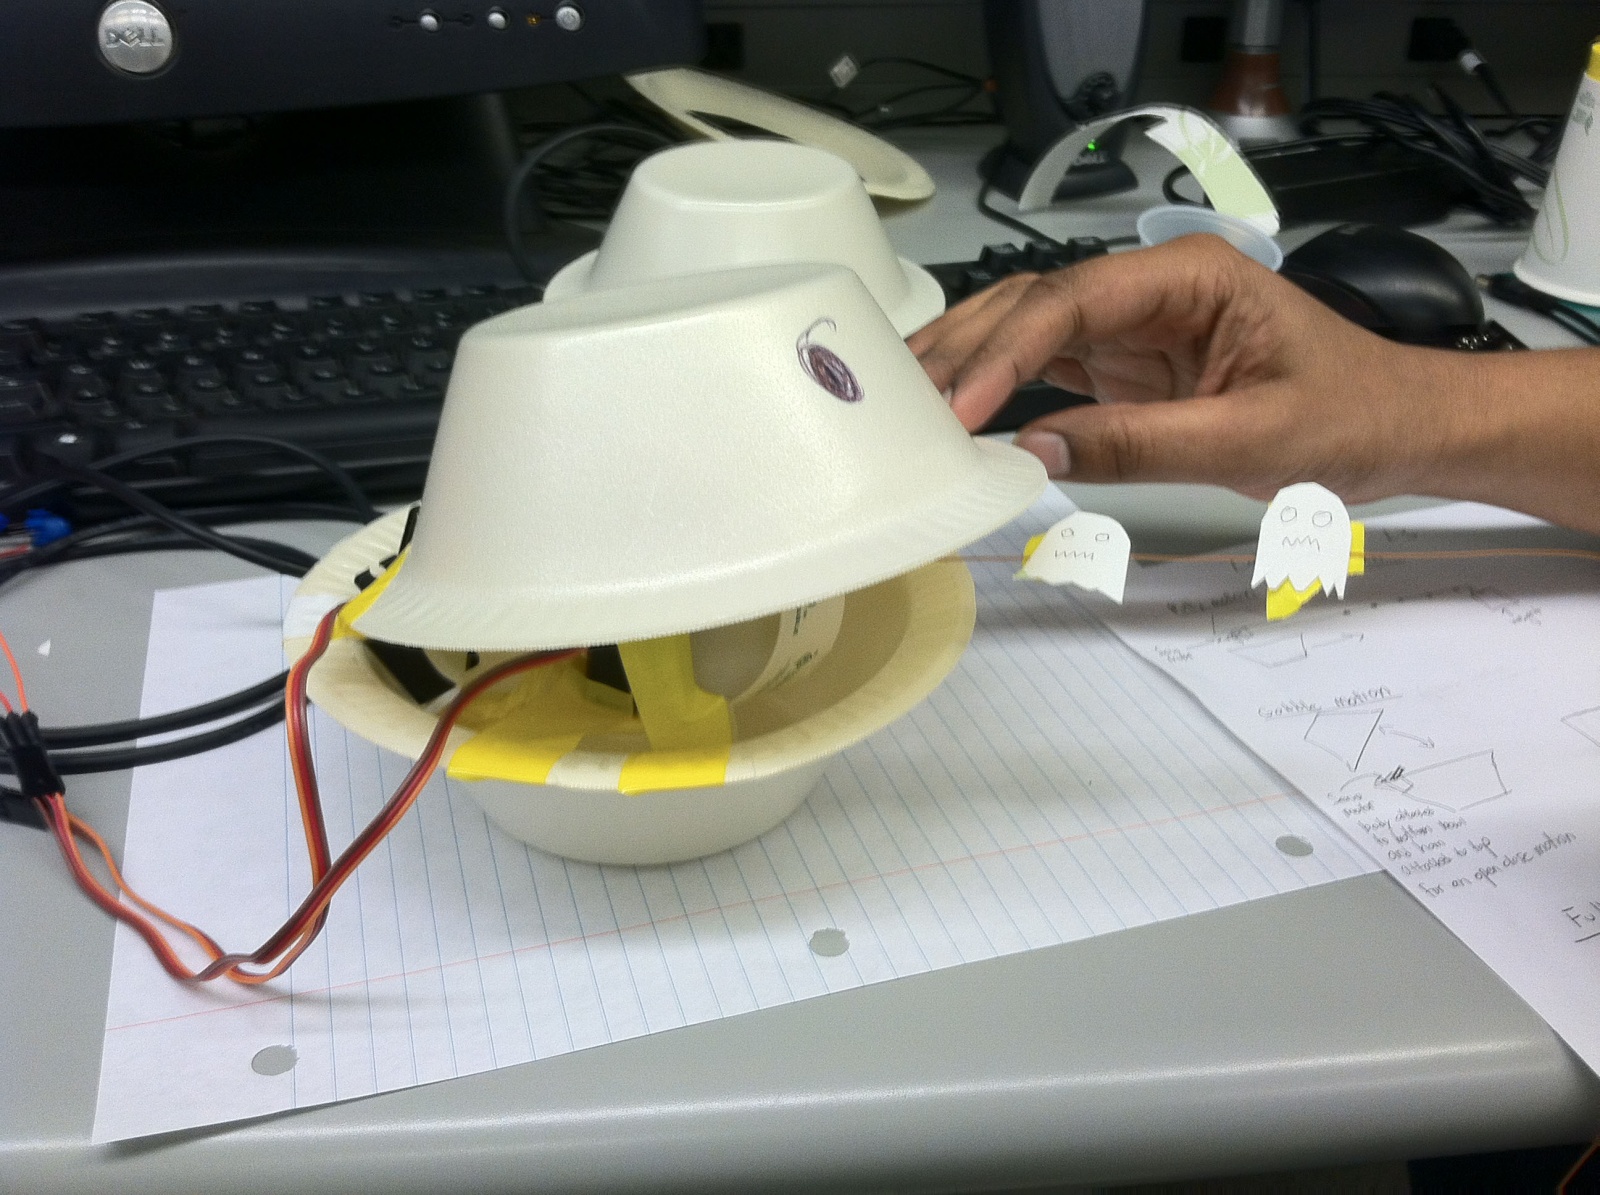
We built a miniature pacman that opens and closes its mouth using a servo motor while being reeled along a wire with edible “ghosts” on it through a servo motor. This reeling allows our pacman to change its position. We built this because one of our group members is an avid fan of pac-man and thought it would be awesome to see pac-man brought to life through motors. Overall we think our project was a success. We like that our final result was able to combine two motors to move both Pac-man’s mouth and his position in tandem. We initially tried to control Pac-man’s position with a DC motor, as we thought reeling in a line is a natural use of a DC motor. However, we found that the DC motor provided to us ultimately did not have enough power to move Pac-man’s body correctly, so we had to use a servo motor instead. If we were given another chance to work on this project, we would probably get a more powerful DC motor to control Pac-man’s position more naturally.
Pacman
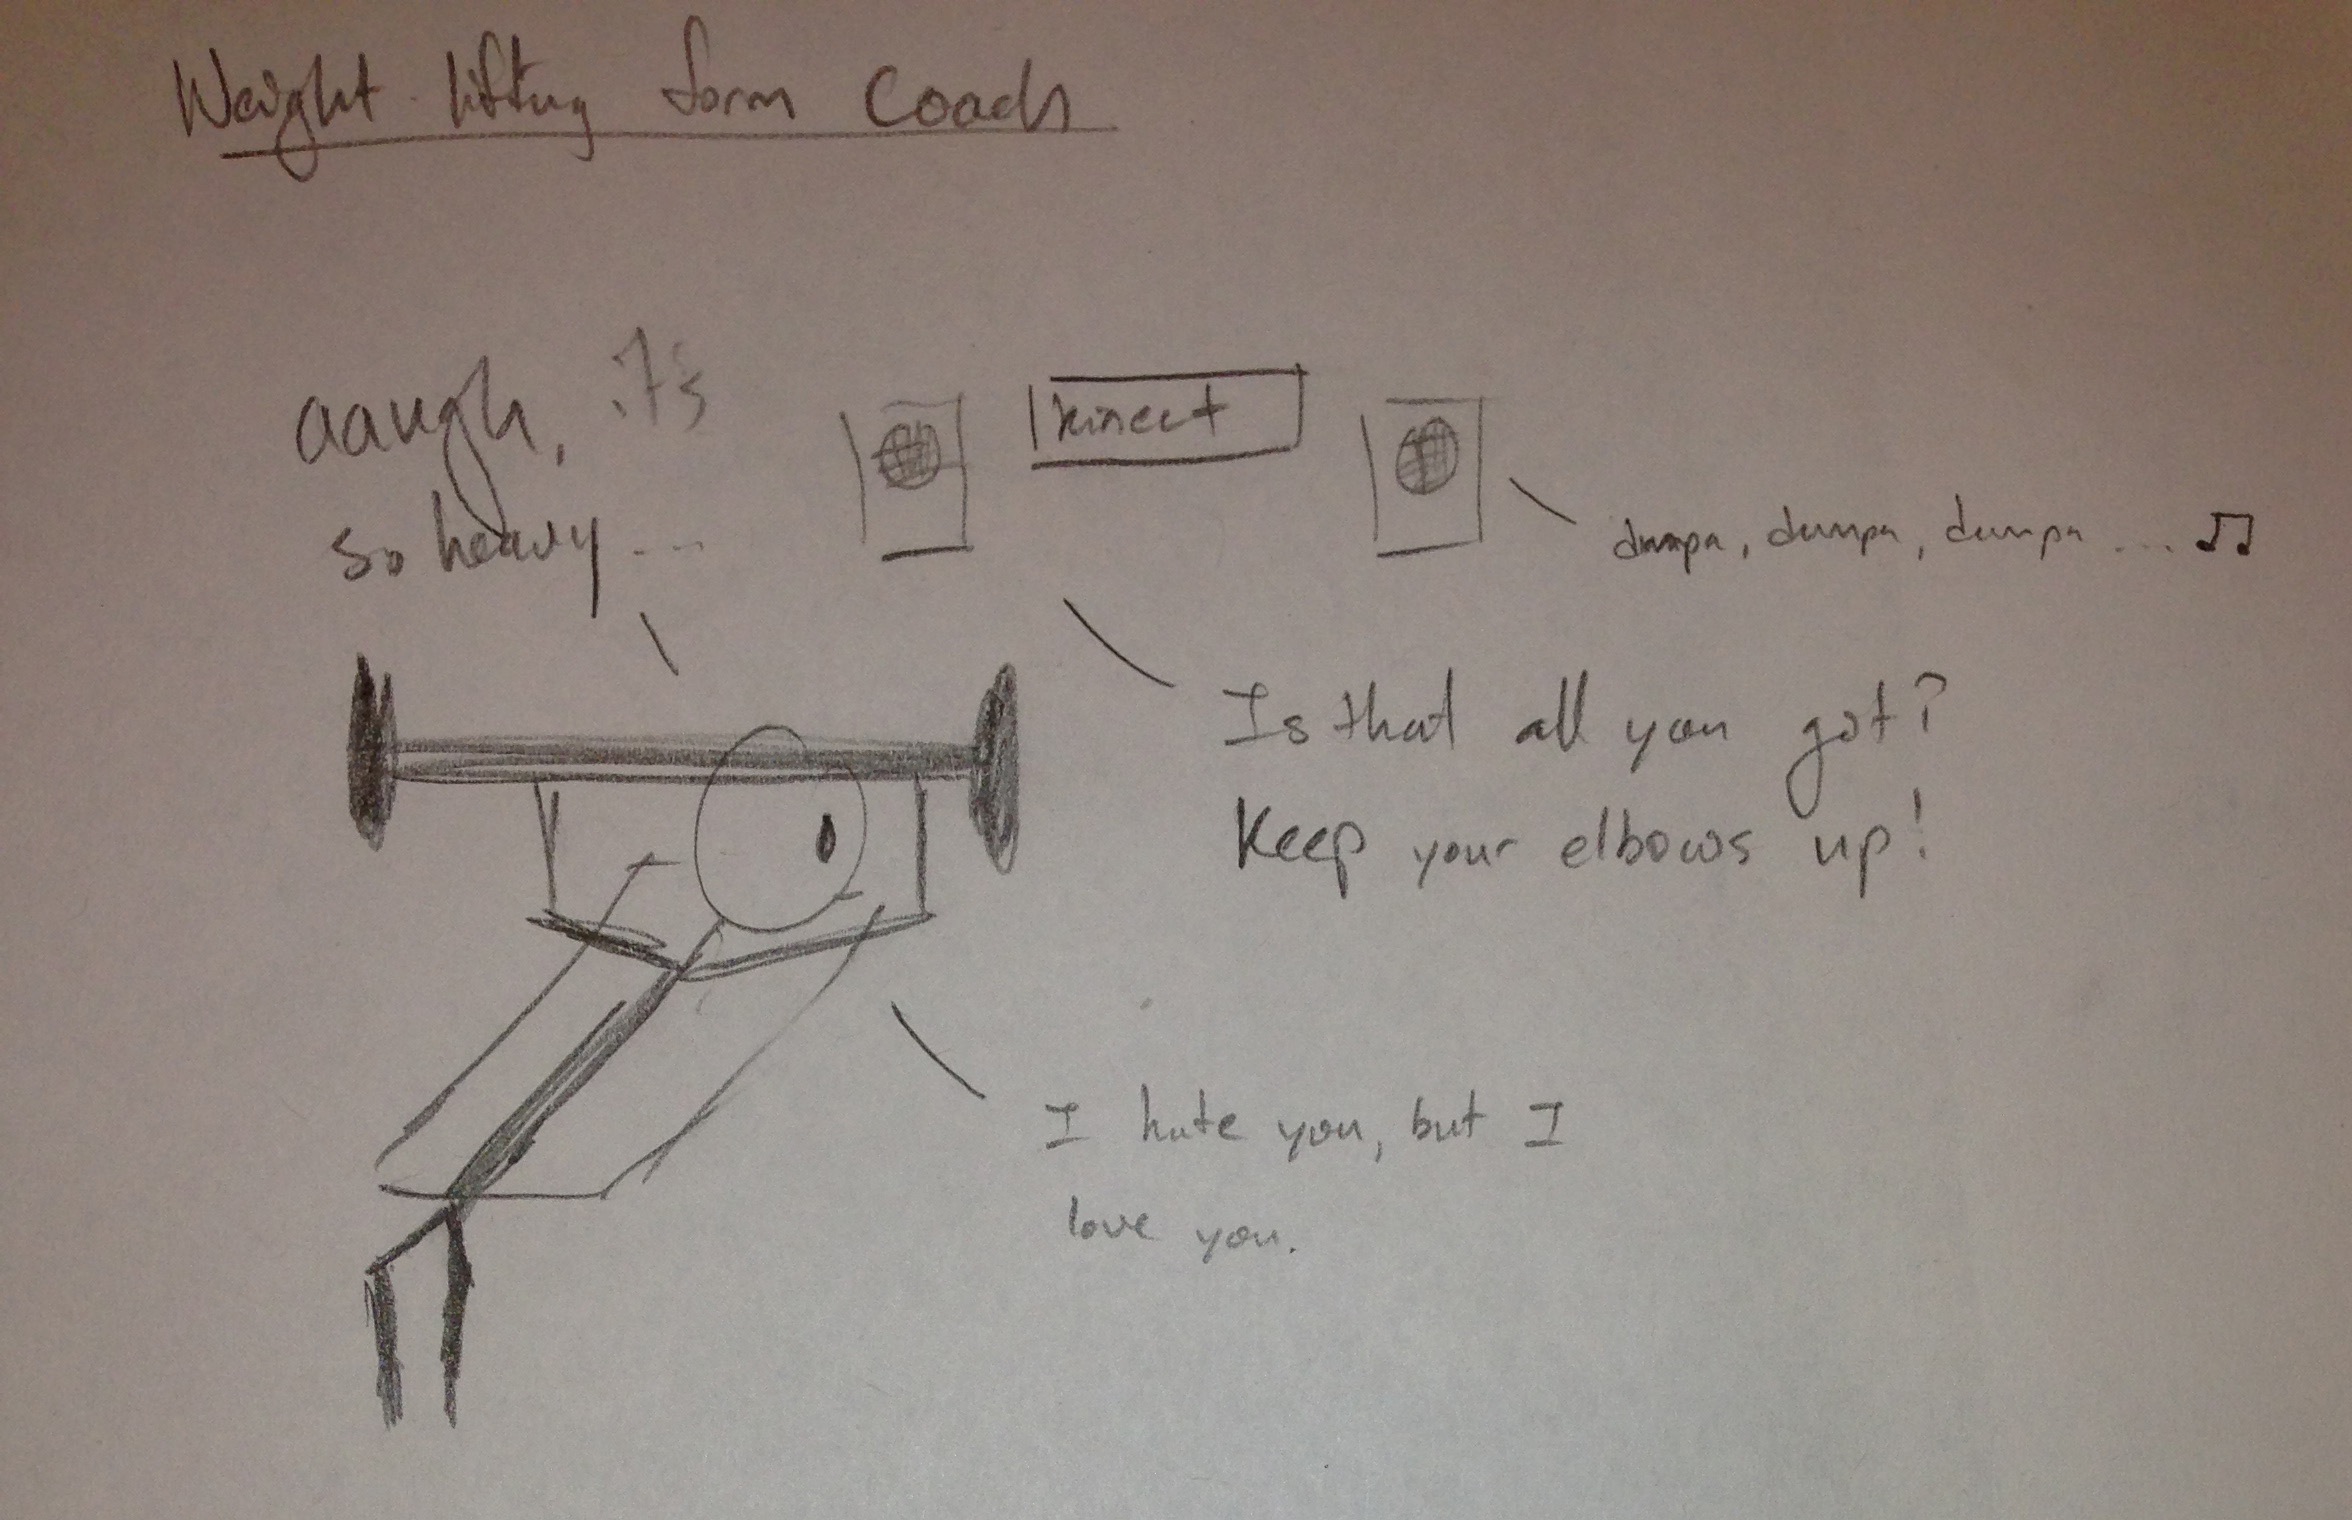
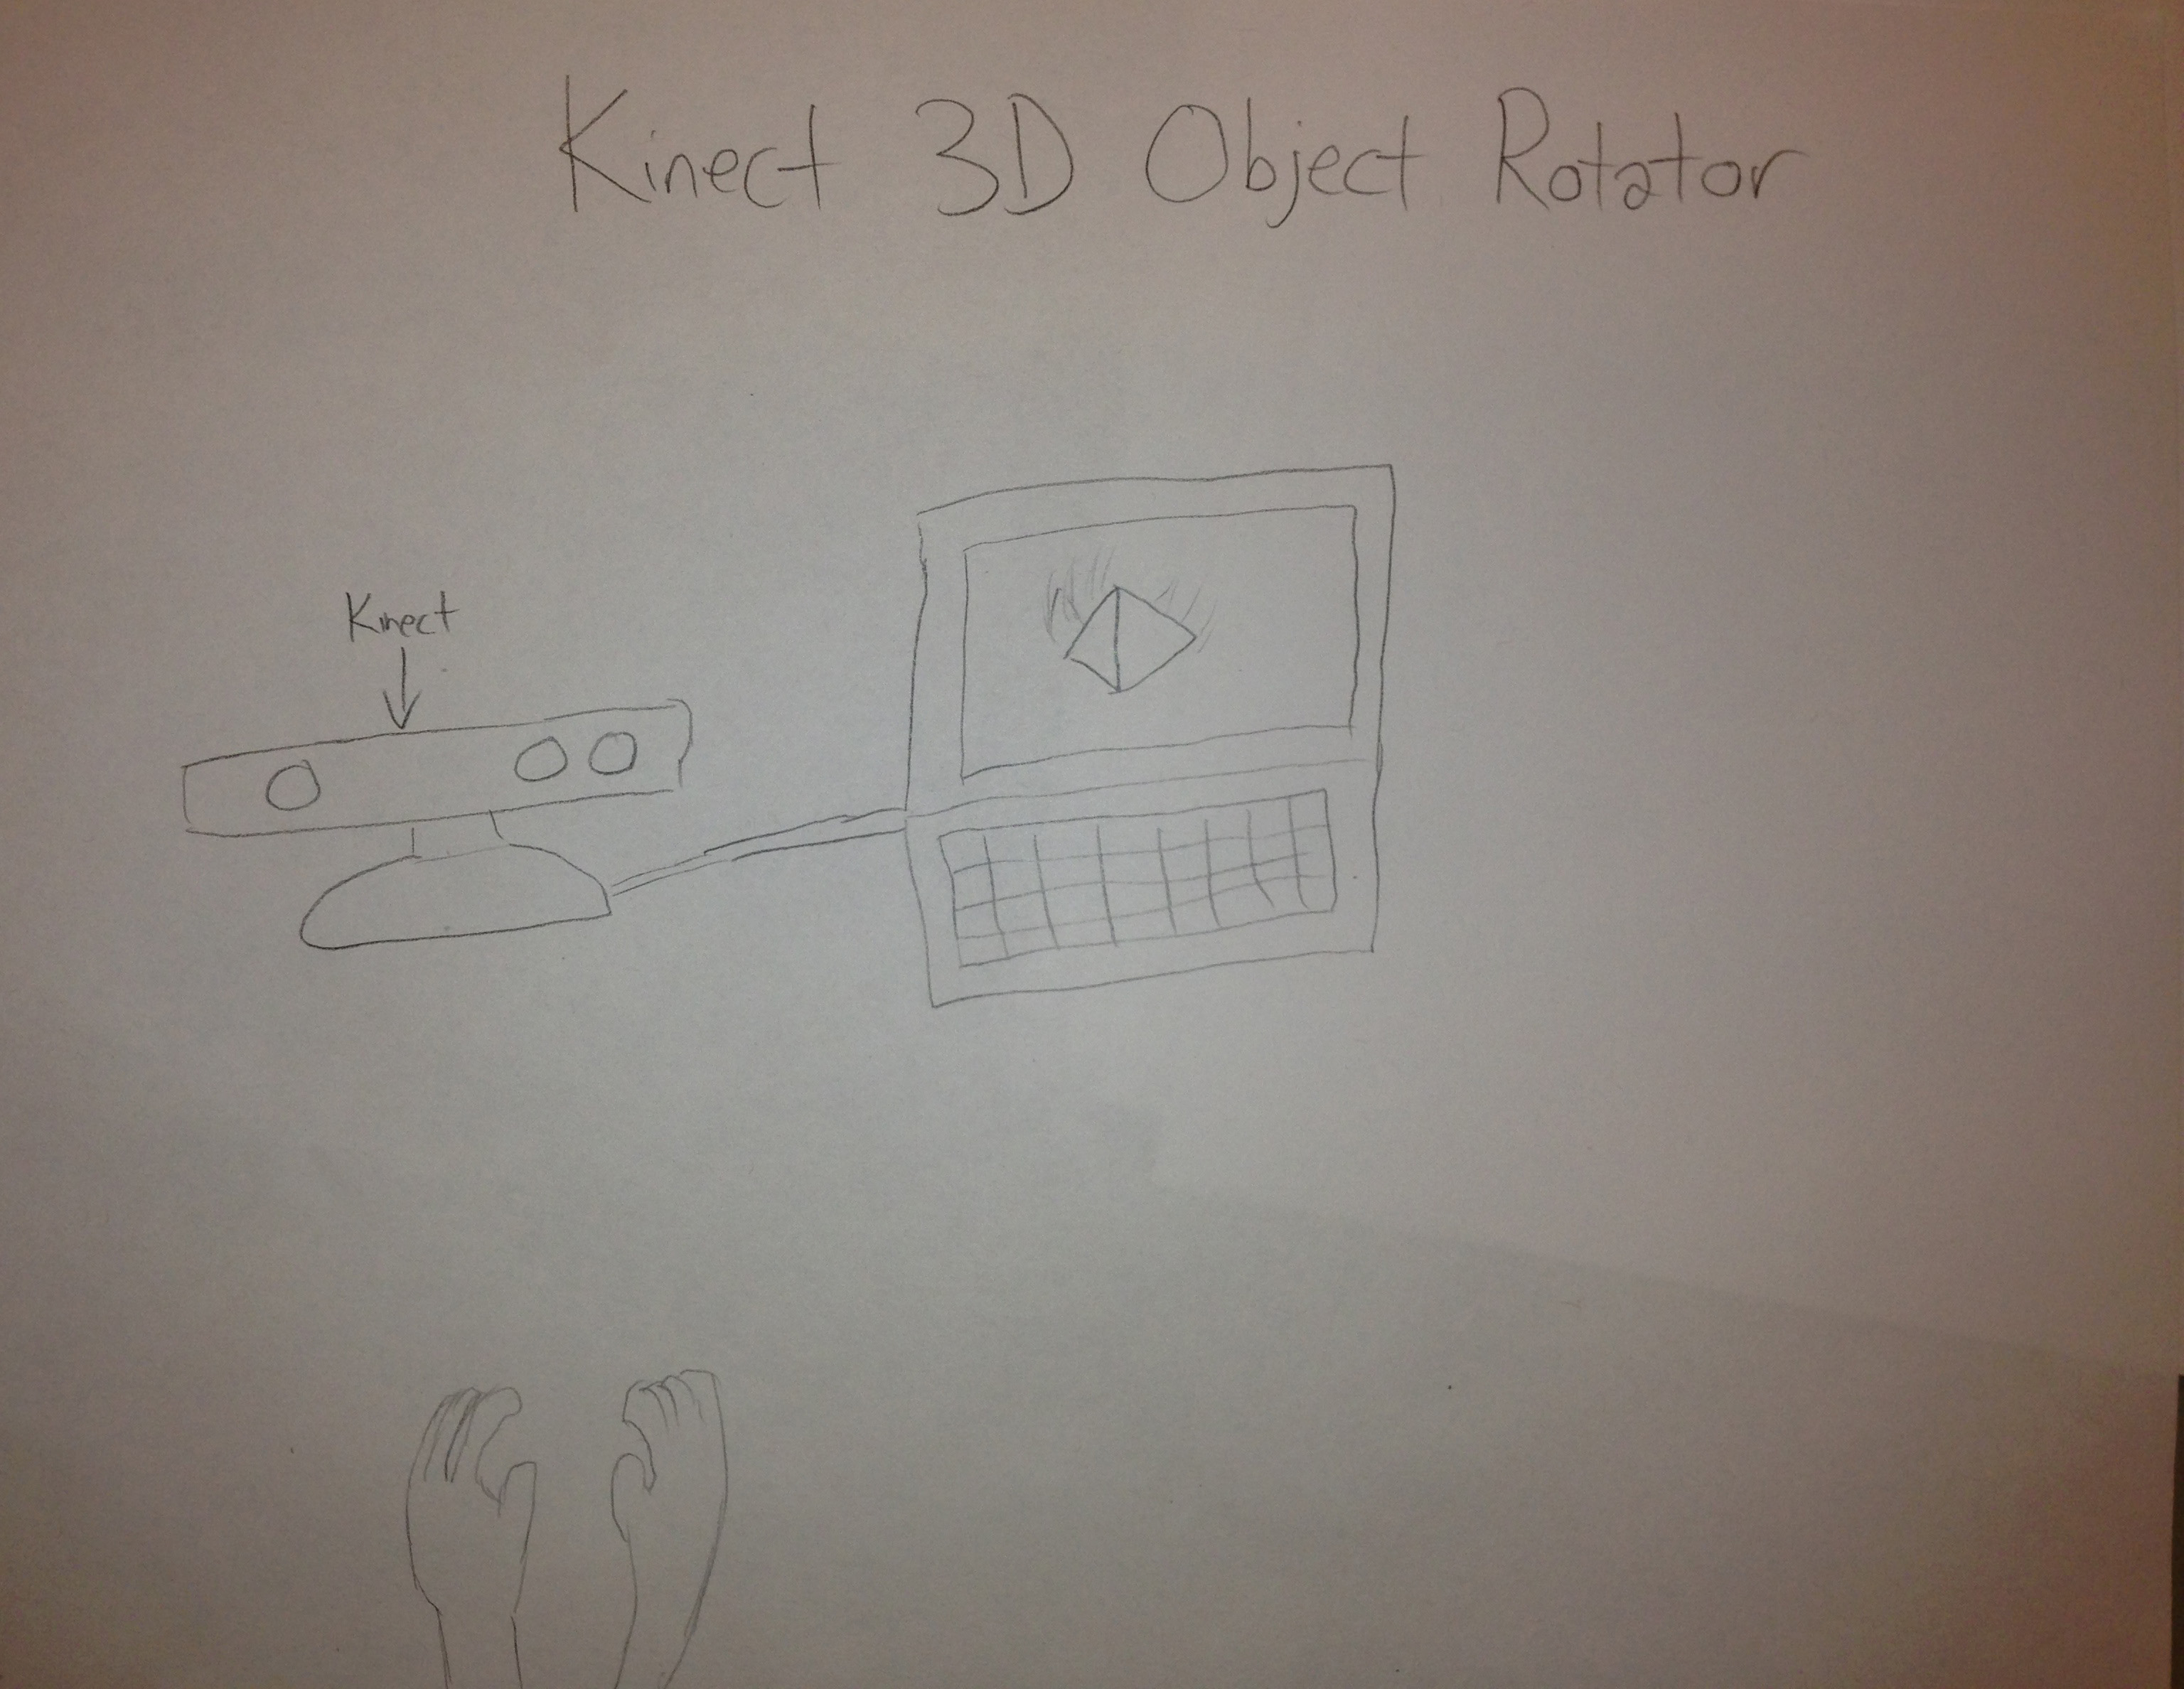
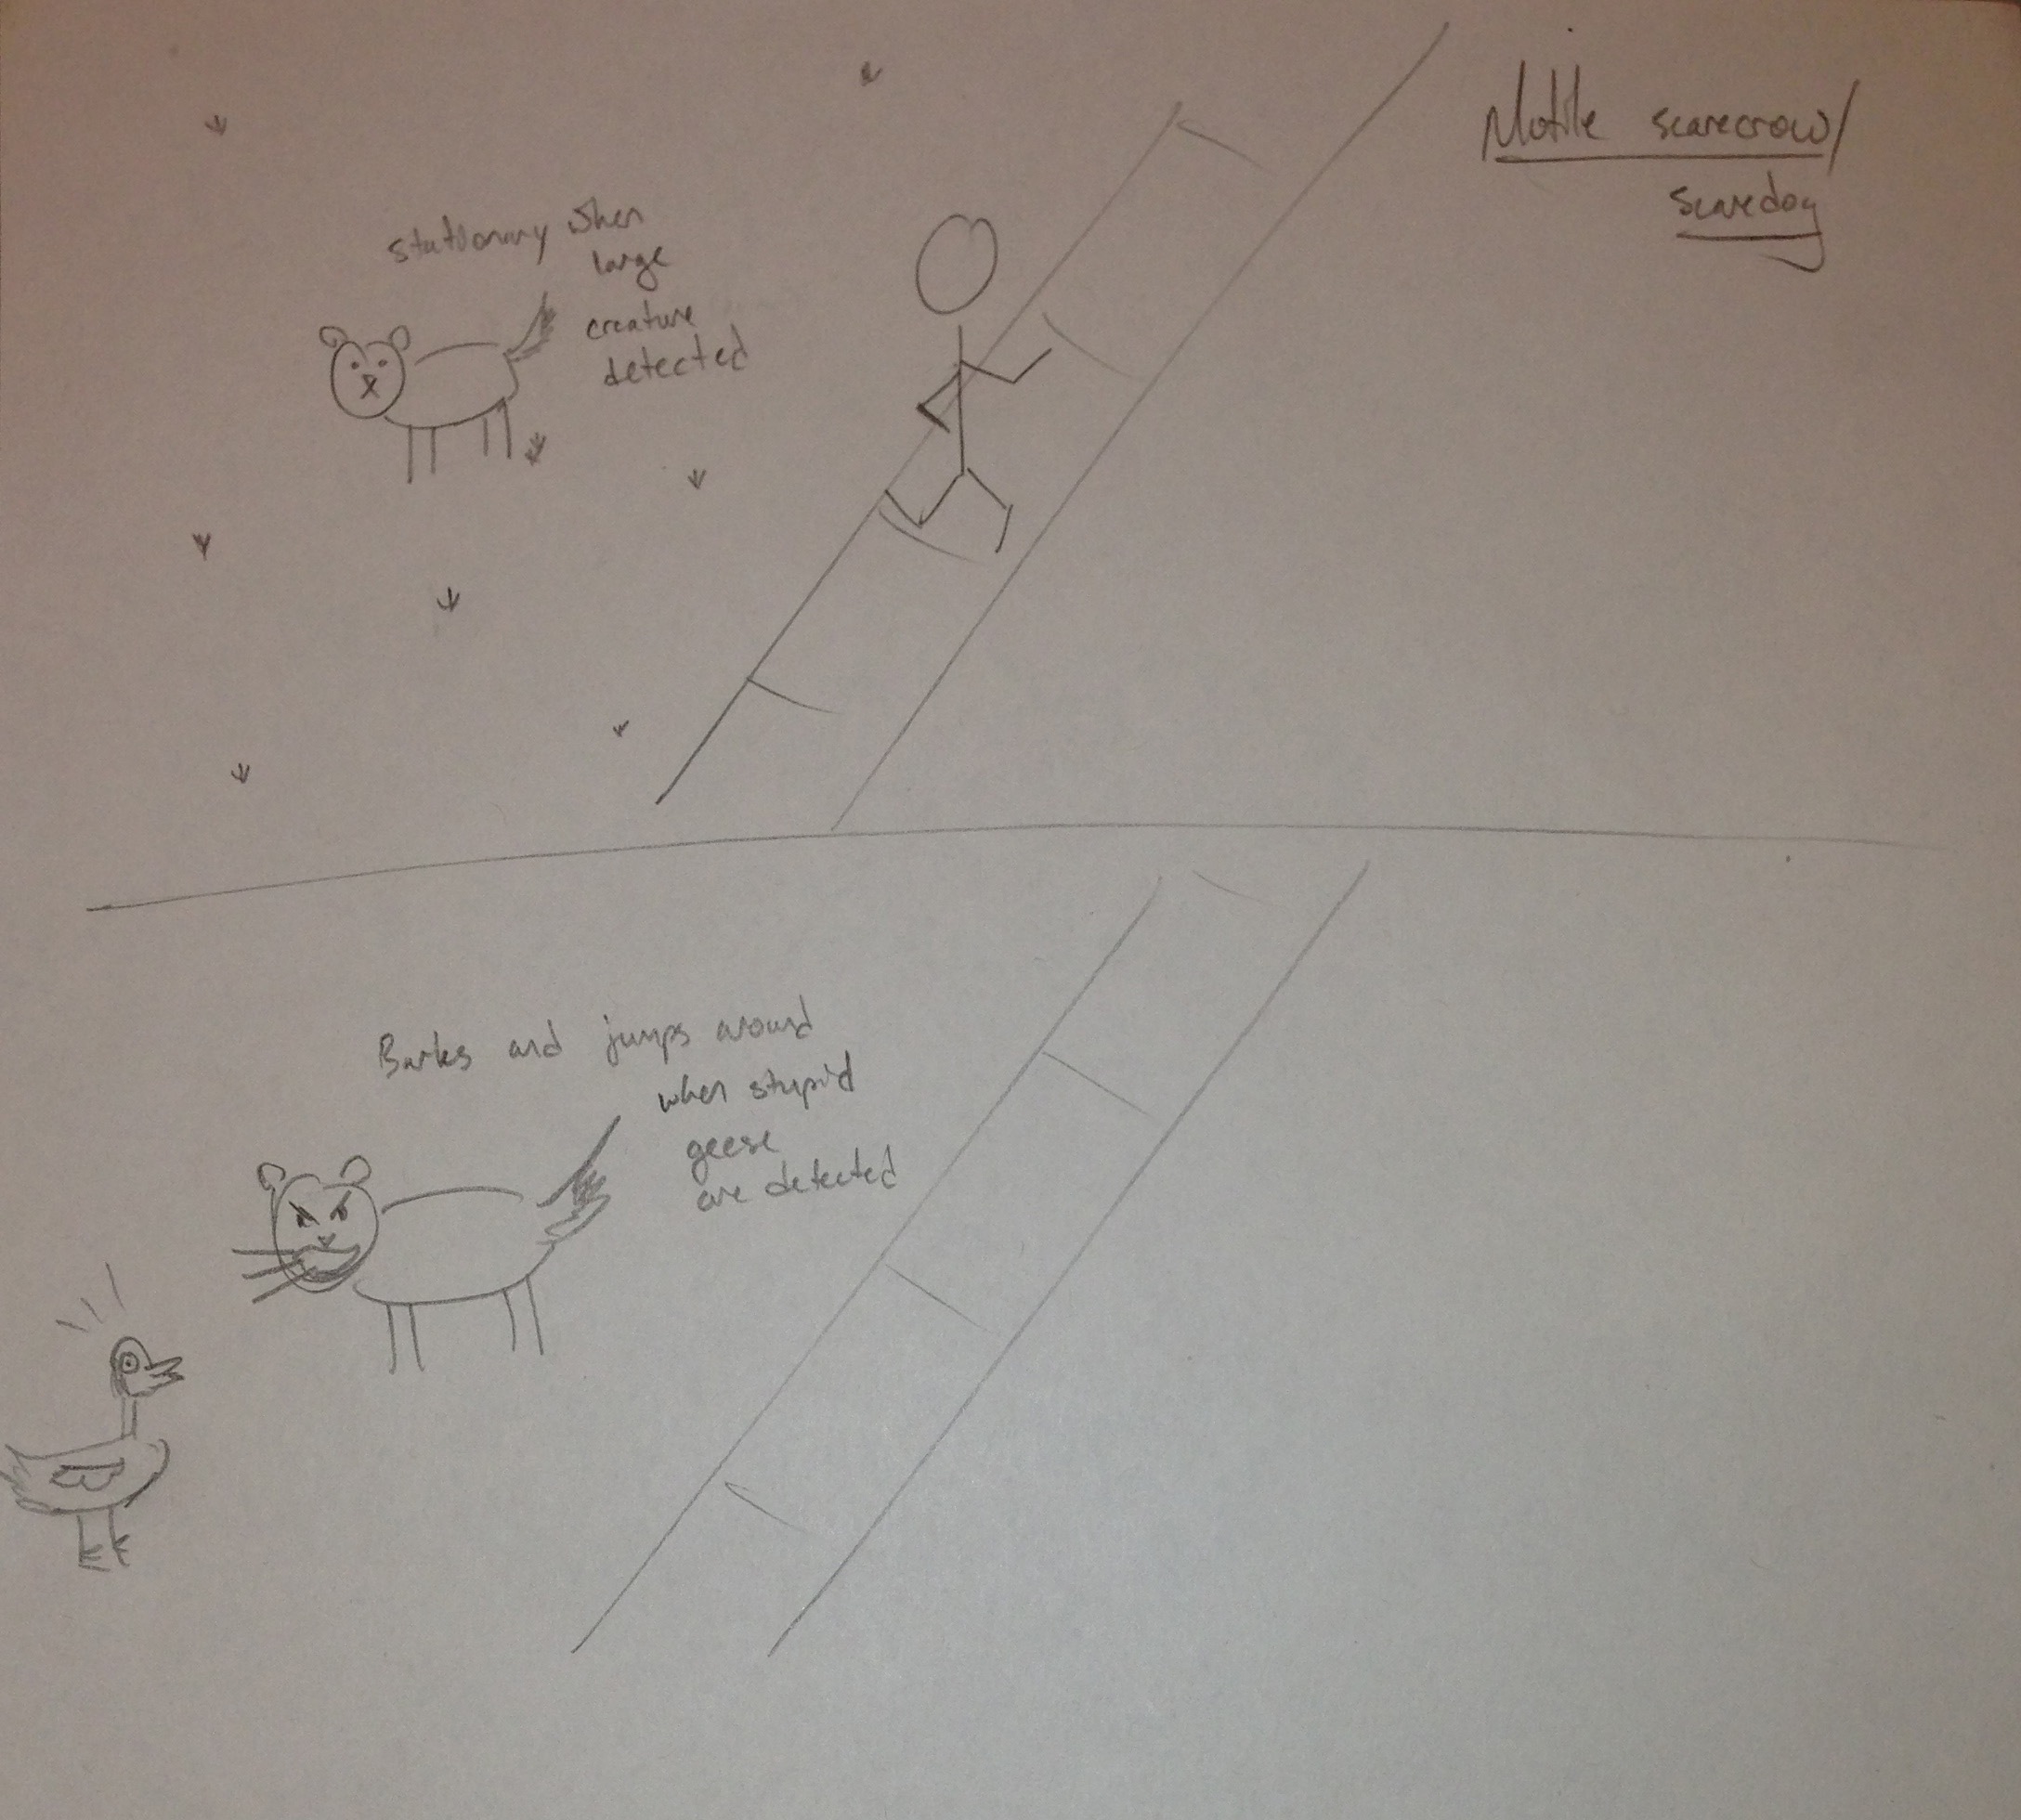
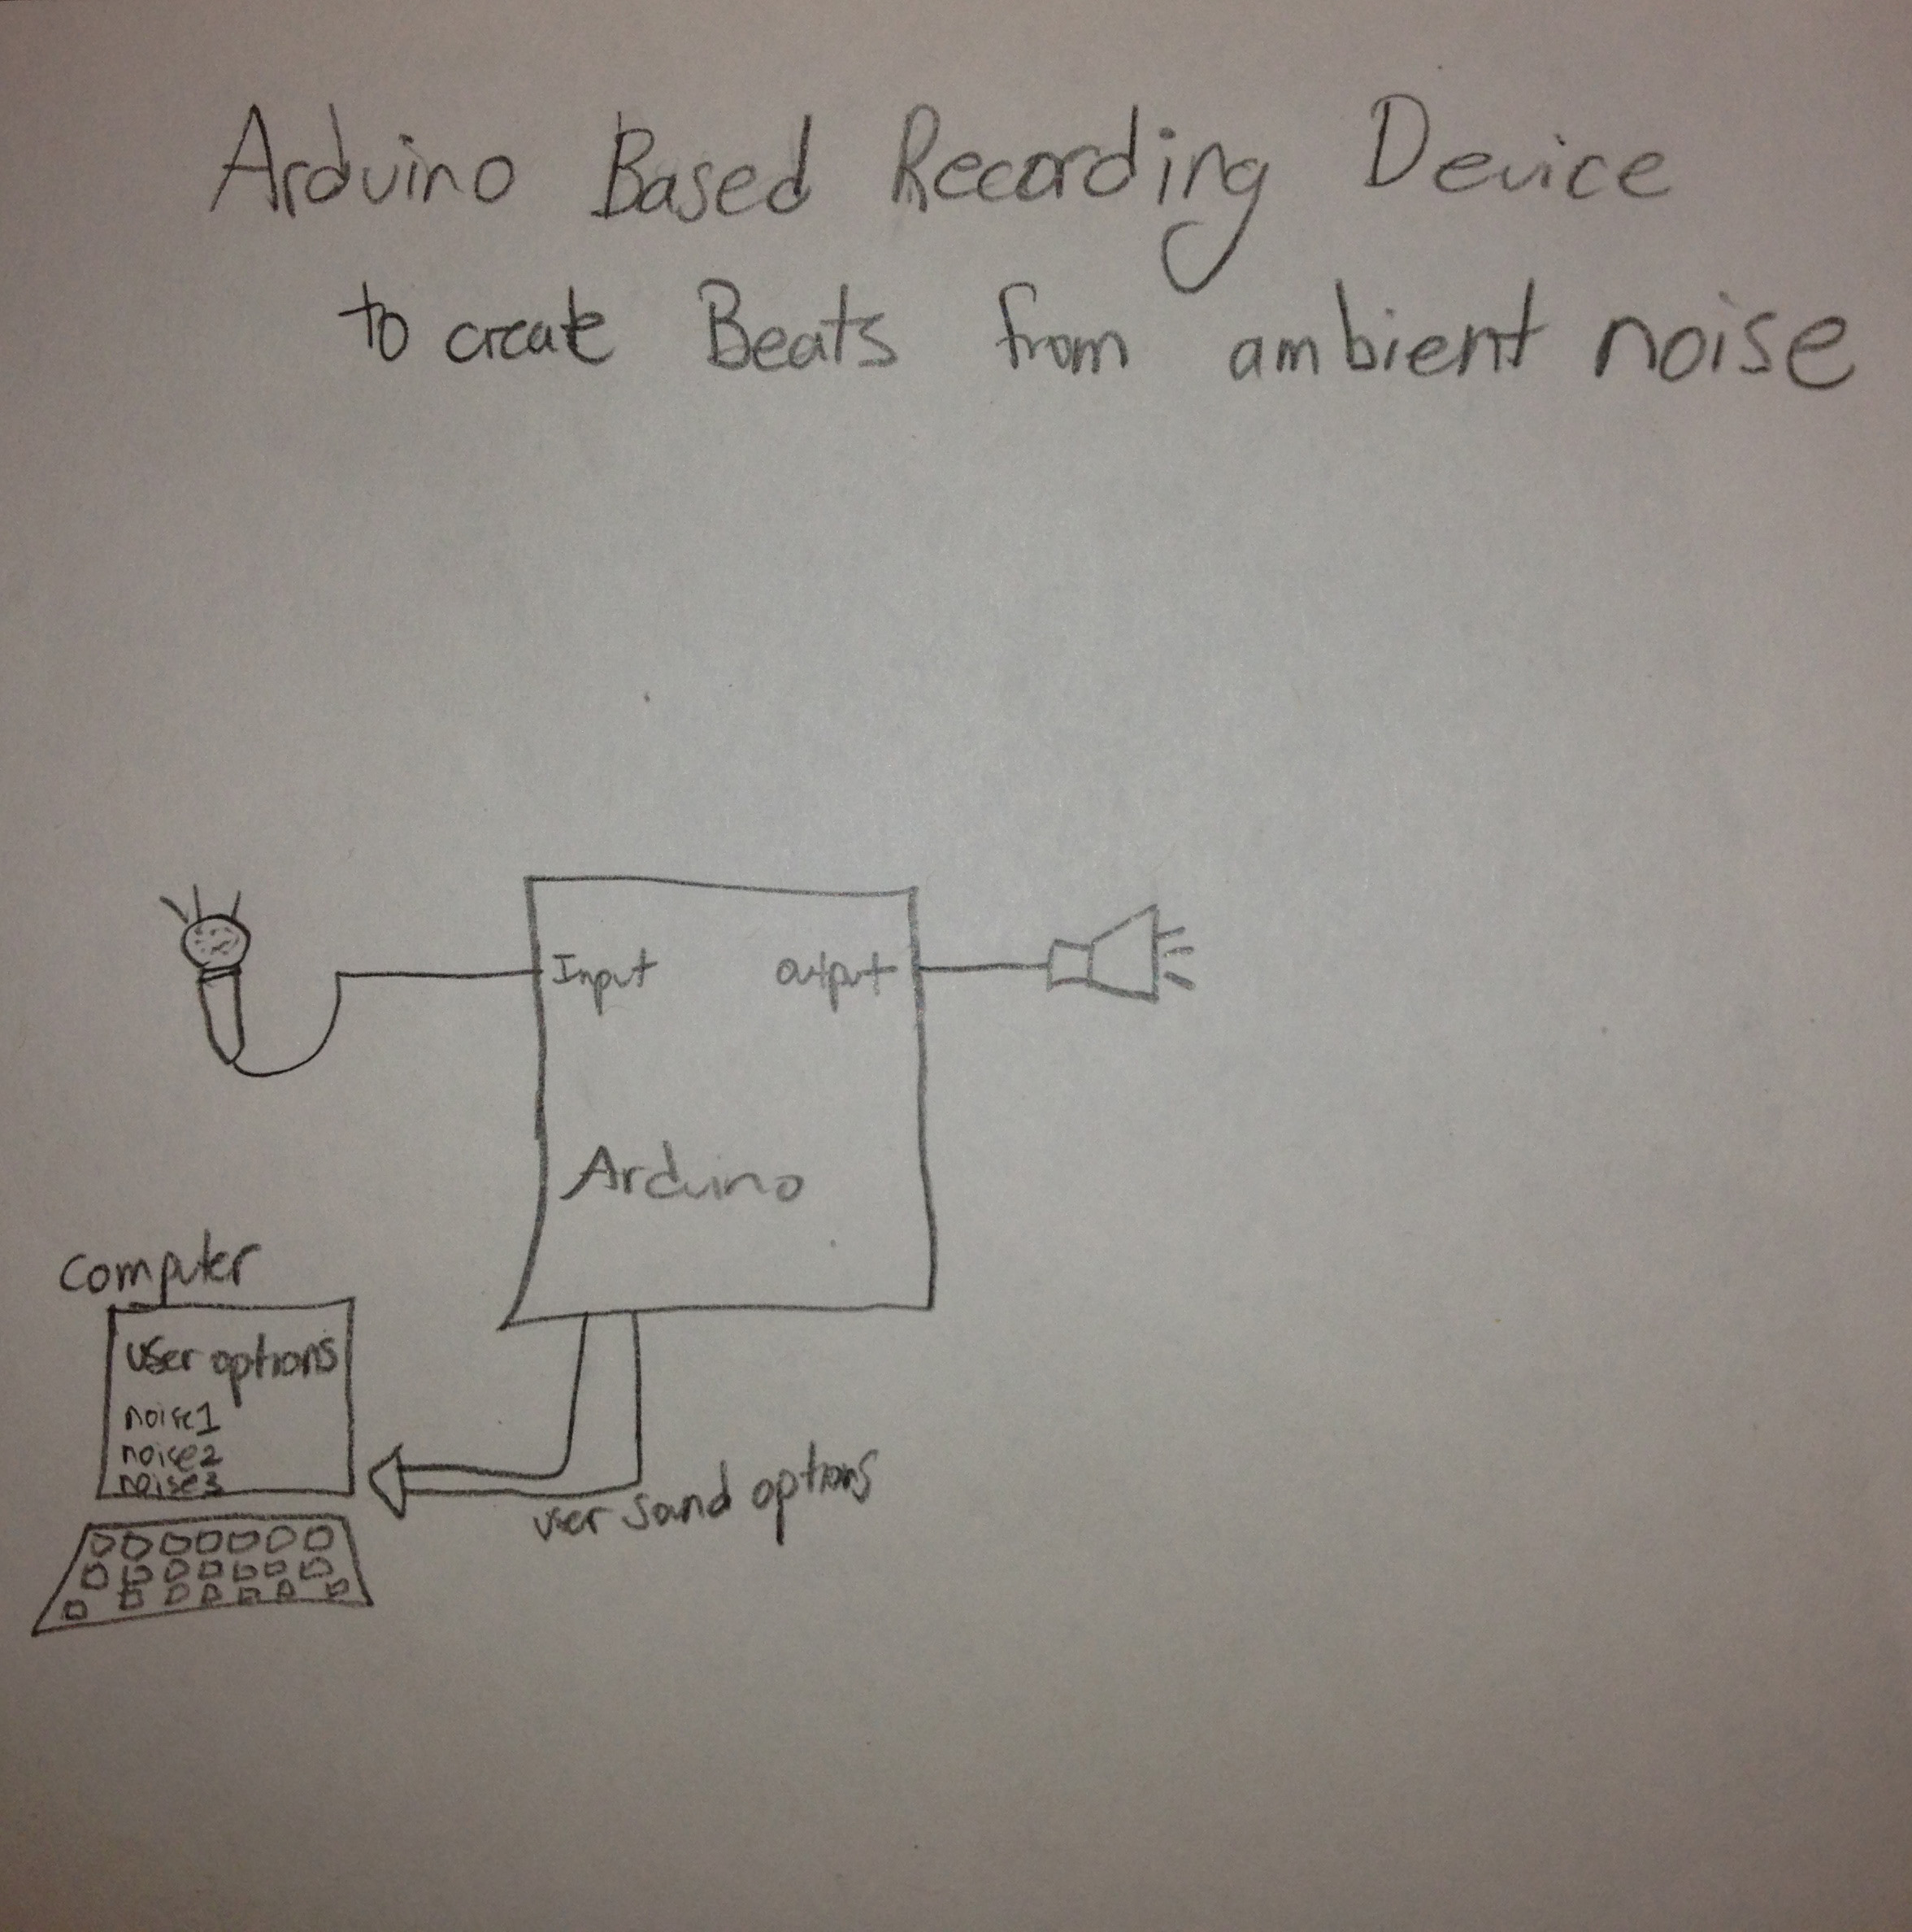
Brainstorm Ideas
- Garden plant on wheels that moves towards the light
- A caterpillar like robot that is basically a motor going through the same motion, but lifting up to move forward
- A spider like crawler with multiple motors moving each leg
- A car with 4 wheels
- A two wheeler like a moped
- A two wheeler like a segway
- A servo motor to operate a rudder at the back of the robot and move the robot to its destination in water
- A robot that can operate a pulley and pull itself up
- A robot that will sense light and move away
- A cripple simulator that moves by twitching a limb using the servo motor
- A fan-powered car (the wheels are mobile, but it’s the fan that is actually motile and powered by a dc motor)
- A helicopter using motors as rotors
- Use a ton of wire to create a changing magnetic field to power our very own magnet train.
- A window washer that can ascend and descend vertical surfaces by winding up or out a string using a motor.
- A robot that will use a flex sensor to hit against a wall and “bounce” away when the flex sensor bends enough
- A morbid imitation goose (they have no gag reflex) that continually “swallows” a string and by doing so, achieves motion.
- Fish robot that you reel in.
- Robot that does the butterflystroke on land
- a robot that hops, like a rabbit with a motor winding a spring and then releasing
- a robot that has wings to flap – like one of those birds that fly in a circle
- a snake like robot that slithers,
- Spider robot that moves up and down in midair as if on a strand of silk.
- A motorboat-like thing that swims around a bowl of water
- Pac-man moving towards a dot
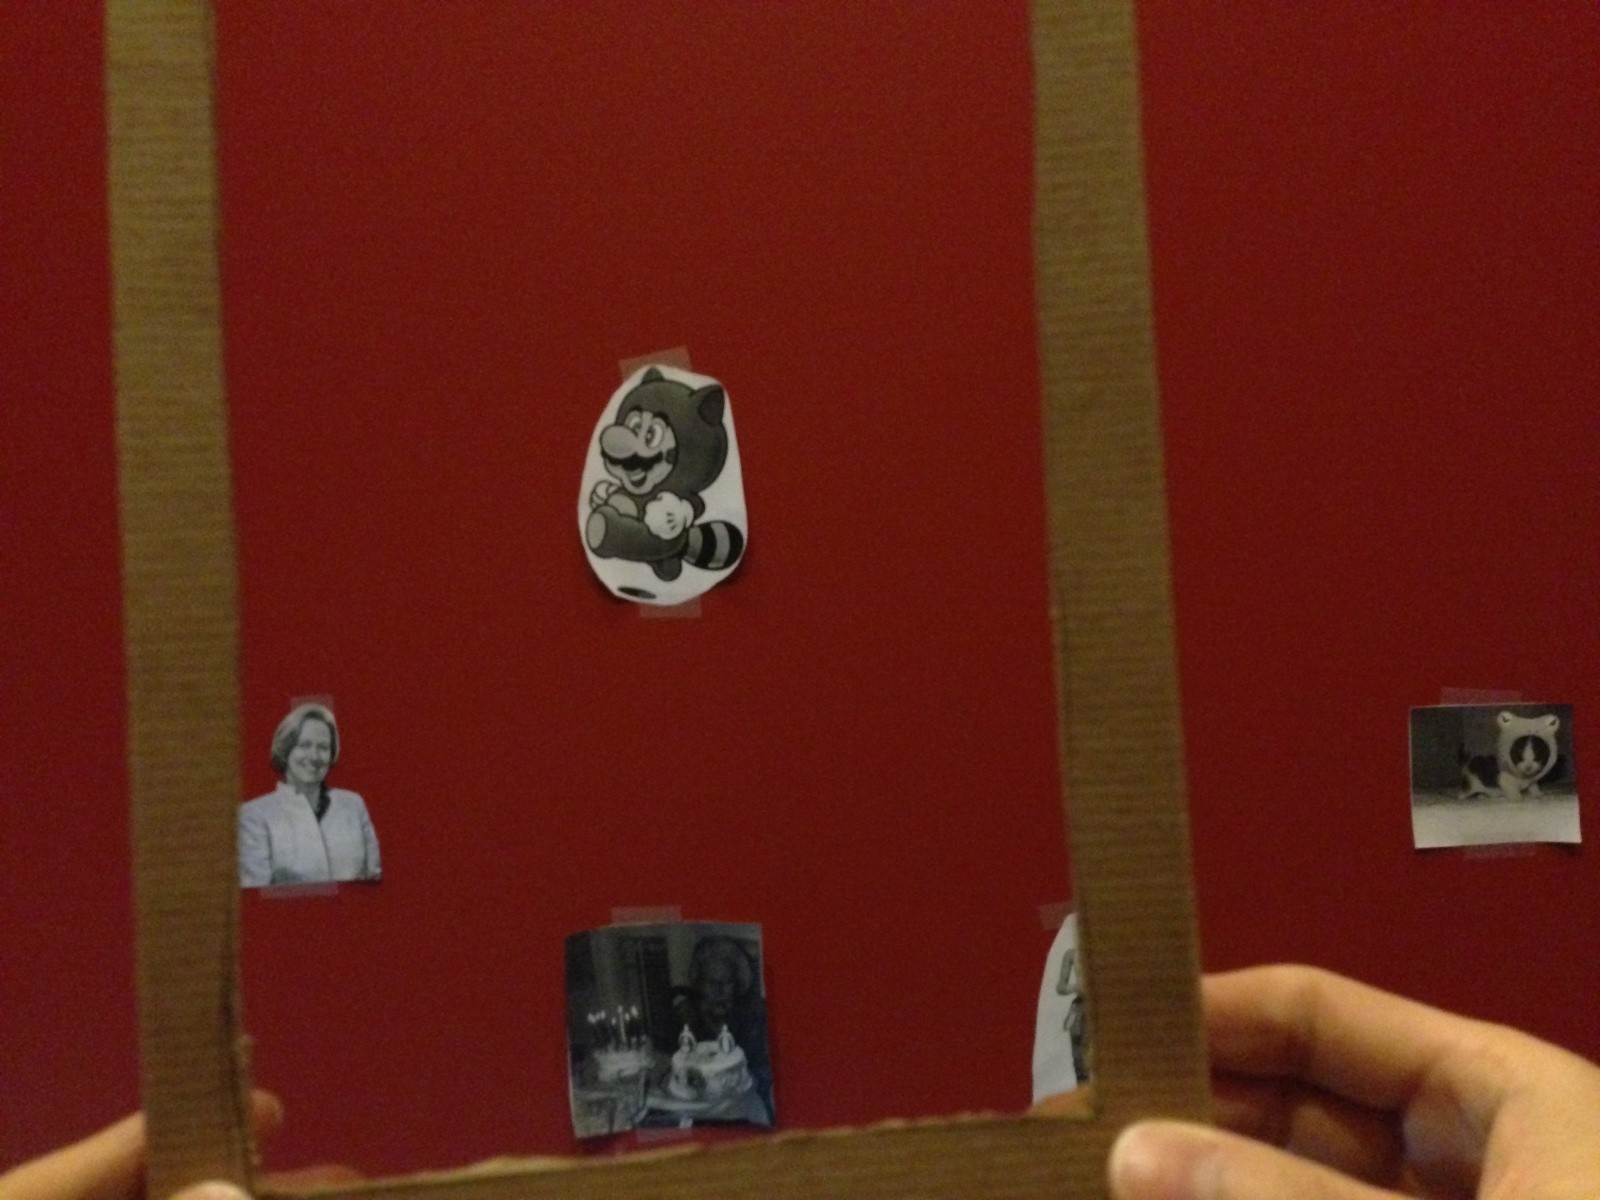
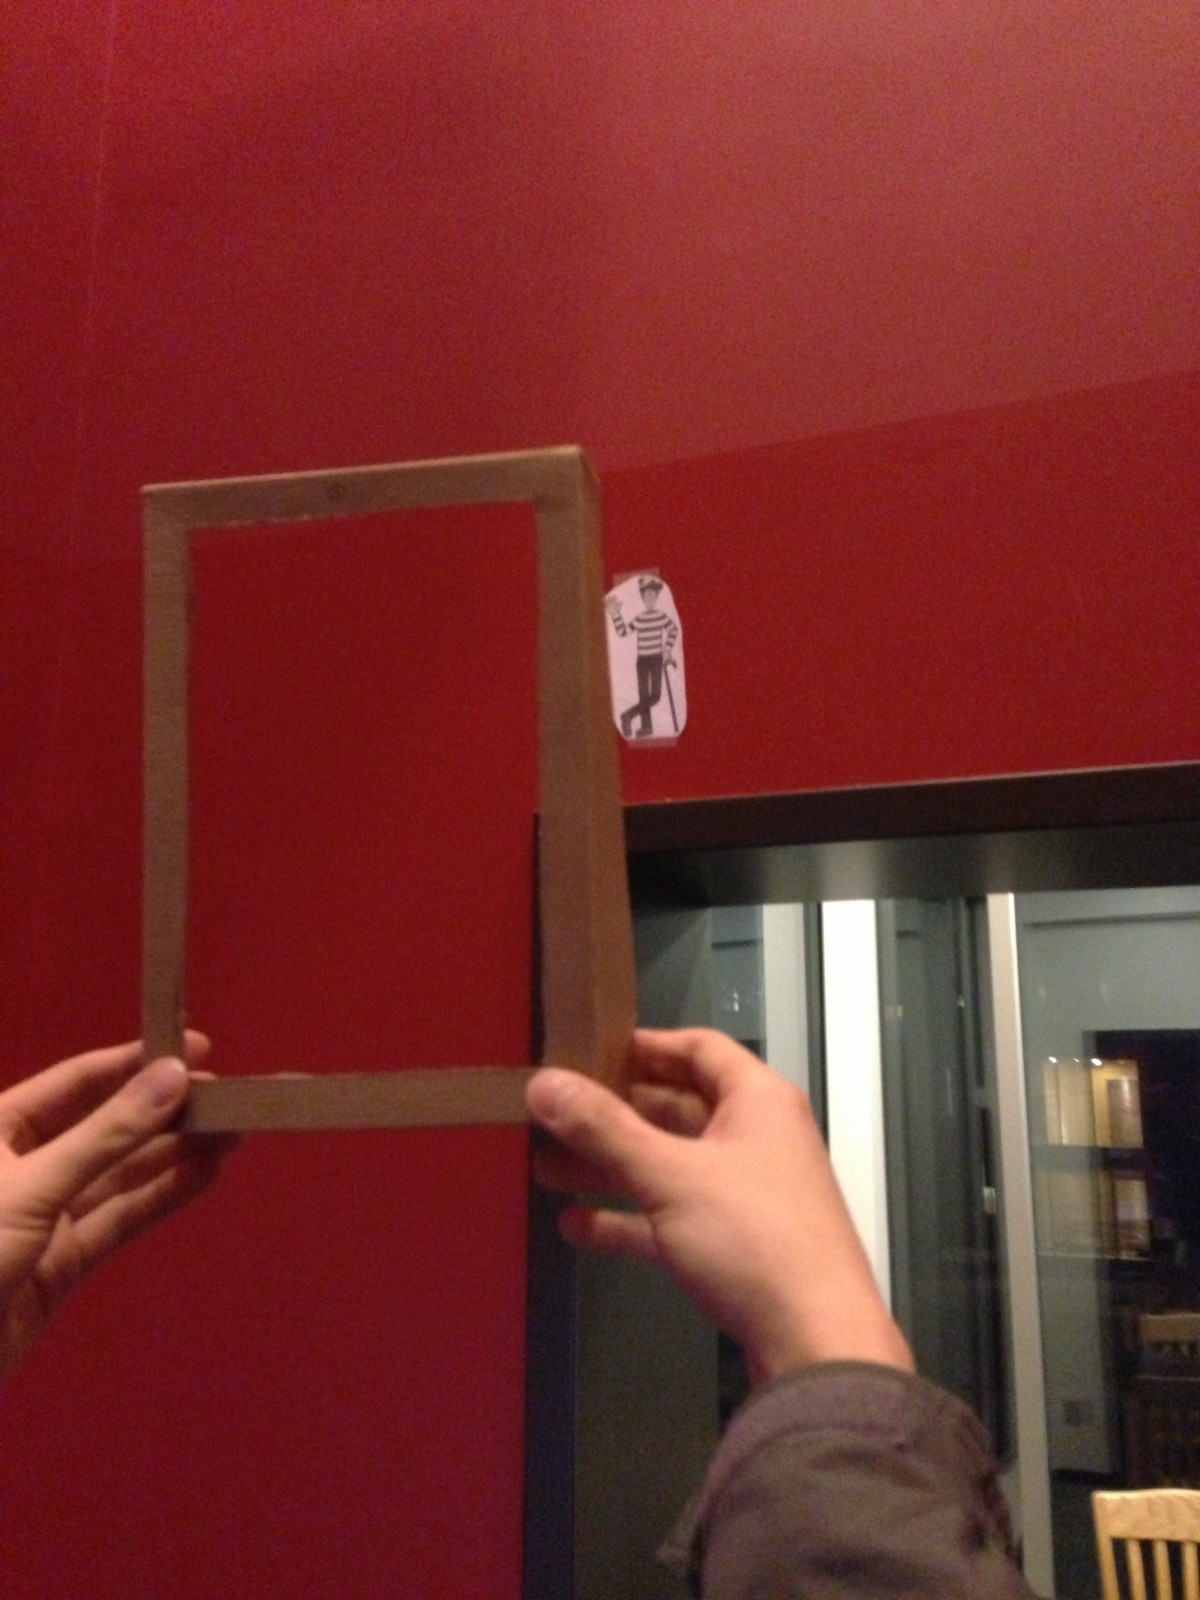
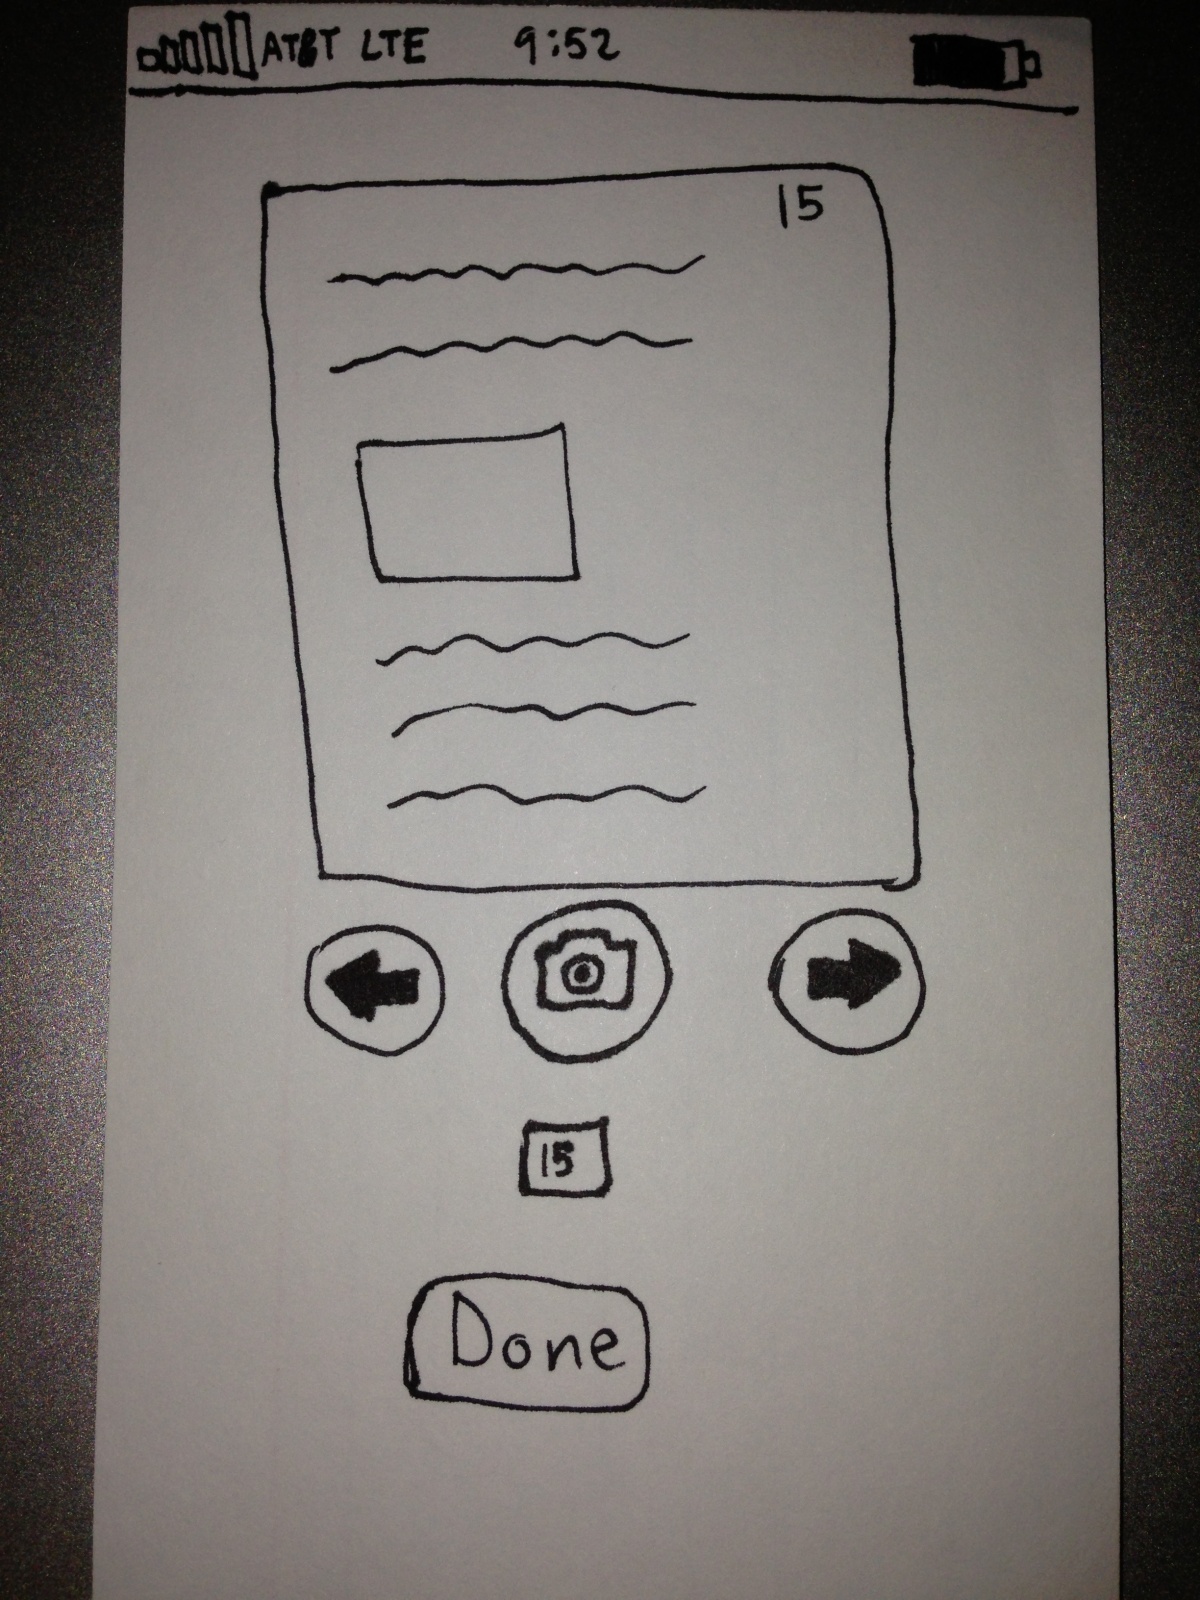
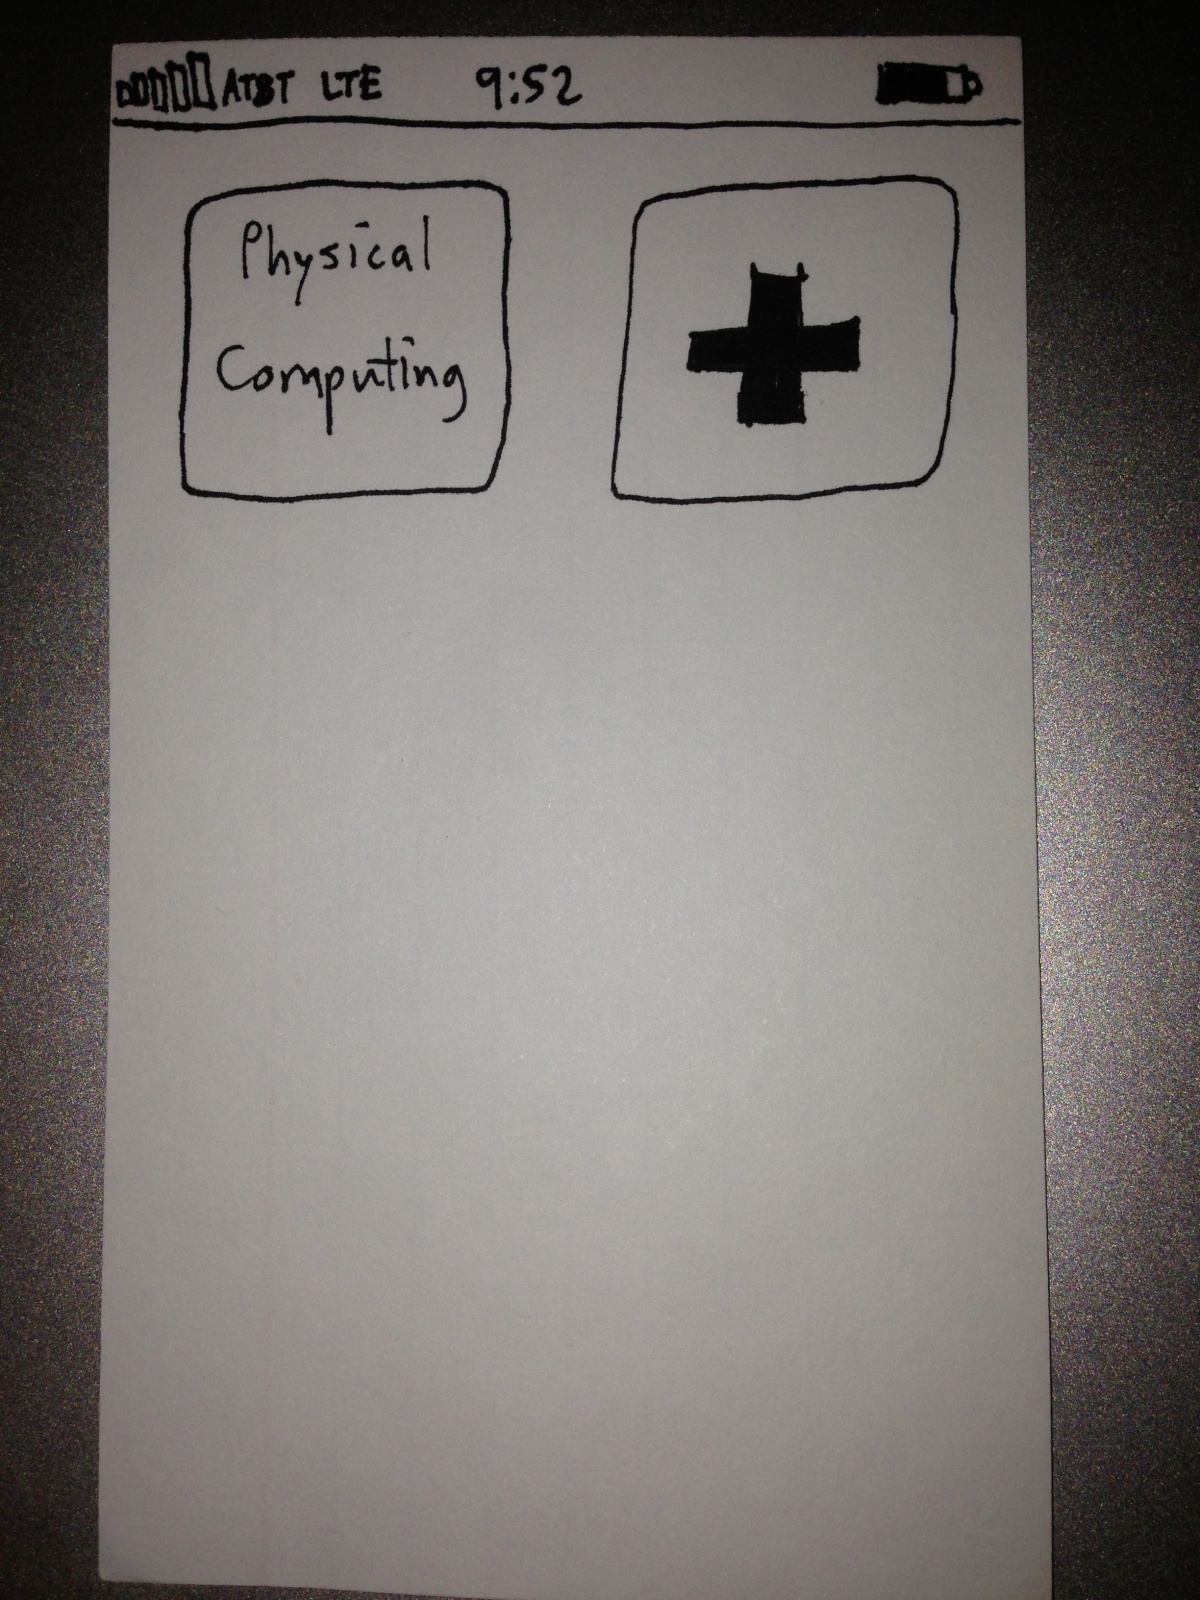
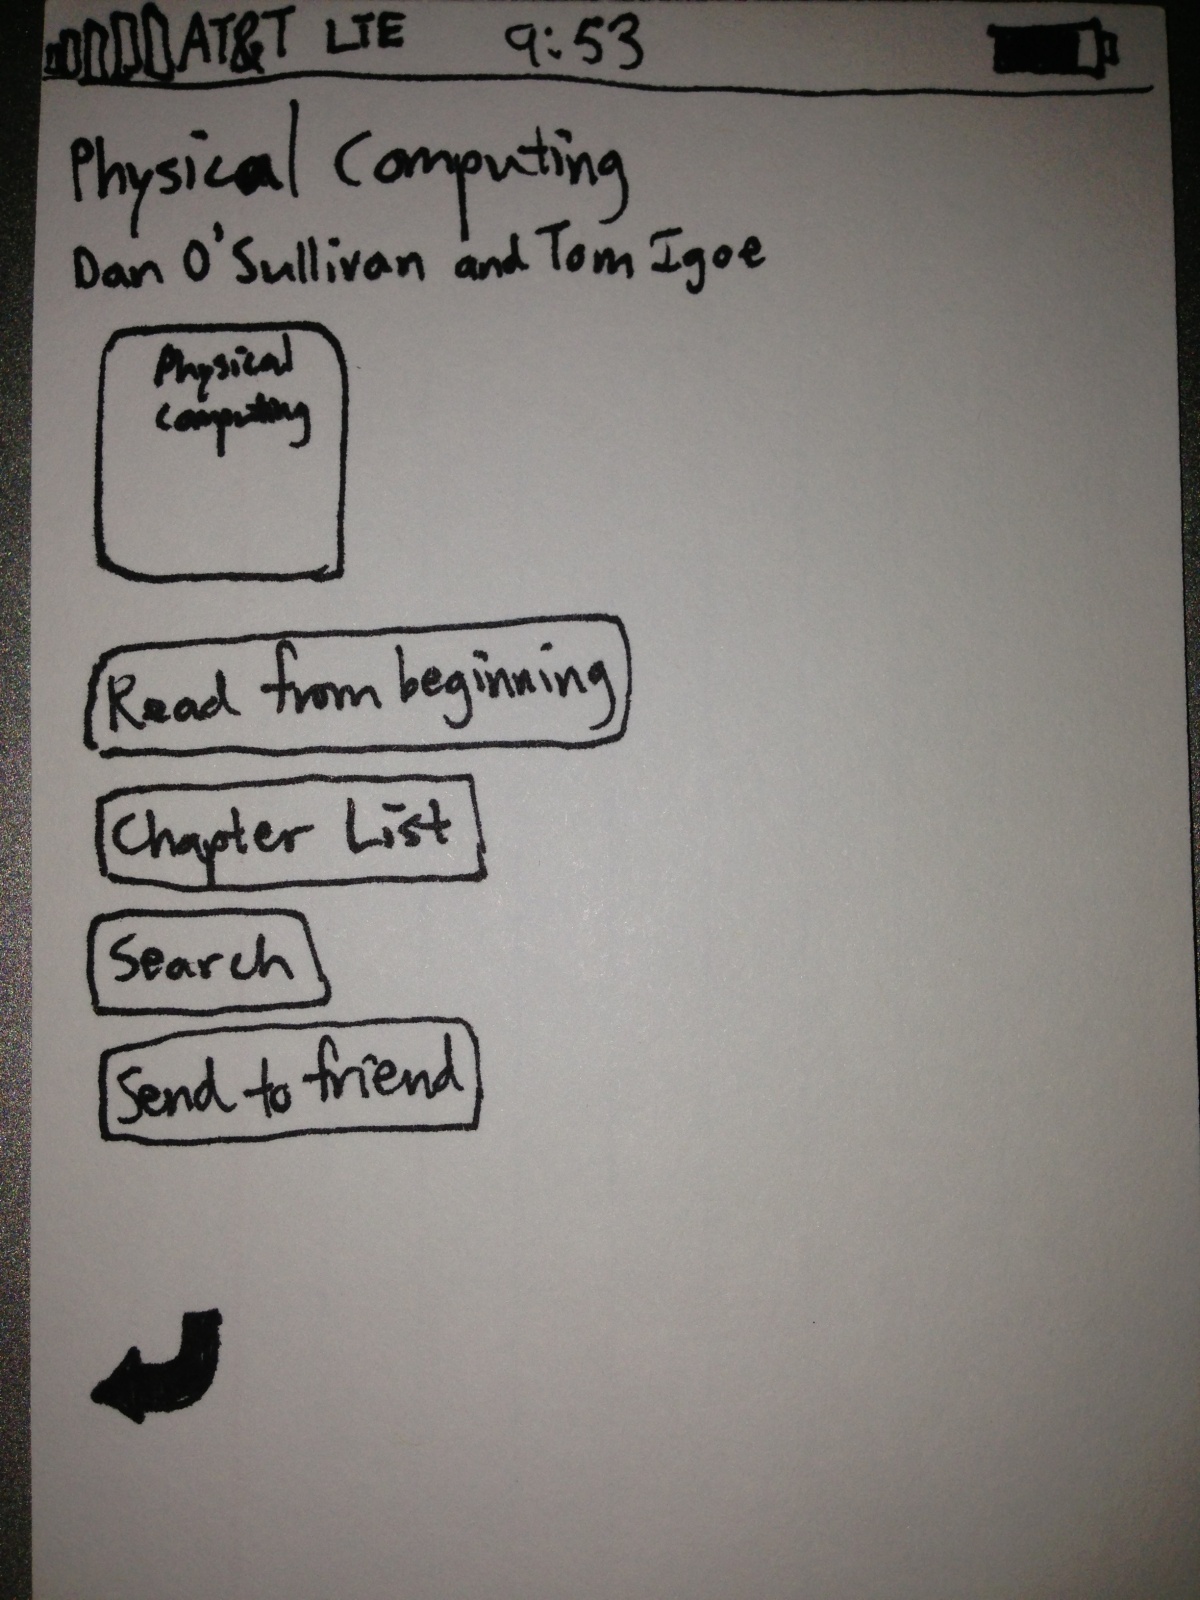
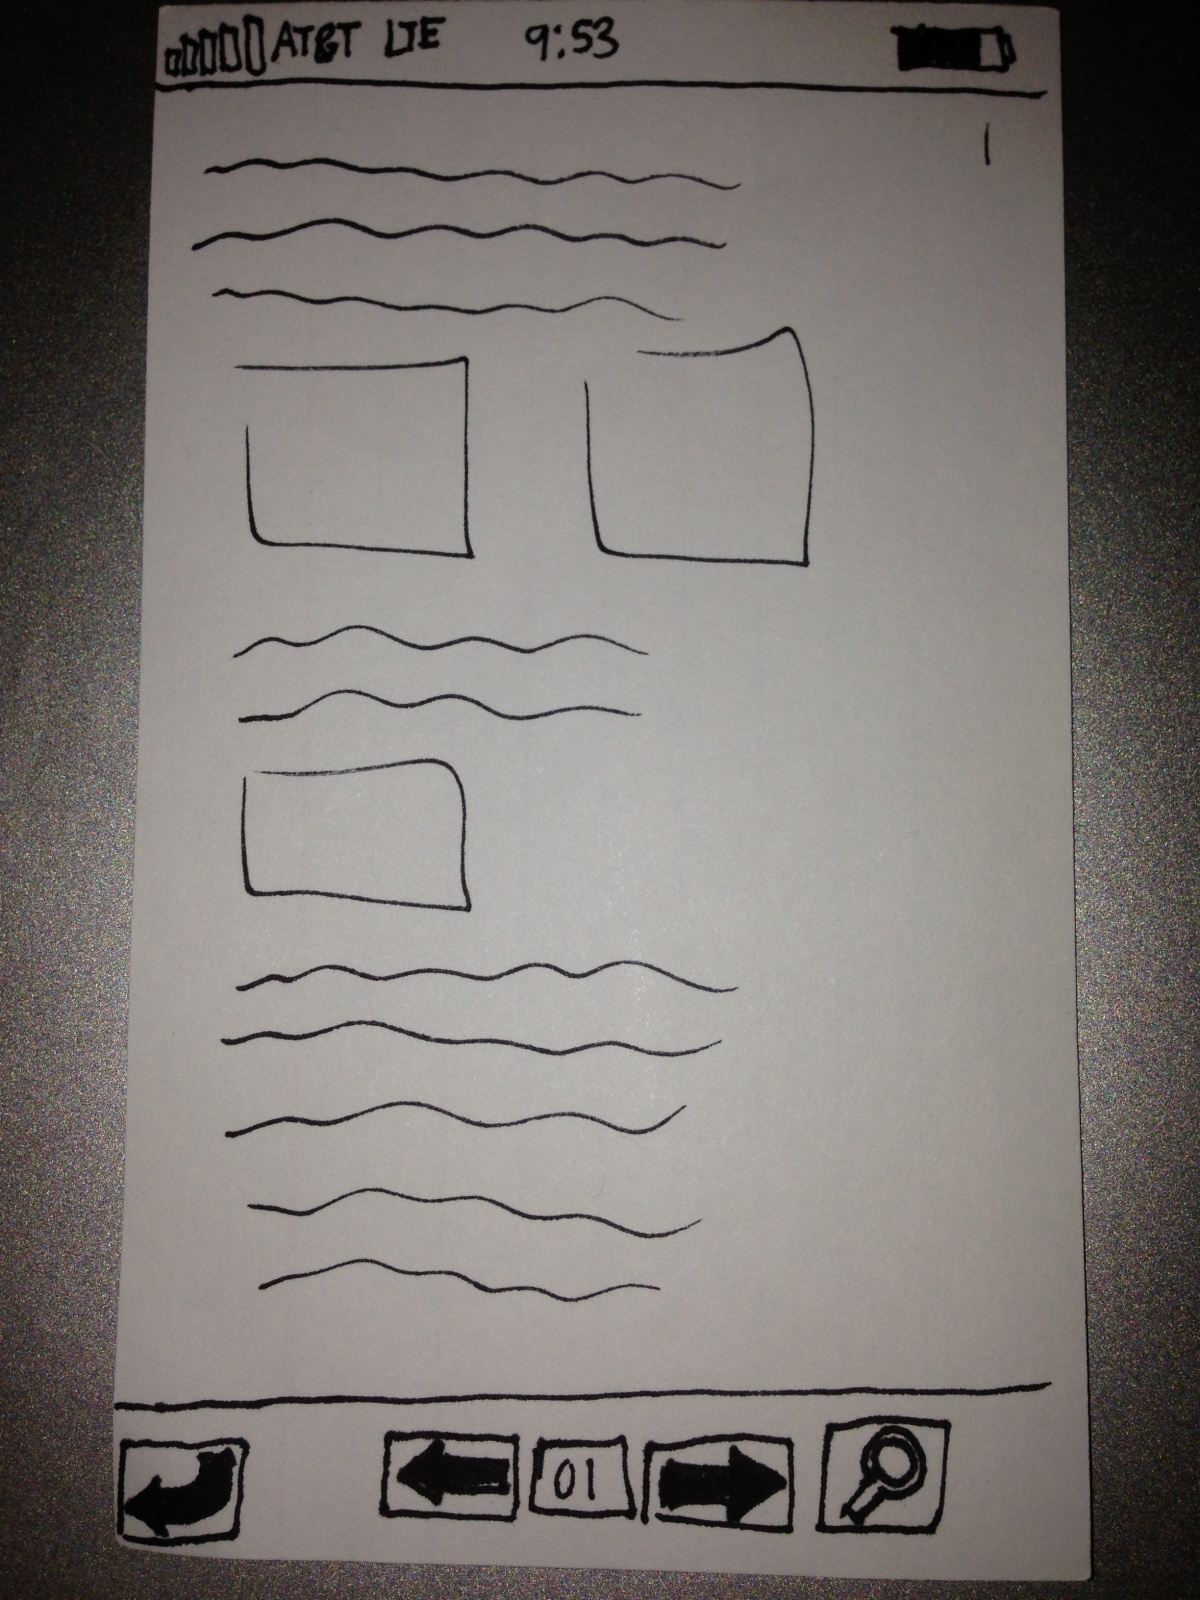
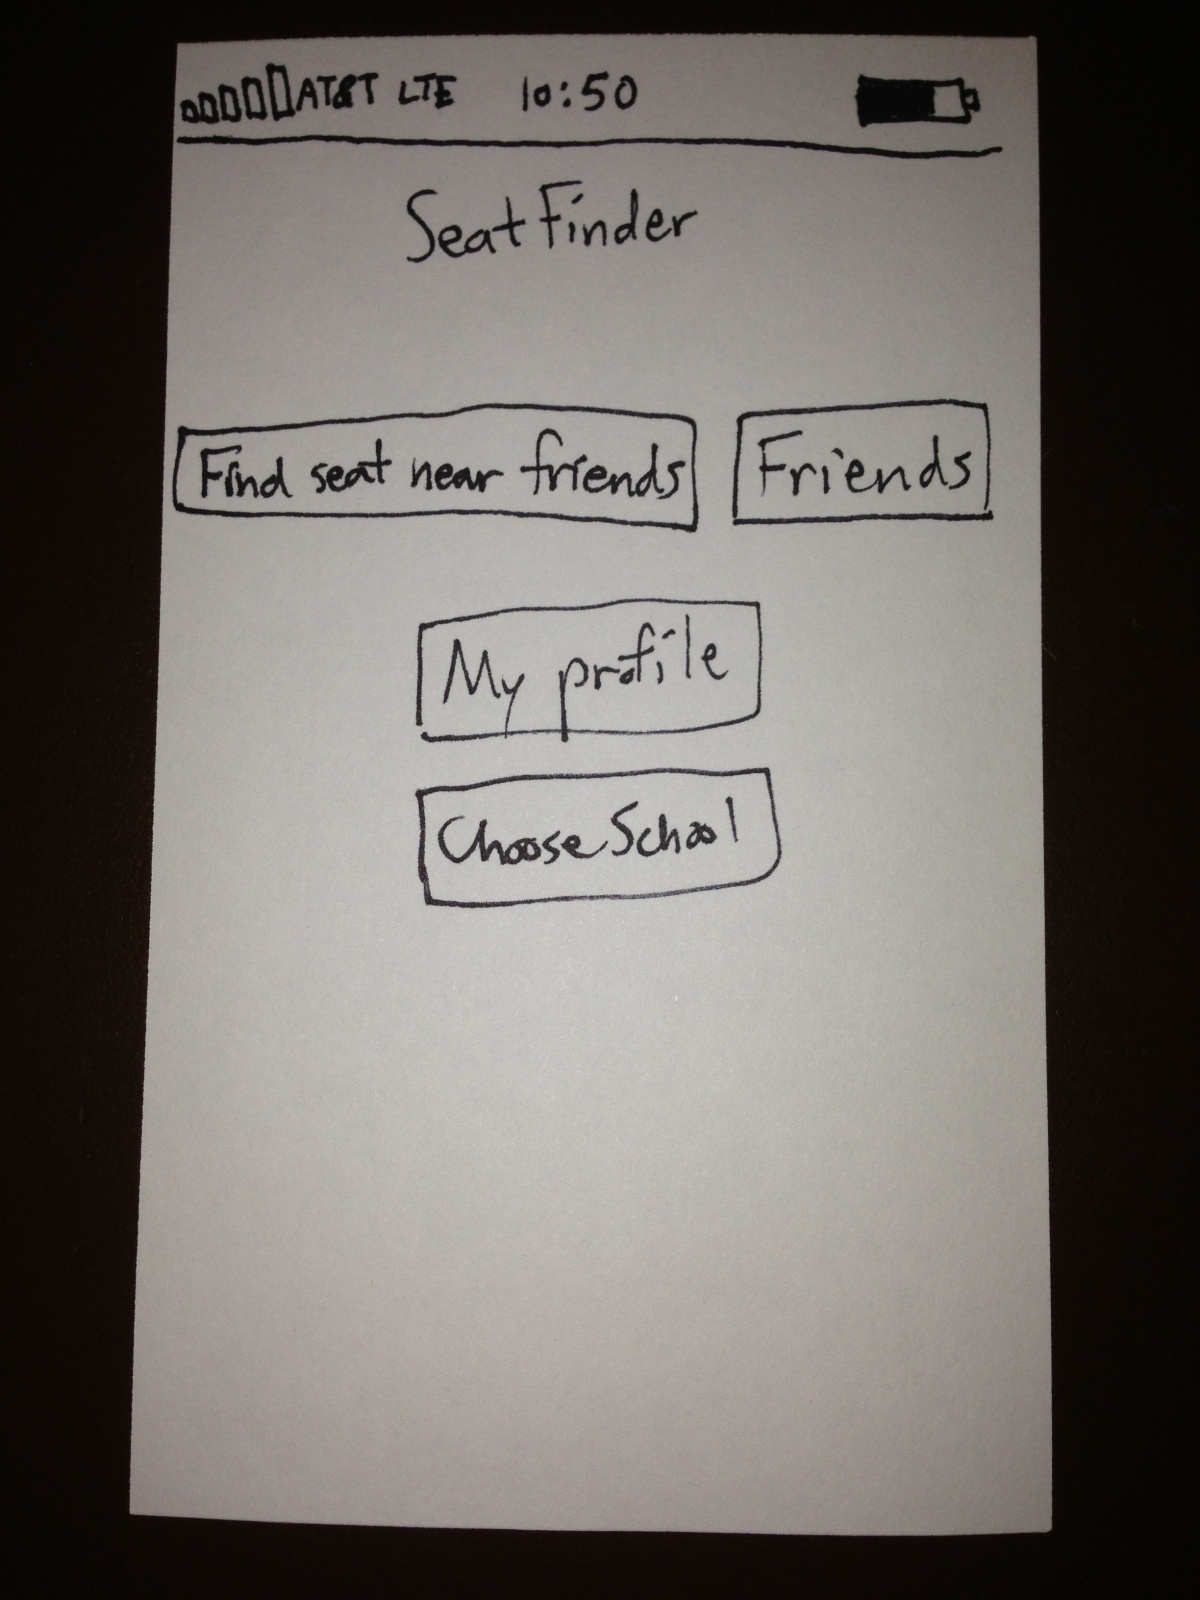
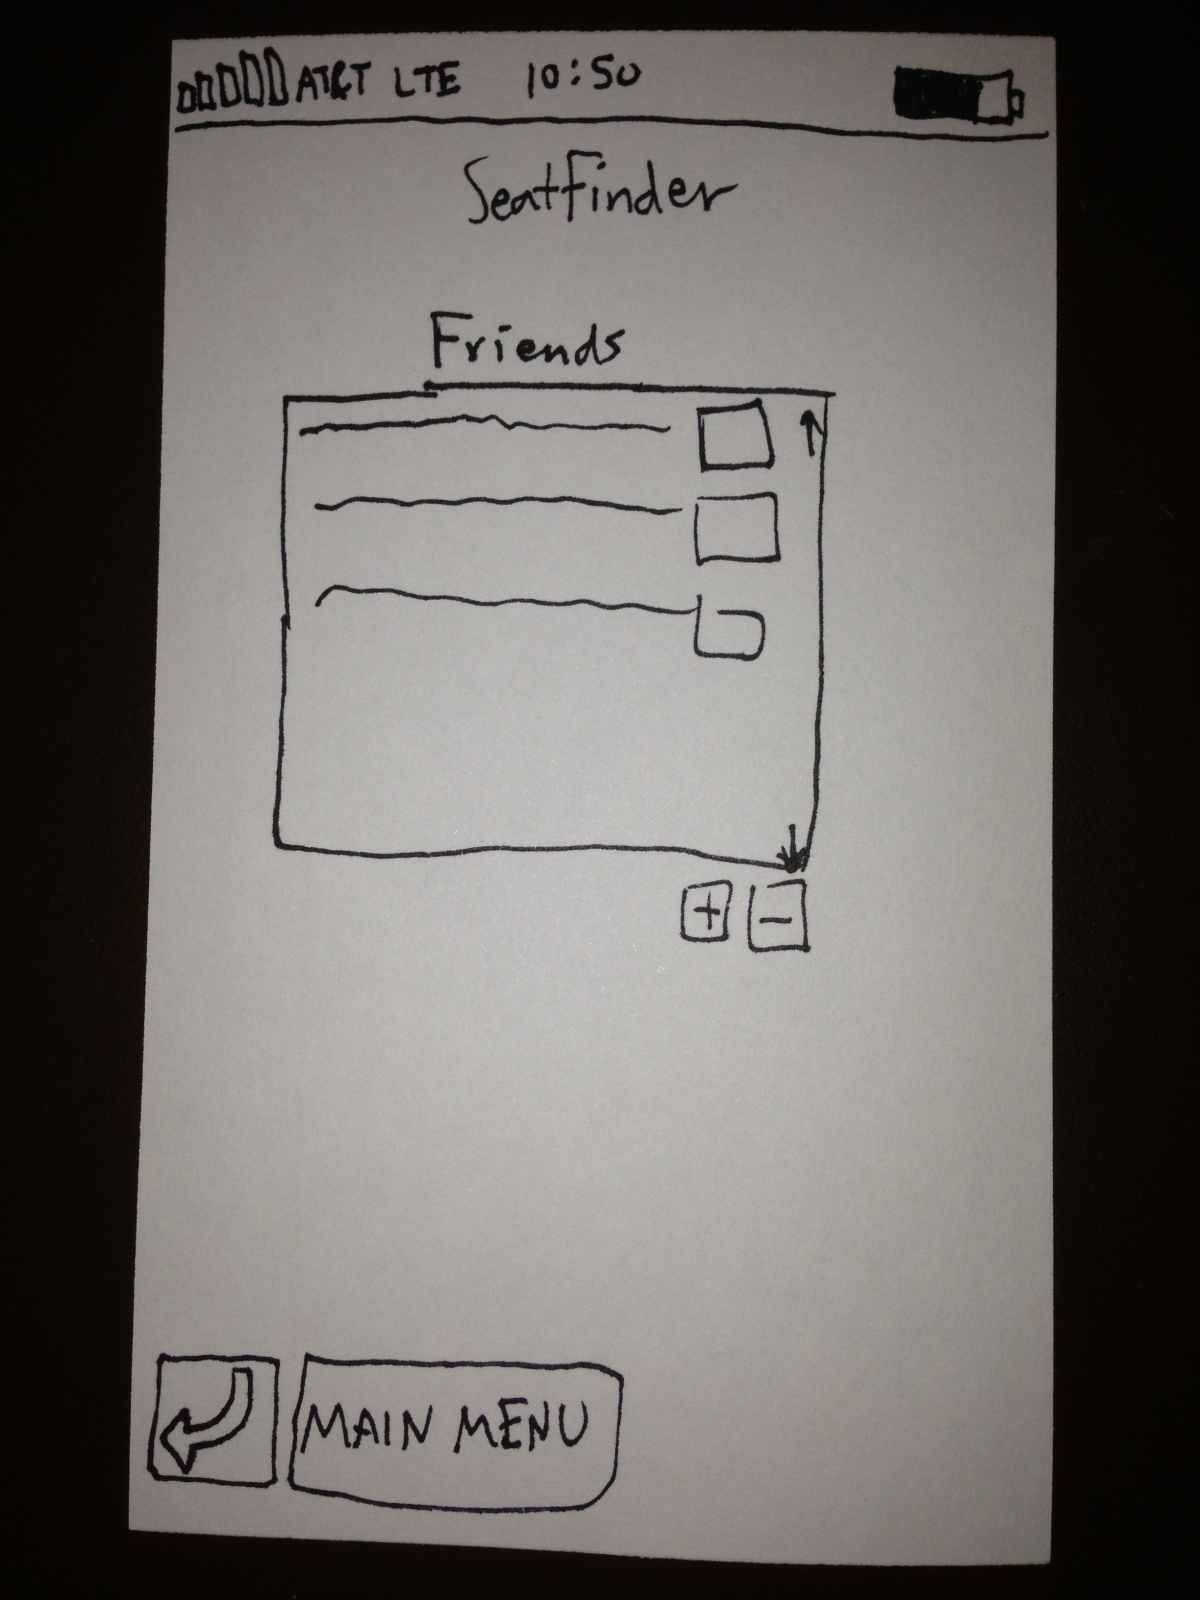
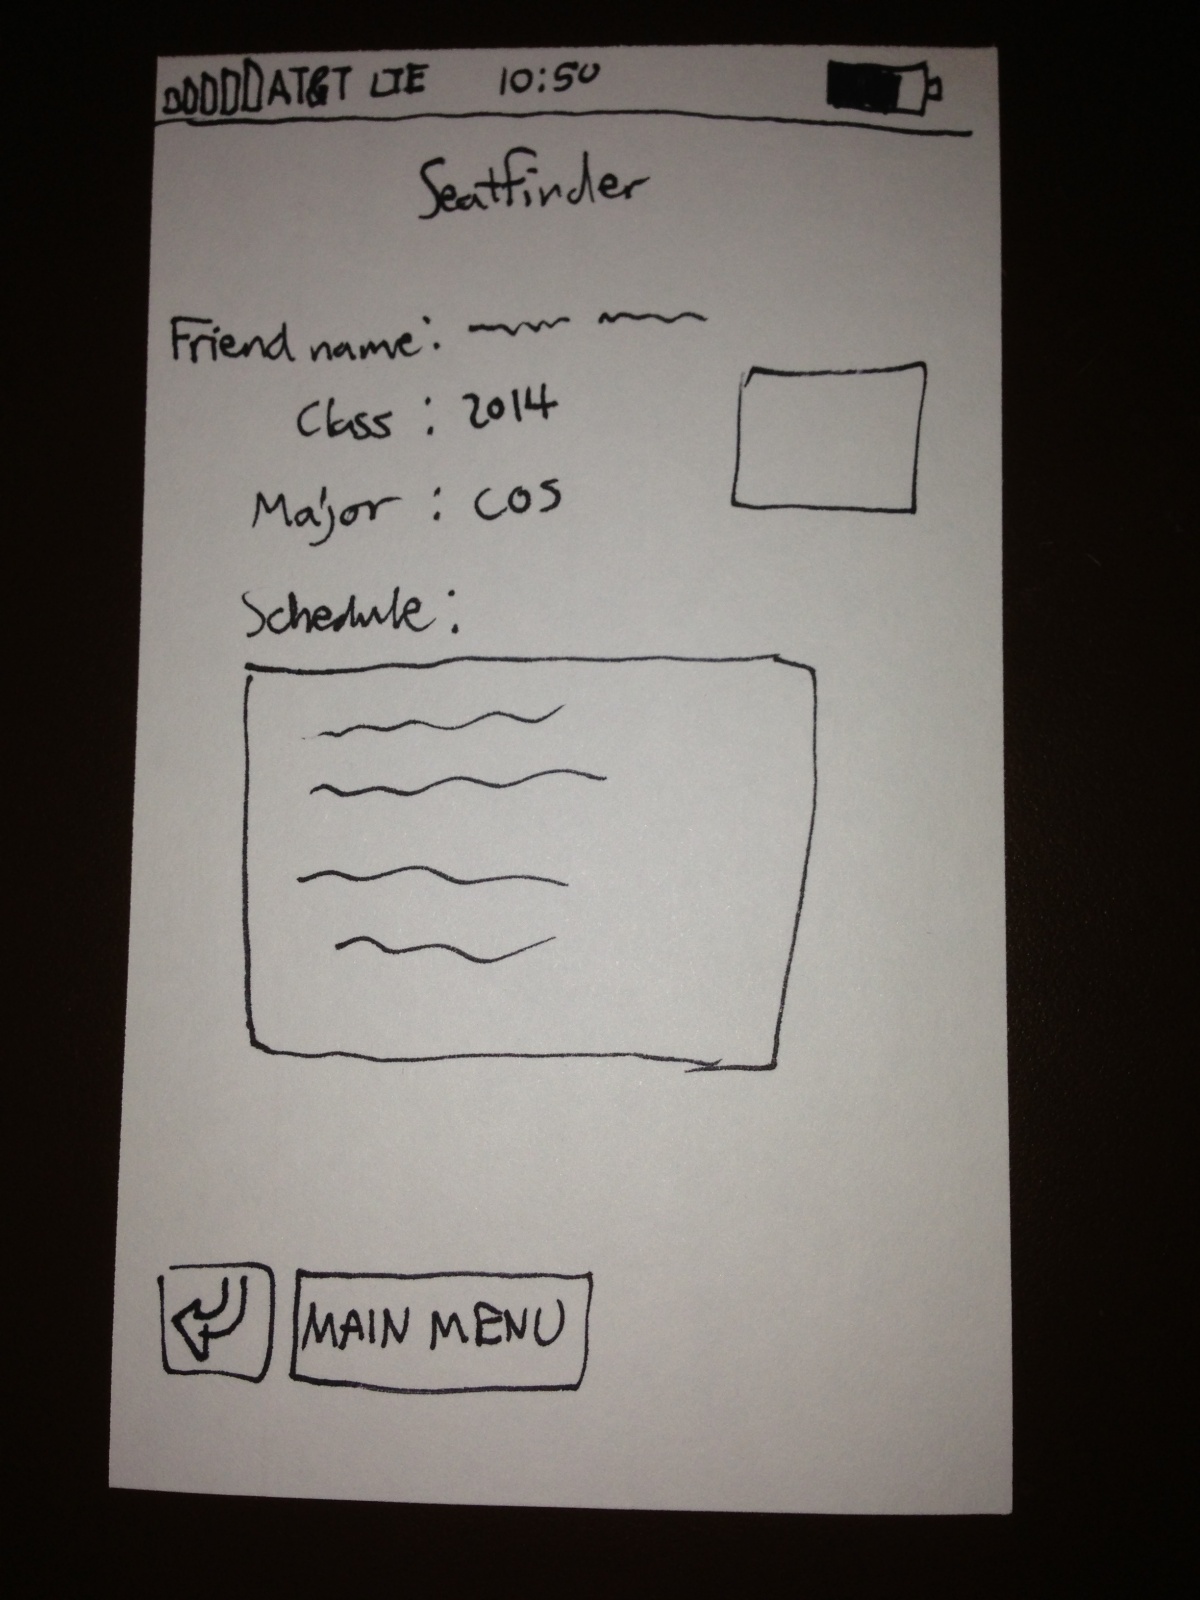
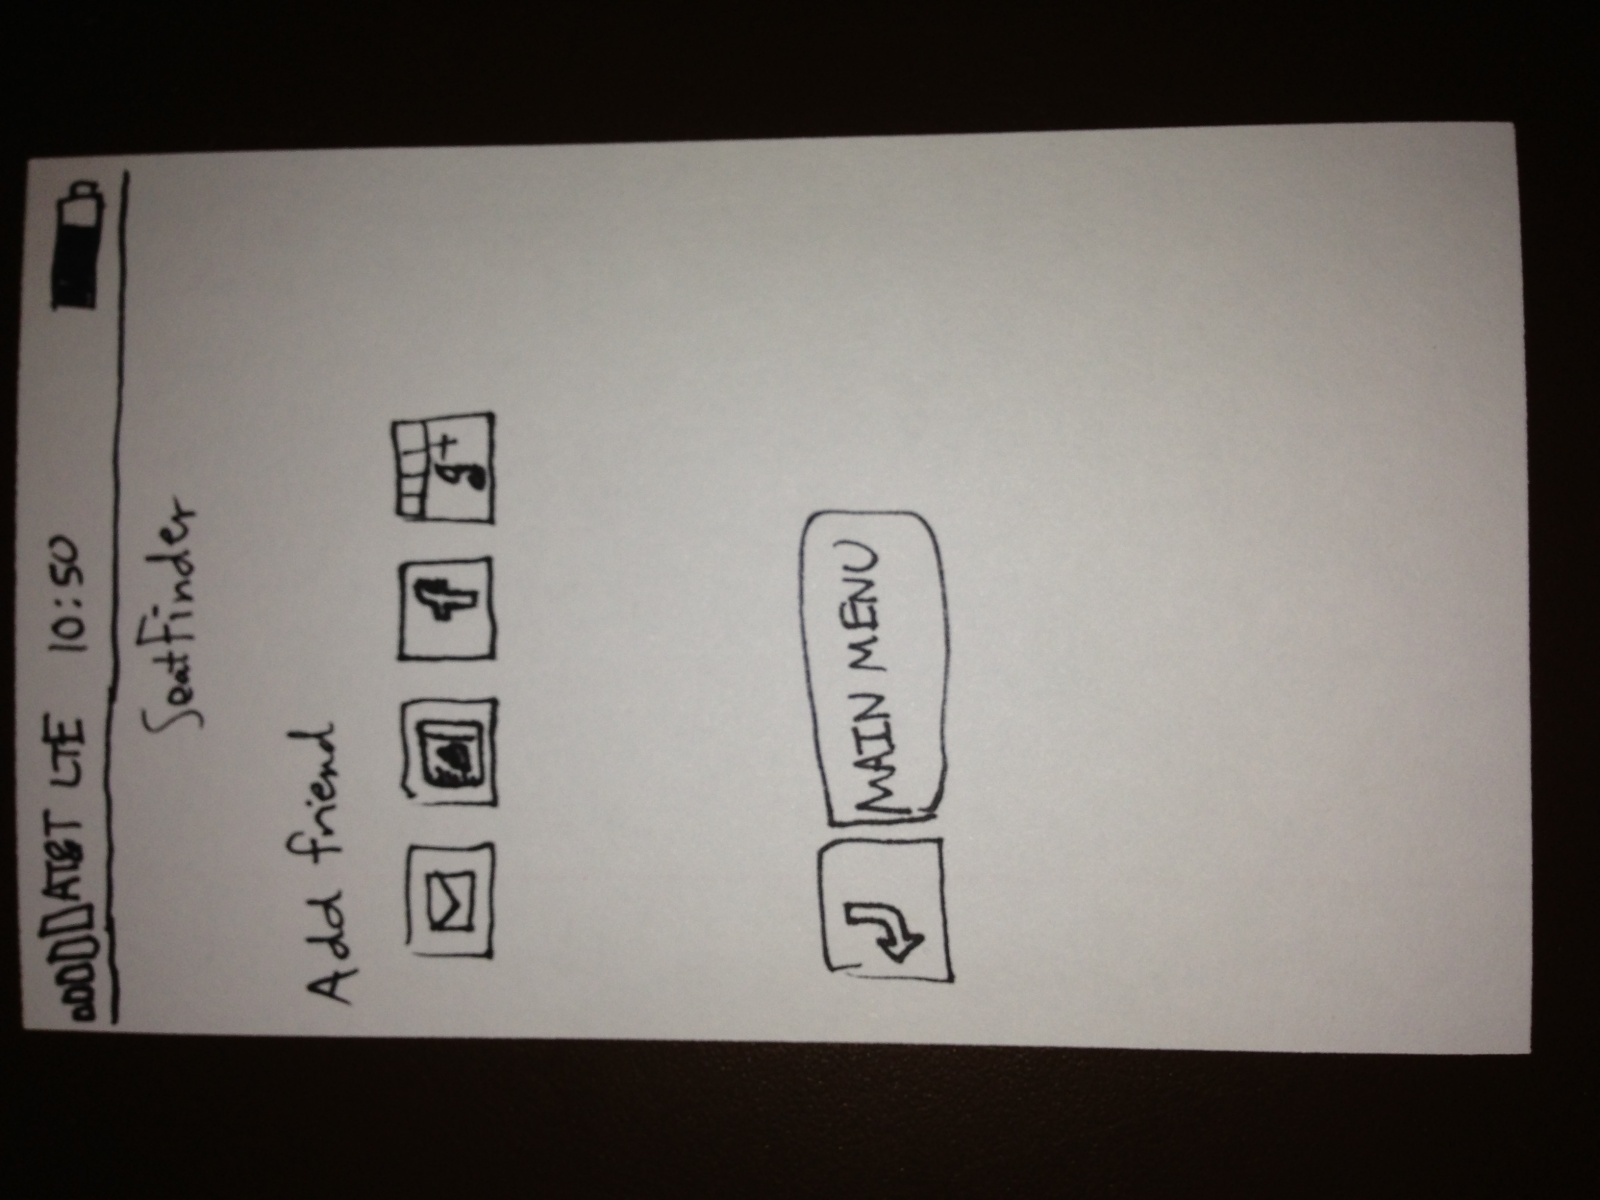
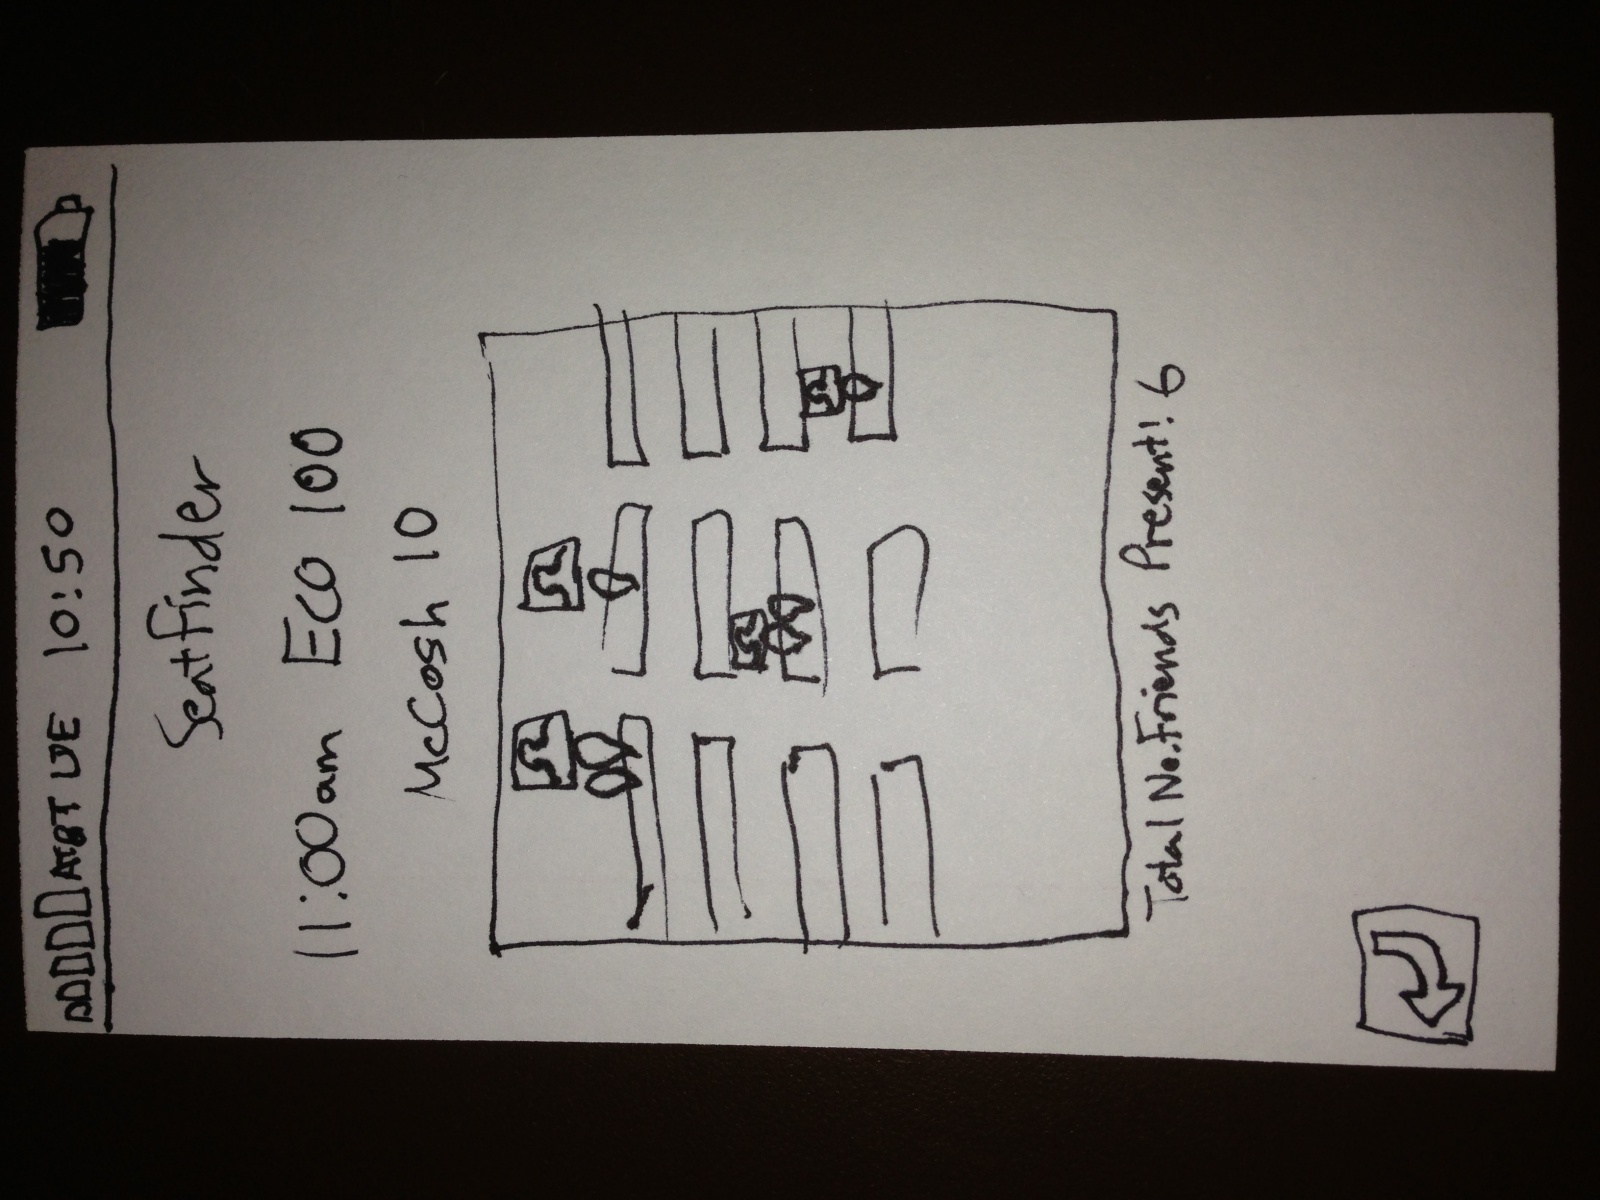
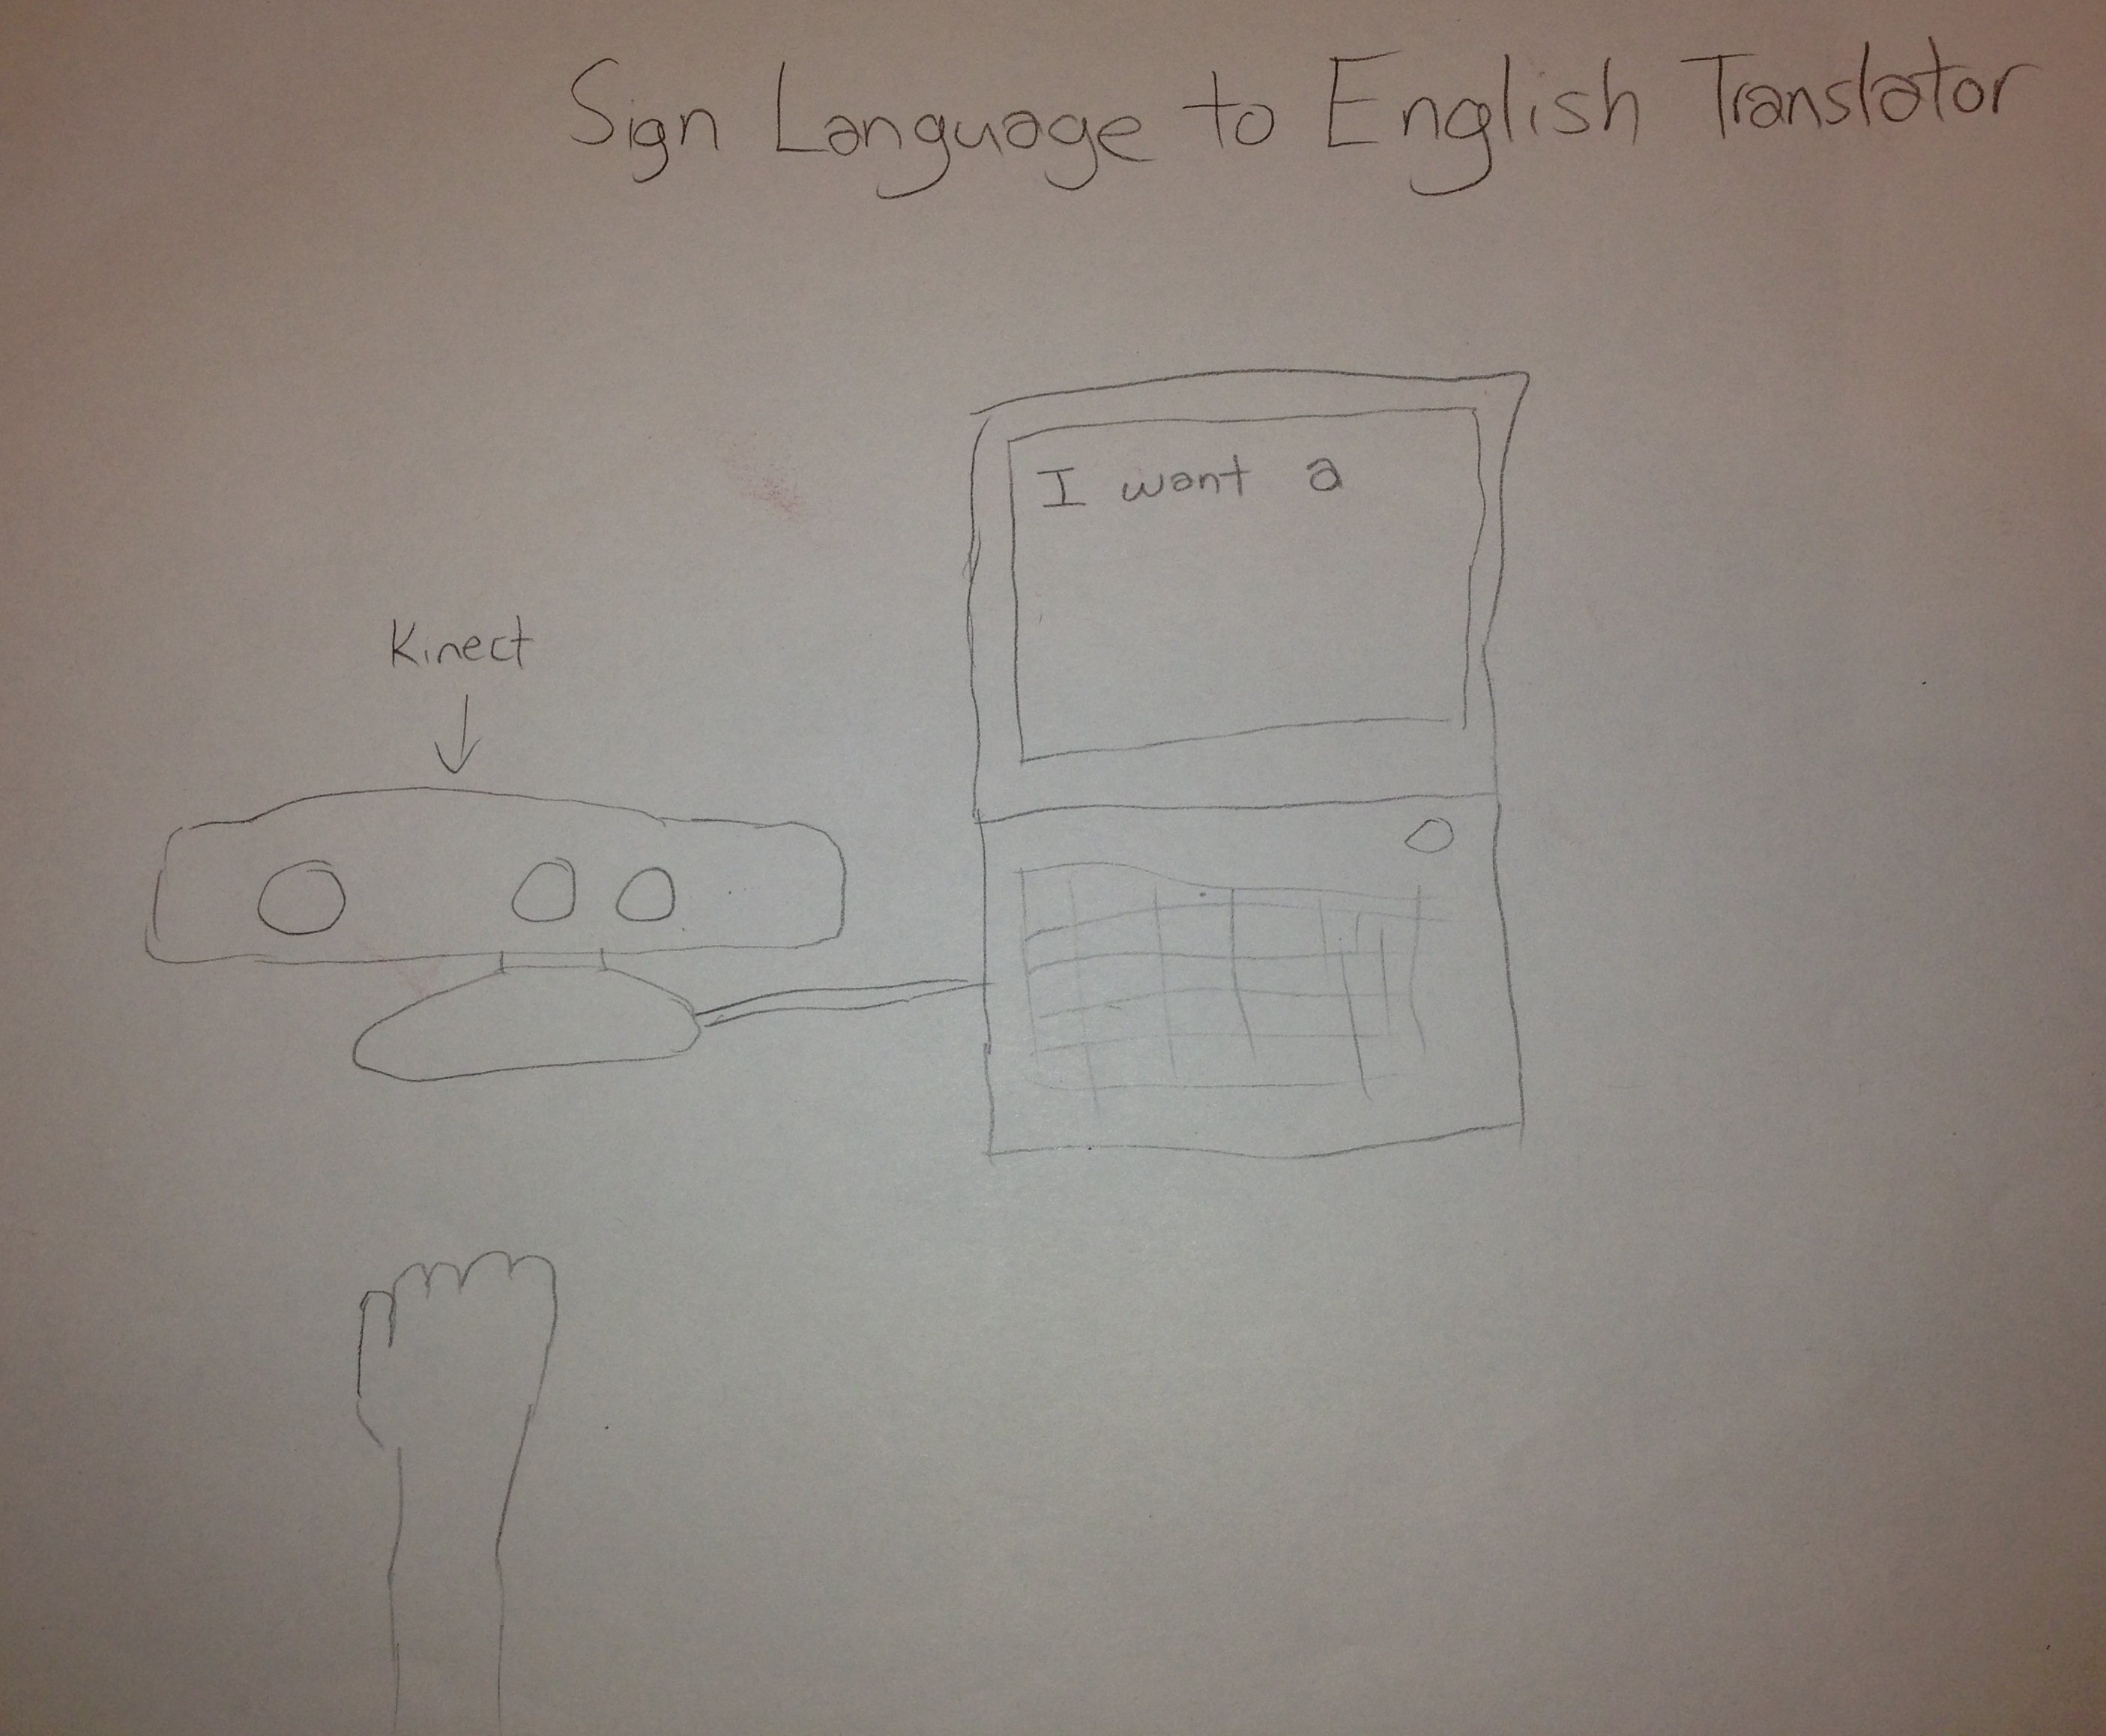
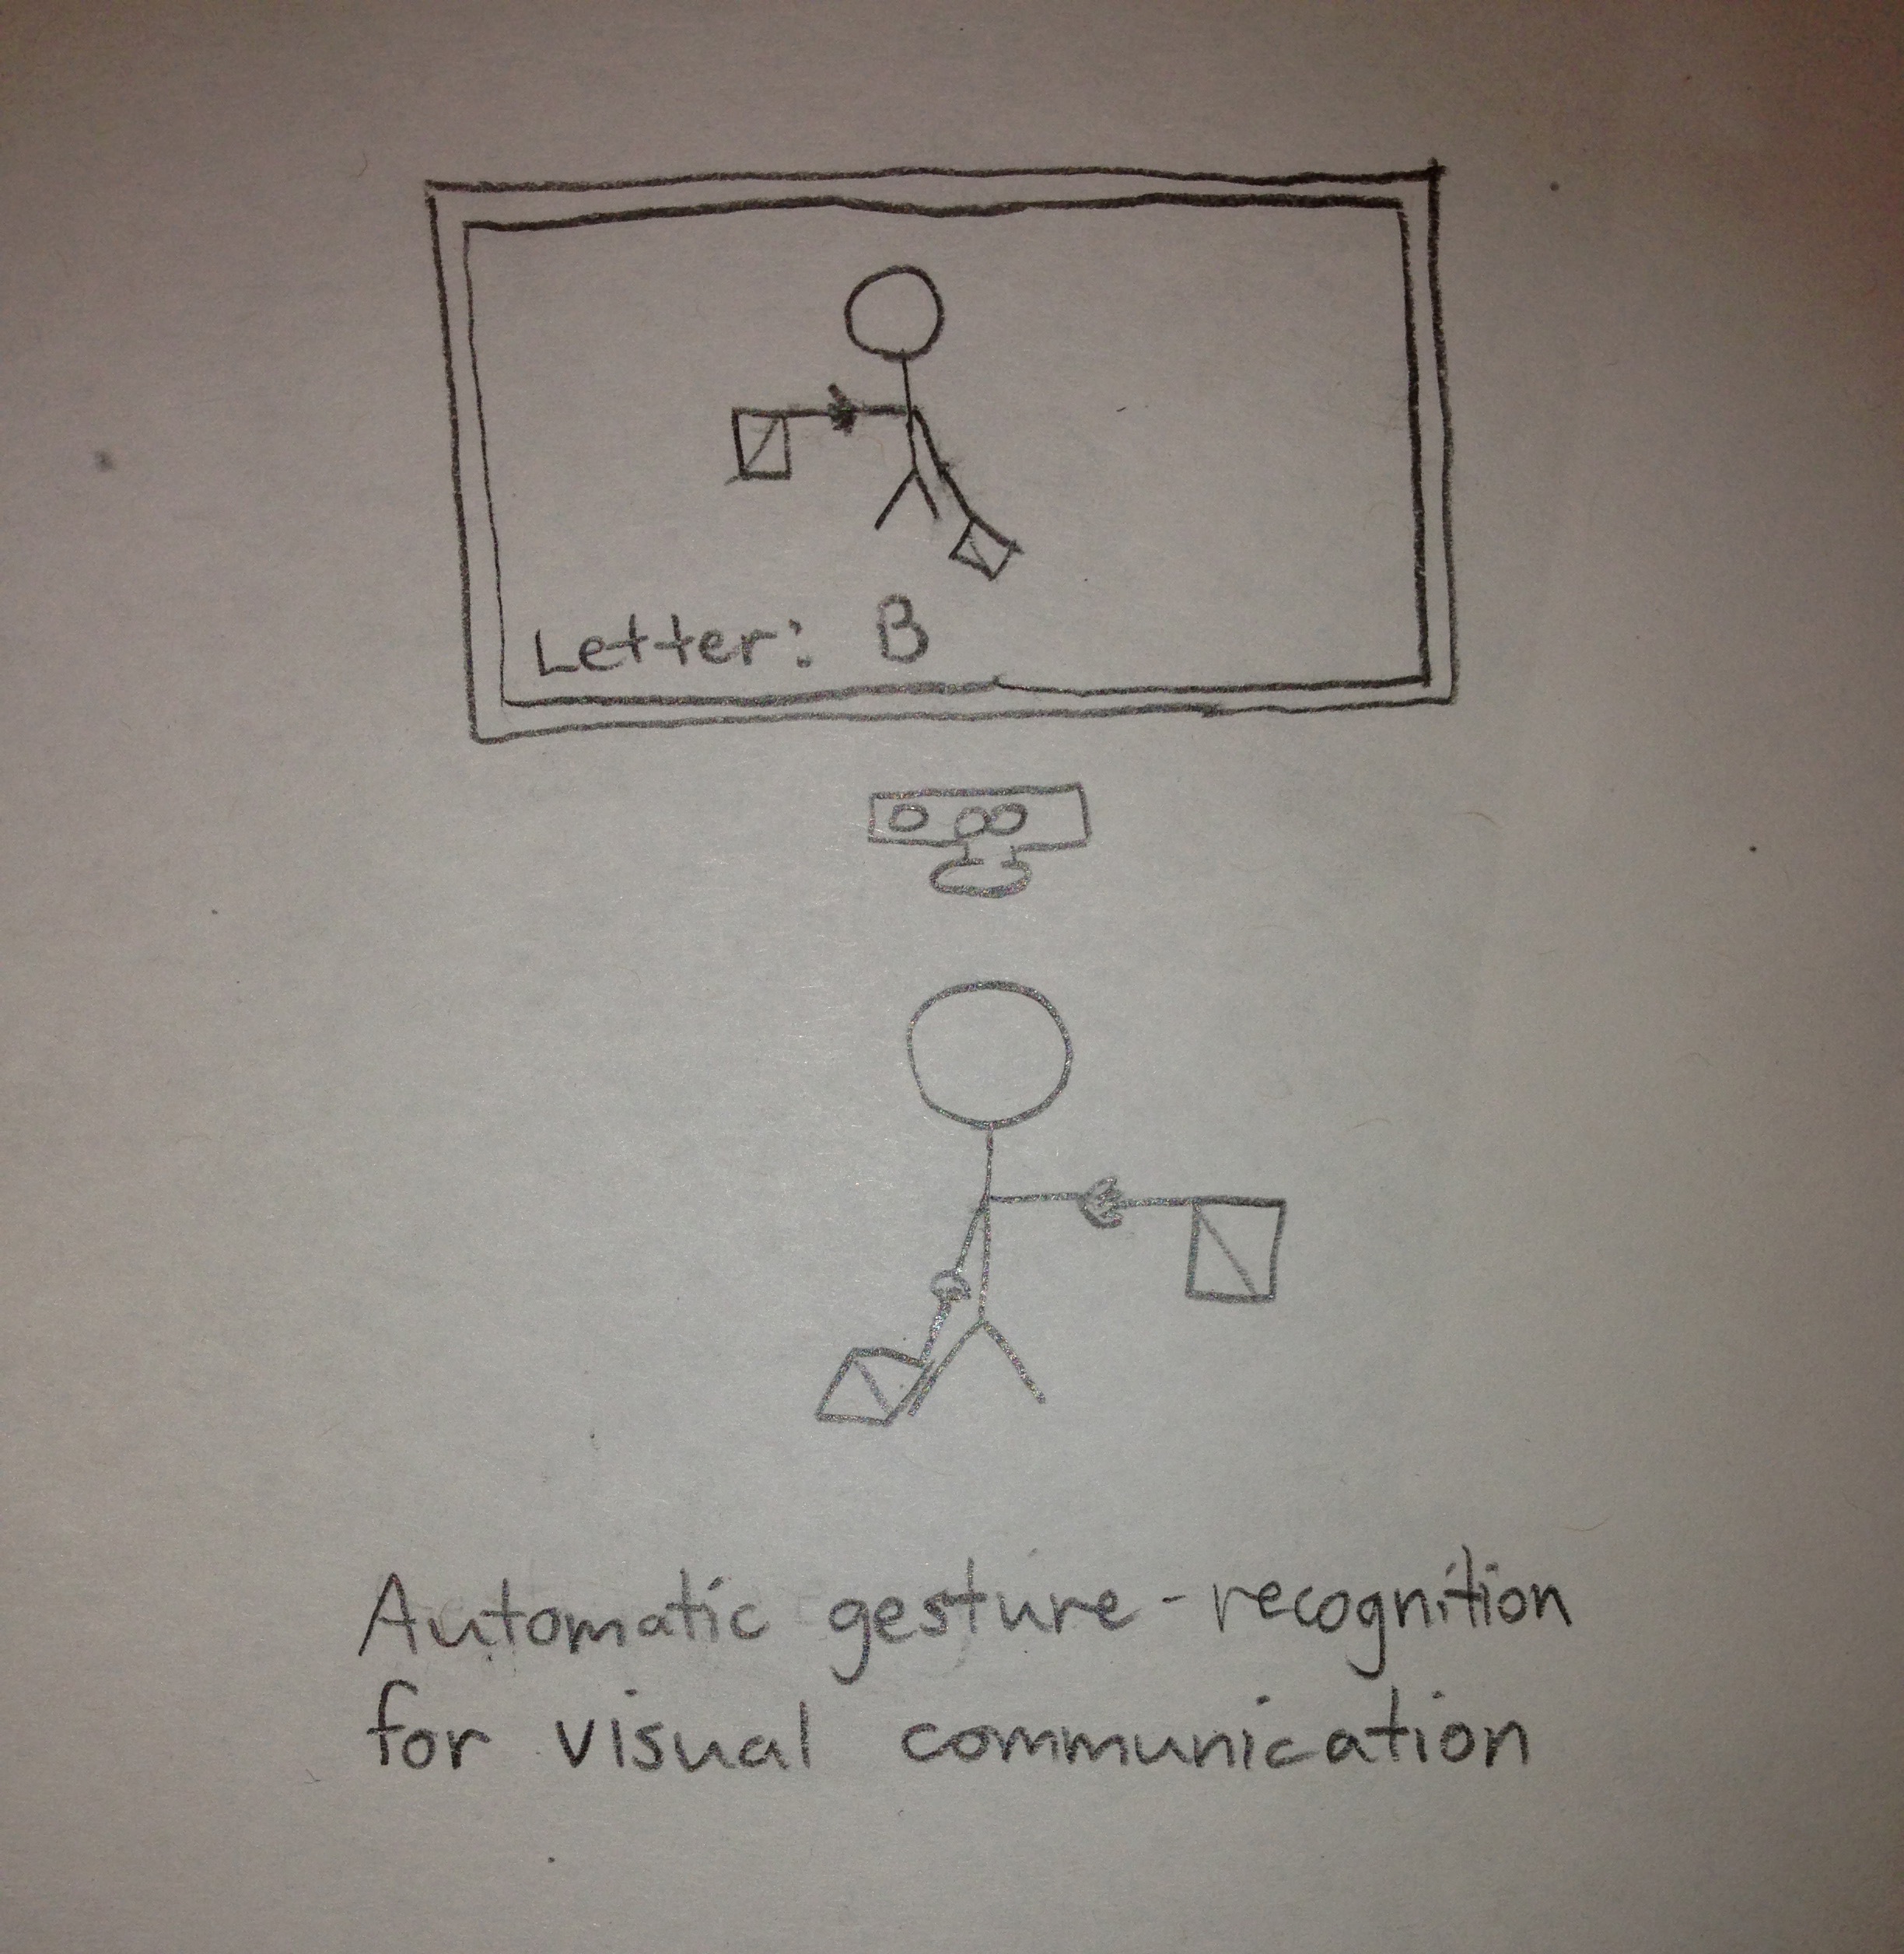
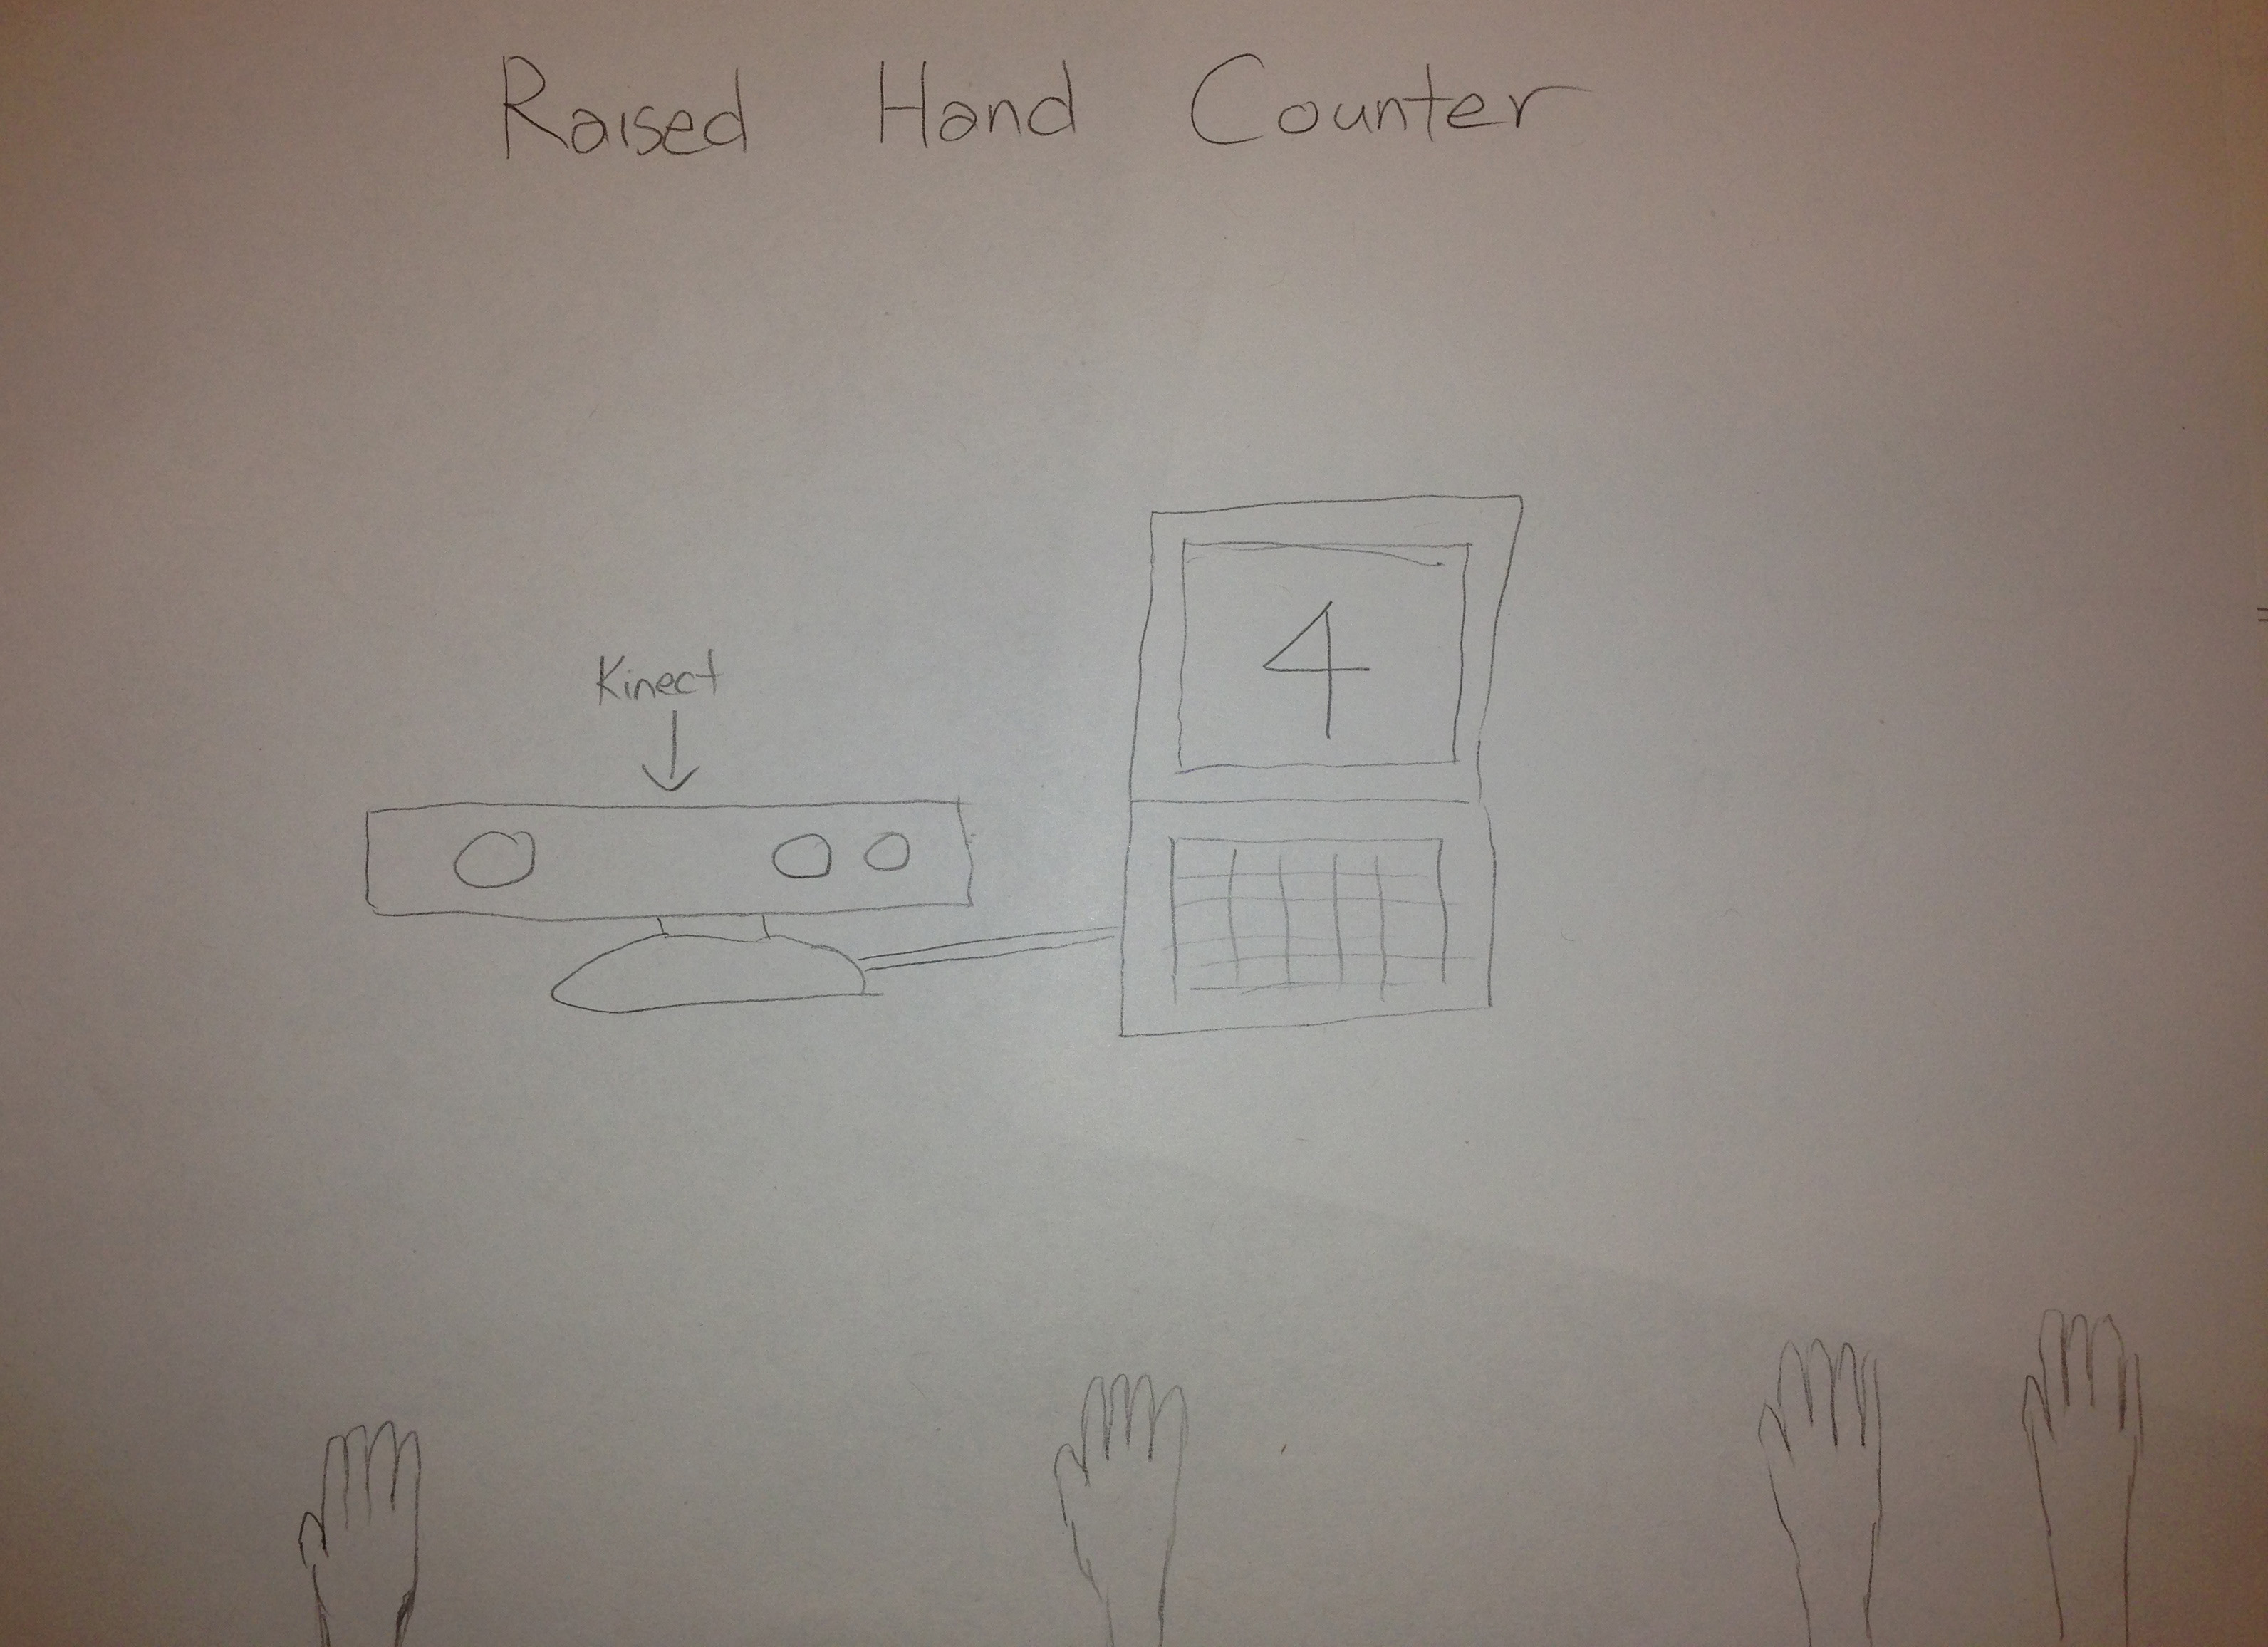
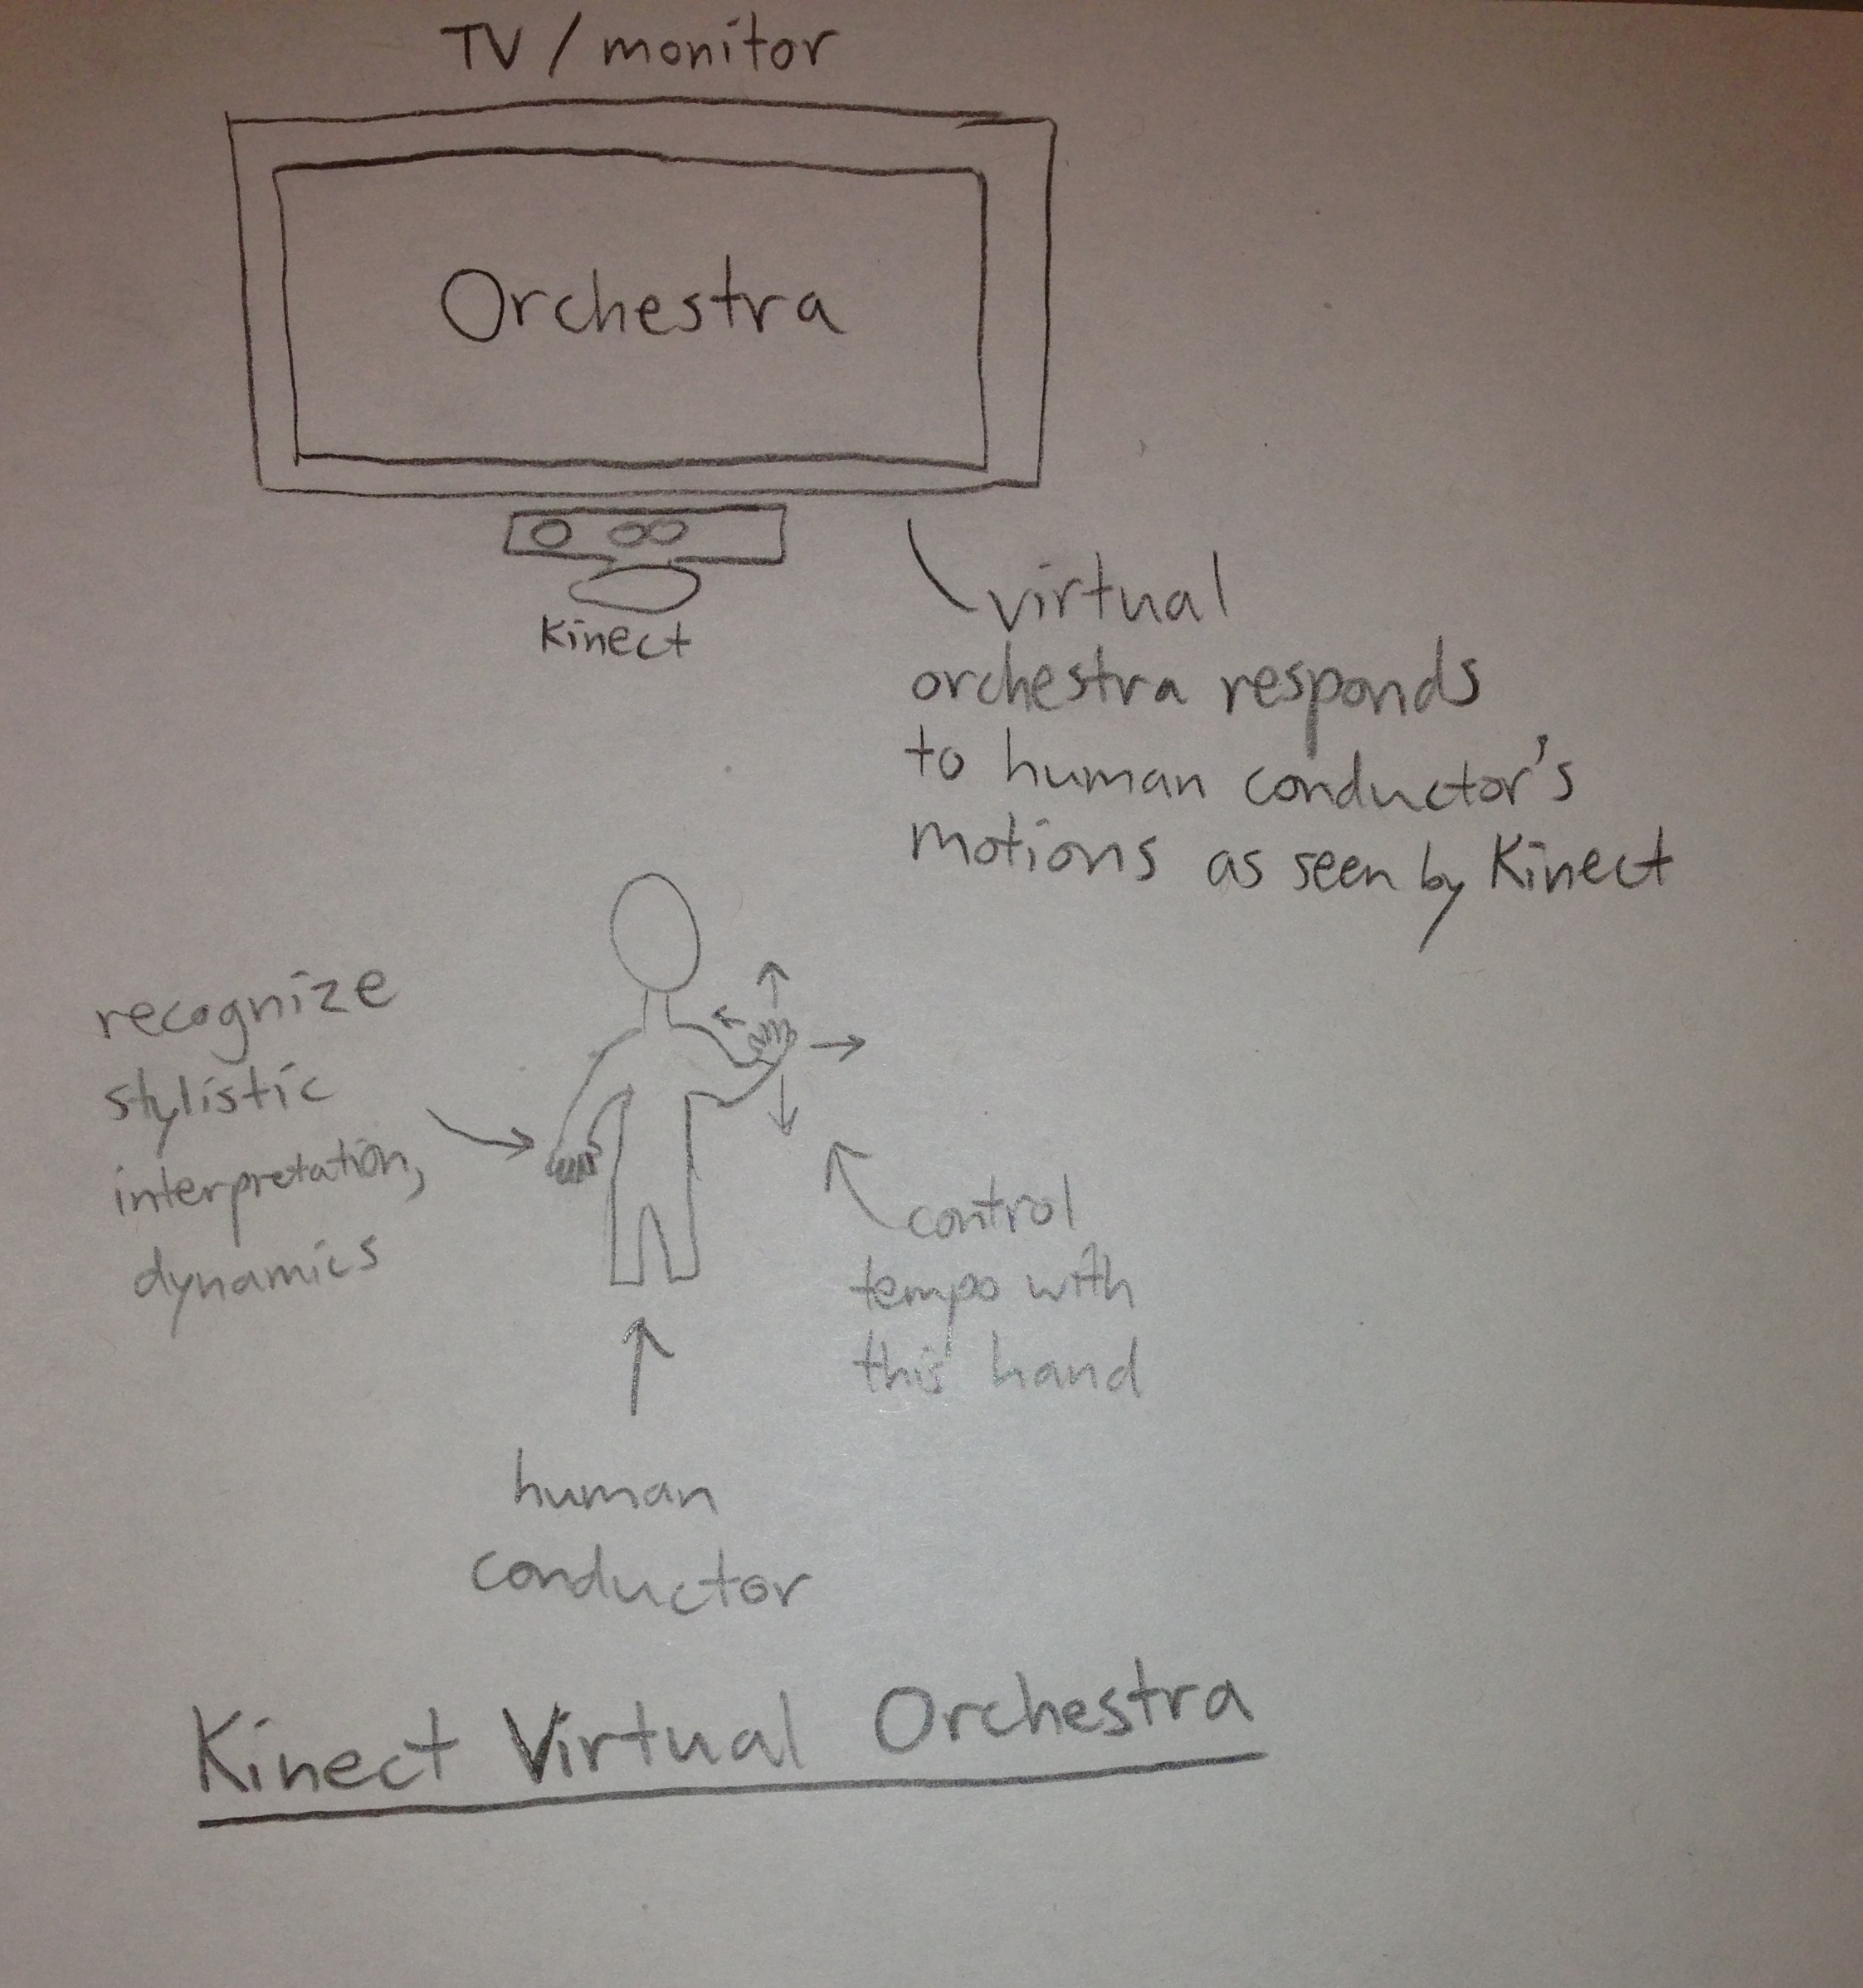
Design Sketches
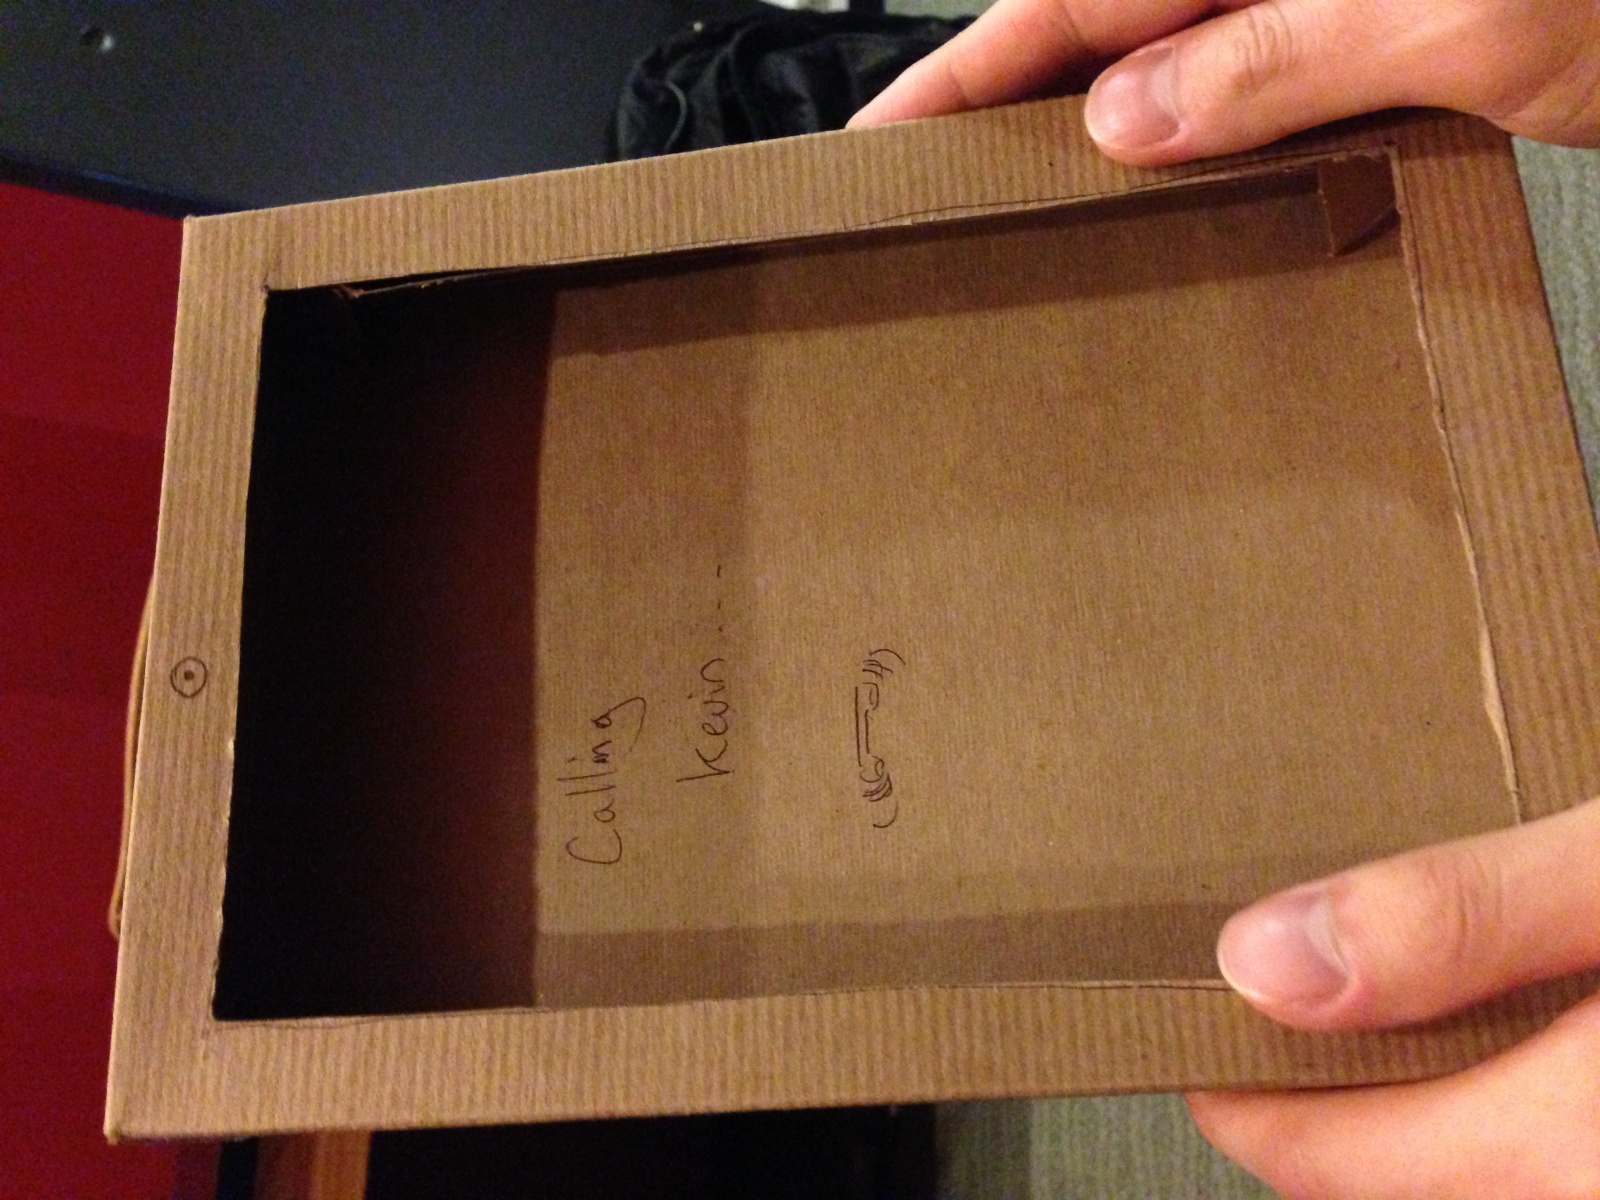
Final System
Pacman inside:
Parts
- Arduino
- 2 Servo motors
- Tape
- Plastic bowls
- Wire
- Paper
Instructions
1. Make Pac-man’s body
-Setup Pac-man’s body with the two plastic bowls by placing the bowl for Pac-man’s bottom right side up and the bowl for Pac-man’s top upside down, on top of the bottom bowl.
-Connect a servo motor with the three leads at 5V, ground, and an Arduino digital output pin for controlling his mouth.
-Tape the base of the motor to the inside-rim of the bottom plastic bowl.
-Tape the moving knob of the servo motor to the inside-rim of the top of the plastic bowl. This will allow the top of Pac-man’s body to move up and down as if he were eating.
2. Make Pac-man move
-Connect another servo motor with the three leads at 5V, ground, and an Arduino digital output pin for controlling his movement.
-Create Pac-man’s reel by cutting a large length of wire and taping paper drawings of ghosts onto it.
-Securely attach an end of the reel to the knob of the servo motor. This will require tape and, in our case, a spool to be attached to the knob to increase the surface area of the knob.
-Securely tape the base of the servo motor onto the inner bottom of Pac-man’s lower bowl.
-Attach the other end of the reel to a static object, or your hand, so that the reeling action will displace the Pac-man body.
Source Code
/*

Group 16: Pac-man mover

*/

#include <Servo.h>

int motorPin = 3;

int servoPin = 9;

Servo servo;

int angle = 0;  // servo position in degrees

int speed = 50; // speed of dc motor

void setup()

{

  pinMode(motorPin, OUTPUT);

  servo.attach(servoPin);

  // start pac-man's motion forward

  analogWrite(motorPin, speed);

}

void loop()

{

  delay(200);

  // now make him eat!

  for(angle = 15; angle < 70; angle++) {

    servo.write(angle);

    delay(15);

  }

  for(angle = 70; angle > 15; angle--) {

    servo.write(angle);

    delay(15);

  }

}

CODE 2:

/*

Adafruit Arduino - Lesson 14. Sweep

*/

#include <Servo.h>

int servoPin = 9;

int servo2Pin = 11;

Servo servo;

Servo servo2;

int angle = 0;  // servo position in degrees

int pause = 45;

int offset = 20;

void setup()

{

  servo.attach(servoPin);

  servo2.attach(servo2Pin);

}

void loop()

{

  // now make him eat!

  for(angle = 0; angle < 30; angle++) {

    servo.write(angle*2+offset);

    servo2.write(angle);

    delay(pause);

  }

  for(angle = 30; angle < 60; angle++) {

    servo.write((60-angle)*2+offset);

    servo2.write(angle);

    delay(pause);

  }

  for(angle = 60; angle < 90; angle++) {

    servo.write((angle-60)*2+offset);

    servo2.write(angle);

    delay(pause);

  }

  for(angle = 90; angle < 120; angle++) {

    servo.write((120-angle)*2+offset);

    servo2.write(angle);

    delay(pause);

  }

  for(angle = 120; angle < 150; angle++) {

    servo.write((angle-120)*2+offset);

    servo2.write(angle);

    delay(pause);

  }

  for(angle = 150; angle < 180; angle++) {

    servo.write((180-angle)*2+offset);

    servo2.write(angle);

    delay(pause);

  }
}