Team CAKE (#13): Connie, Angela, Kiran, Edward
Project Summary
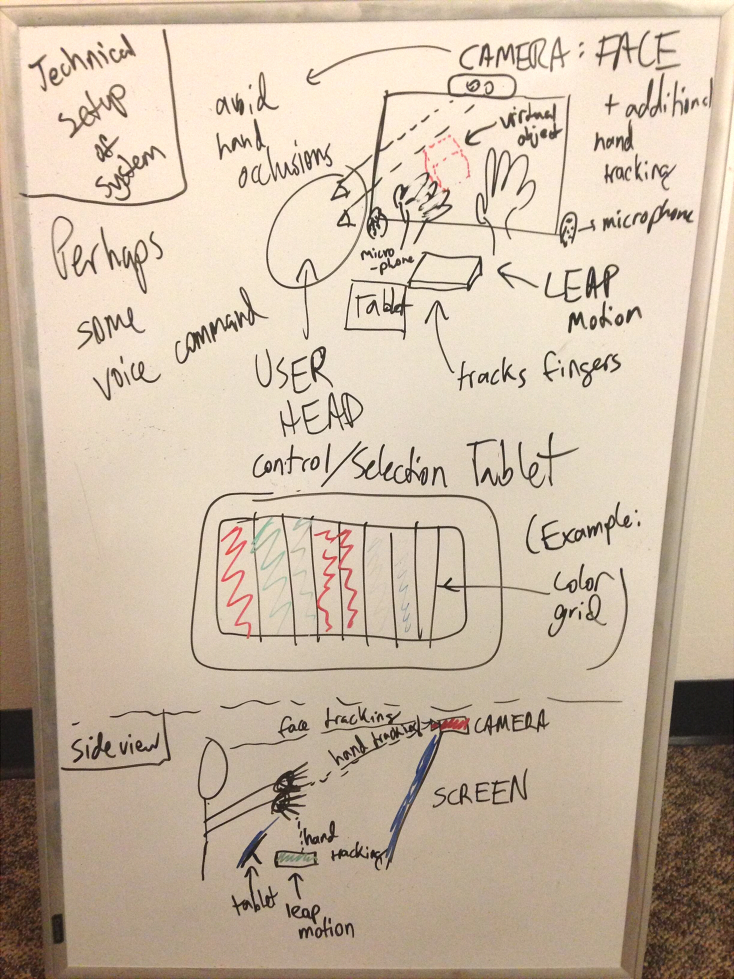
Runway is a 3D modeling application that makes 3D manipulation more intuitive by bringing virtual objects into the real world, allowing natural 3D interaction with models using gestures.
Introduction
We describe here the methods and results of a user study designed to help us with the design of our 3D modelling system. As described in further detail below, our prototype system provides many of the fundamental operations necessary for performing 3D modelling and viewing tasks, all taking advantage of gesture tracking aligned with our mid-air display. The purpose of this experiment is to evaluate the usability of our prototype system, more specifically to determine if there are any unanticipated effects of using our stereoscopic and gesture components together. We are performing this user test because observing actual users interacting with our system in its intended use cases will provide more useful insights on how to improve our system, compared with more artificial prototypes like the low-fi prototype of P4 or with more directed experiments such as only testing stereoscopic perception or gesture recognition.
Implementation
Our implementation does not significantly differ from its P5 state. We spent the week fixing minor bugs in mesh handling and performance, since these were most likely to affect the user experience.
Method
Participants
Our three participants were all undergraduate students here at Princeton, from a variety of backgrounds. Unlike for P2 and P4, when we specifically sought out users who would be more familiar with 3D modeling applications, here we sought users with a more mundane (or unrelated) set of skills, in order to focus more on the usability and intuitiveness of our system. None of our three users were intimately familiar with conventional 3D modeling software, nor are they from any particular field of study (although they did know each other prior to this experiment). From this we hoped to get a wider and perhaps less experienced/professional perspective on how approachable and intuitive our system is to someone who has not had to do these sorts of tasks before.
Apparatus
Hardware used for system:
- 120Hz 3D Stereoscopic Monitor (Asus VG278H)
- Nvidia 3D Vision Pro Kit (USB Emitter and Wireless Shutter Glasses)
- Leap Motion gestural controller
- Desktop with 3D-Vision compatible graphics card
Additional Hardware for experiment:
- iPhone for taking photos
This experiment was performed at a desk in a dorm room (this being the location of the monitor and computer).
Tasks
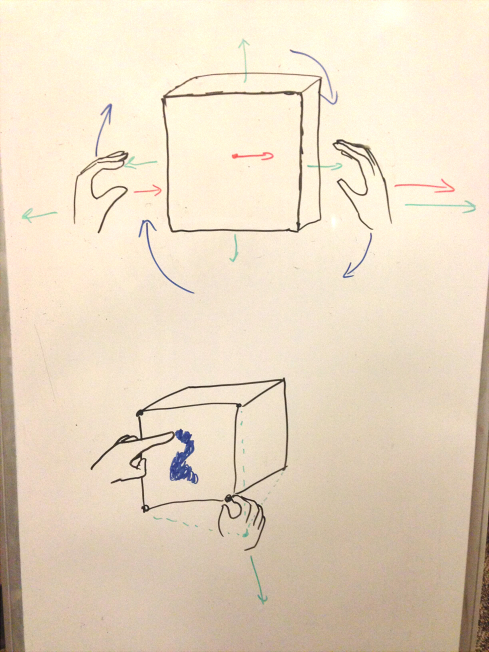
The tasks cover the fundamentals of navigation in 3D space, as well as 3D painting. The easiest task is translation and rotation of the camera; this allows the user to examine a 3D scene. Once the user can navigate through a scene, they may want to be able to edit it. Thus the second task is object manipulation. This involves object selection, and then translation and rotation of the selected object, thus allowing a user to modify a 3D scene. The third task is 3D painting, allowing users to add colour to objects. In this task, the user enters into a ‘paint mode’ in which they can paint faces various colours using their fingers as a virtual brush.
From user testing of our low-fi prototype, we found that our tasks were natural and understandable for the goal of 3D modelling with a 3D gestural interface. 3D modelling requires being able to navigate through the 3D space, which is our first task of camera (or view) manipulation. Object selection and manipulation (the second task) are natural functions in editing a 3D scene. Our third task of 3D painting allows an artist to add vibrancy and style to their models. Our tasks have remained the same from P5.
Procedure
We started by emailing several suitable candidates for participating in our experiment, acquaintances (but not classmates or close friends) who were technically-savvy but not extremely experienced with our type of interface. Our email contained basic information about our system, but did not describe any of the specific capabilities in detail. For each of the three participants we obtained, we first gave them our consent form and pre-experiment survey (see below for original versions). The pre-experiment survey asked about demographic information as well as experience with stereoscopic displays, 3d modelling, and gestural interfaces. We then gave them a brief explanation and demo of how our system worked, in which we demonstrated the workflows and fundamental gestures that they had at their disposal. After making sure that they were able to perceive the objects floating in front of them, they then performed the calibration workflow and began the three tasks. Throughout the tasks, we had one person “coaching” them through any difficulties, giving the suggestions anytime they seemed to get stuck for too long. This was necessary since it was sometimes difficult to understand the gestures only from our demo (this is discussed in more detail below). After finishing the tasks, we then performed a brief interview, asking specific questions in order to stimulate conversation and feedback about the system (questions included below).
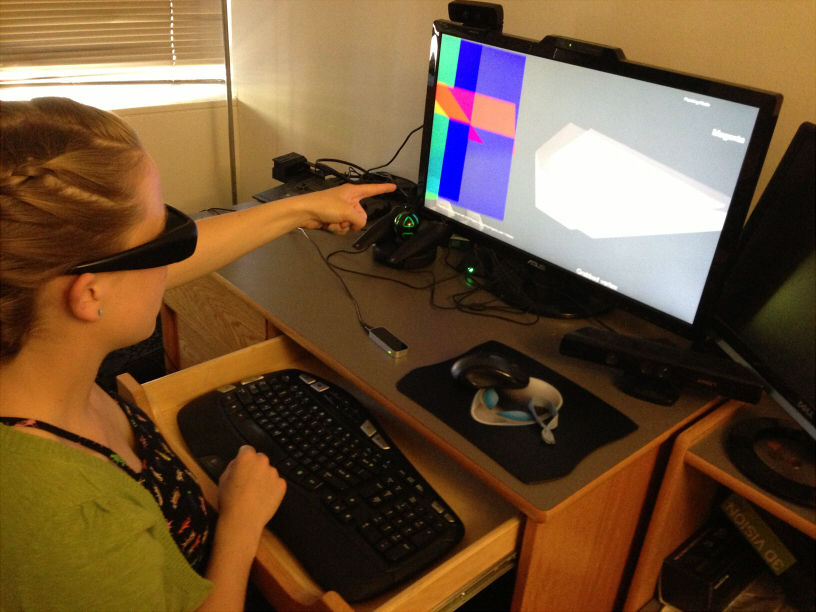
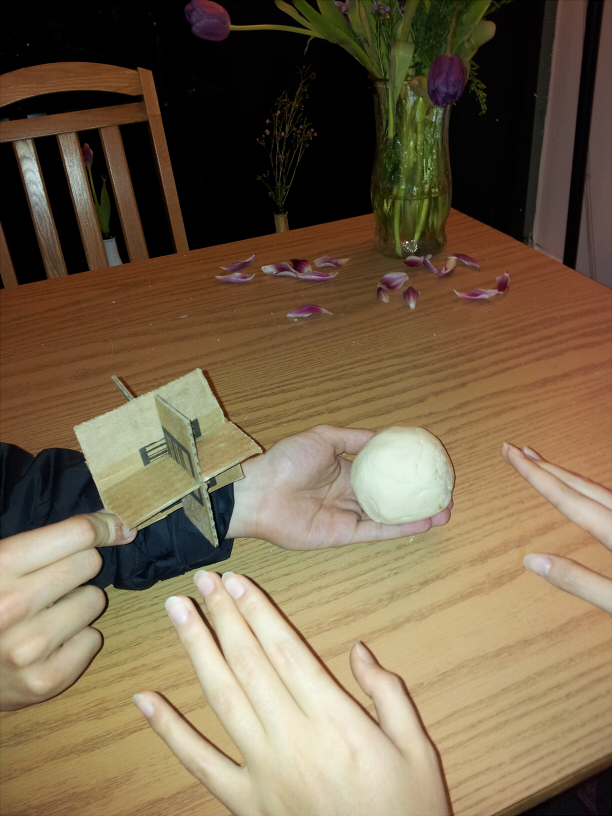
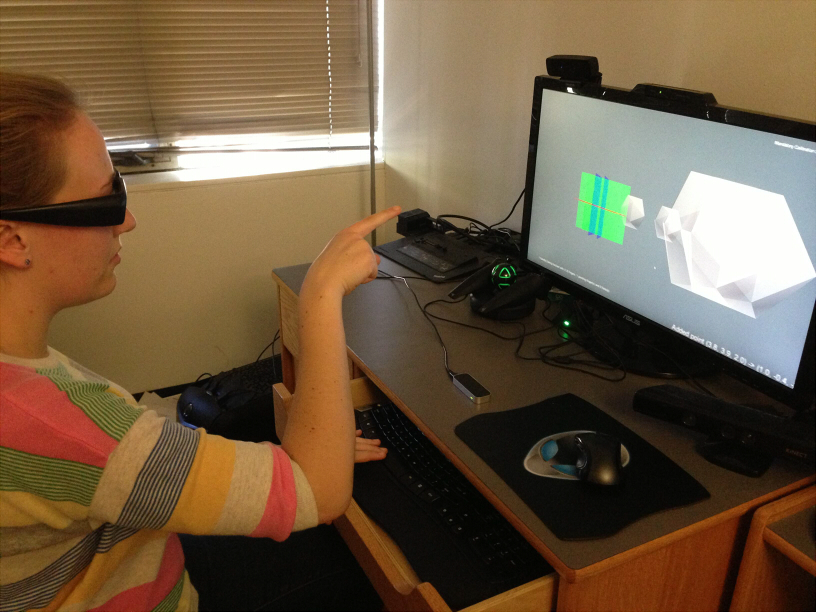
Subject 1 preparing to paint the object magenta.
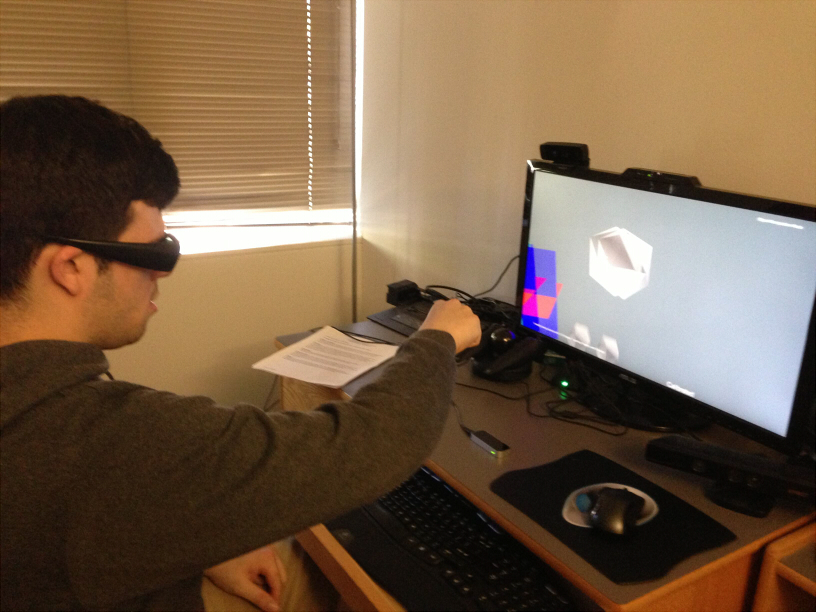
Subject 2 preparing to manipulate a vertex.
Subject 3 translating the camera view.
Test Measures
We measured mostly qualitative variables, because at this stage, a lot of quantitative analysis would not be particularly helpful–we are not yet fine-tuning, but rather still gathering information as to what a good interface would be.
- Critical Incidents: We recorded several incidents that indicated both positive and negative characteristics of our system. This is the most important qualitative data we can collect because it shows us exactly how users interact with our system, and thus illustrates the benefits and drawbacks to our system.
- Timing: The amount of time it takes for the user to complete the task. This variable works as a preliminary measure as to how intuitive/difficult each task is for the users.
The following measures were obtained through post-experiment interviews. We asked participants to rate them on a scale from 1 to 5, where 1 was the worst and 5 was the best.
- Ease of Use User Rating: This measure was meant to evaluate how easy the users subjectively found the interface to use–what good is an interface if it’s very hard to use?
- Difficulty with Stereoscopy User Rating: We are using a 3D screen in our interface. One problem that tends to crop up with 3D screens is that they sometimes hurt the eyes and/or are hard to use. For this reason, we had the users rate how difficult it was to perceive the 3D objects in their locations in front of the scene.
- Intuitiveness User Rating: A main aspect and important measure of how good a gestural user interfaces is derives from the intuitiveness of the gestures use. This class of interface is called a Natural User Interface (NUI) for a reason, it should simply make sense to the user. For this reason, we included this measure in our assessment of quality.
- Preference of interface User Rating: In order to truly succeed, the interface we created has to be better than existing user interfaces–if no user would want to actually use the interface we created, then there are clearly problems with the interface. For this reason, we wanted to know if the users thought the interface was useful compared to existing mouse and 2D monitor 3D interfaces.
Results
First of all, from the preliminary survey, it is apparent that aside from Subject 2, the group in general had very little experience with gestural interfaces, which made the group a good set of people to test the intuitiveness of our gestures on.
For the first task of view manipulation (translation and rotation of the camera view), all the users found translation to be easy and intuitive. Subject 1 found it confusing to distinguish between the effects of gestures using fists (view manipulation) and gestures using a pointed finger (object manipulation), and attempted to use object manipulation to complete the task. However, when reminded of the difference, she completed the task using the appropriate view manipulation gestures. She did attempt to continually rotate to achieve a large degree of rotation, which is an awkward gestures for one’s arms, and after a hint realized that she could stop and rotate again. Subject 2 picked up on the gestures more quickly and easily for both translation and rotation, though she also attempted to continually rotate for large rotations. Subject 3 also found it a little confusing to distinguish between the fist and finger gestures at the start, and found the ability to rotate objects out of the field of view to be confusing (with regard to getting them back in view). All of the subjects reported that the interface was easy to use and intuitive; Subject 2 (who used the interface with the most ease) found the gestures to be very intuitive.
For the second task of object manipulation (rotation of the object and object deformation), all the subjects found rotation easier than for the first task, after having gotten more used to the gestures. Vertex manipulation to deform the object was also grasped quickly and easily by Subjects 1 and 2; however Subject 3 did not realize that he needed to point very close to a vertex to select it, but after selecting the vertex, manipulation was easy. Subjects 2 and 3 forgot some of the gestures and needed reminding of which gestures corresponded to which functionality. With regard to remembering gestures, Subject 1 pointed out that having one fist to translate and two fists to rotate was confusing.
For the third task of object painting (the user is required to color in the sides of the object, and rotate it as well to paint the faces hidden from view), which was supposed to be the hardest task, the users surprisingly found it very intuitive and easy! Perhaps this was because the task corresponding most directly to a task you’d actually perform in the real world, like painting a model–changing the scene angle of the camera is not so much a real-world application, and could be more confusing. Subjects 1 and 2 did not realize that they could not paint on faces that weren’t visible, and needed to rotate the view to see the faces and paint them.
All the users found it easy to see stereoscopically, which was a pleasant surprise, since in the past there has been some time required before a user could see the stereoscopic 3D objects properly. They also all noted that the instability in detecting fists and fingers — the leap would often detect fists where there was a pointed finger — made the interface a bit more difficult to use. This significantly affected the difficulty of rotation, which Subject 3 found difficult enough to suggest that the learning curve might be steep enough that he would likely prefer using a traditional mouse and keyboard interface for 3D modelling.
Overall, rotation seemed to be the task that was hardest to learn, suggesting that we need to improve our rotation gestures. However, rotation is also the gesture most affected by the instability in leap gesture detection, which exacerbated the difficulty in rotation. Based on our experimentation with the Leap sensor, we have considered replacing our rotation gesture with a palm-orientation-based scheme. Another important issue to fix is that users commonly forget core gestures, especially forgetting the distinction between fist and finger gestures. We also commented on this issue in P4, but it was revealed to be a very important problem in P6; a reminder system (perhaps a sign floating in the background, or a training course) could be very helpful in mitigating this issue.
Appendices
Consent Form
Pre-Experiment Survey
Post-Experiment Interview
Raw Data