Group 10 — Team X
-Junjun Chen (junjunc),
-Osman Khwaja (okhwaja),
-Igor Zabukovec (iz),
-(av)
Summary:
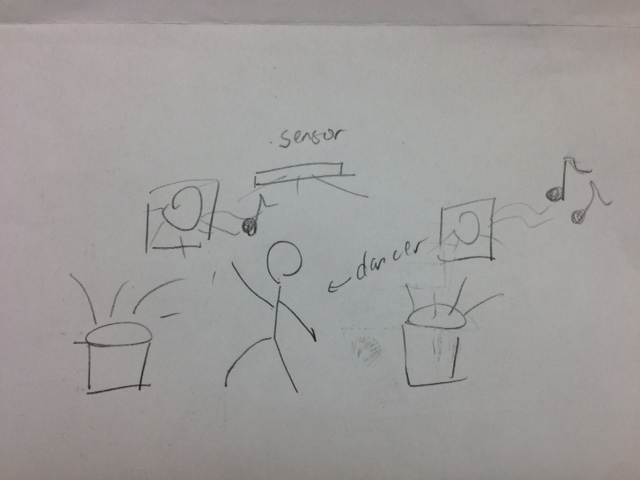
A “Kinect Jukebox” that lets you control music using gestures.
Introduction:
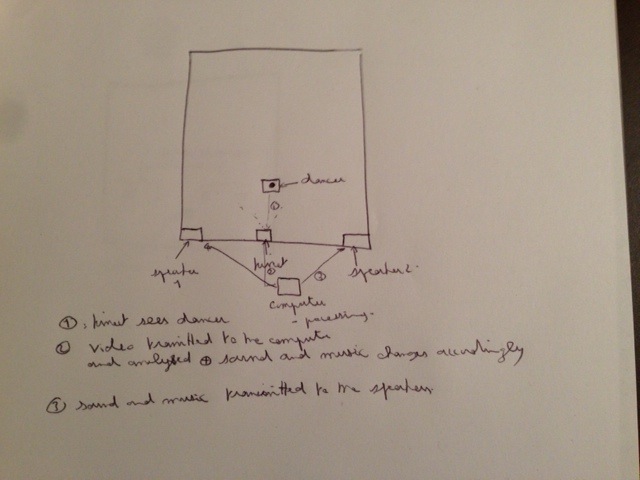
Our project aims to provide a way for dancers to interact with recorded music through gesture recognition. By using a Kinect, we can eliminate any need for the dancers to press buttons, speak commands, or generally interrupt their movement when they want to modify the music’s playback in some way. Our motivation for developing this system is twofold: first of all, it can be used to make practice routines for dancers more efficient; second of all, it will have the potential to be integrated into improvisatory dance performances, as the gestural control can be seamlessly included as part of the dancer’s movement. In this experiment, we want to use three tasks to determine how well our system accomplishes those goals, by measuring the general frustration level of users as they use our system, the level of difficulty they may have with picking up our system, and how well our system does in recognizing gestures and responding to them.
Implementation and Improvements
P5: https://blogs.princeton.edu/humancomputerinterface/2013/04/22/p5-group-10-team-x/
Changes:
-
Implemented the connection between the Kinect gesture recognition and music processing components using OSC messages which we were not able to do for P5. This means that we did not need to use any wizard of oz techniques for P6 testing.
-
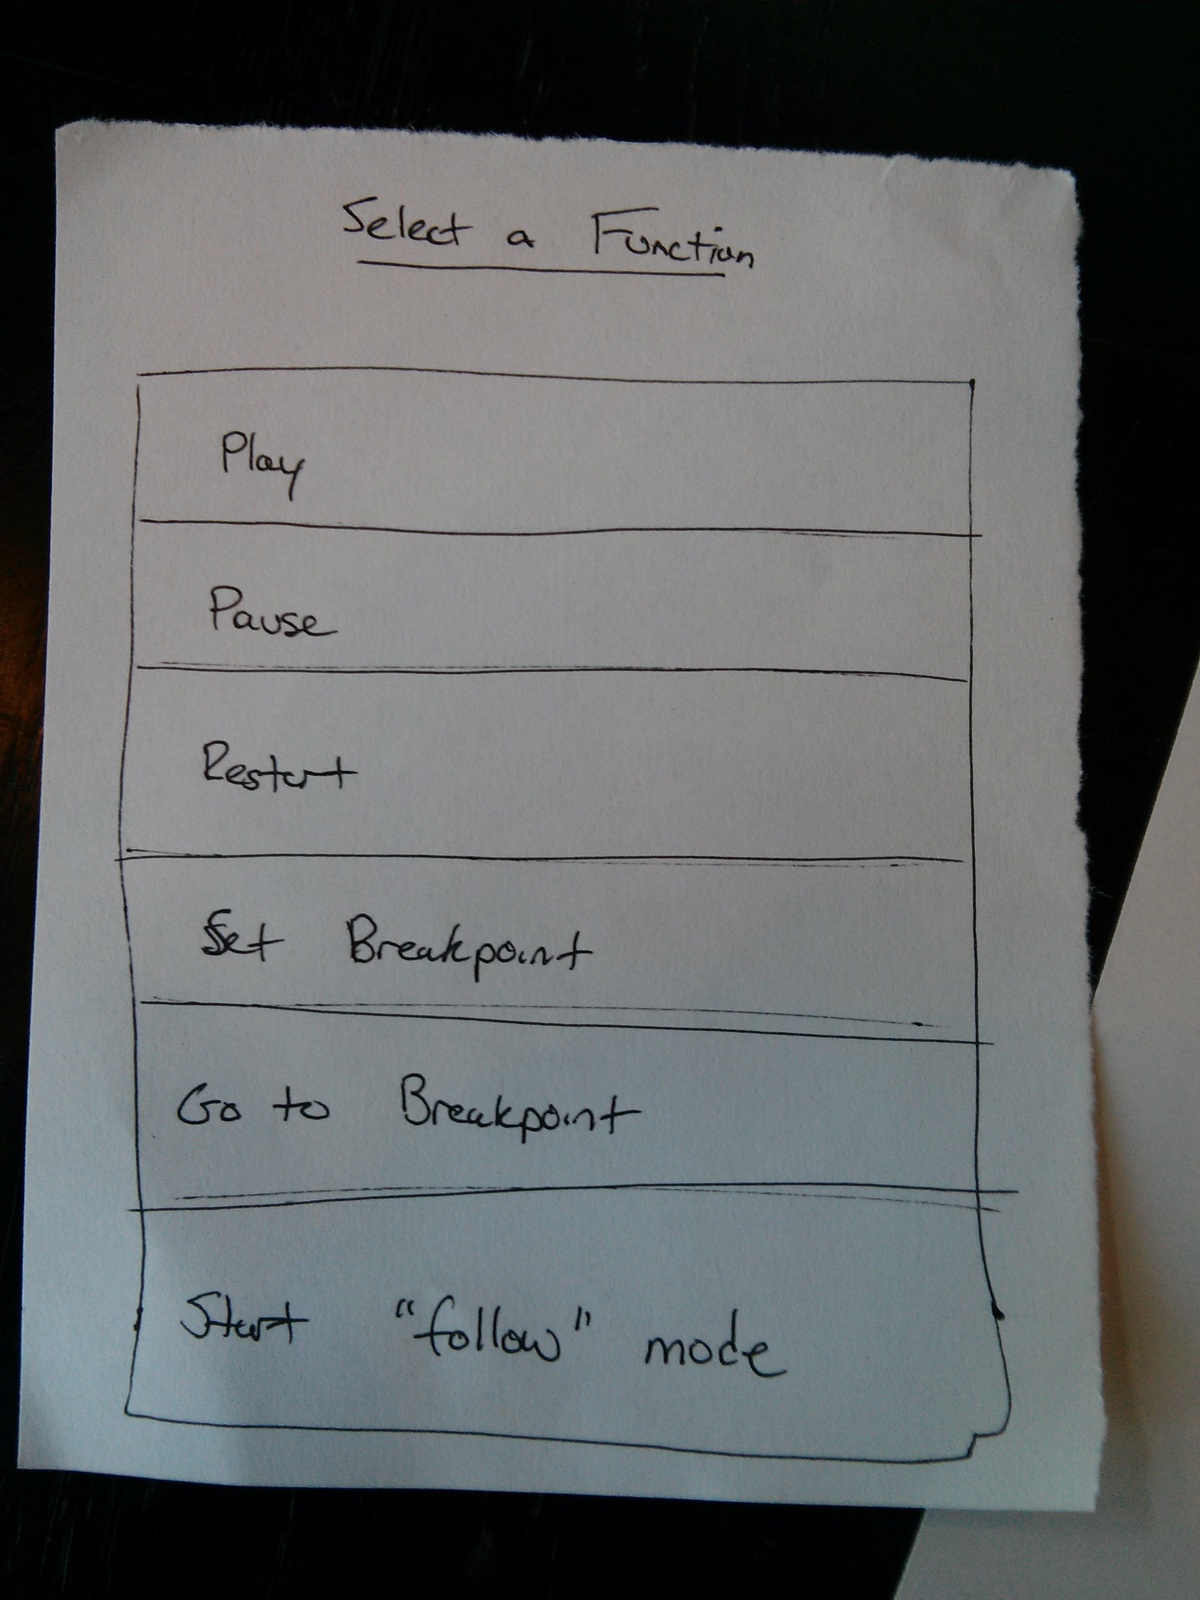
Implemented the GUI for selecting music (this was just a mock up in P5).
Method:
Participants:
The participants were selected at random (from Brown Hall). We pulled people aside, and asked if they had any dancing experience. We tried to select users who had experience, but since we want our system to be intuitive and useful for dancers of all levels, we did not require them to have too much experience.
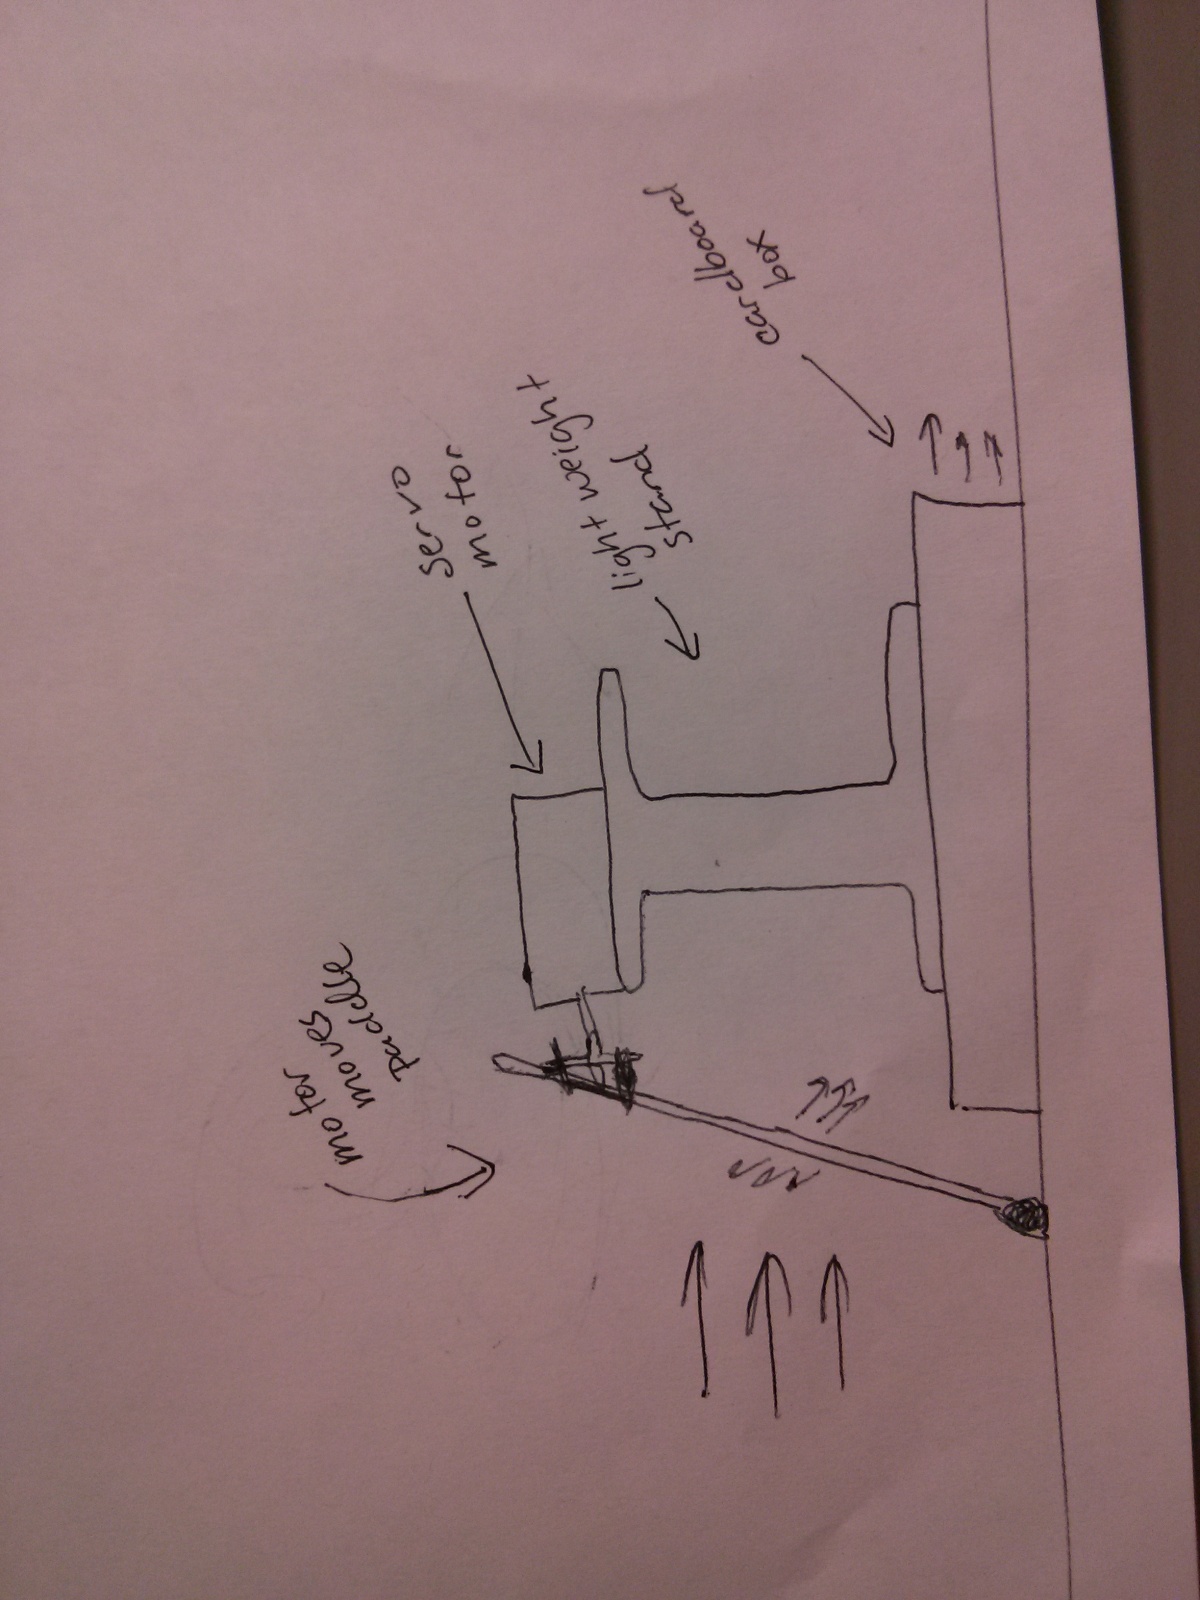
Apparatus:
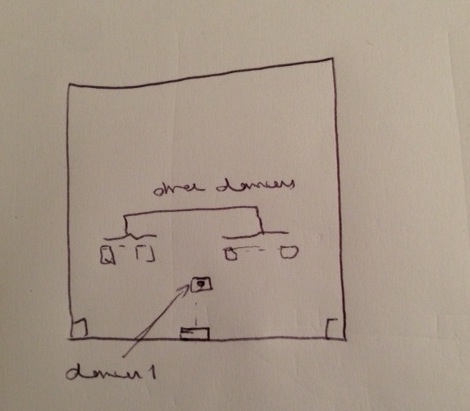
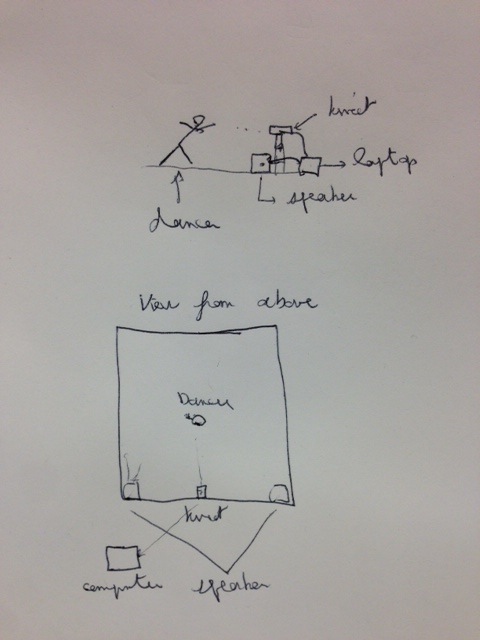
The equipment used included a Kinect, a laptop, and speakers. The test was conducted in a room in Brown Hall, where there was privacy, as well as a large clear area for the dancers.
Tasks:
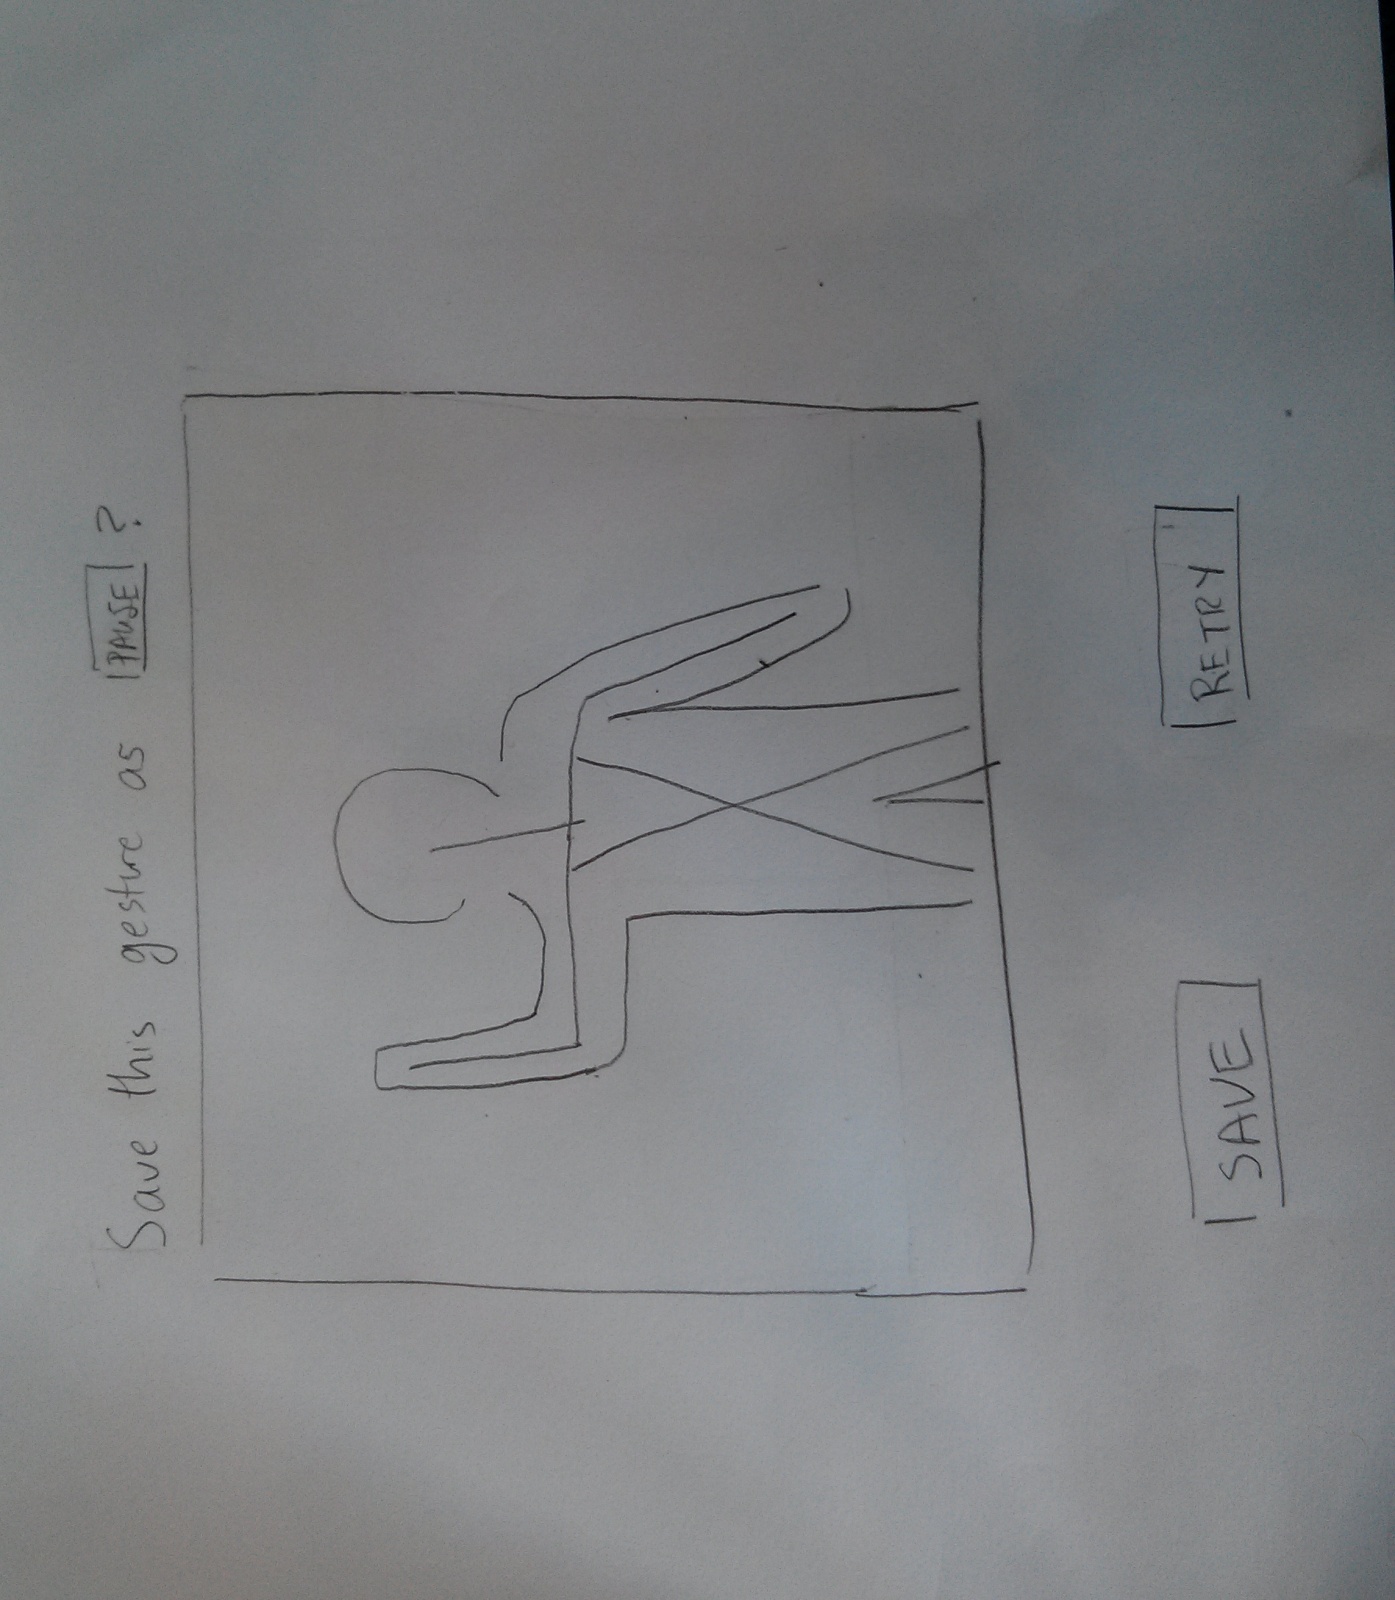
1 (Easy). The first task we have chosen to support is the ability to play and pause music with specific gestures. This is our easy task, and we’ve found through testing that it is a good way to introduce users to our system.
2 (Medium). We changed the second task from “setting breakpoints” to “choosing music” as we wanted to make sure to include our GUI in the testing. We thought that the first and third task was adequate for testing the gesture control (especially since the gesture control components are still being modified). We had participants go through the process of selecting a song using our graphic interface.
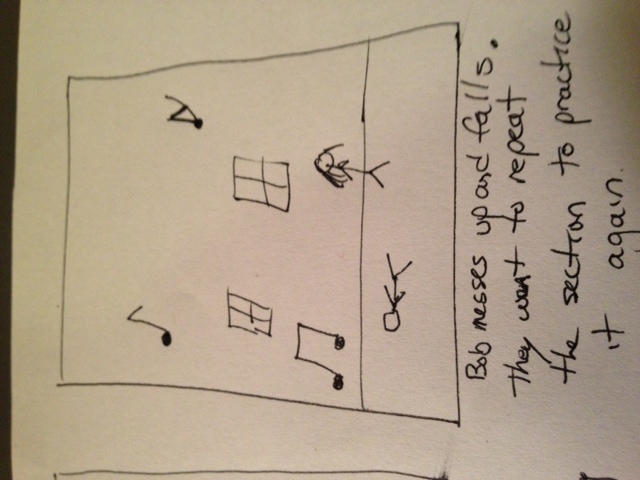
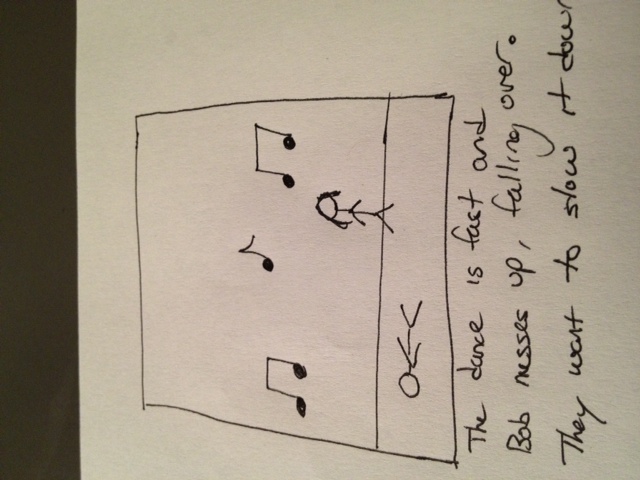
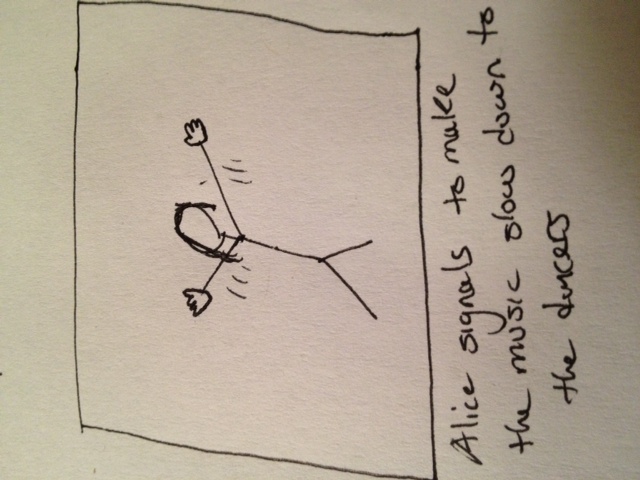
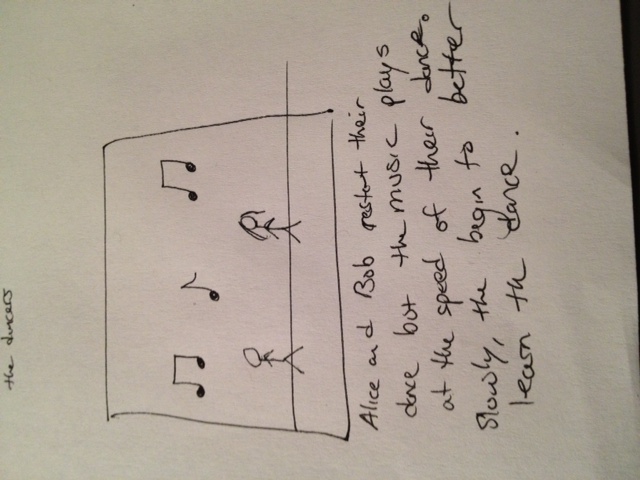
3 (Hard). The third task is to be able to change the speed of the music on the fly. We had originally wanted to have the music just follow the user’s moves, but we found that the gesture recognition for this would have to be incredibly accurate for that to be useful (and not just frustrating). So, instead, the speed of the music will just be controlled with gestures (for speeding up, slowing down, and returning to normal).
Procedure:
For testing, we had each user come into the room and do the tasks. We first read the general description script to the user, then gave them the informed consent form, and asked for verbal consent. We then showed them a short demo. We then asked if they had any questions and clarified any issues. After that, we followed the task scripts in increasing order of difficulty. We used the easiest task, setting and using pause and play gestures, to help the user get used to the idea. This way, the users were more comfortable with the harder tasks (which we wanted the most feedback on). While the users were completing the tasks, we took notes on general observations, but also measured the statistics described below. At the end, we had them fill out the brief post-test survey.
Test Measures:
Besides making general observations as the users performed our tasks, we measured the following:
-
Frustration Level (1 to 5, judged by body language, facial expressions, etc.), as the main purpose of our project is to make the processes of controlling music while practicing as easy as possible.
-
Initial pickup – how many questions were asked at the beginning? Did the user figure out how to use the system? We wanted to see how intuitive and easy to use our system was, and whether we explained our tasks well.
-
Number of times reviewing gestures – (how many times did they have to look back at screen?) We wanted to see how well preset gestures would work (is it easy to convey a gesture to a user?)
-
Attempts per gesture (APG) – The number of tries it took the user to get the gesture to work. We wanted to see how difficult it would be for users to copy gestures and for the system to recognize those gestures, since getting gestures to be recognized is the integral part of the system.
-
Success – (0 or 1) Did the user complete the task?
Results and Discussion
Here are statistical averages for the parameters measured for each task.
|
Task 1 |
Task 2 |
Task 3 |
|
|
Frustration Level |
1.67 |
0.33 |
3 |
|
Initial Pickup |
0 |
0 |
0.33 |
|
Reviewing Gestures |
1 |
– |
1.33 |
|
Success |
1 |
1 |
0.66 |
|
Play APG |
3 |
– |
– |
|
Pause APG |
1.33 |
– |
– |
|
Normalize Speed APG |
– |
– |
1.5 on success |
|
Slow Down APG |
– |
– |
2.33 |
|
Speed Up APG |
– |
– |
4.33 |
From these statistics, we found that APG for each tasks was relatively high, and high APGs correlated with higher frustration levels. Also, unfortunately, the APG didn’t seem to go down with practice (from task 1 to task 3, and with the 3 different gestures in tasks 3). The tasks with the highest APG (10+ on normalize speed, and 8 on speed up) both happened towards the end of the sessions.
These issues seem to stem from misinterpretation of the details of the gesture on the screen (users tried to mirror the gestures, when in fact the gestures should have been performed in the opposite direction), as well as general issues in the consistency of the gesture recognition. All three users found the idea interesting, but as users 1 and 3 commented on, gesture recognition needs to be robust for the system to be useful.
Changes we plan to make include a better visualization of the gestures, so that users have less trouble following them. Based on the trouble some of our users had with certain gestures, we’ve decided that custom gestures are an important part of the system (users would be able to set gestures that they are more comfortable with, and will be able to reproduce more readily). This should alleviate some of the user errors we saw in testing. On the technical side, we also have to make our gesture recognition system more robust.
Appendices
i. Items Provided / Read to Participants:
ii. Raw Data
Links to Participant Test Results:
Individual Statistics:
Participant 1:
|
Task 1 |
Task 2 |
Task 3 |
|
|
Frustration Level |
-2 |
0 |
4 |
|
Initial Pickup |
0 |
0 |
1 |
|
Reviewing Gestures |
3 |
– |
2 |
|
Success |
1 |
1 |
0 |
|
Play APG |
5 |
– |
– |
|
Pause APG |
2 |
– |
– |
|
Normalize Speed APG |
– |
– |
10 (failure) |
|
Slow Down APG |
– |
– |
3 |
|
Speed Up APG |
– |
– |
2 |
Participant 2:
|
Task 1 |
Task 2 |
Task 3 |
|
|
Frustration Level |
1 |
0 |
2 |
|
Initial Pickup |
0 |
0 |
0 |
|
Reviewing Gestures |
0 |
– |
1 |
|
Success |
1 |
1 |
1 |
|
Play APG |
1 |
– |
– |
|
Pause APG |
1 |
– |
– |
|
Normalize Speed APG |
– |
– |
1 (success) |
|
Slow Down APG |
– |
– |
2 |
|
Speed Up APG |
– |
– |
3 |
Participant 3:
|
Task 1 |
Task 2 |
Task 3 |
|
|
Frustration Level |
2 |
1 |
3 |
|
Initial Pickup |
0 |
0 |
0 |
|
Reviewing Gestures |
1 |
– |
1 |
|
Success |
1 |
1 |
1 |
|
Play APG |
3 |
– |
– |
|
Pause APG |
1 |
– |
– |
|
Normalize Speed APG |
– |
– |
2 (success) |
|
Slow Down APG |
– |
– |
2 |
|
Speed Up APG |
– |
– |
8 |
Video