Team Colonial Club, Group 7
David, John and Horia
Project Description
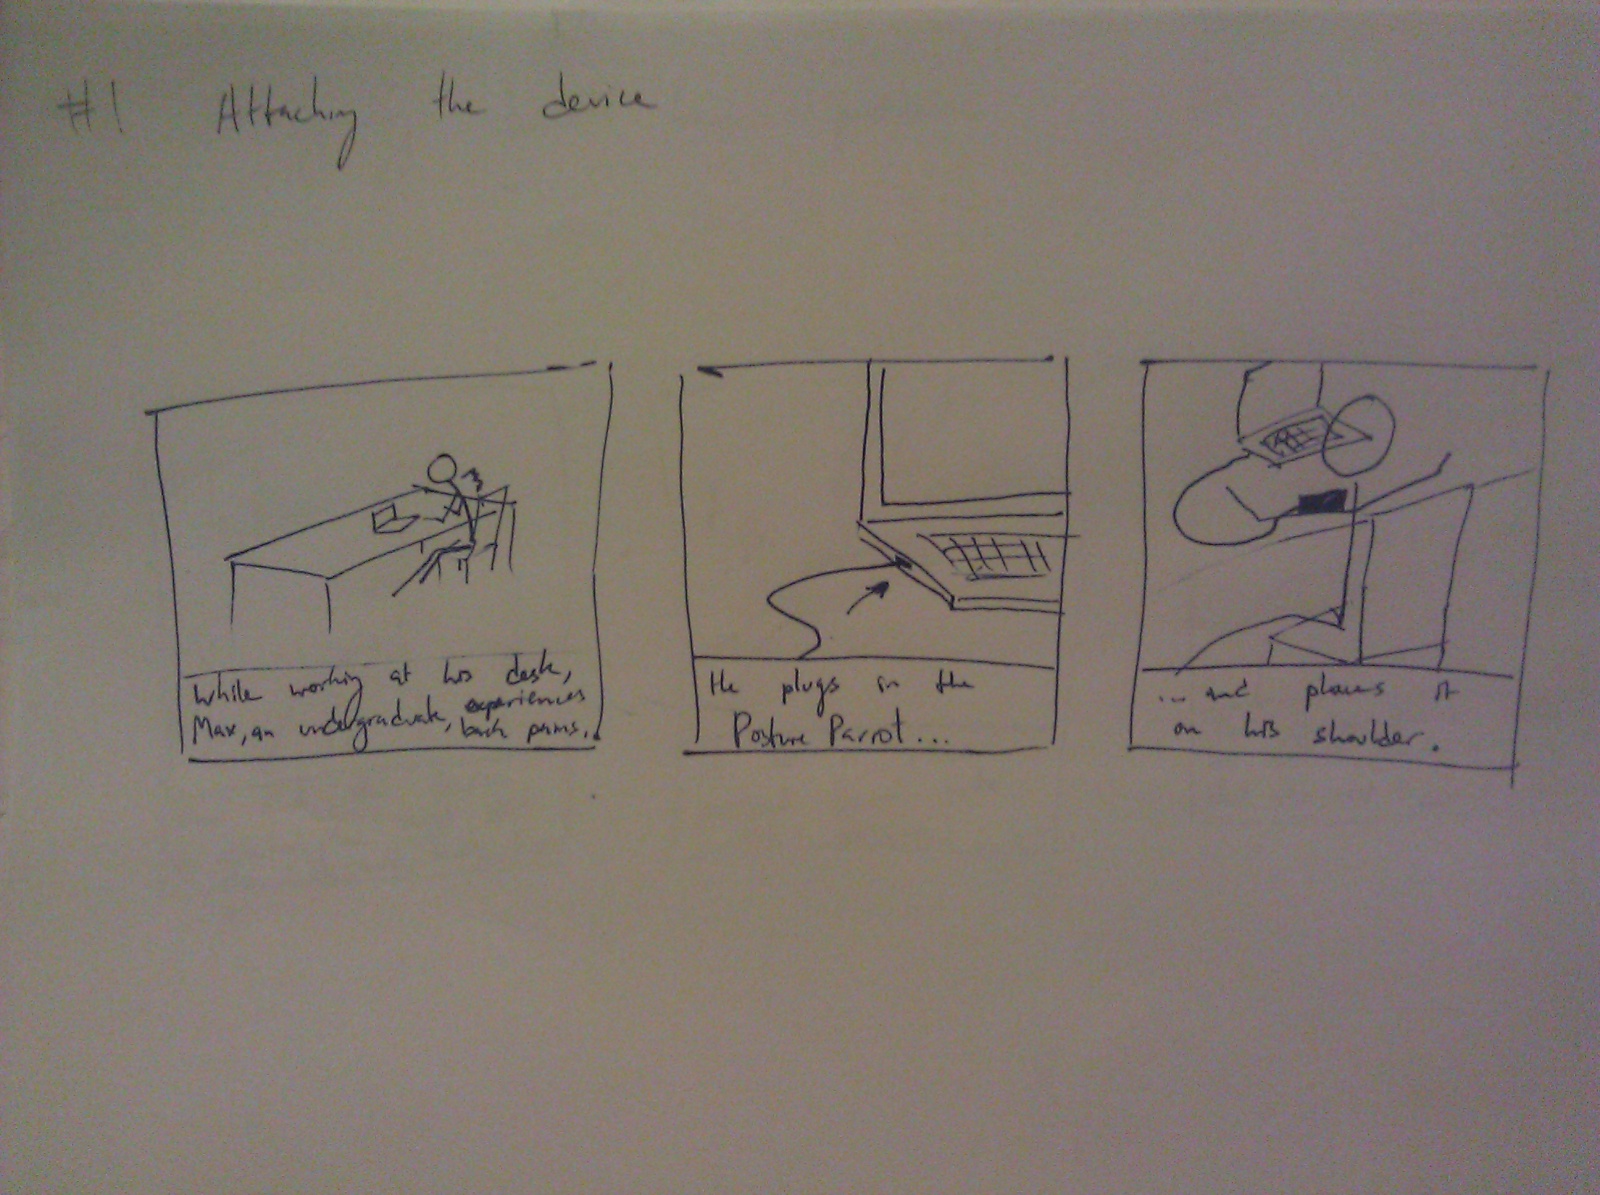
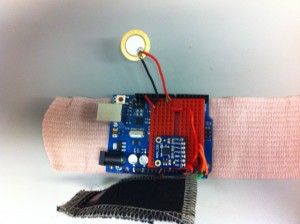
The PostureParrot helps users maintain good back posture while sitting at a desk with a computer.
Project Blog Posts
P1: https://blogs.princeton.edu/humancomputerinterface/2013/02/22/team-colonial-p1/
P2: http://blogs.princeton.edu/humancomputerinterface/2013/03/11/p2-3/
P3: https://blogs.princeton.edu/humancomputerinterface/2013/03/29/p3-backtracker/
P4: http://blogs.princeton.edu/humancomputerinterface/2013/04/08/p4-backtracker/
P5: http://blogs.princeton.edu/humancomputerinterface/2013/04/22/p5-postureparrot/
P6: http://blogs.princeton.edu/humancomputerinterface/2013/05/07/p6-postureparrot/
Video
- 0:00 – 0:05
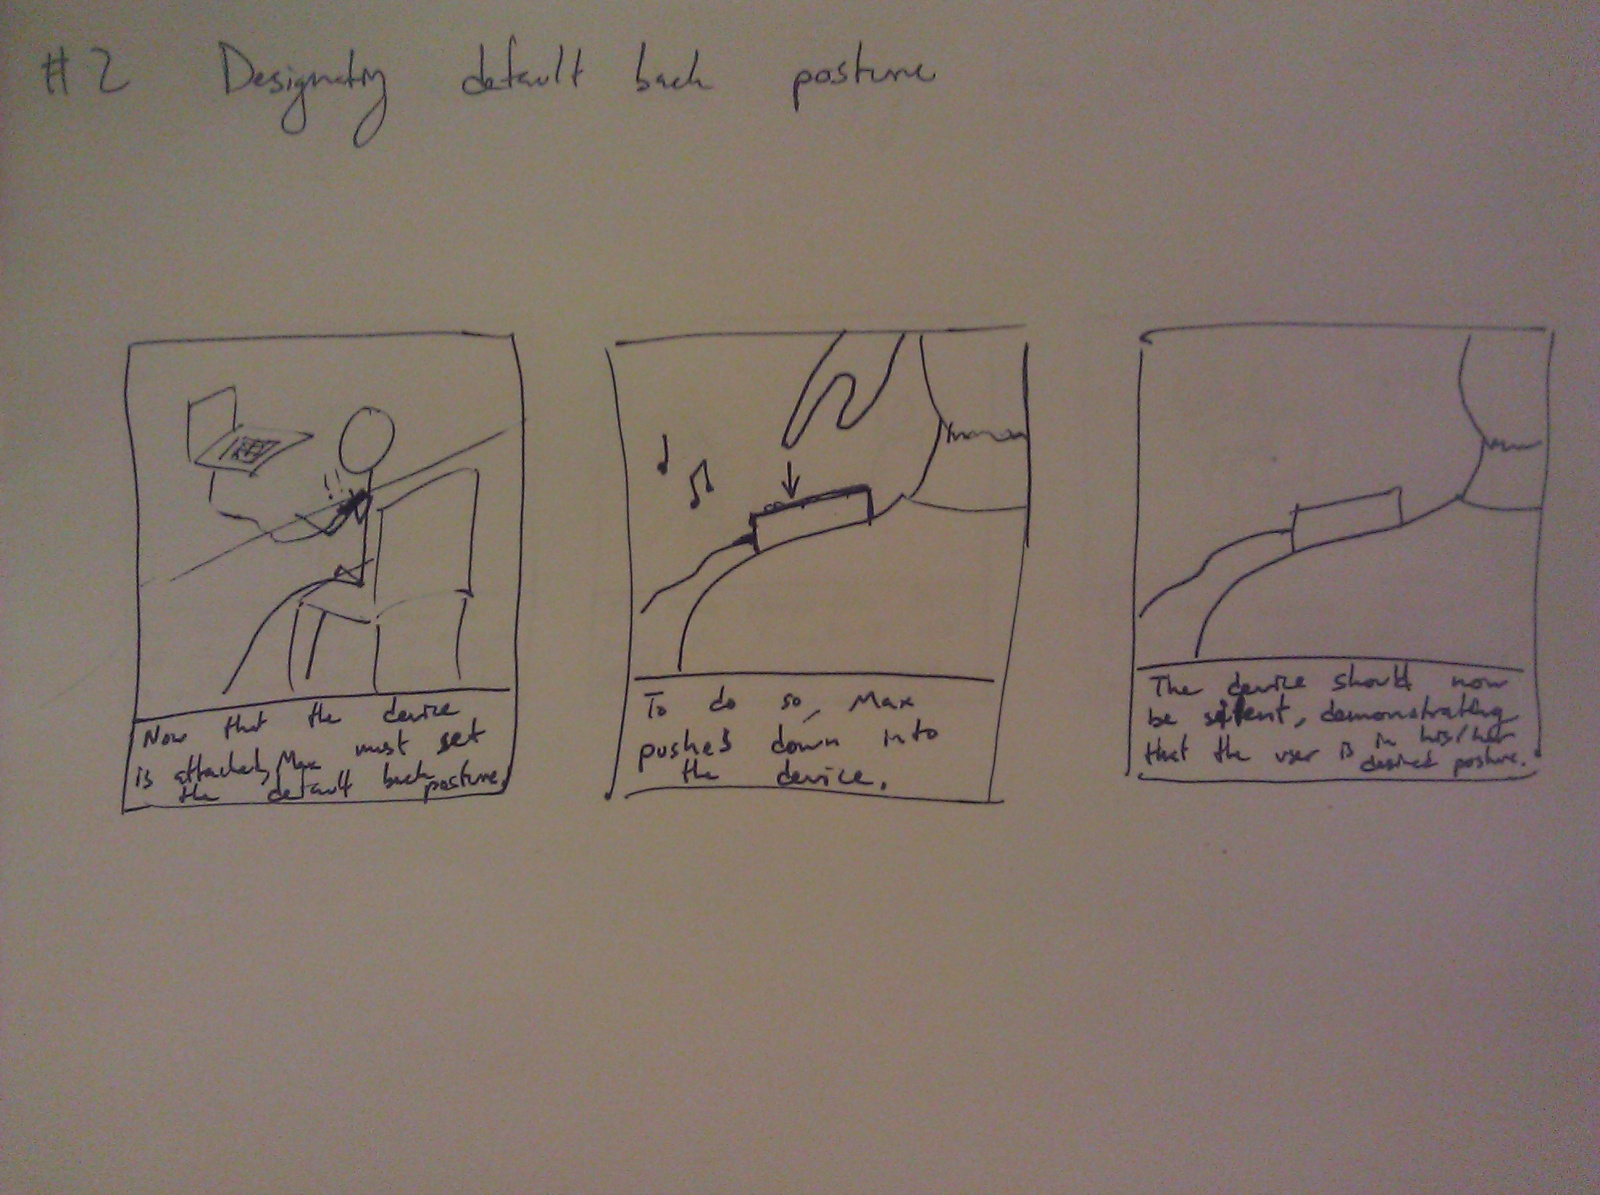
- User positions back into desired default posture and hits “Set Default Posture” on the GUI
- 0:00 – 0:20
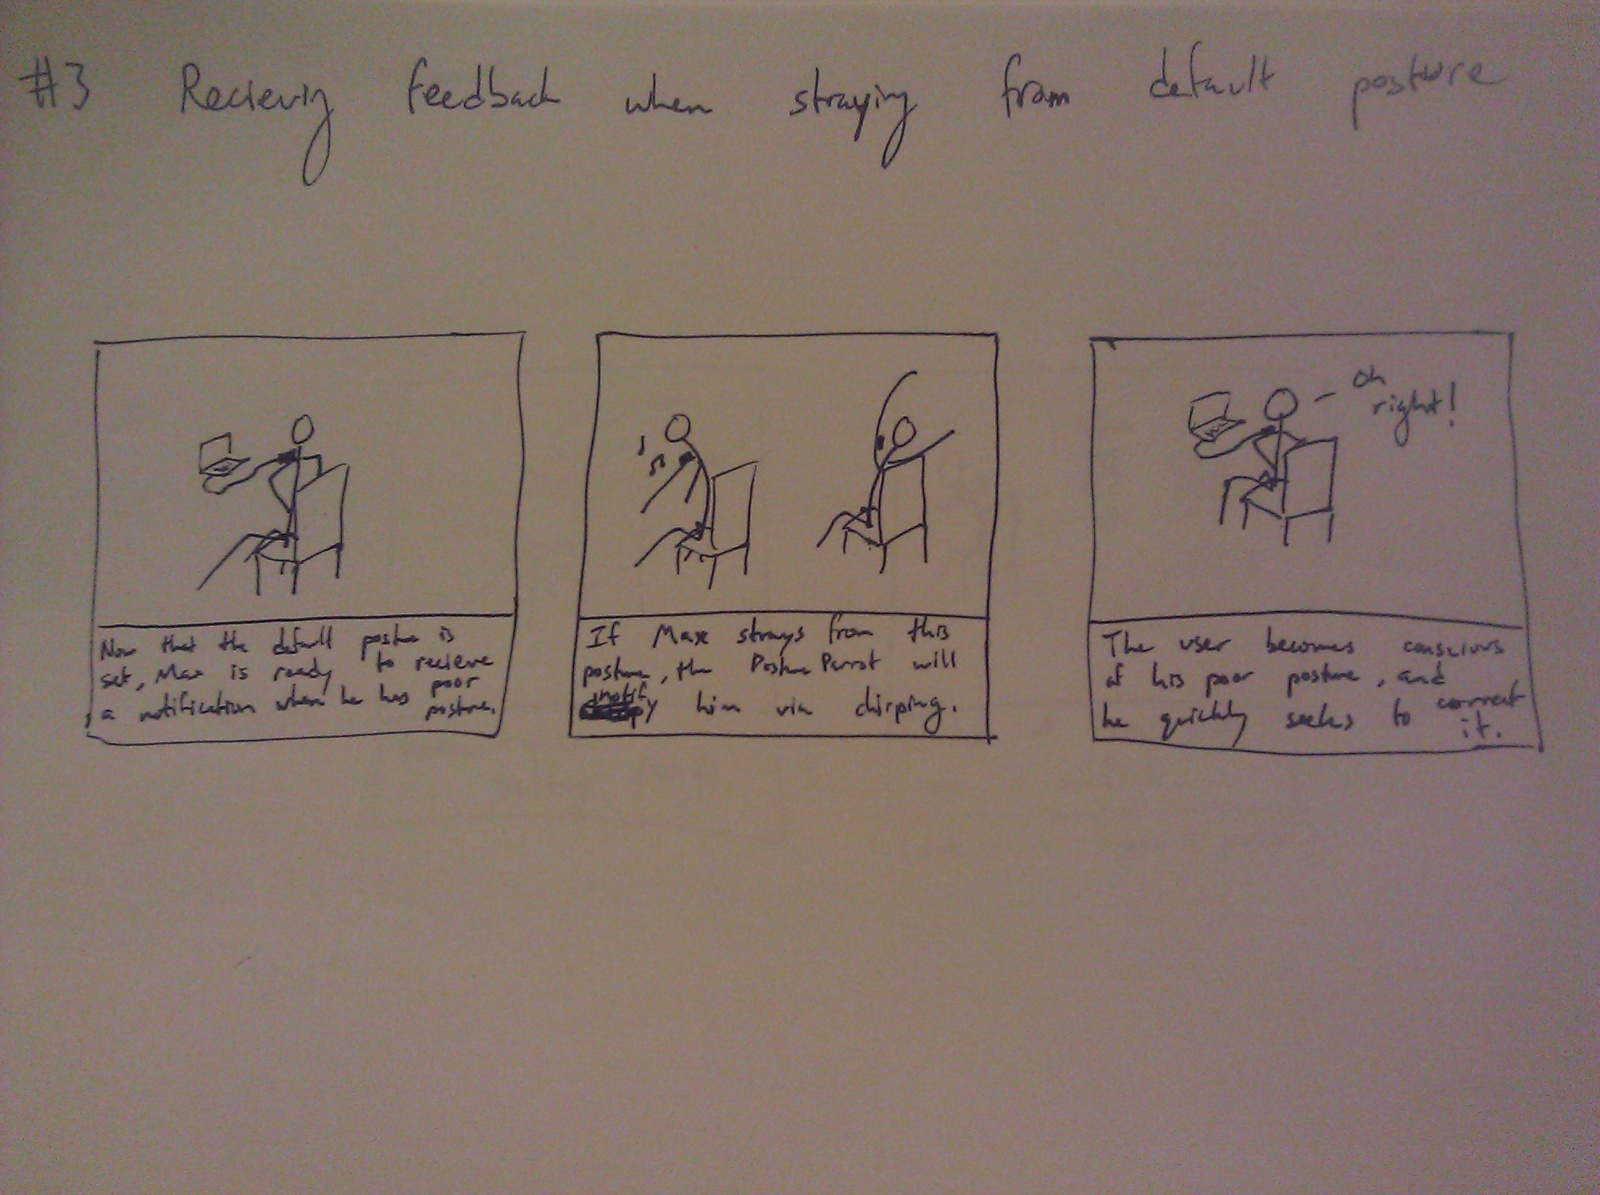
- User deviates back from default posture and responds to the device’s audible feedback to correct his back posture.
- 0:20 – 0:35
- User adjusts the device’s “Wiggle Room” through the GUI.
- 0:35 – 0:50
- User tests the limits of back posture deviation that are allowed by the new “Wiggle Room” setting. It is noticeably more lenient.
- 0:50 – 1:00
- User adjusts the device’s “Time Allowance” through the GUI.
- 1:00 – 1:11
- User tests tests the time it takes to receive feedback from the device with the new “Time Allowance” setting. It takes slightly longer to receive feedback than before, meaning that short back posture deviations are tolerated more often.
Changes in Working Prototype
Bulleted list of changes that we have made since P6 and a brief explanation of why we made each change
-
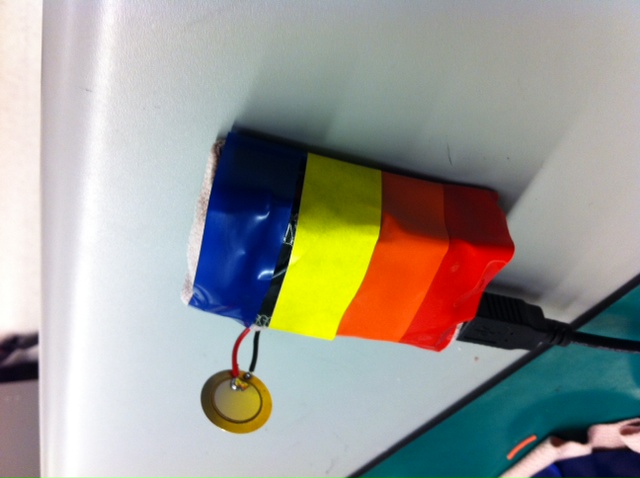
We now play an audible confirmation when a new default back posture is set. This is done through the Piezo sensor at a different pitch than the back posture deviation audible feedback pitch.
-
Through our observational notes, we noticed that users were confused when asked to set the default back posture. This could potentially because there was no confirmation when a user selected the button to set their desired back posture.
-
-
Wiggle Room and Time Allowance increment and decrement buttons are now working correctly. We also added color changes to the buttons for user-feedback.
-
Previously, values for both wiggle room and time allowance became distorted when the increment / decrement buttons were quickly selected.
-
-
Added text snippets to explain wiggle room and time allowance.
-
Through our observational notes, we learned that wiggle room and time allowance were not intrinsically intuitive and require additional explanation.
-
-
Refined default wiggle room and time allowance values.
-
We also found that our default value for wiggle room was far too lenient.
-
-
Added multi-toned feedback based on the amount of deviation from the default back posture. In other words, one tone will play from the device when you are close to the default back posture, but another will play while you are further.
-
We also discovered that sometimes it becomes difficult finding your original posture, especially when the wiggle room is relatively unforgiving.
-
Evolution of Project Goals
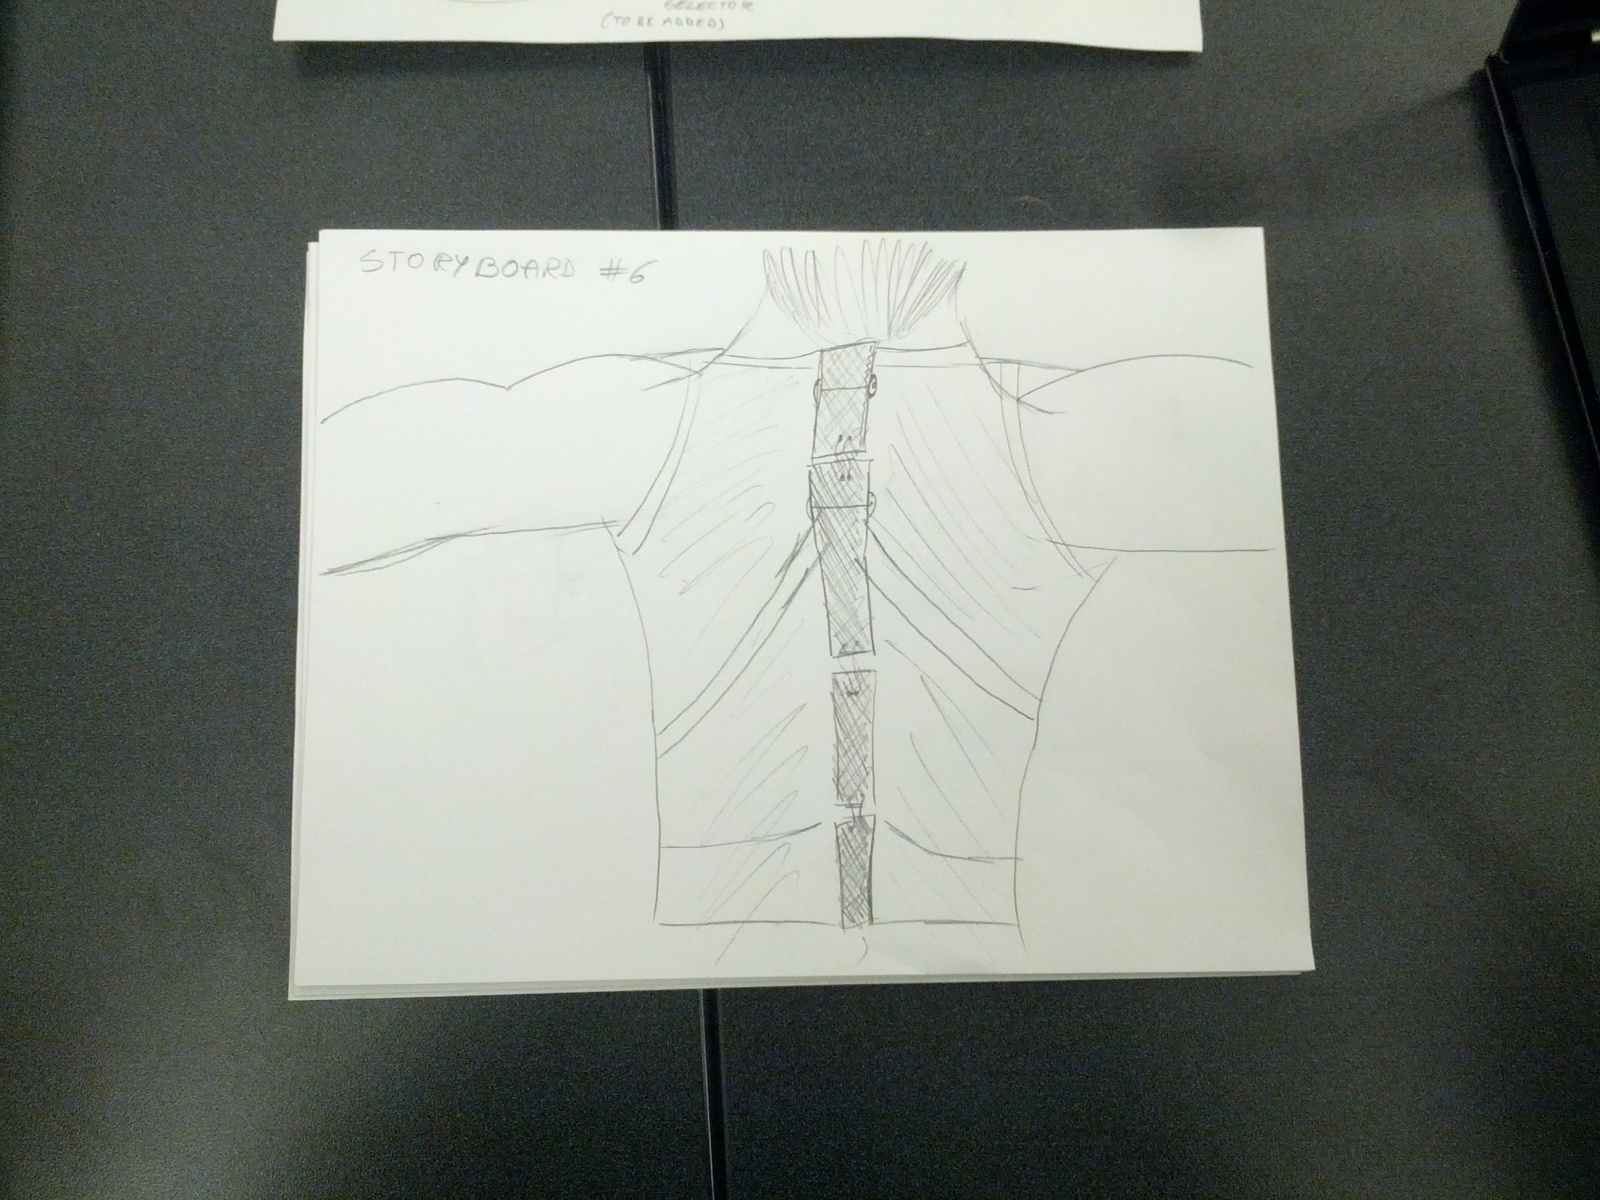
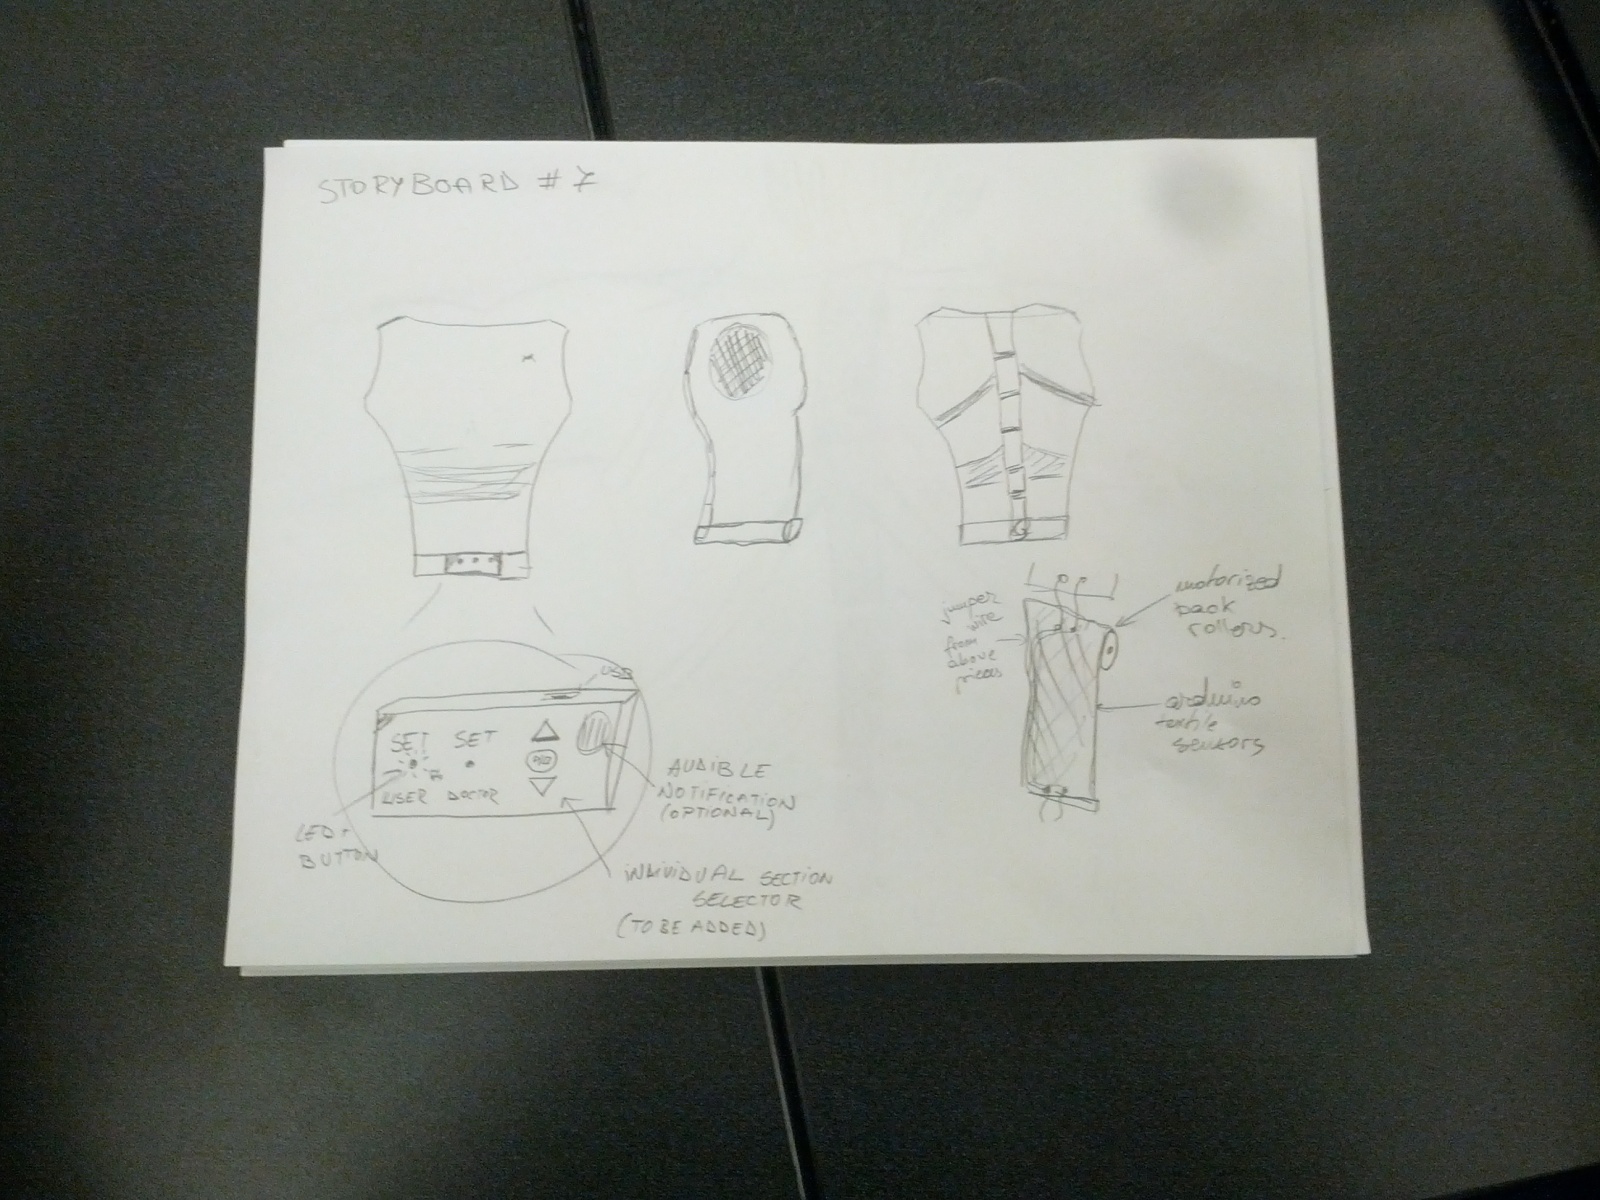
Overall, our goal has always been to help people maintain good back posture while they are seated. However, the design of our product has evolved greatly since its early conceptualization. Initially, we were really interested in having the system simultaneously evaluate and provide feedback for the three main regions of the back: top, middle and lower. We wanted the system to give vibrational feedback to the area of the back that was causing bad back posture and we wanted our GUI to display their performance in each of these areas over time.
What we found was that these objectives added complexity to the physical product and the GUI. In particular, they required that the device span the entire back, which would correspond with a complicated procedure for attaching a large wearable device and taking it off. This could keep users from wanting to use the product in the first place. We also found that users quickly responded to feedback from the device and positioned their back to the correct posture. Given this, it didn’t make sense to display a visualization of the user’s back posture over time, since it would be very close to the correct posture as long as the user wore the device and responded to the feedback. What we ended up with was a device that achieves our overall goal without adding unnecessary complexity, and a GUI that simply helps with usage of the device.
Critical Evaluation of Project
Our work suggests that, with further iteration, this system could be turned into a useful real-world system, especially given that back posture is such a relevant issue for today’s society. Many people spend most of their day sitting at desks. From our observations, we found that people who would start with good back posture did not stay that way for long. When our test users attached the device, they were pleasantly surprised about how useful a simple reminder is for maintaining good back posture.
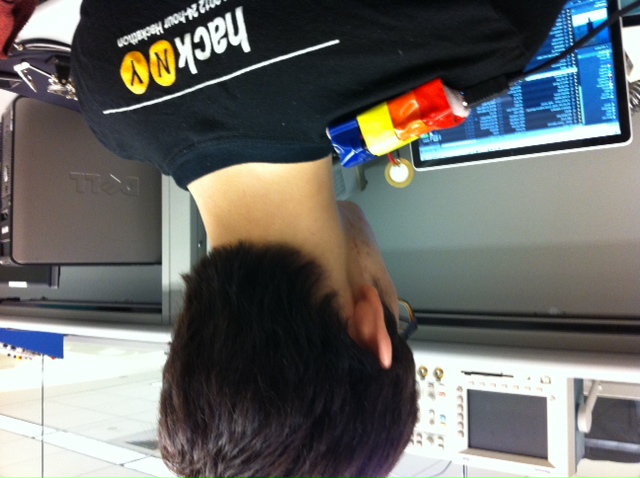
When we first described the concept to our test users, they often responded with “I would buy that!” However, one of our most challenging tasks was to find an implementation that was very unobtrusive to the experience of sitting down and working at a desk. The user was often distracted by complexity and device attachment issues. Fortunately, we have gotten very close to making the system part of a seamless effort by the user to maintain good back posture. Once the device is standalone, has vibrational motors and has a simple shoulder clip-on mechanism, the PostureParrot will be a useful real-world system.
Moving Forward
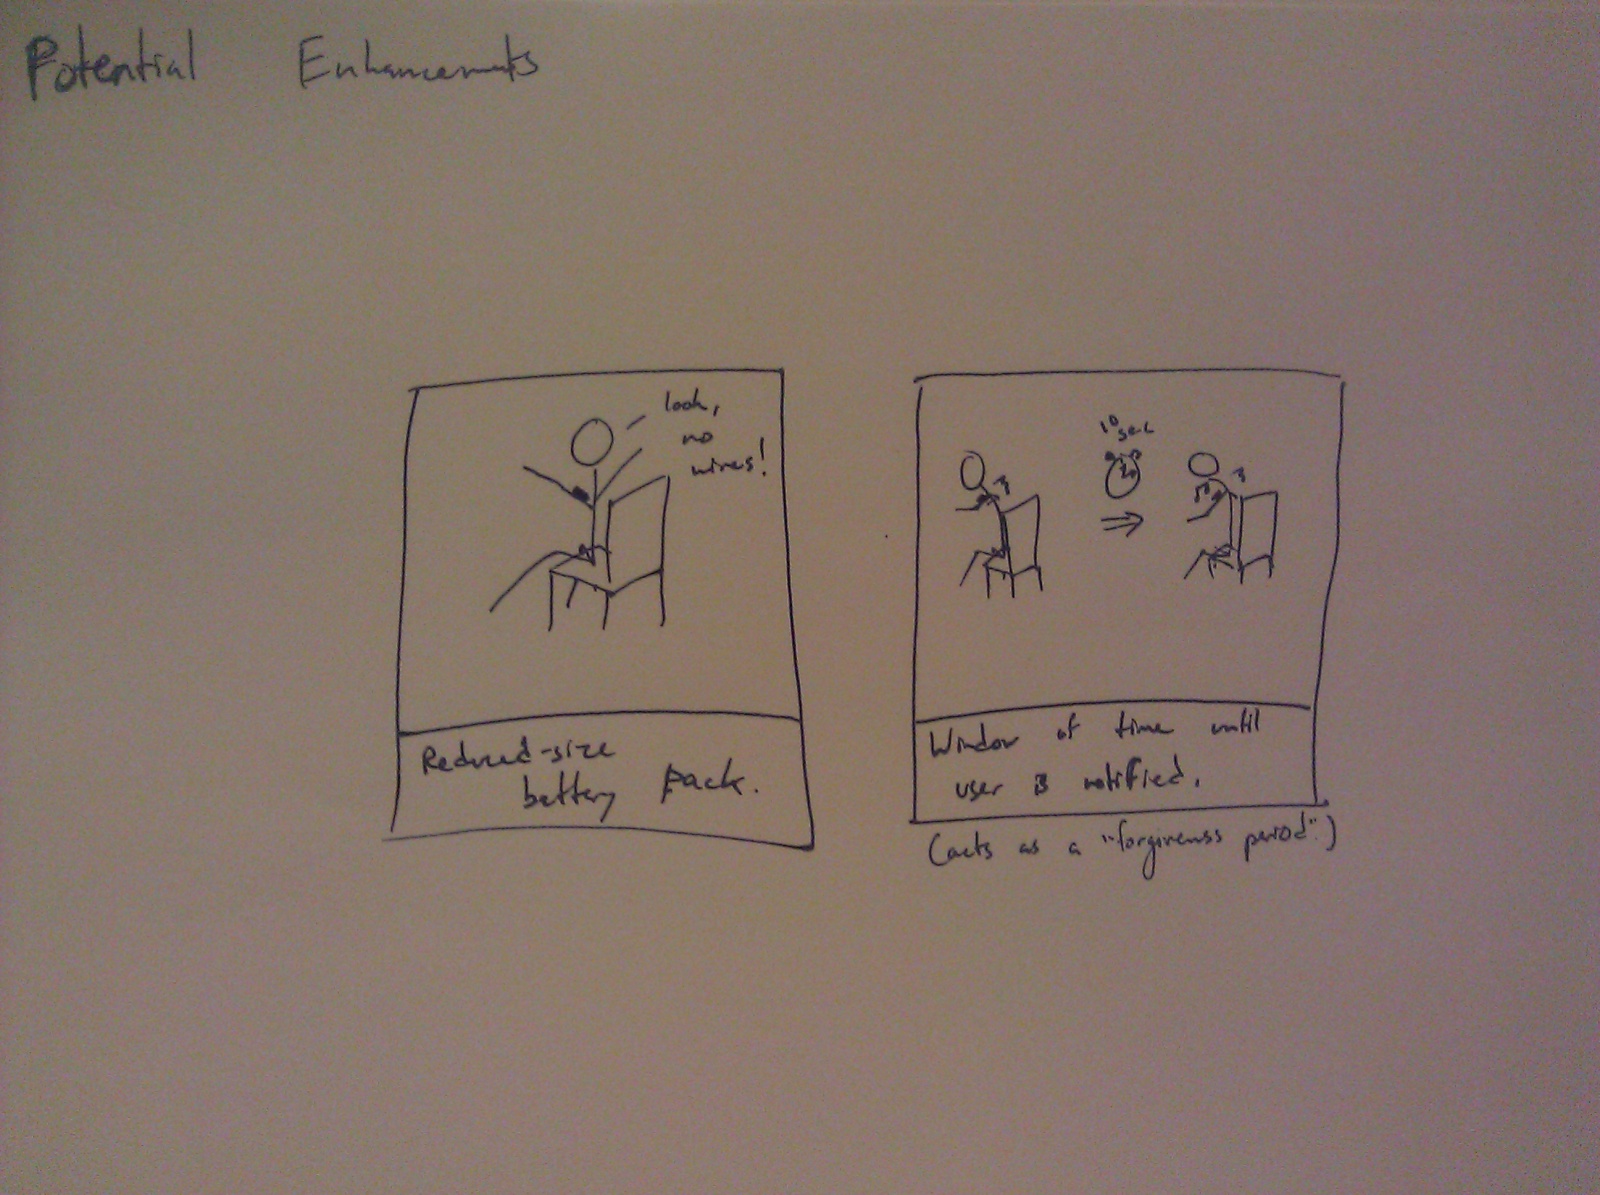
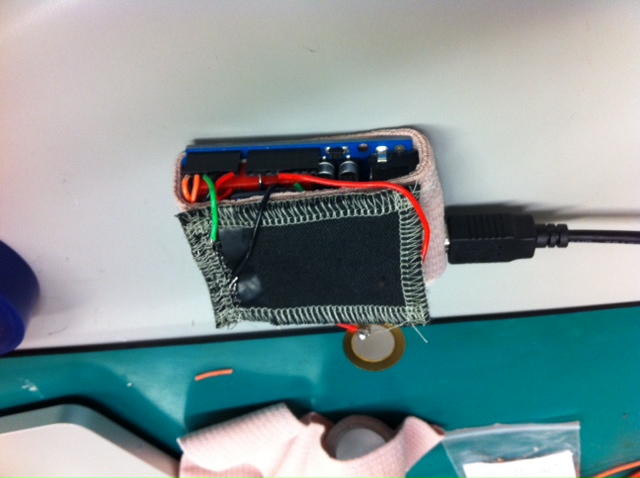
There is certainly room for improvement for the PostureParrot in terms of implementation. In particular, we were limited by the Arduino’s size, a lack of vibrational motors and battery-power options. It would have been ideal to drastically shrink the size and weight of the device through a specific system other than an Arduino. The general-purpose Arduino forced the entire system to be much larger. In addition to making the device very small and light for the user’s shoulder, the system could have been improved by providing vibrational rather than audible feedback through vibrational motors. This would enable the user to use the device in libraries and other public areas.
To make the perfect system, we would also want to make the PostureParrot wireless. Having a long USB cable extend from the user’s shoulder to a laptop is not only messy, but also limiting in that it requires that the user be near a computer. A better setup would be to have the PostureParrot communicate with a desktop or mobile application via wireless internet or bluetooth. Any additional configuration could be done through the application. The resulting stand-alone small and light device could be very appealing. Other than these optimizations, it would be nice to come up with a solid adhesive solution for sticking the device to a user’s shoulder.
Source Code
https://docs.google.com/file/d/0B_LCk7FghqrJdDUyblFpSFlqa2M/edit?usp=sharing
Third-Party Code
Third-Party Code was not used in our project.
Demo Session Materials
https://docs.google.com/file/d/0B_LCk7FghqrJSExTd000TndiTEE/edit?usp=sharing