Richter Threads
Group Name and Number: VARPEX, Group 9
Group Members: Abbi, Dillon, Prerna and Sam
Project Description
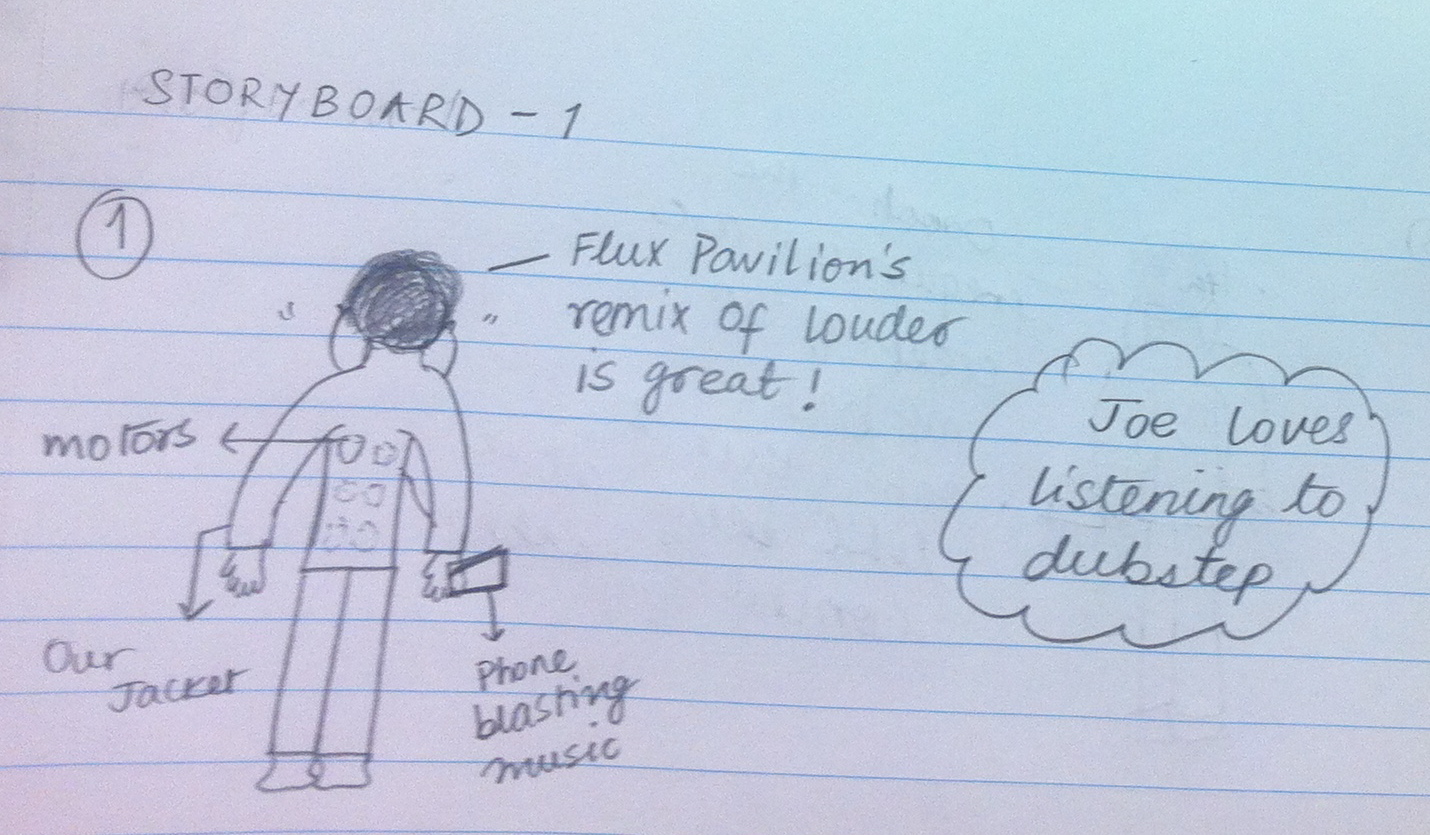
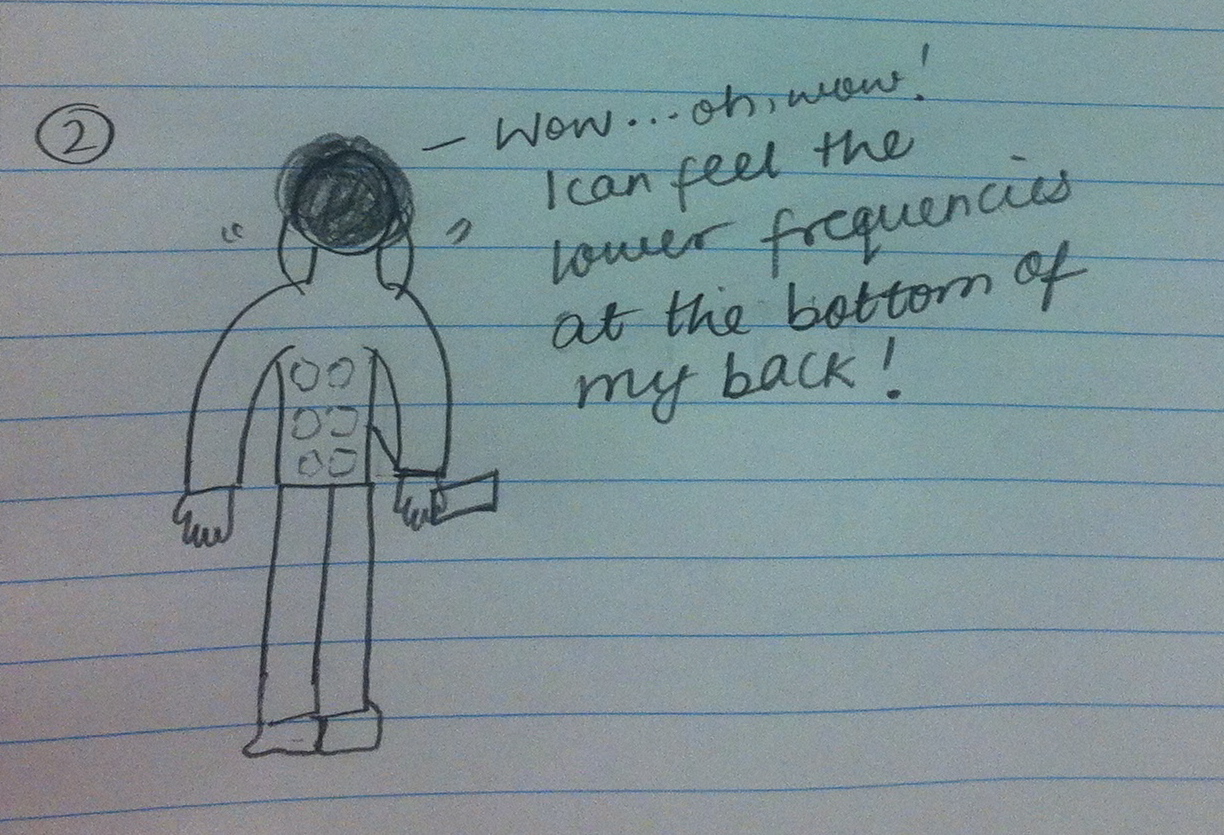
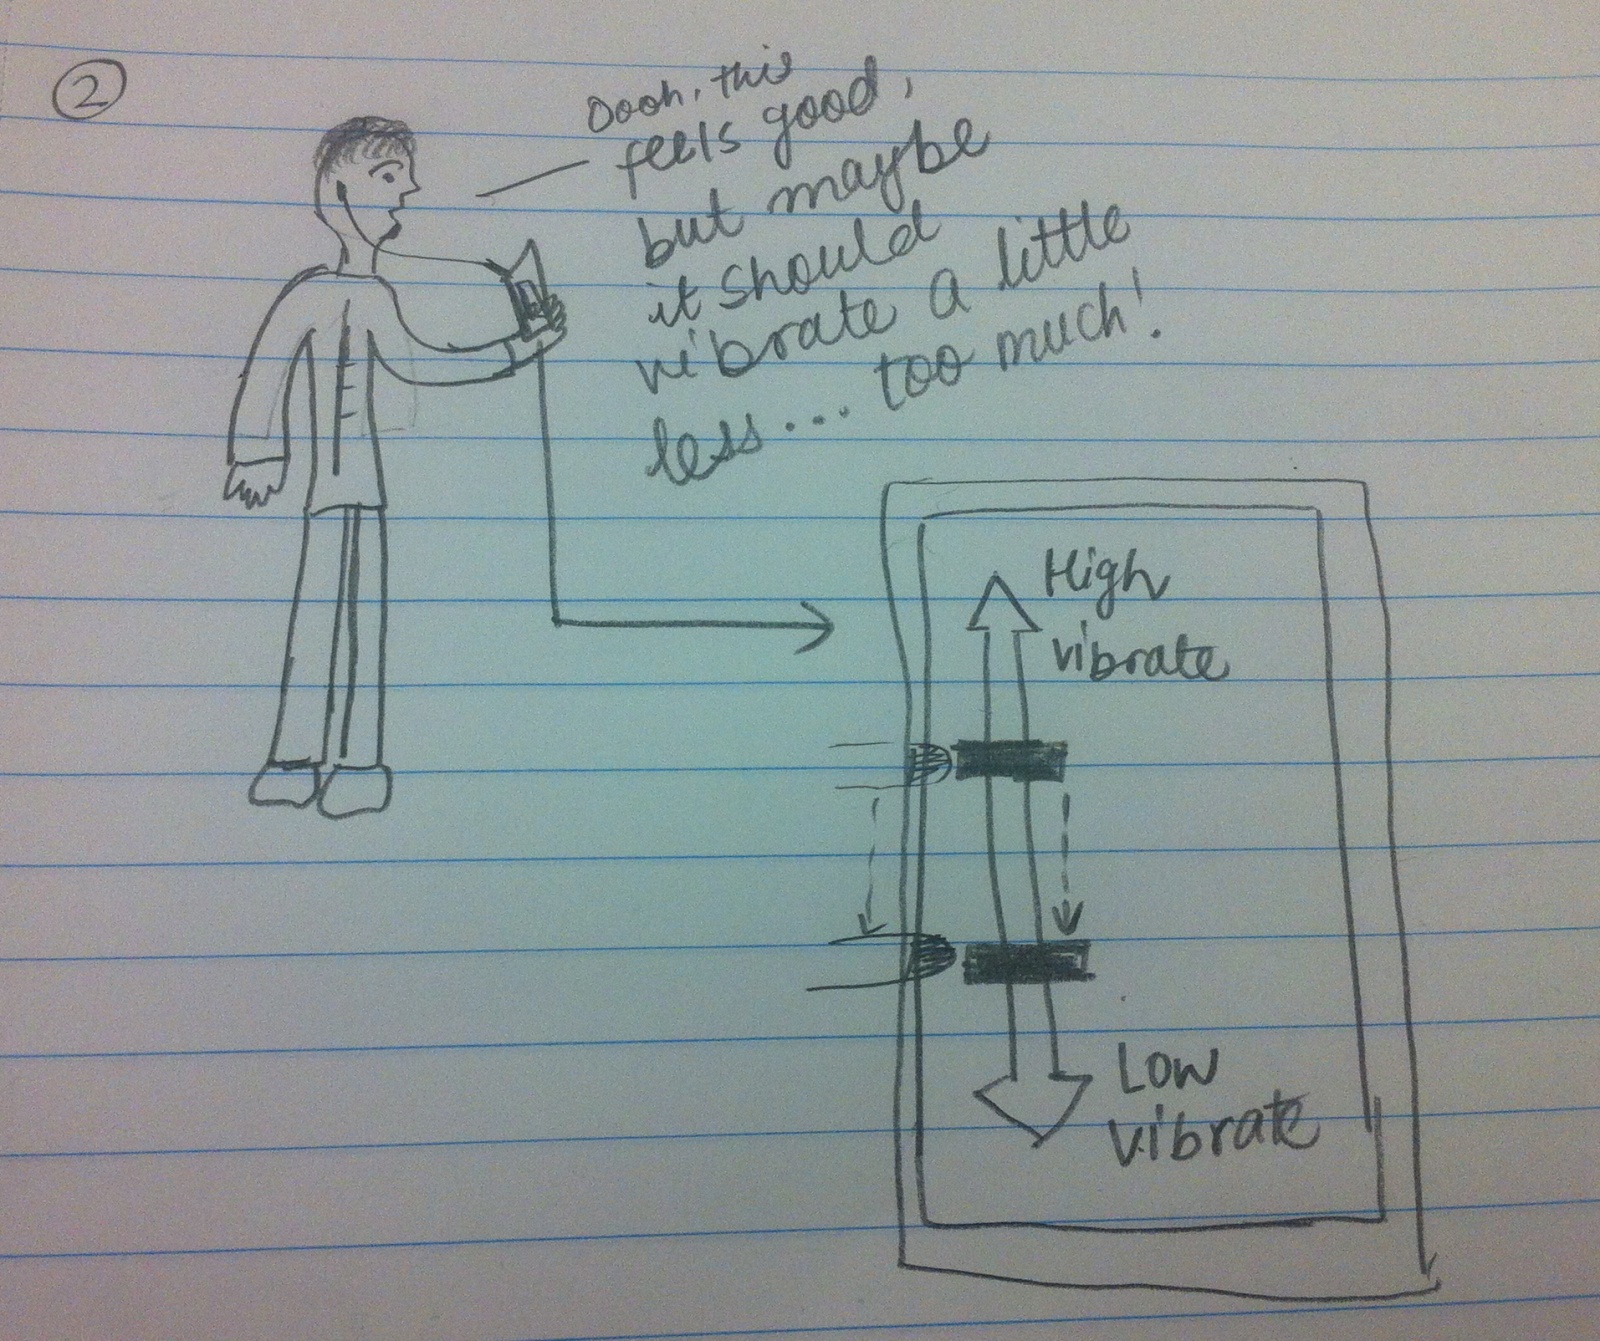
Richter Threads is a jacket that creates a new private music listening experience through motors which vibrate with bass.
Previous Blog Posts:
- P1: https://blogs.princeton.edu/humancomputerinterface/2013/02/22/team-varpex-group-brainstorming/
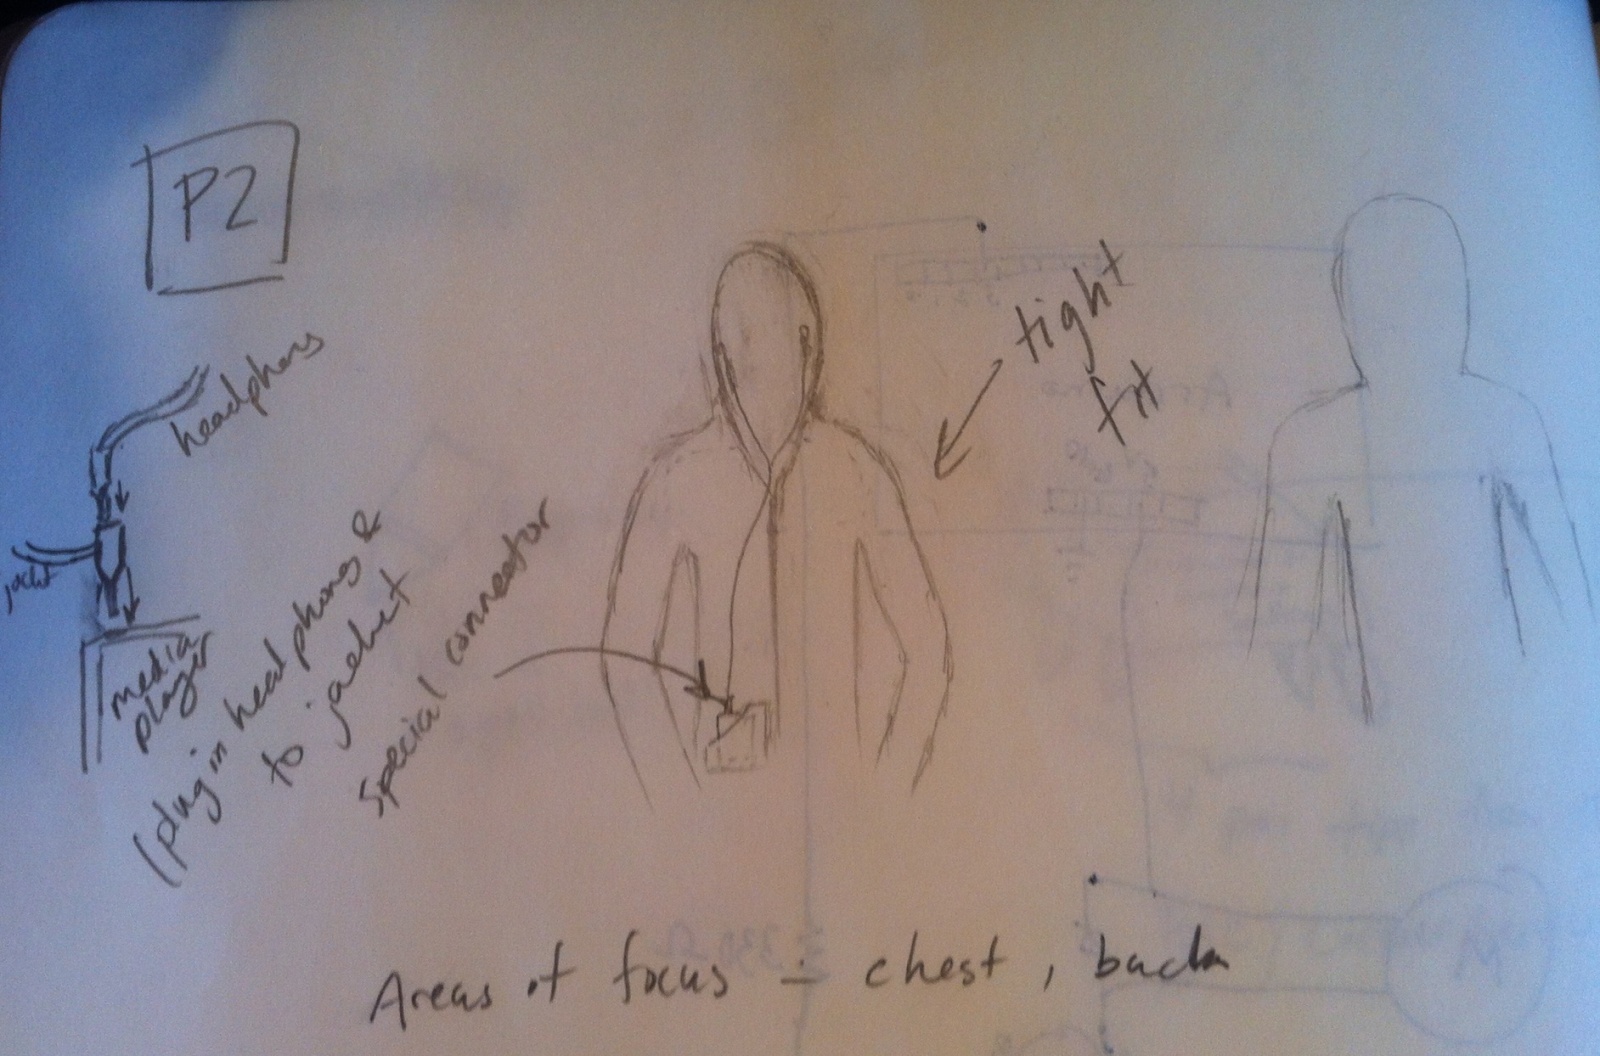
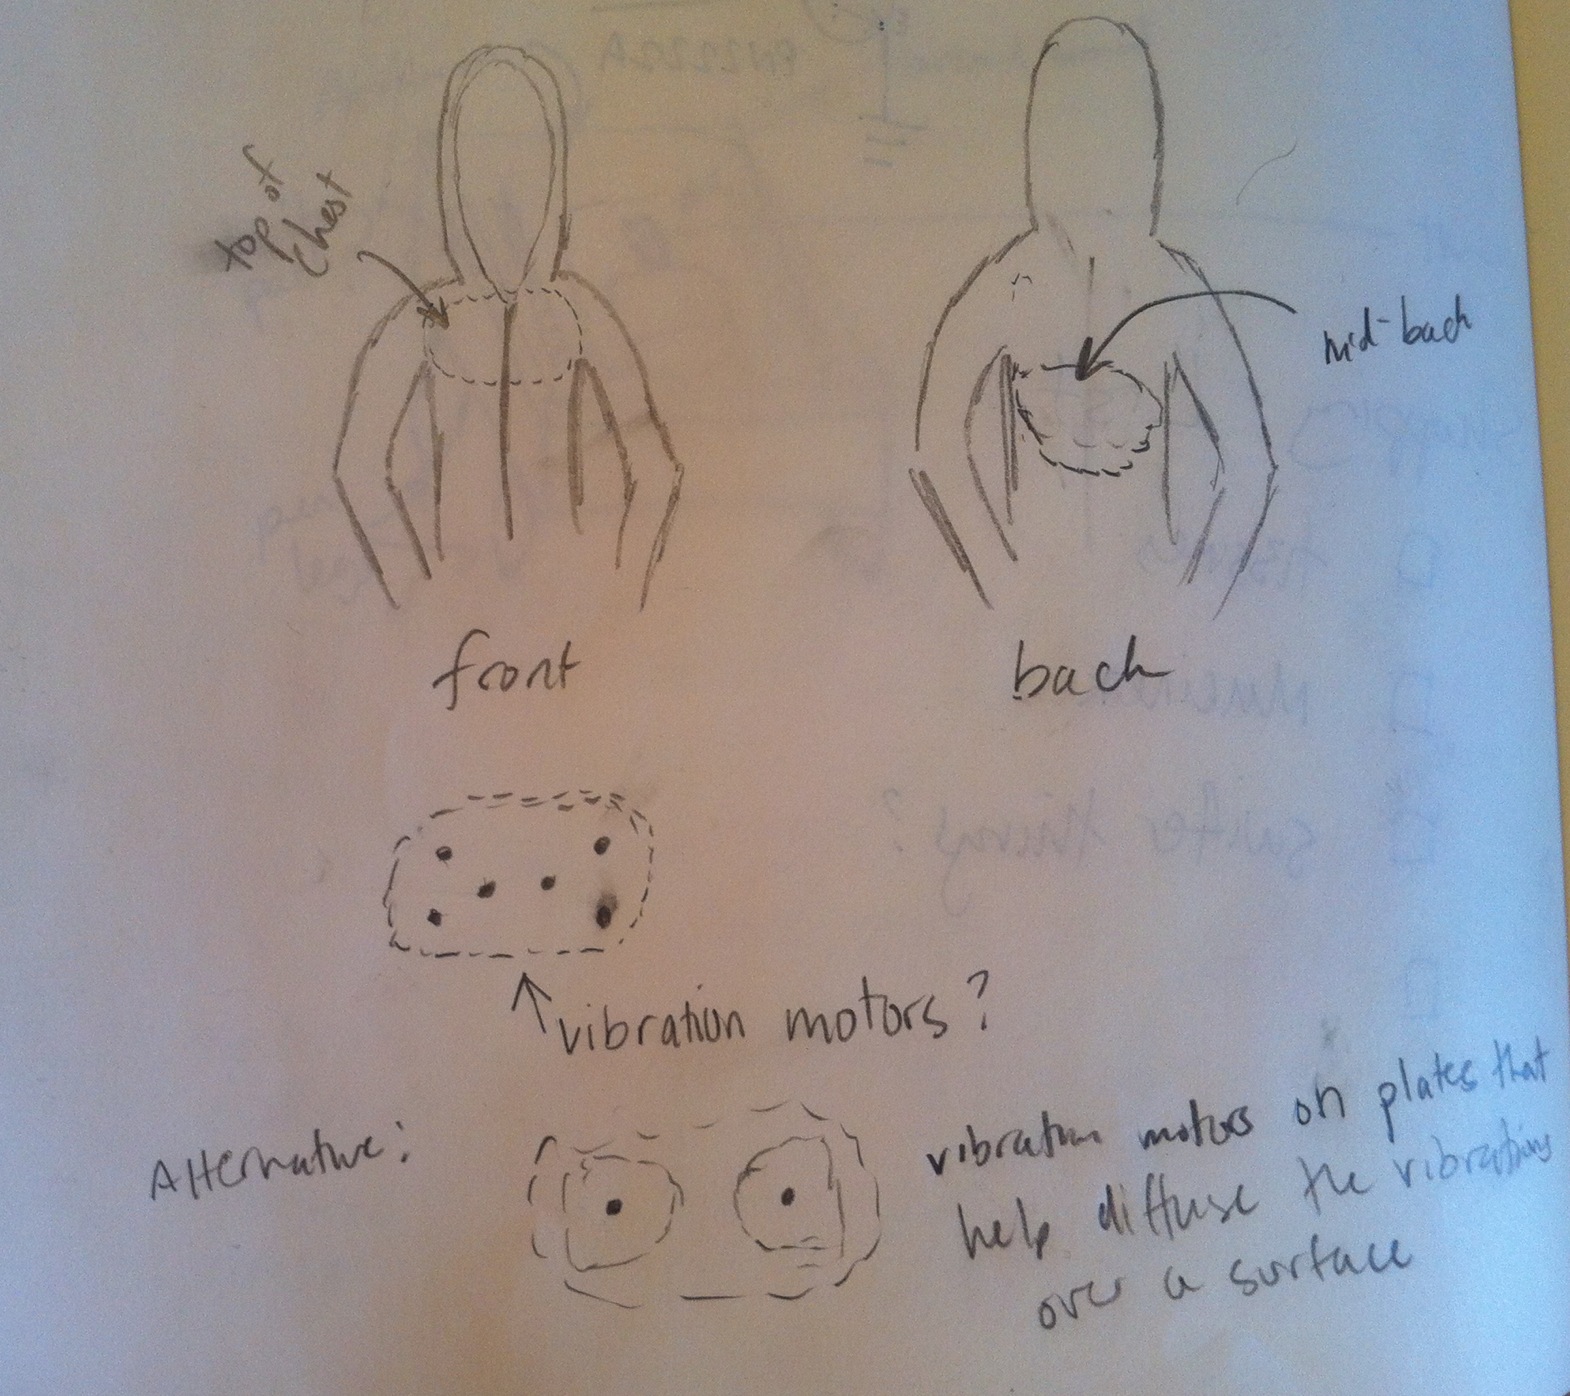
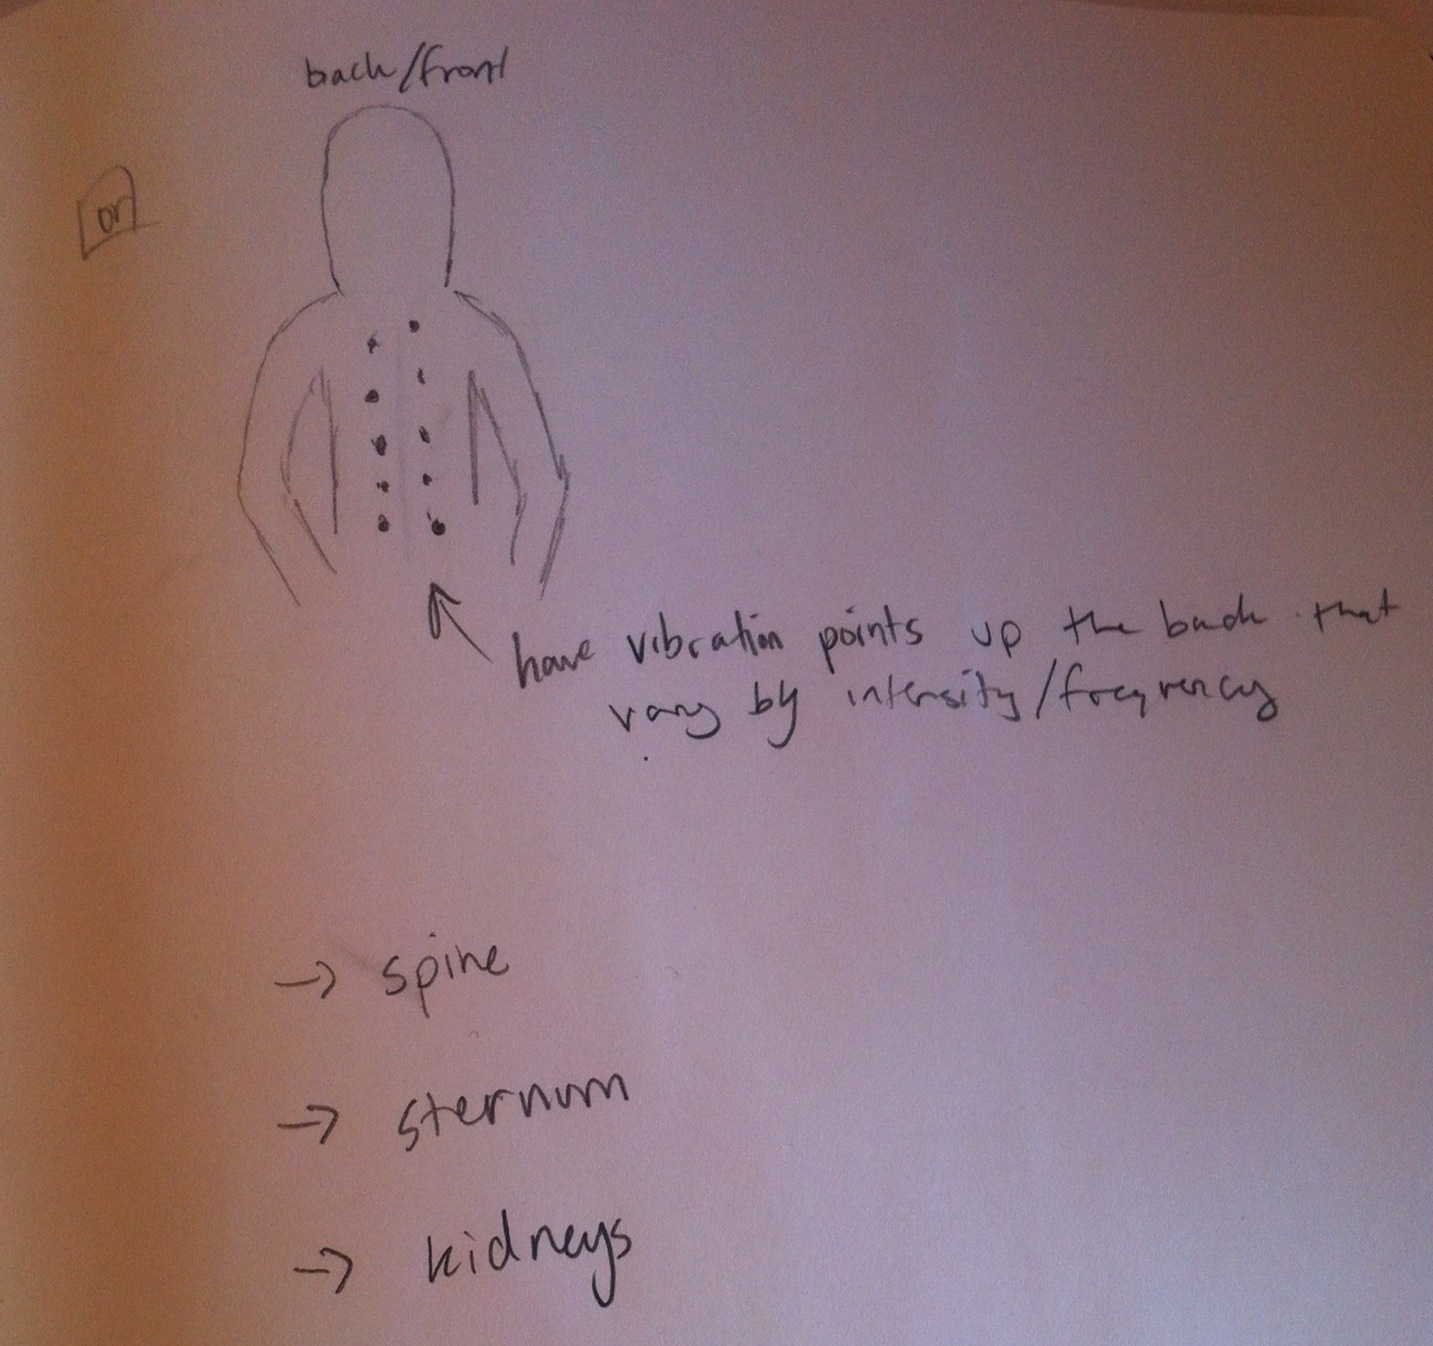
- P2: http://blogs.princeton.edu/humancomputerinterface/2013/03/10/p2-feel-the-music/
- P3: http://blogs.princeton.edu/humancomputerinterface/2013/03/31/p3-team-varpex/
- P4: http://blogs.princeton.edu/humancomputerinterface/2013/04/07/p4-varpex/
- P5: http://blogs.princeton.edu/humancomputerinterface/2013/04/22/p5-team-varpex/
- P6: http://blogs.princeton.edu/humancomputerinterface/2013/05/06/group-9-varpex-p6/
Video
Changes Since P6
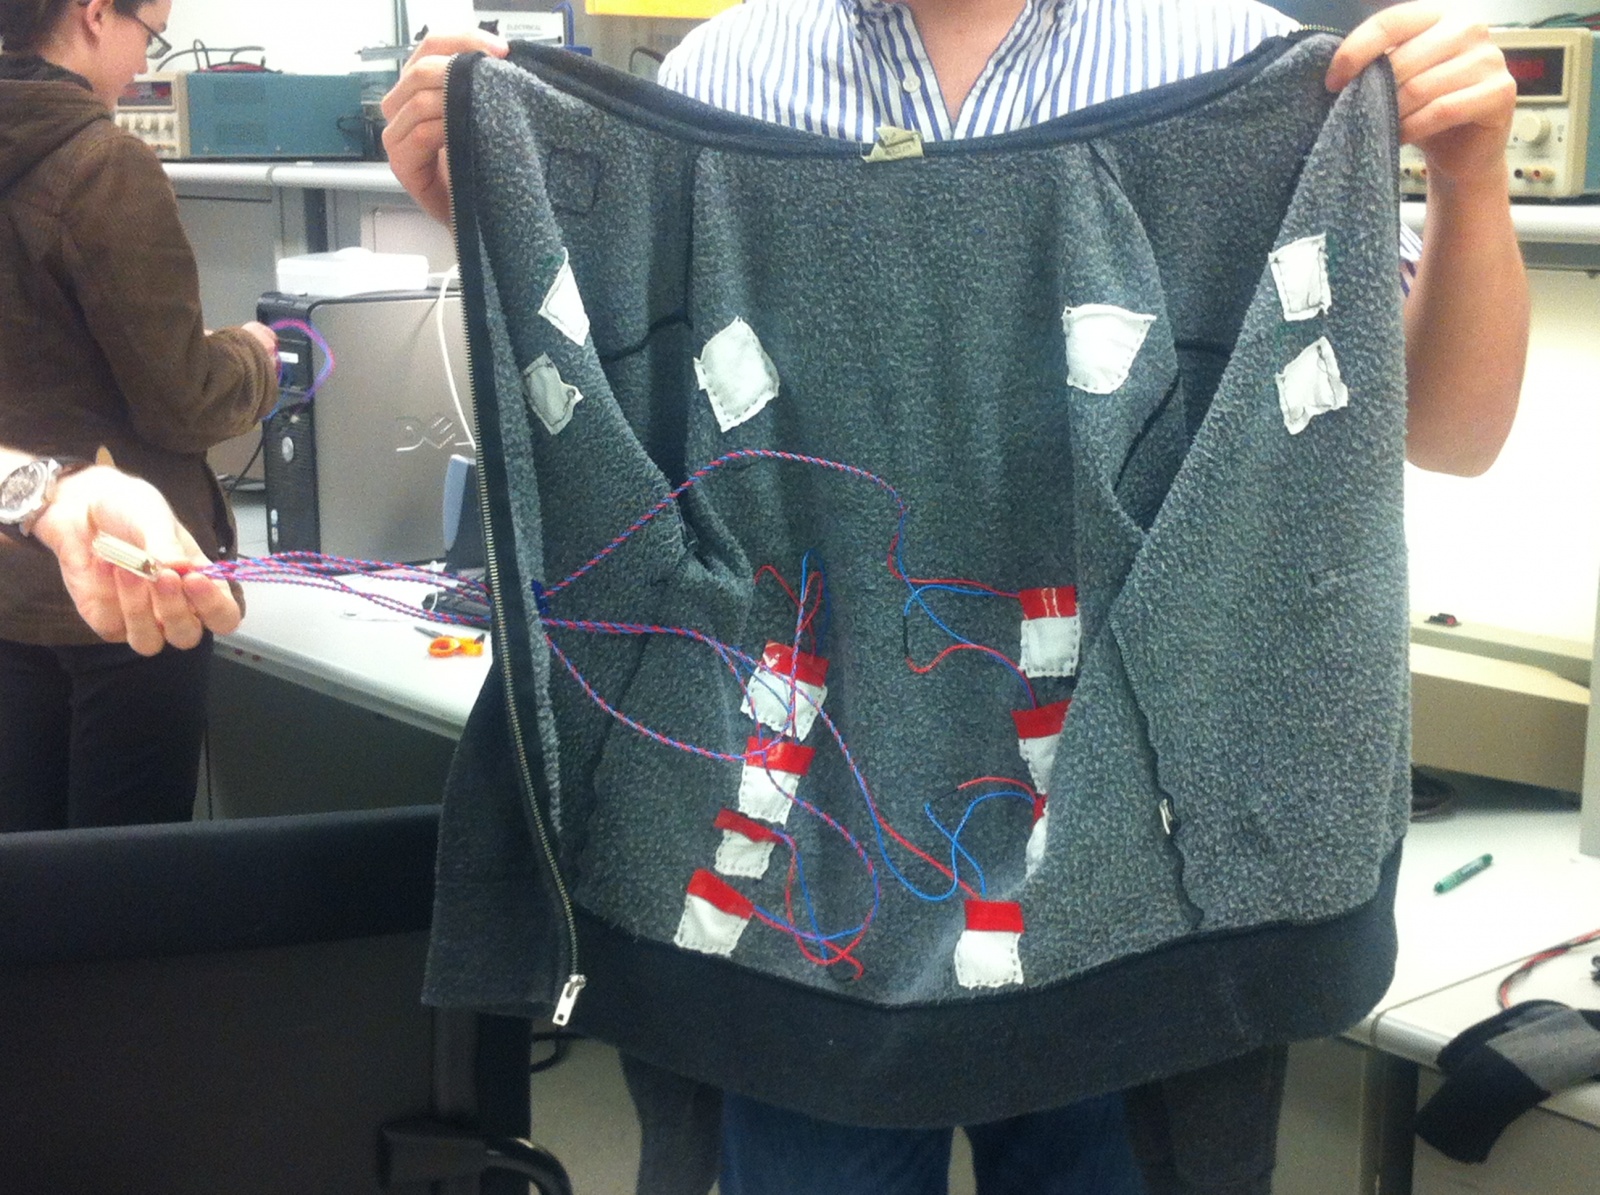
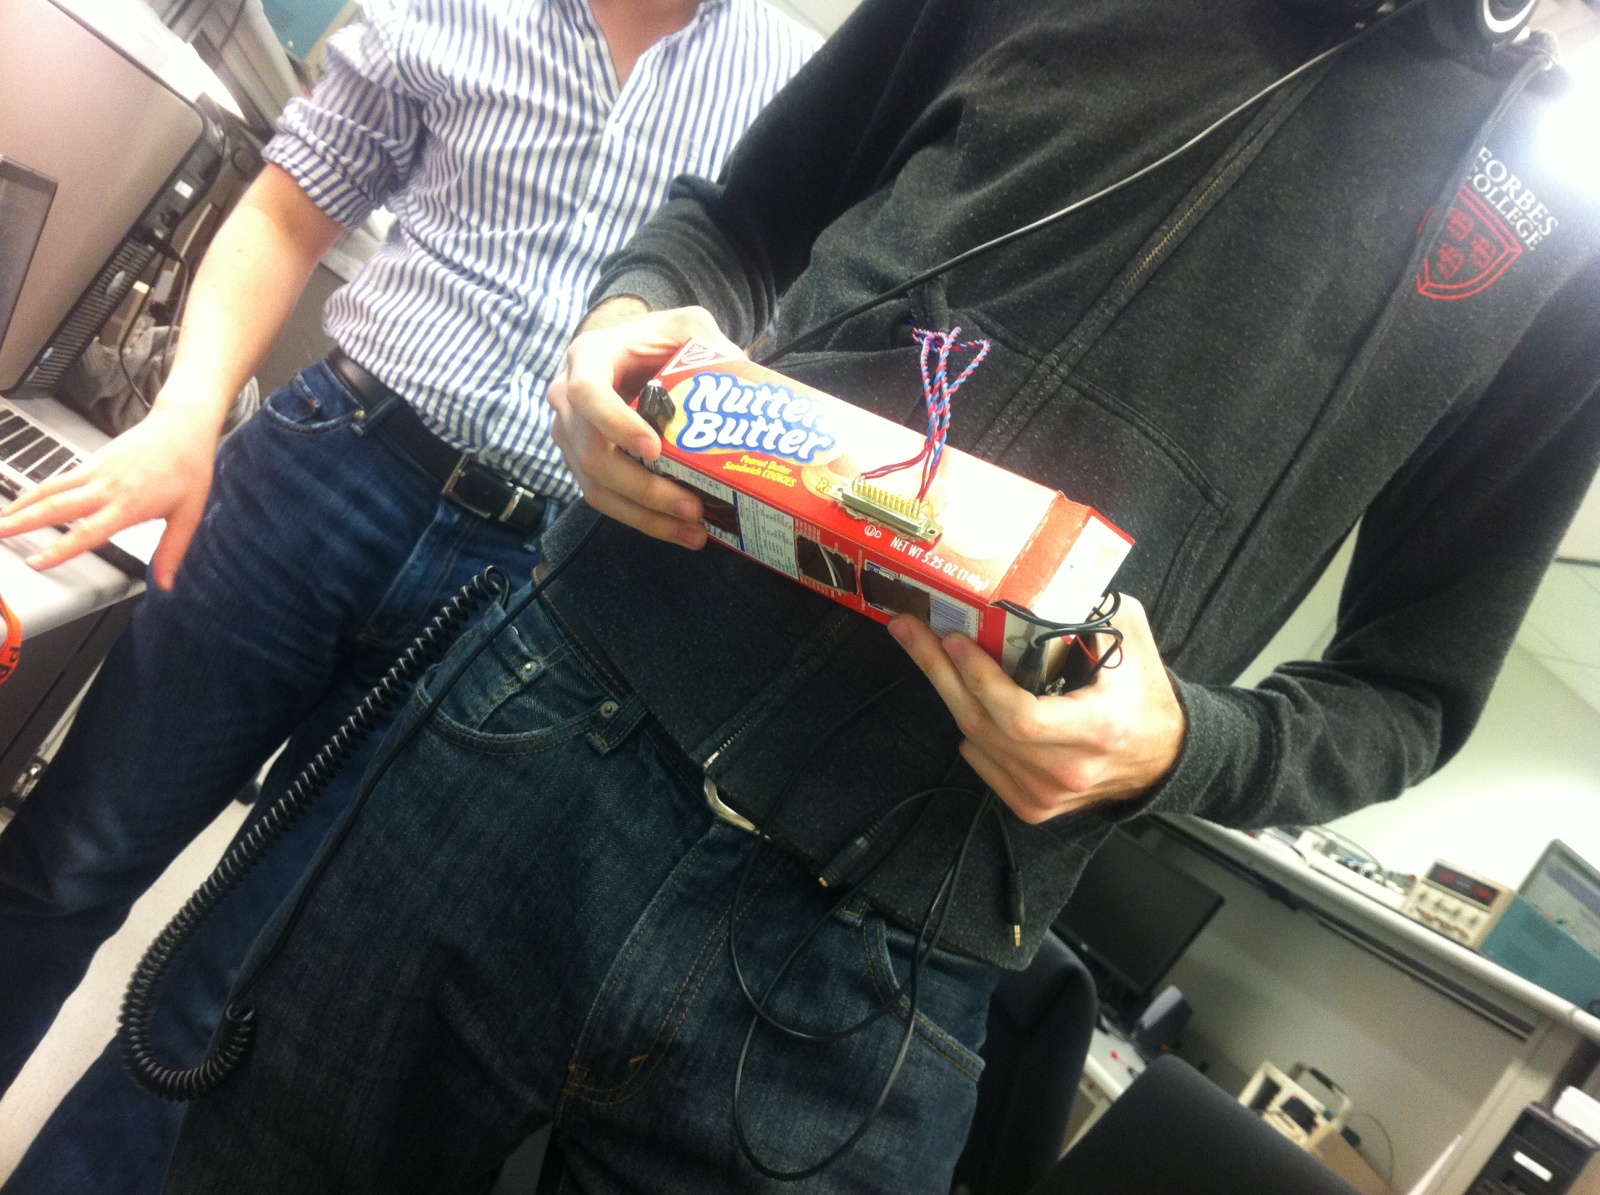
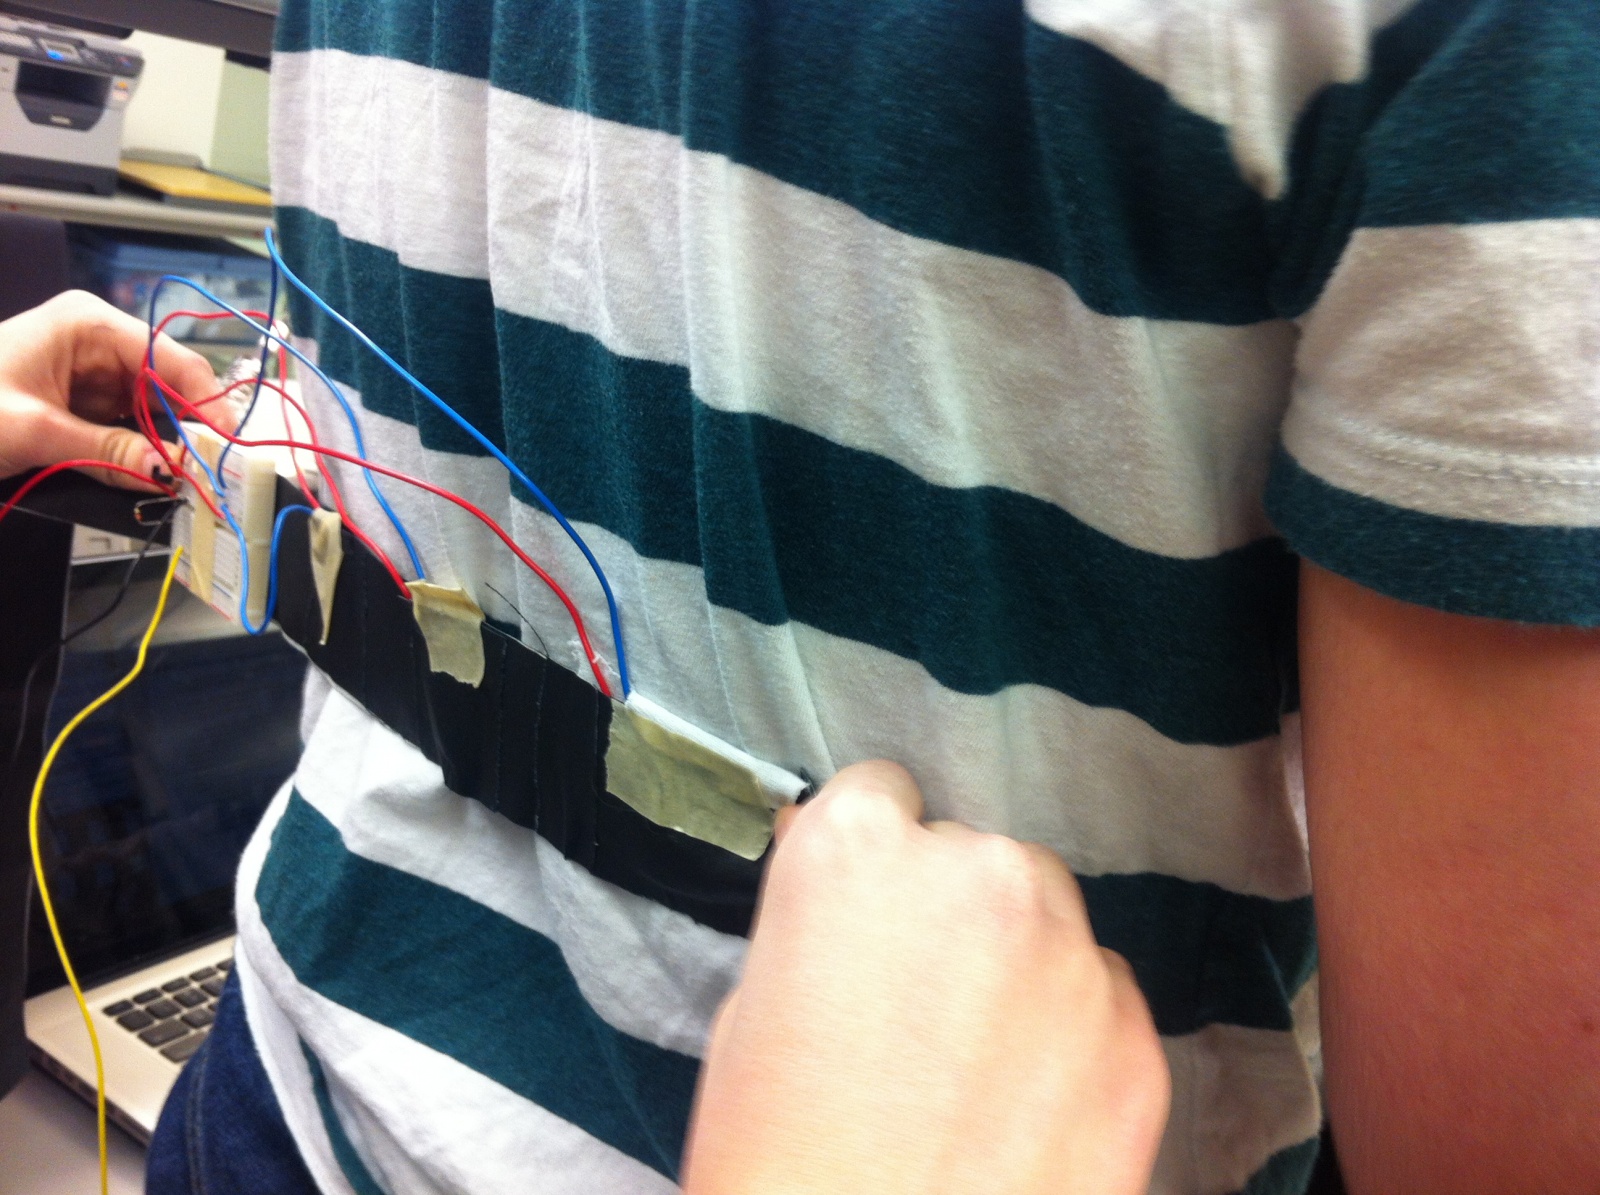
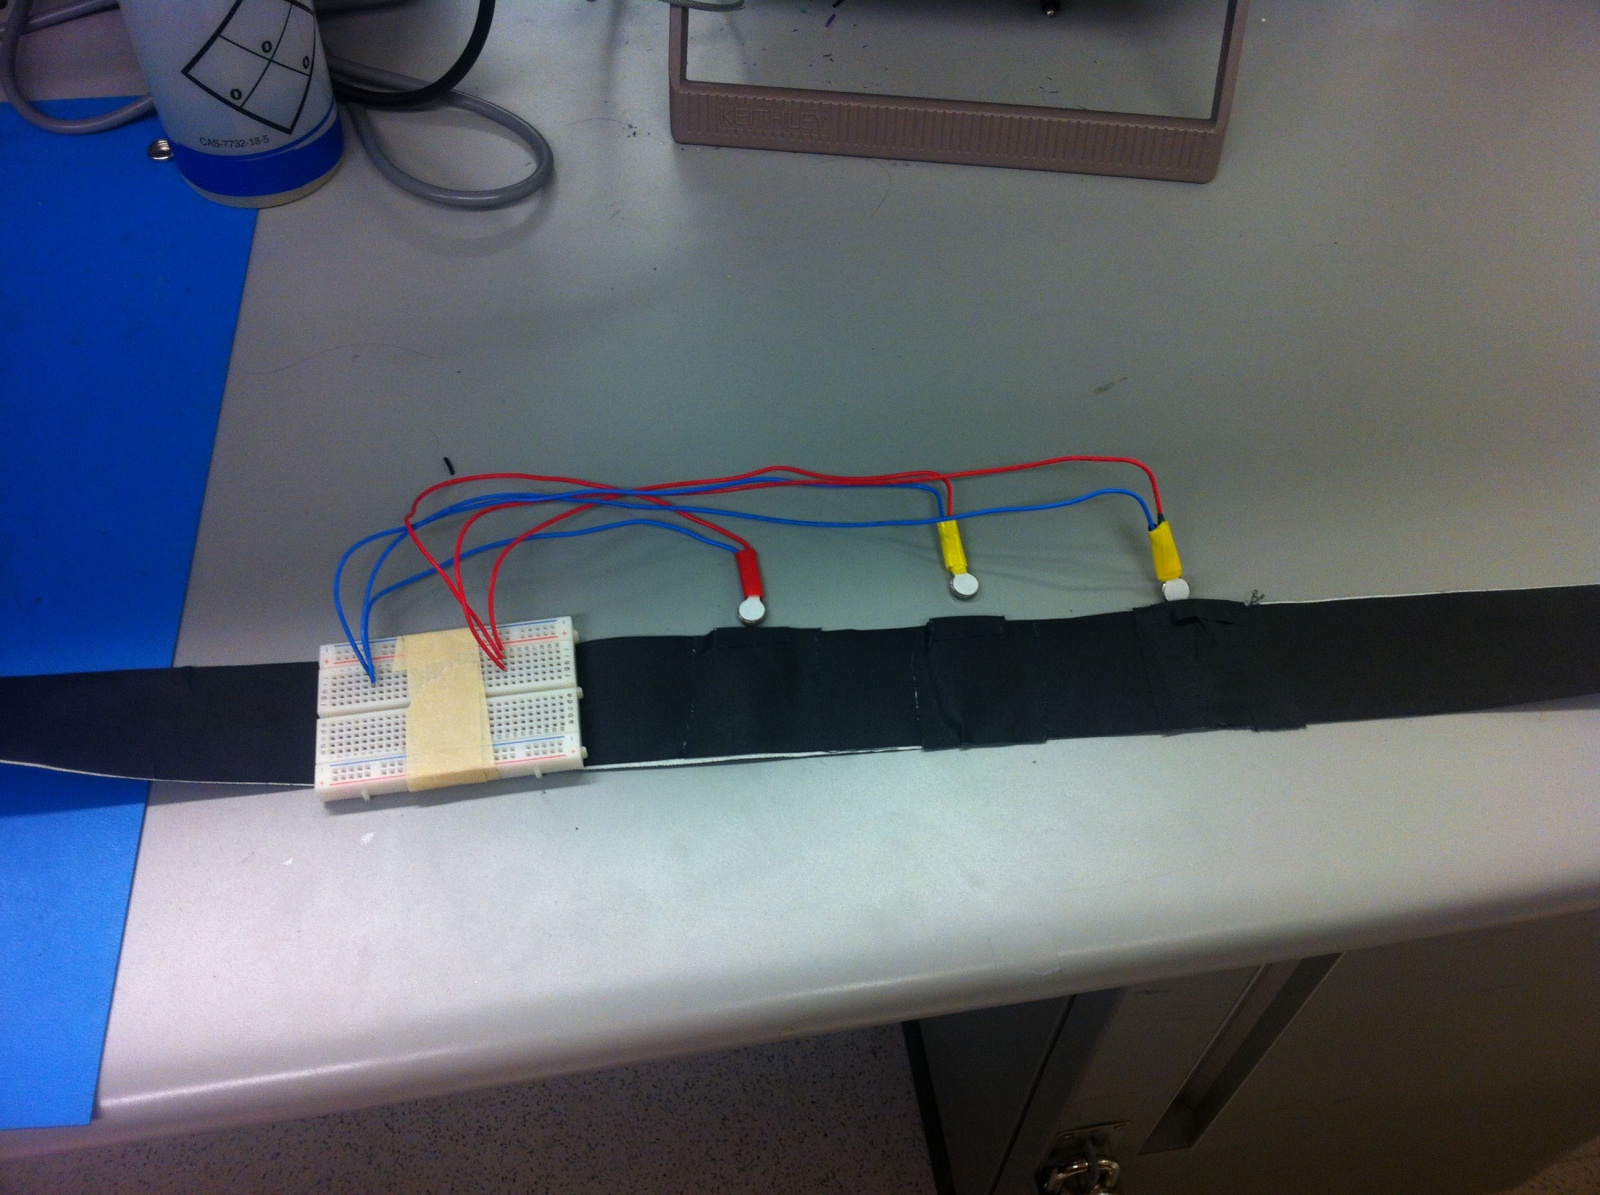
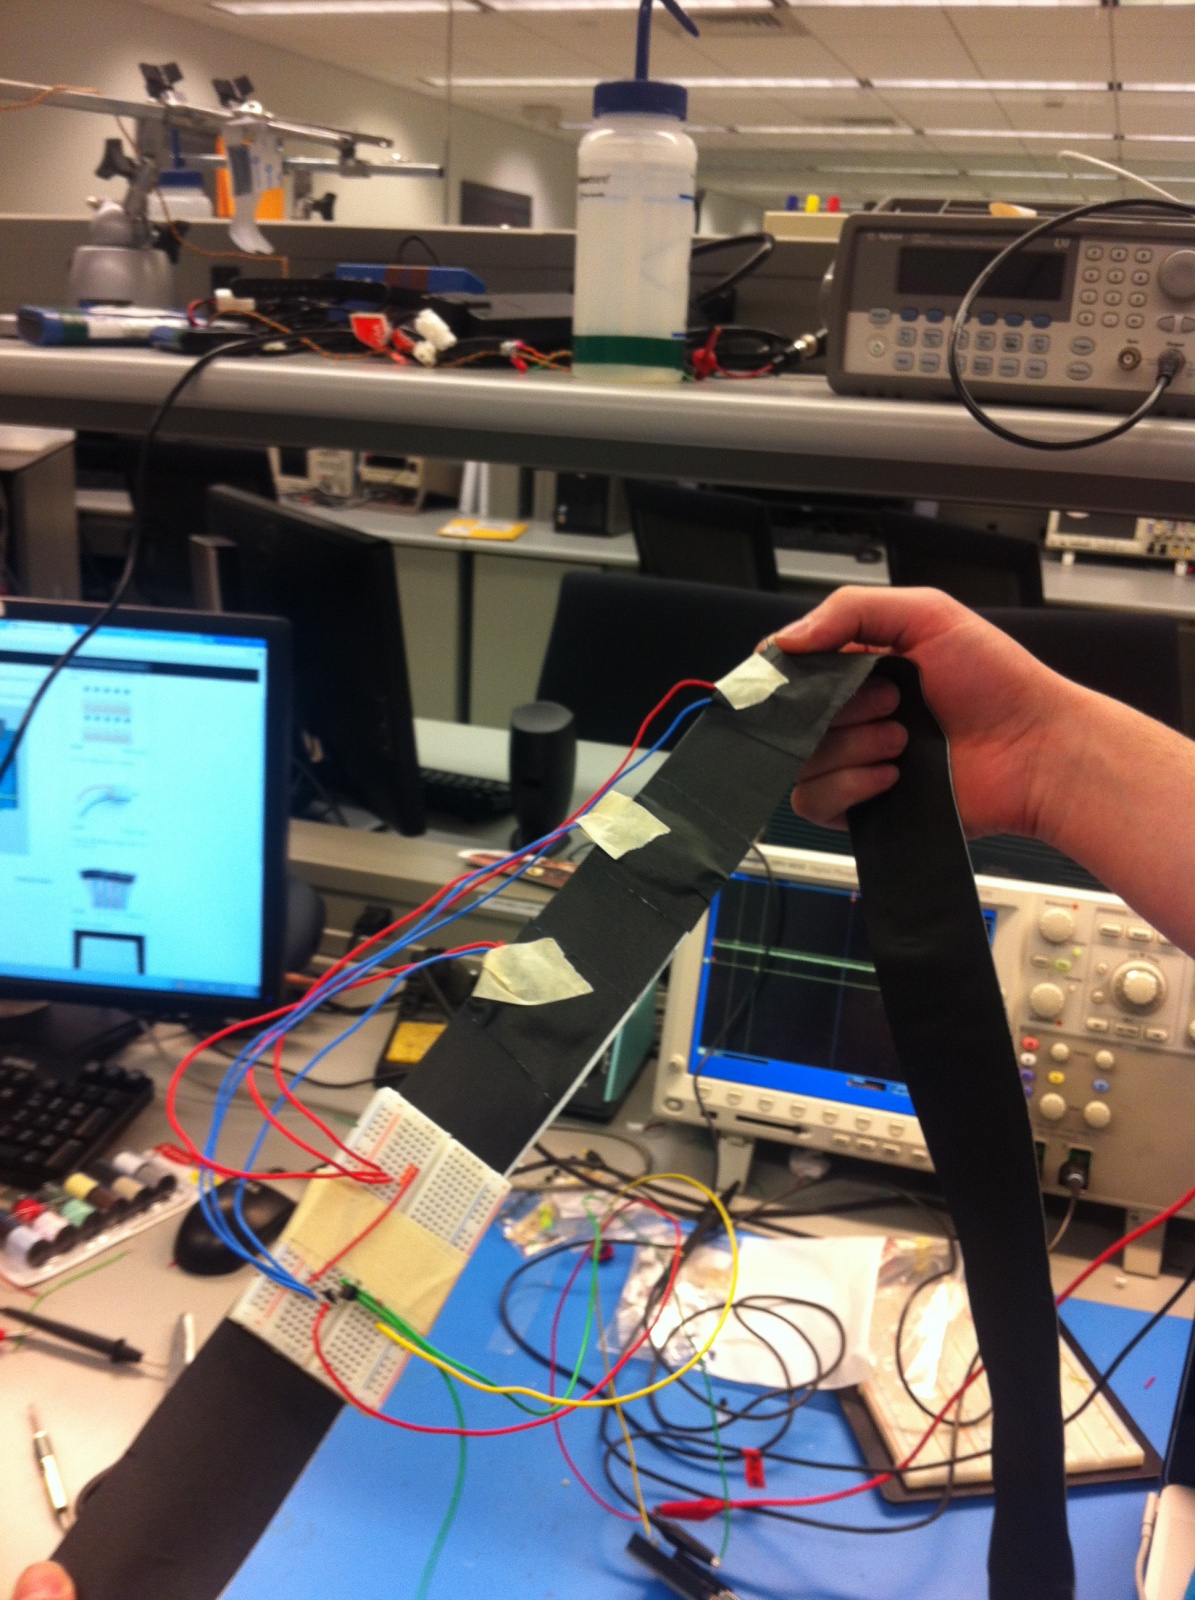
- New protoboard with components soldered on: In our feedback from P5, many of our subjects complained that the box they had to carry around containing the system was cumbersome. To create a sleeker and more integrated experience, we soldered our system onto a small protoboard that could be affixed with velcro inside the jacket. The prototype box is no longer necessary.
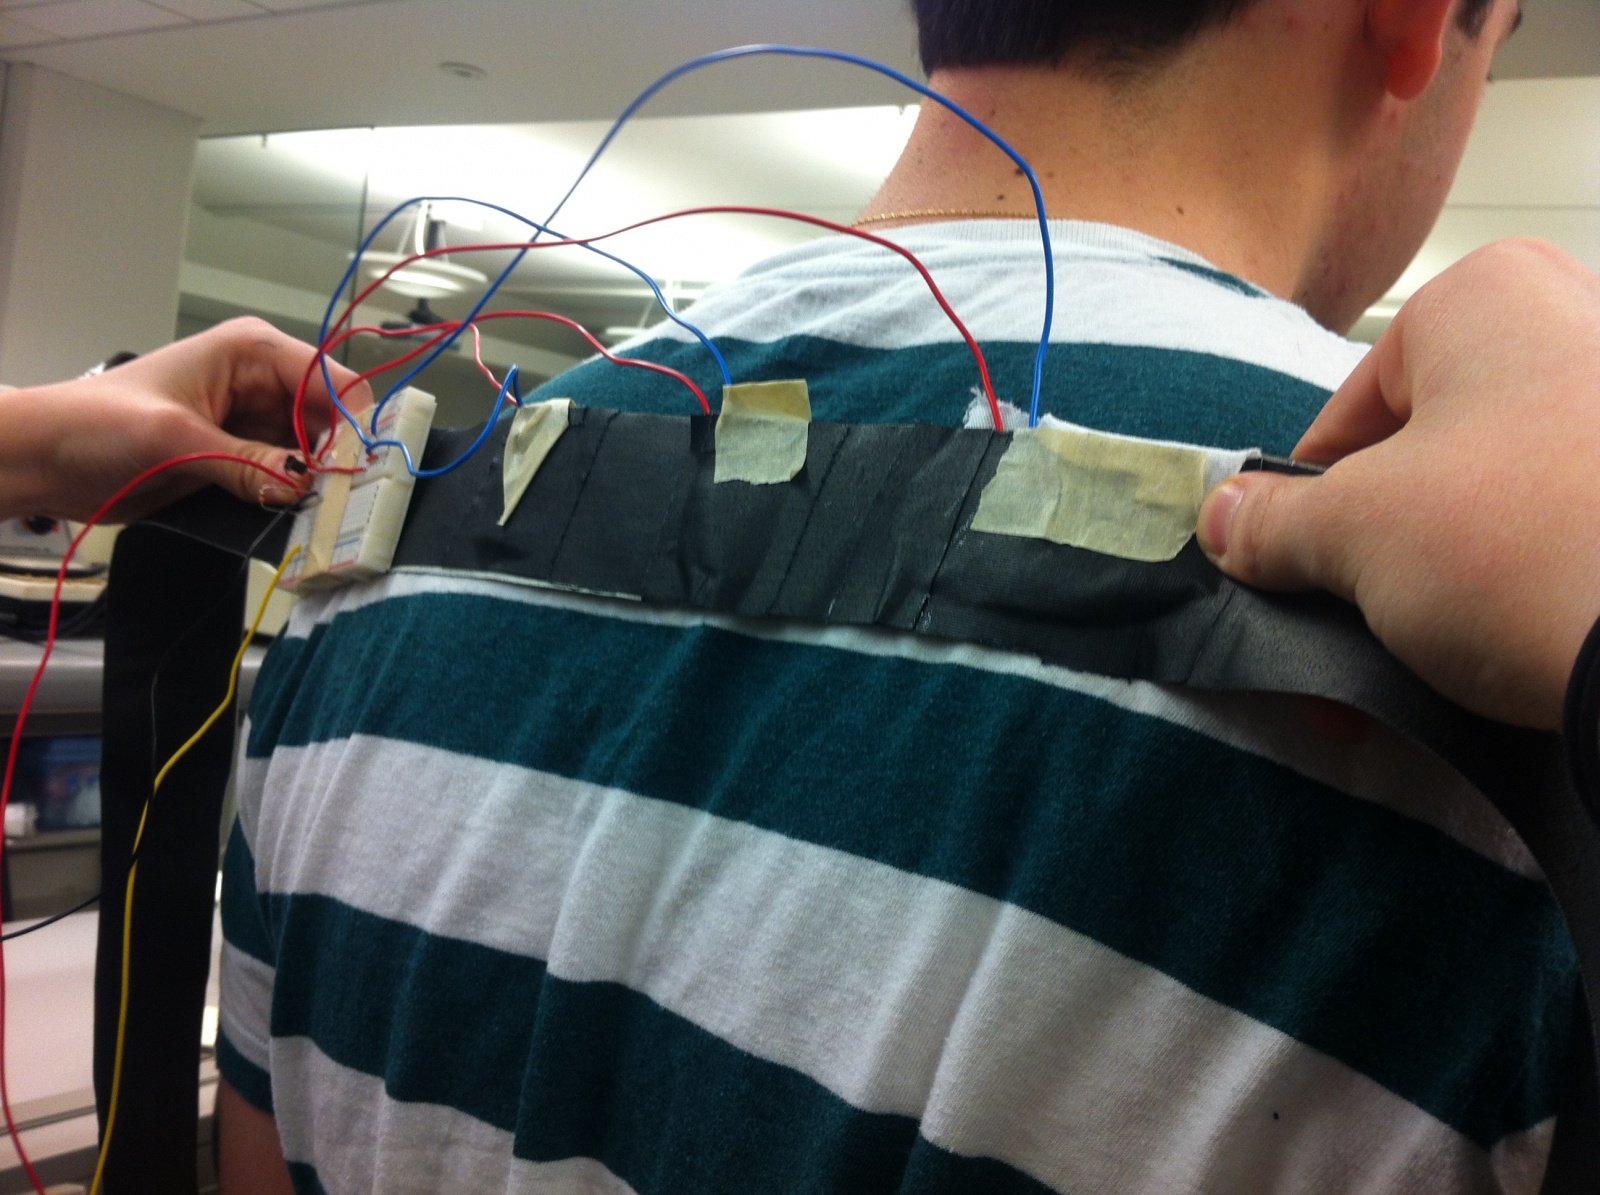
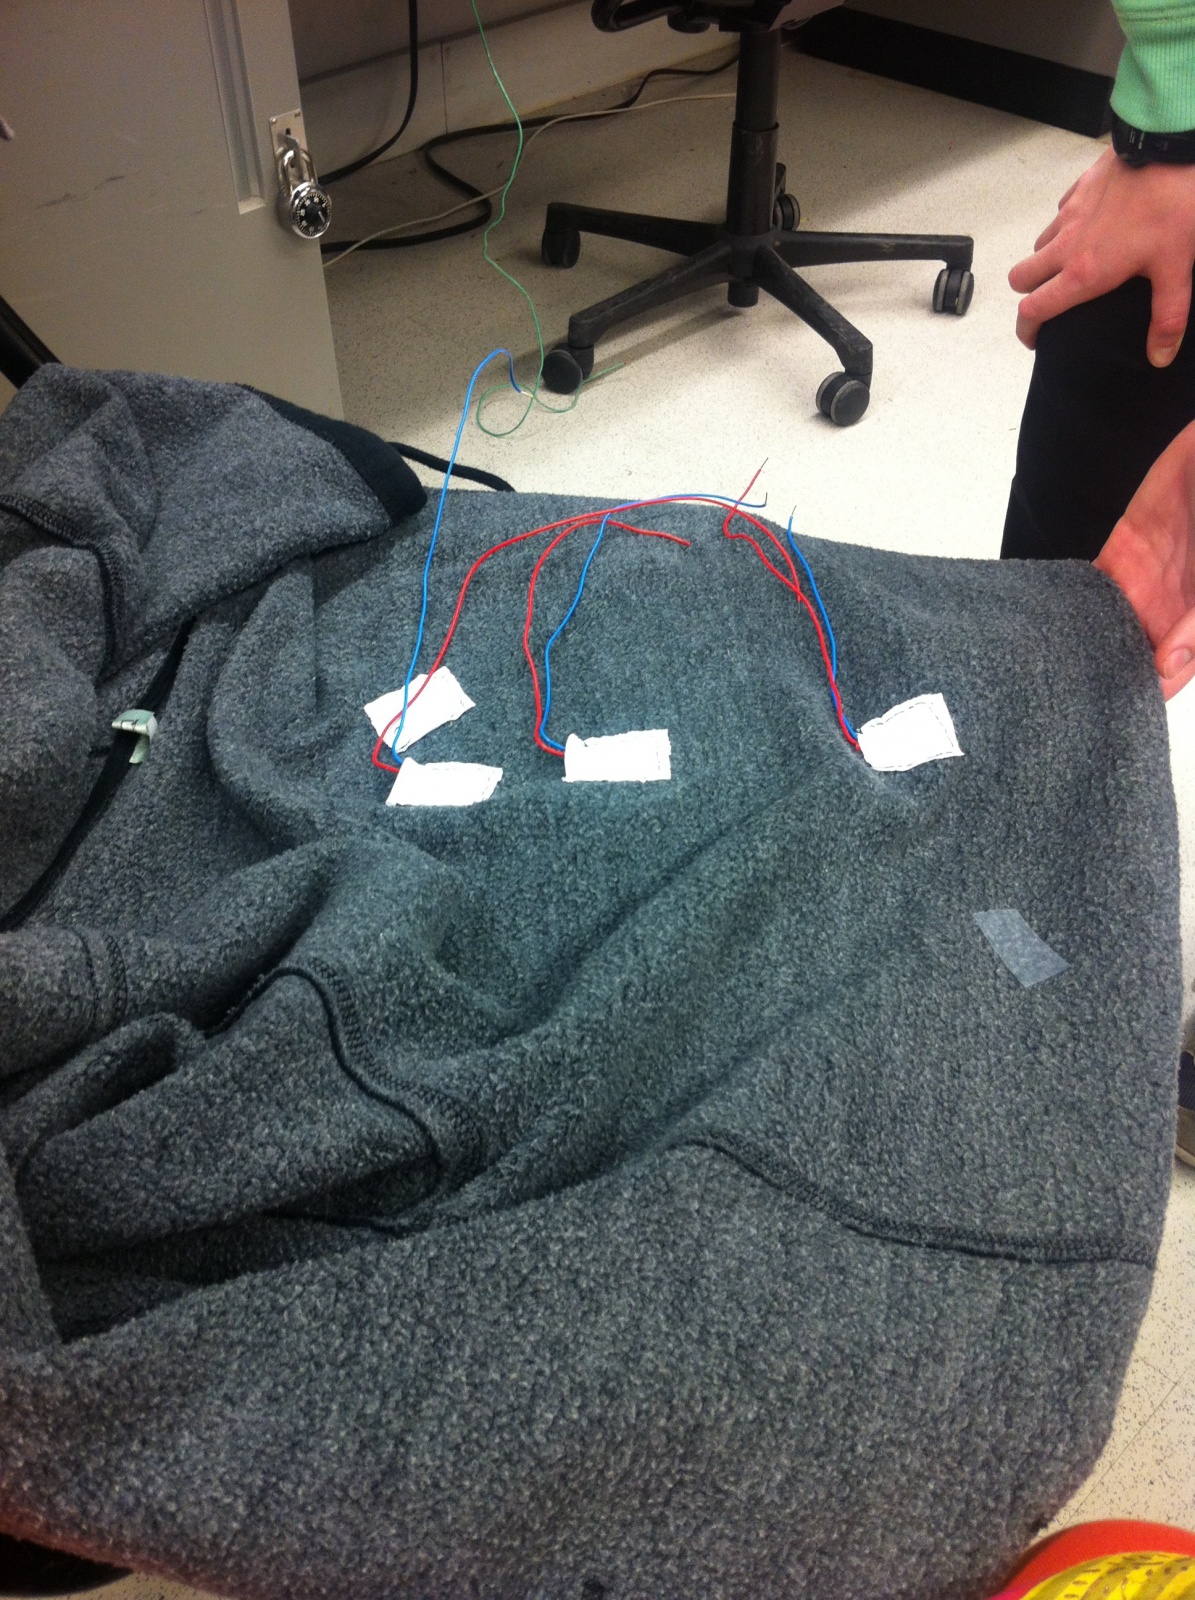
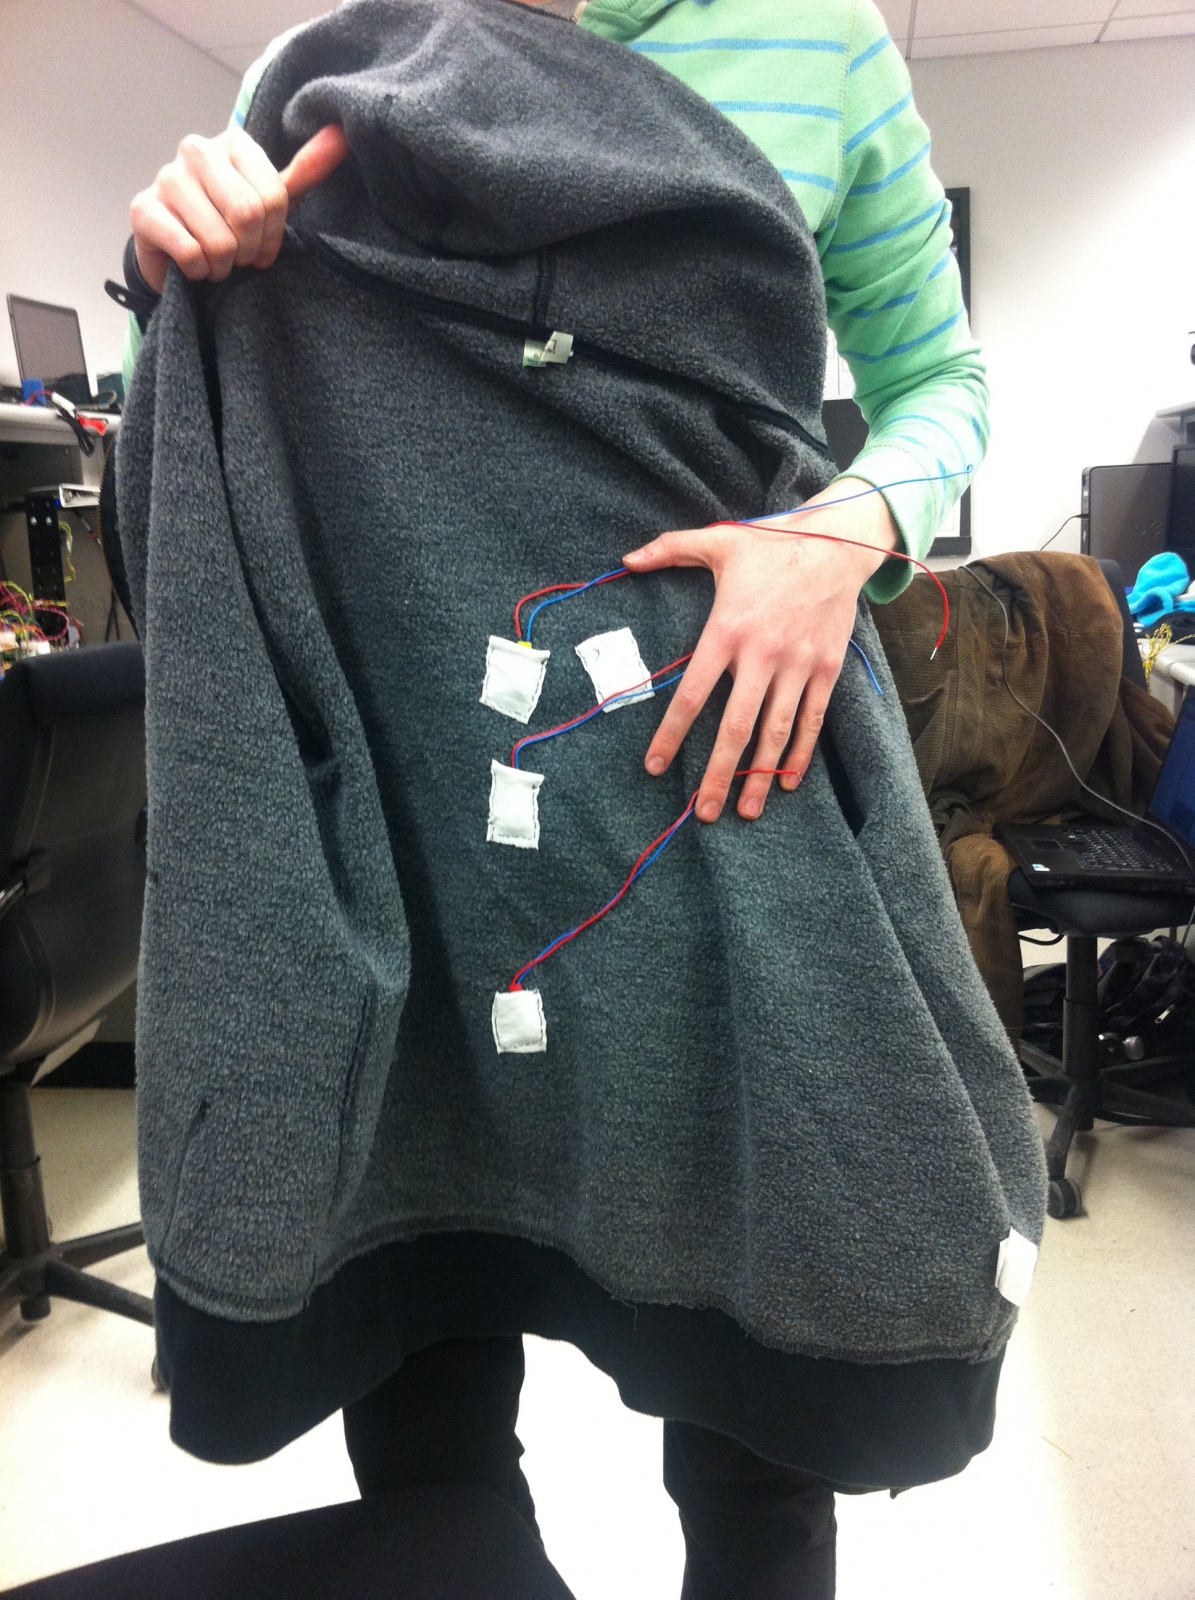
- Velcro fasteners for motors: The cloth pockets were not effective at holding the motors; we needed to sew them in our last prototype. For this iteration we put velcro inside the jacket and velcro on the motors to make them easier to attach and detach. This also enhances sensation from the motors since there is not an additional layer of cloth over them
- Threshold potentiometer: We discovered in P6 that users liked being able to use their own music, but different music pumps out different bass frequencies. To allow users to change the threshold of bass volume needed for the jackets to vibrate, we included a knob users could use to adjust the amount of bass required to vibrate the motors when listening to their music.
- Volume knob: We reversed the direction of the volume knob to make it more intuitive (turning clockwise increases the volume now).
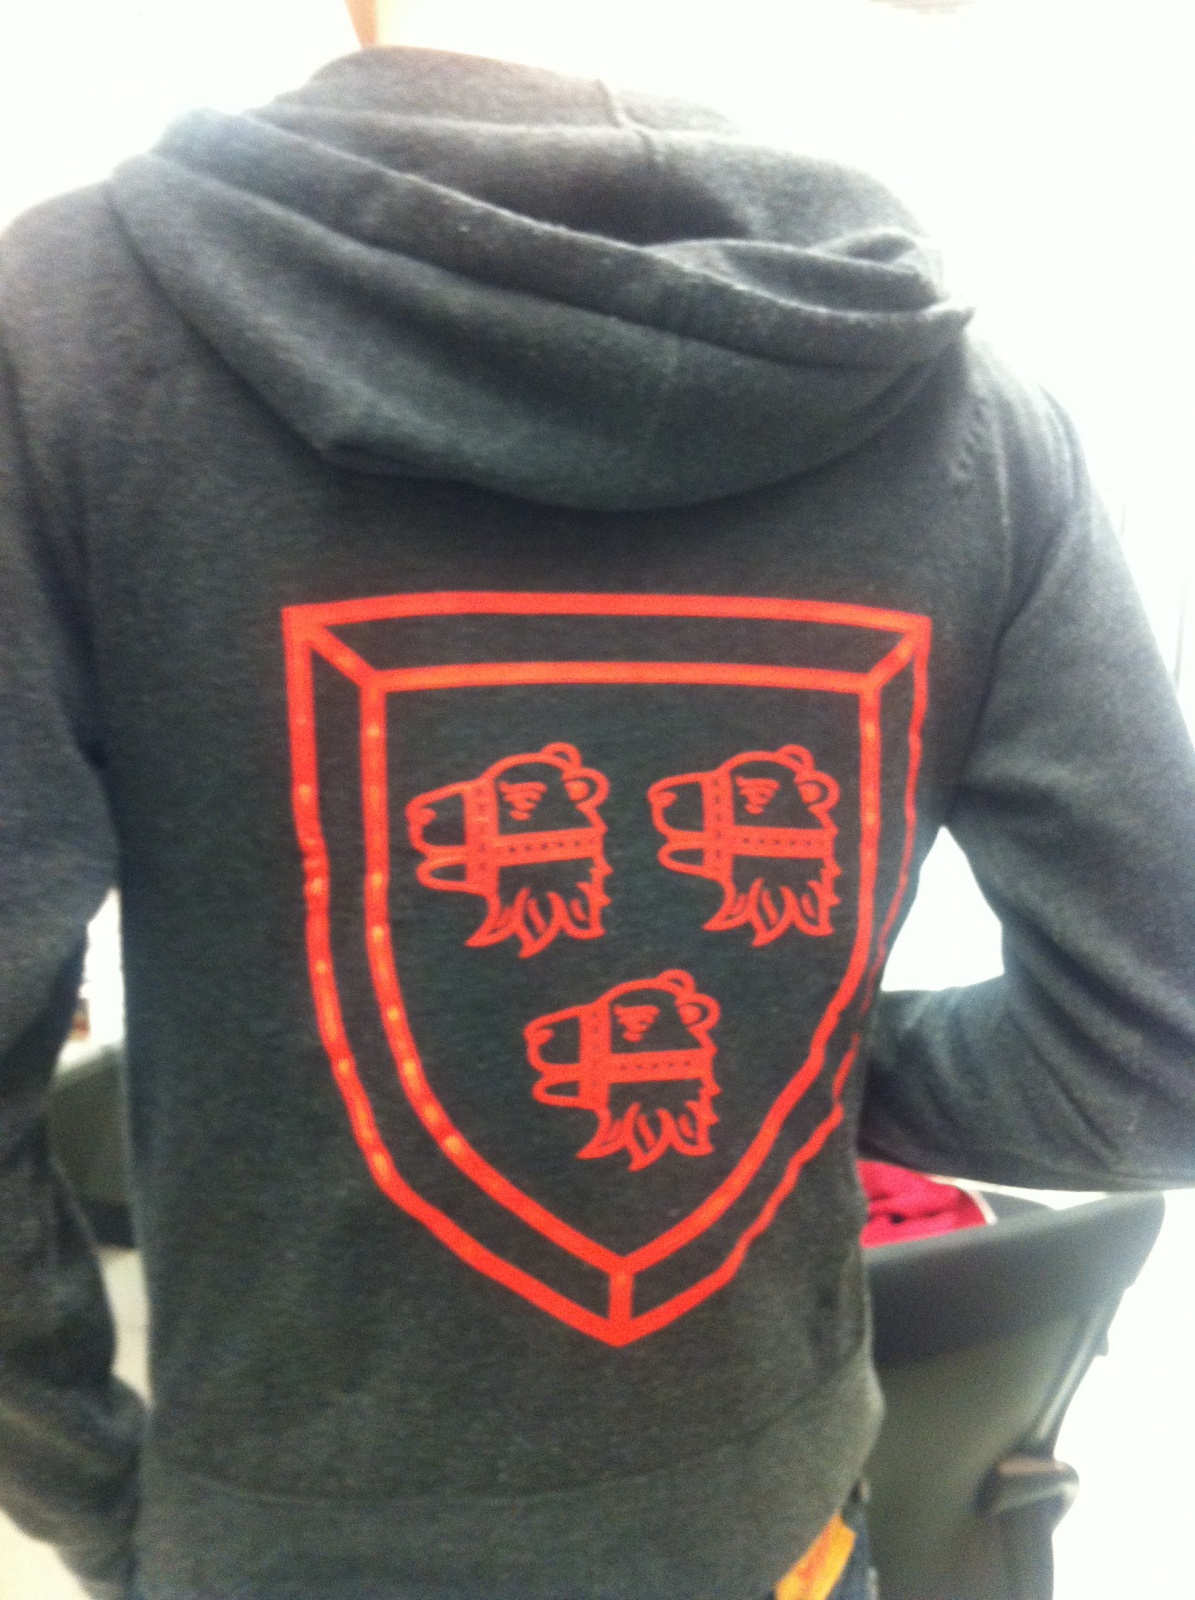
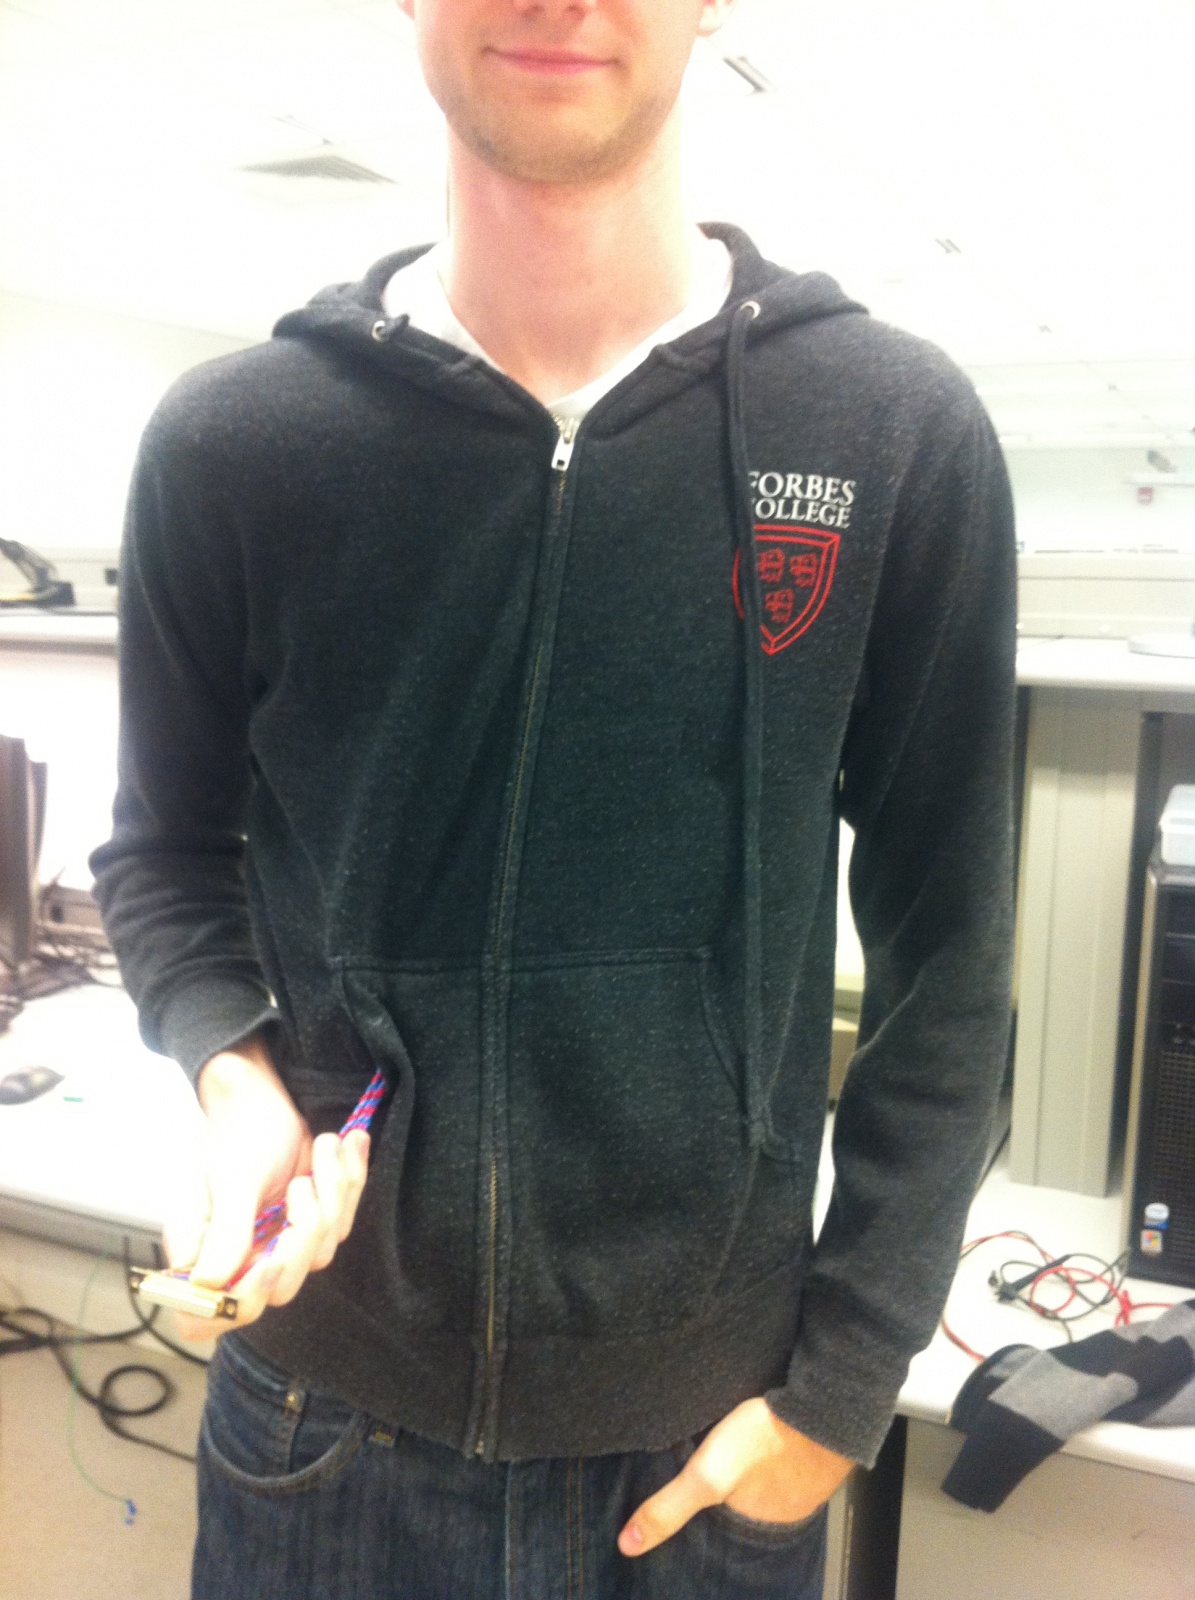
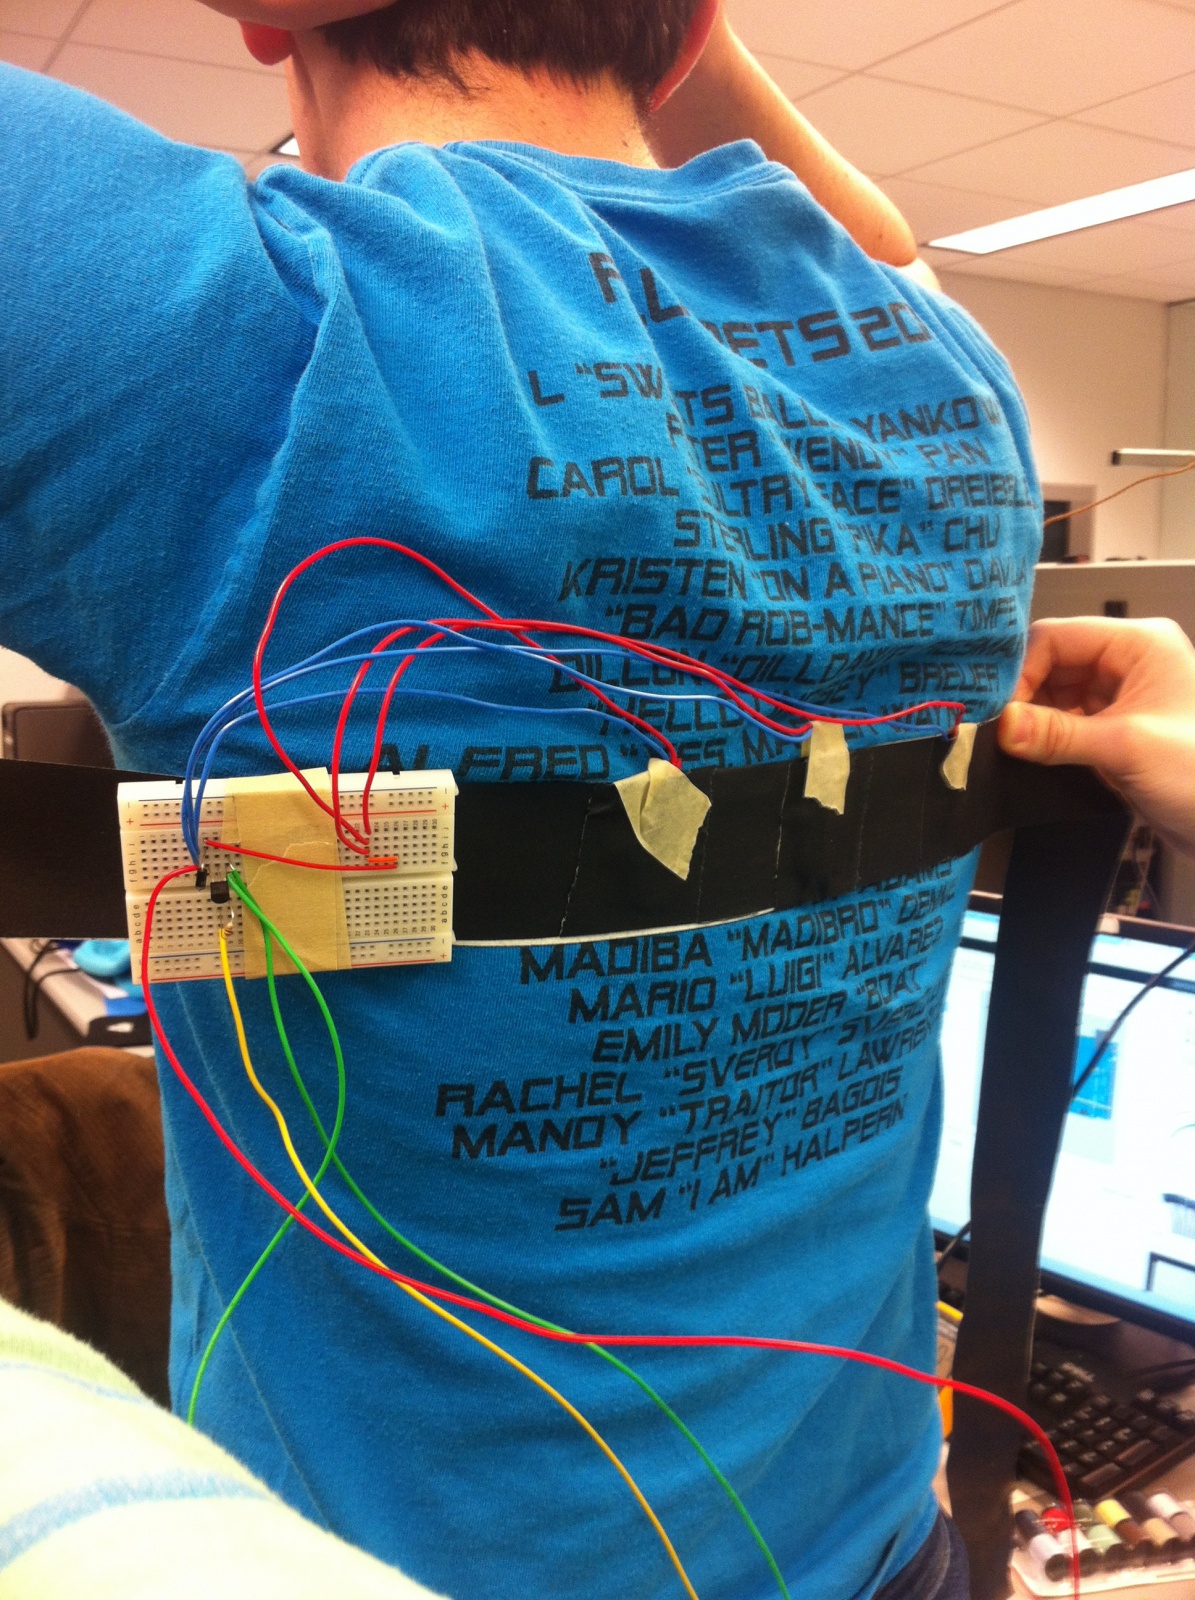
- New sweater: We chose a much more stylish and, more importantly, a better-fitting sweater for our system, since no one found our original sweater particularly attractive or comfortable.
- Power switch: We added a power switch for just the batteries, to allow people to more easily listen to their music without the jacket on.
- Length of motor wires: We lengthened some of the wires driving the motors, so that the jacket would be easier to put on despite the presence of a lot of wires.
- “Internalizing” components: The board is affixed to the inside of the jacket while the controls (volume/threshold knob, power switch) are embedded in the pocket of the jacket to make the entire system more conspicuously hidden.
- Batteries consolidated: Our battery pack has been consolidated and secured in a different part of the jacket. The batteries impose a large space bottleneck on our design (hard to miniaturize power needs like we did the board), so they require special placement within the jacket.
Evolution of Goals and Design
Our goals over the course of prototyping definitely broadened as we received feedback from users. The original inspiration for the jacket was the dubstep and electronica genres, which are known for being bass-heavy. In testing however, users responded positively to listening to other genres of music through the headphones; by limiting our goals to representing the concert going experience for dubstep/electronica, we were missing out on exploring the potential of the jacket in other musical genres. This development actually lead to a concrete design change when we added a threshold knob to allow users to adjust the sensitivity of the jacket. This actually leads into a different change in goals. Though we set out to replicate the concert-going experience, we succeeded in creating a unique experience in its own right. Our jacket offers users a tactile experience with music beyond mimicking large subwoofers.
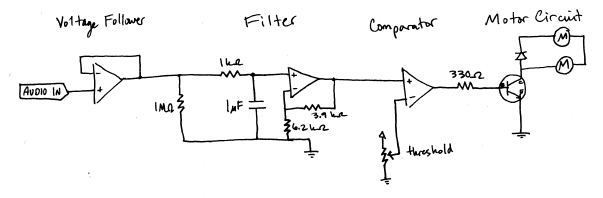
As for our design, our early design goals sought to use an Arduino to perform the audio processing needed to filter low bass frequencies to actuate the motors. We quickly learned that this introduced a delay, and unfortunately in music-related applications, any delay can make the application useless. We found an excellent solution however, by implementing a low-pass filter with a threshold to actuate the motors in an analog circuit. This design change also allowed us to work on making the circuit more compact and portable with every iteration of our design. It also eliminates the need for a lot of complicated set-up of a microcontroller; it is hard to imagine that the set-up with an Arduino would have been as easy as plugging in your mp3 player and headphones and turning the jacket on, as it is in our current design.
Project Evaluation
We will continue to create improved iterations of this jacket in the future. The users who have tested our project have expressed interest in the experience our jacket had to offer, and through the prototyping process we have worked on making the system as portable and inconspicuous as possible. In our last two iterations alone, we moved our system from a bulky box containing our hardware to a much smaller protoboard that we could embed in the inside of the jacket. If we ever wanted to produce this jacket for sale, surface mounted circuits could be made to decrease the electronic size even further. As our jacket stands right now, the jacket does not outwardly appear to be anything but a normal hoodie jacket. It is this sort of form factor that we think people could be interested in owning.
We worked in an applications space we would label as “entertainment electronics.” The challenge this space poses to us is that user ratings are, at their core, almost entirely subjective. We had to evaluate areas like user comfort and the quality of a “sensation,” none of which can really be independently tested or verified. In a way, our design goals boil down to going after a sort of “coolness factor,” and our real challenge was making the jacket as interesting of an experience as possible while minimizing the obstacles to usage. For instance, in P6, people reported difficulty in having to carry around a box that contained the system’s hardware, and while they liked the sensation of the jacket they found the form factor cumbersome. We sought to fix this in our final iteration of the jacket’s design- it is now as comfortable and inconspicuous as a normal jacket, which we hope would allow people to see the jacket as something purely fun at no cost of convenience.
We set out with the goal of replicating a concert-going experience, but in the process created something new entirely. We believe we were successful in the regard of giving something “cool” to people that brought them joy. It is not clear to us what sort of objective measures alone could have achieved this. While we could have strictly timed how long it took people to figure out how our jacket worked, for example, this wouldn’t have informed us about what people really would want out of our system. While we had tasks in mind when we set out to build and test our jacket, the users themselves came up with their own tasks (the jacket’s benefits in silent discos or at sculpture gardens, its uses in a variety of musical genres, etc) that forced us to consider our jacket beyond the narrow goals we had defined for ourselves. It is this sort of feedback that makes designing for entertainment an exciting and dynamic application space.
Future Plans
If we had more time, we would form a product as sleek, comfortable, and safe as a normal jacket. We would address problems introduced by moisture (sweating or rain) to ensure user safety and proper functioning. In order for this to become a product used in the long term, these concerns must be addressed. Next, we would seek to minimize the impact of the hardware within the jacket. We would use smaller, more flexible wires to attach to the motors. Printed circuit boards would decrease the size of the circuitry and we would optimize the layout of the components. In even further iterations, we would use surface mount electronics to decrease the size of the electronics. We would also like to find a better power solution. For instance, a 9.6V NiCd rechargeable battery would be capable of supplying the necessary current for each of the voltage regulators and can fit in a better form factor. It would also prevent users from having to periodically buy new batteries. We would also test the battery-life of the device to determine acceptable trade-offs between physical battery size and total battery energy. The motors would also be integrated into a removable lining which would hold down the wires and improve the washability and durability of the jacket. We would like to add additional features, including automatic threshold adjustment and a pause button. These new features will require additional understanding of analog electronics and the standards for audio signals on different mobile devices.
The next stages of user testing would inform our decisions about battery type and the long-term usability of the jacket. We would have different sizes of the jacket so we can accommodate users of many body sizes, and we would ideally give the jacket to users for several hours or over the course of days to get quality feedback about practicality and durability. These experiments would also help us understand how users react to the jacket’s sensations after their novelty has worn off. This user testing could further shed light on additional features we might add to the jacket.
README
How it works:
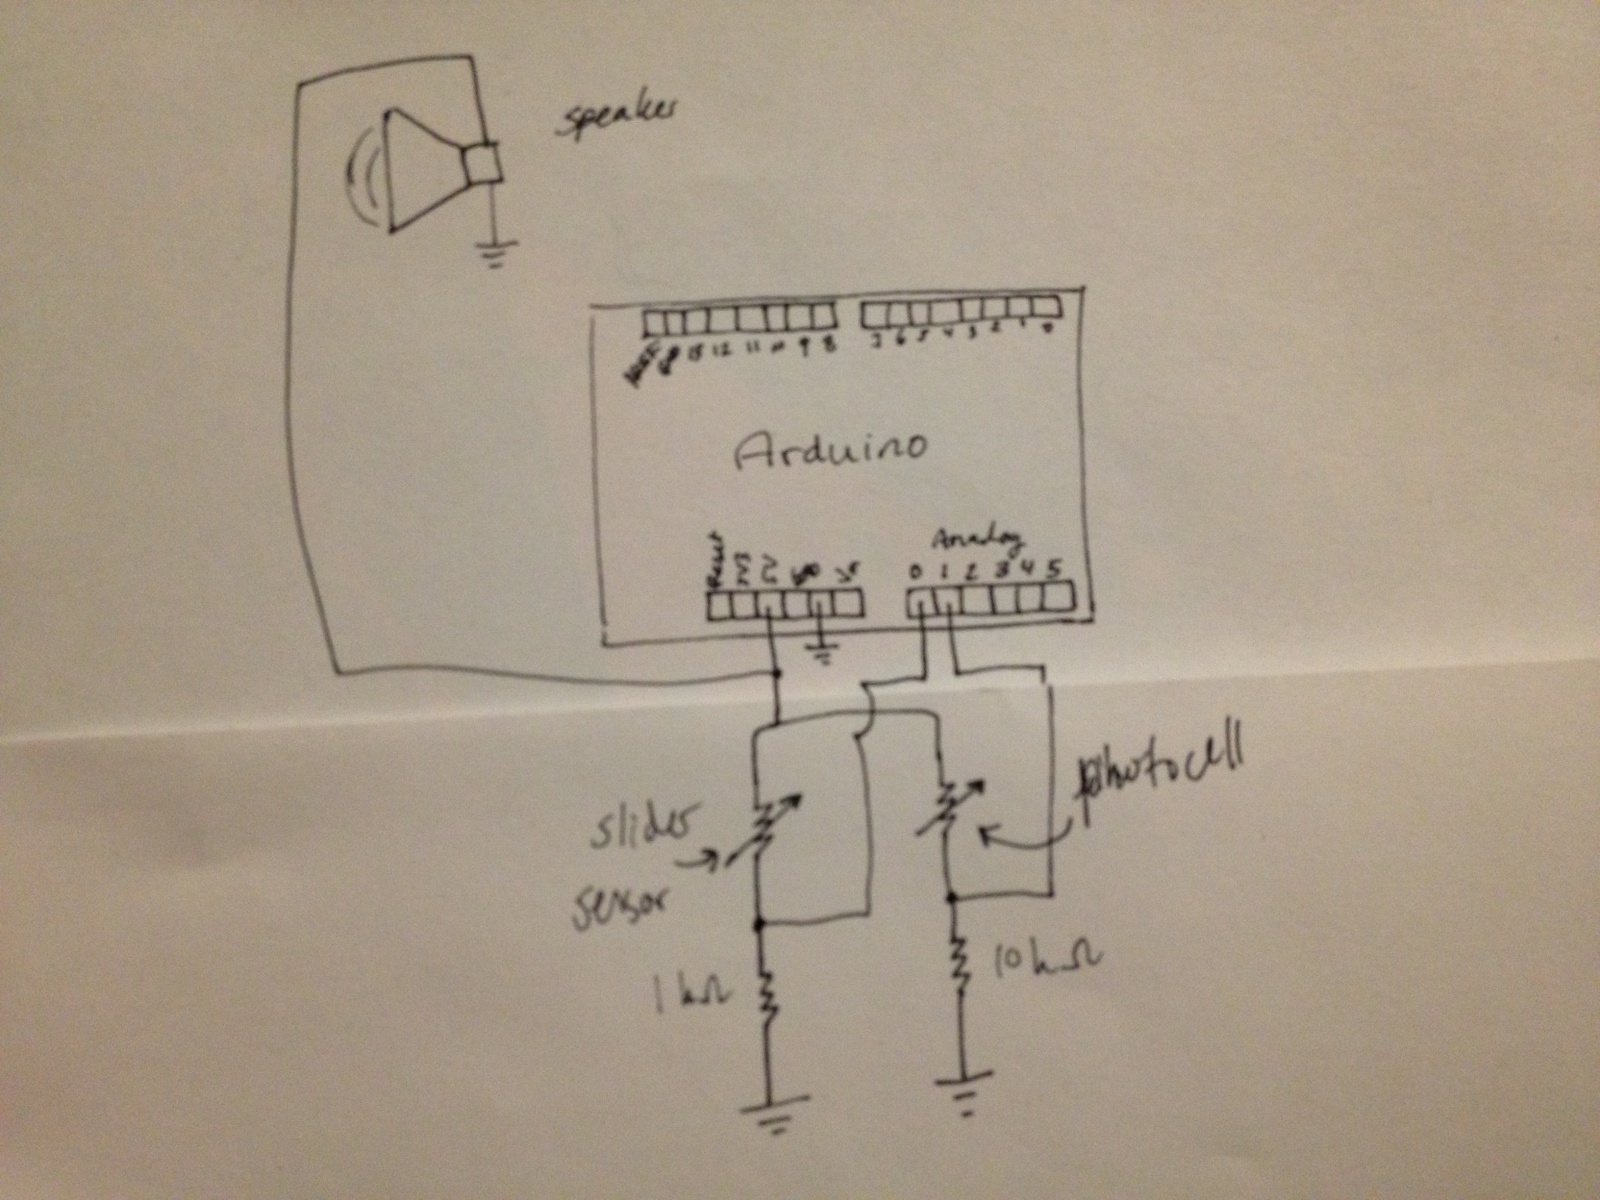
A male auxiliary cable plugs into a user’s music player and receives the audio signal. The signals from each of the two channels are fed to a dual potentiometer to reduce the volume for the user. The ground of this potentiometer is at VREF (1.56V) because a DC offset is needed in order to keep all the audio information with single supply op-amps. The output of this potentiometer is fed to a female auxiliary cable where the user plugs in headphones. One channel of the audio is also fed to a voltage follower which helps protect the signal from the rest of our circuit. This signal then goes to a low-pass filter which filters out frequencies above 160 Hz. The filtered signal is compared to a threshold value to determine the gate signal for the transistors. When each transistor turns on, current flows through its corresponding motor pair. The circuit is powered through three 9V batteries, each attached to a 5V voltage regulator (L705CVs). Two of the batteries power the motors, which draw significant current, and the third battery powers the operational amplifiers used for the comparator and voltage follower.
Schematics


Budget
Since our project is mostly hardware based, we’ve included a parts list and final budget below.
|
Item |
Quantity |
Price ($) |
Total Cost/Item |
|
L7805CV Voltage Regulator |
3 |
$.59 |
$1.77 |
|
PN2222A Transistor |
6 |
$.32 |
$1.92 |
|
LM358 Dual Op-amp |
2 |
$.58 |
$1.16 |
|
motor |
12 |
$1.95 |
$23.40 |
|
protoboard |
1 |
$6.50 |
$6.50 |
|
10k dual potentiometer |
2 |
$1.99 |
$3.98 |
|
switch |
2 |
$1.03 |
$2.06 |
|
battery clips |
3 |
$1.20 |
$3.60 |
|
capacitor (.1uF) |
15 |
$0.30 |
$4.50 |
|
capacitor (1.0uF) |
2 |
$0.30 |
$.60 |
|
1N4001 |
7 |
$0.08 |
$.56 |
|
misc. |
1 |
$1.00 |
$1.00 |
|
Total |
$51.05 |
Third Party Code
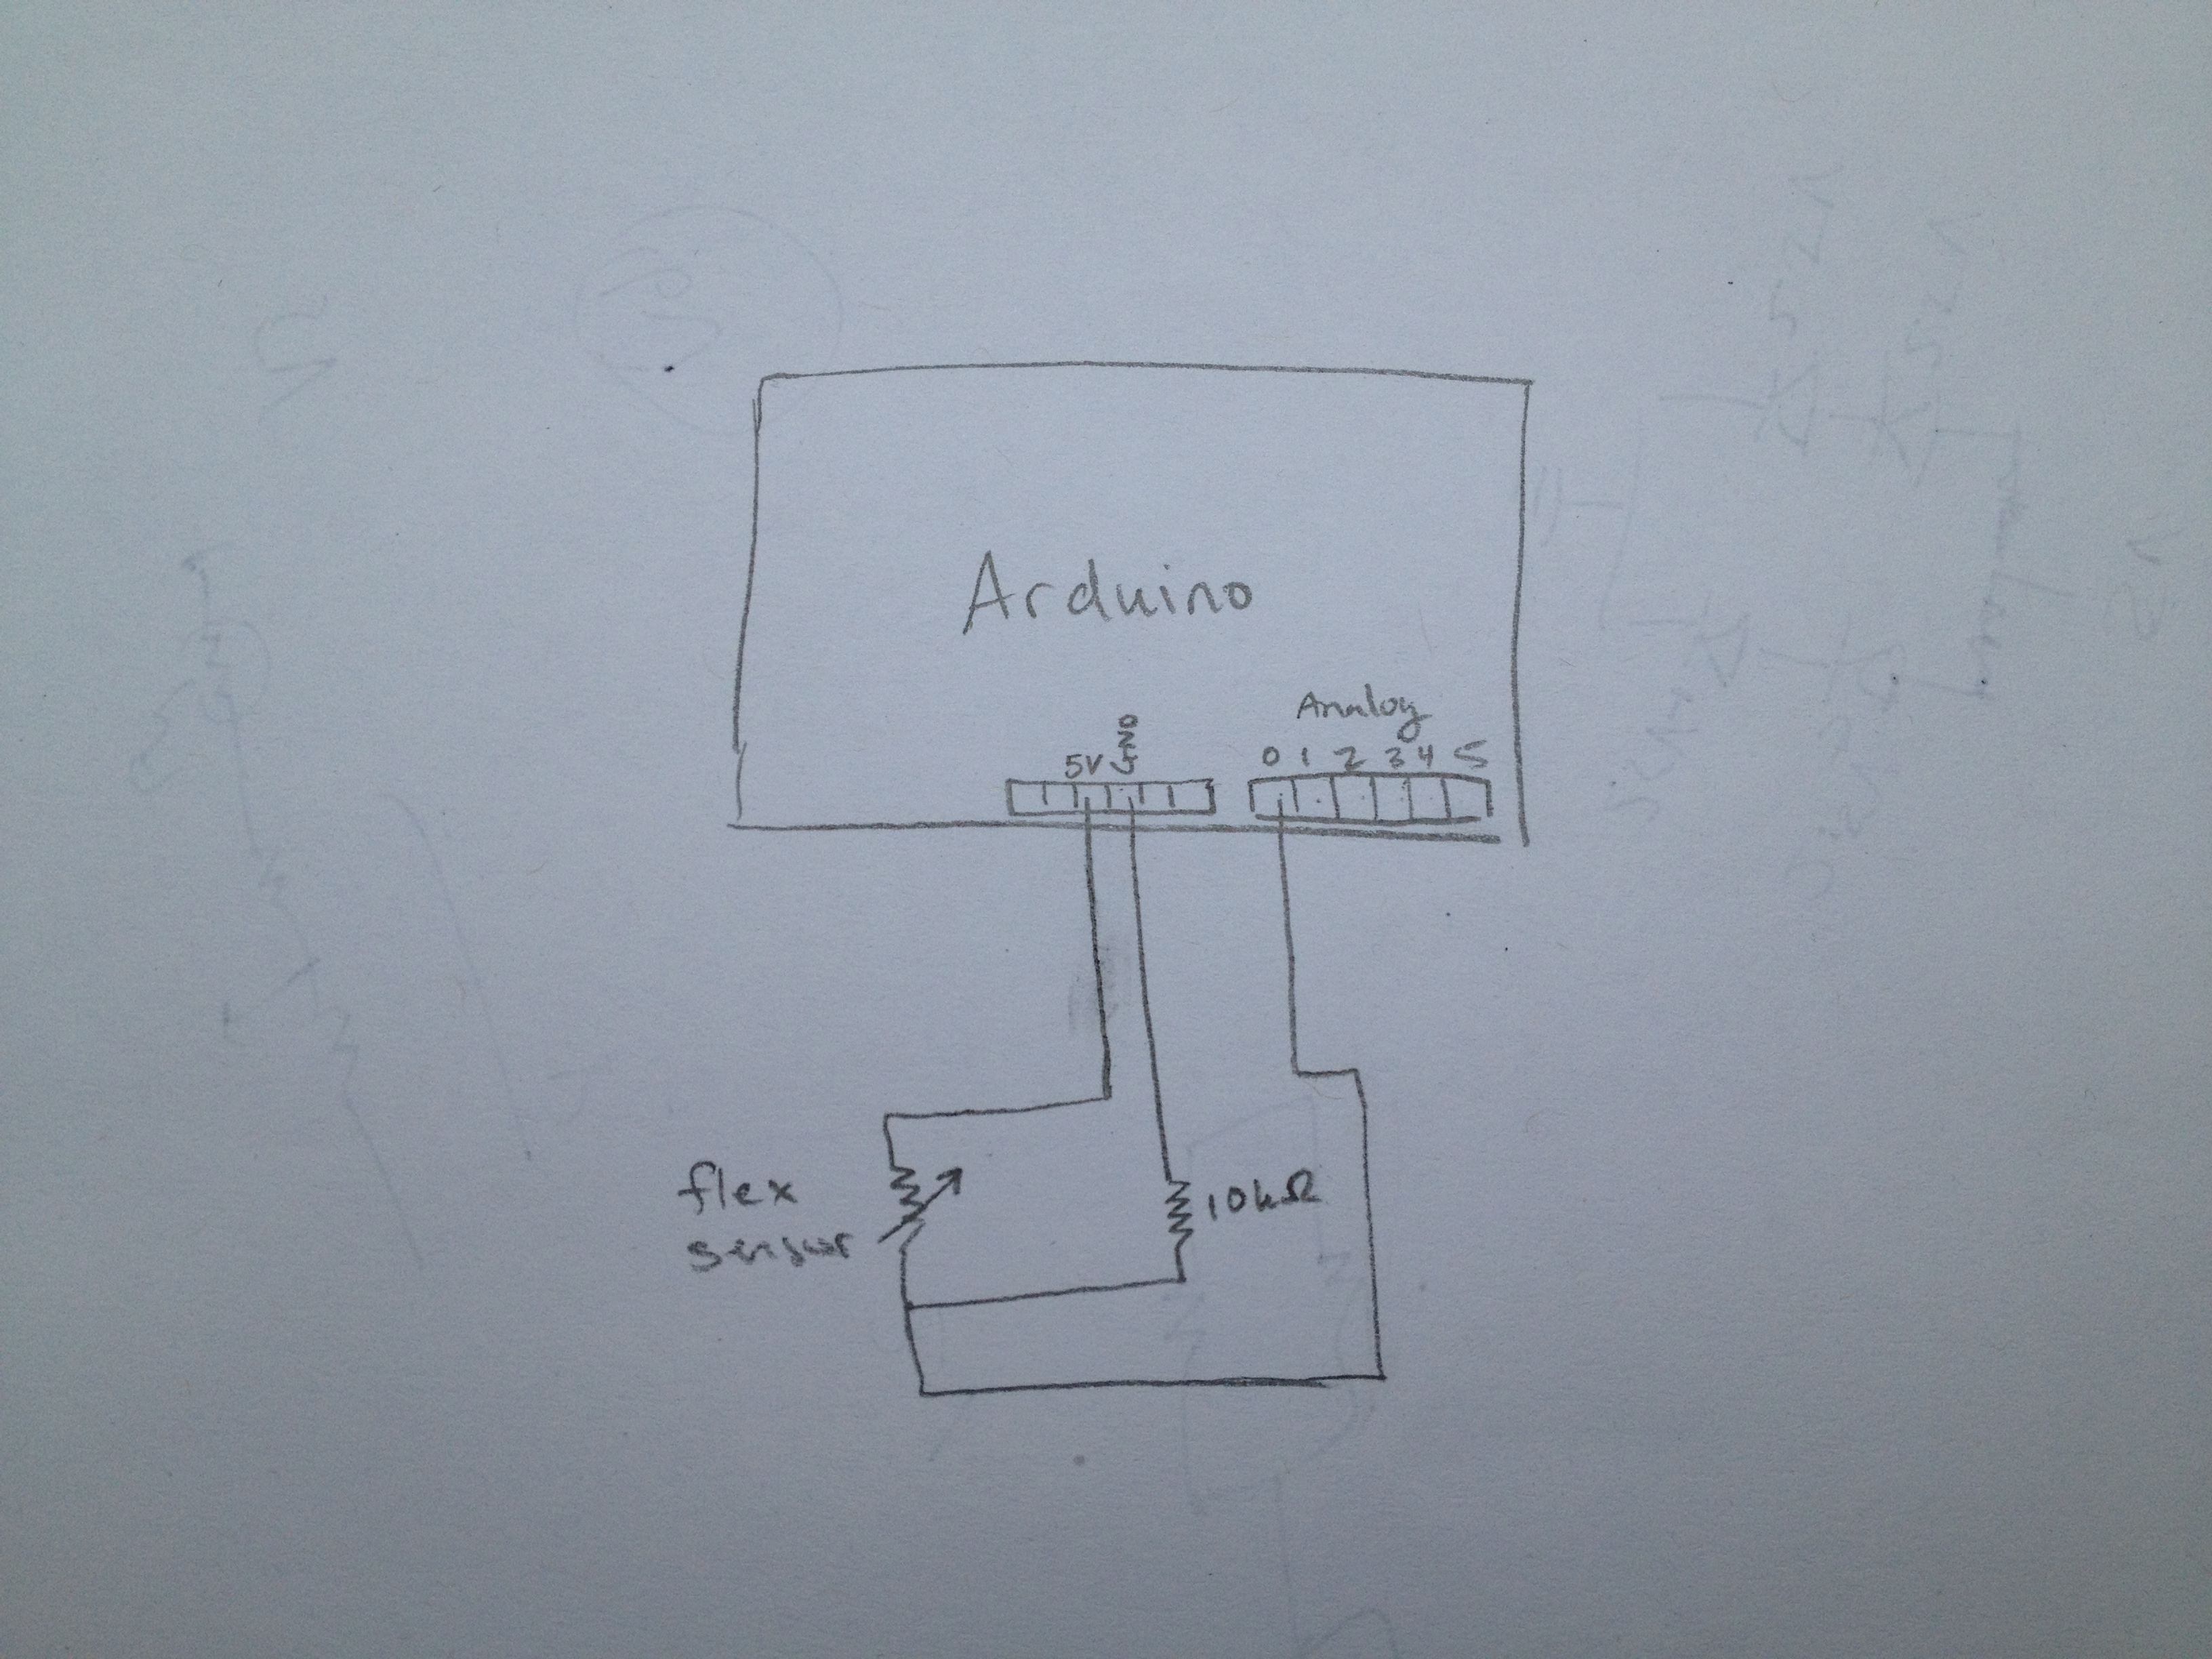
In earlier iterations, we attempted to use the Arduino to do the audio processing.
http://wiki.openmusiclabs.com/wiki/ArduinoFFT
Demo Materials
https://www.dropbox.com/sh/qxxsu30yclbh7l1/wv1qeXYeM-